This tutorial is made for you by Ingrid Coevert. Thank you Ingrid for sharing your creativity with us.
The Alis twist dress is a pattern designed for children ( and teenagers with a starting bust) and not for fully curvy women like you and me. However I did fall into the largest size in the chart! So I thought , I’ll give it a go! By the way I’m a cup 65E. I started with a test bodice exactly like the pattern. That way I could clearly see where it needed to be adjusted. So I wasn’t surprised that I had to make a bust dart, otherwise it fit perfectly. So how do you create a bust dart and how do you adjust it to your pattern pieces? Let me show you how I did it.
Don’t forget to show us when you try this adjustment.
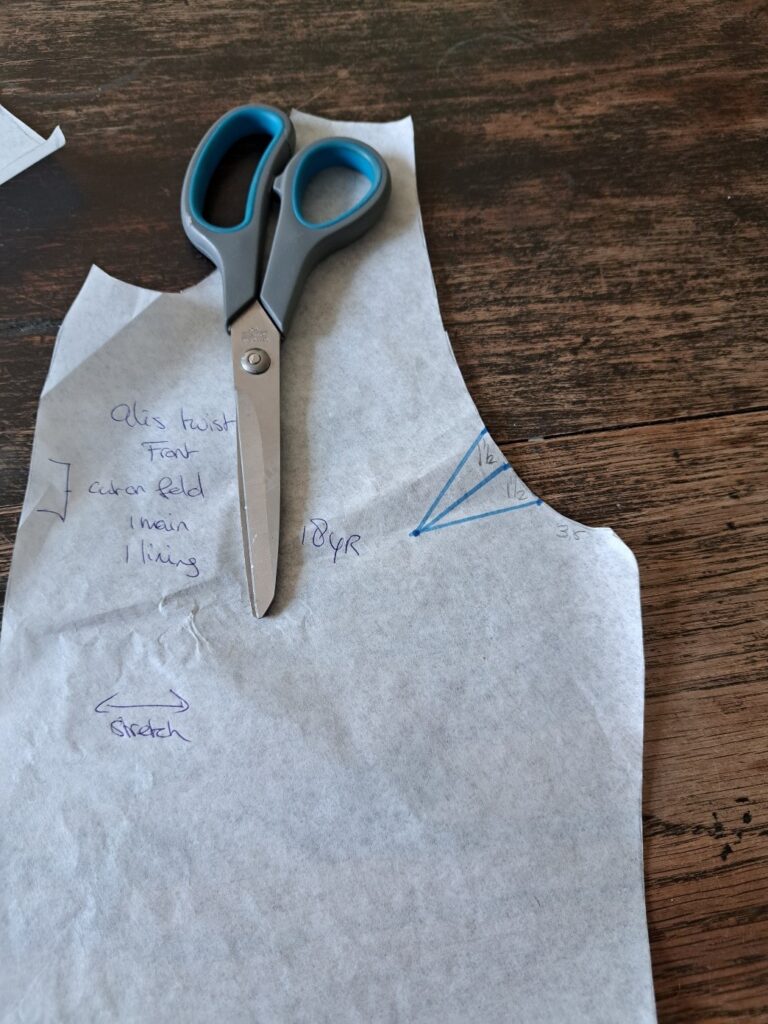
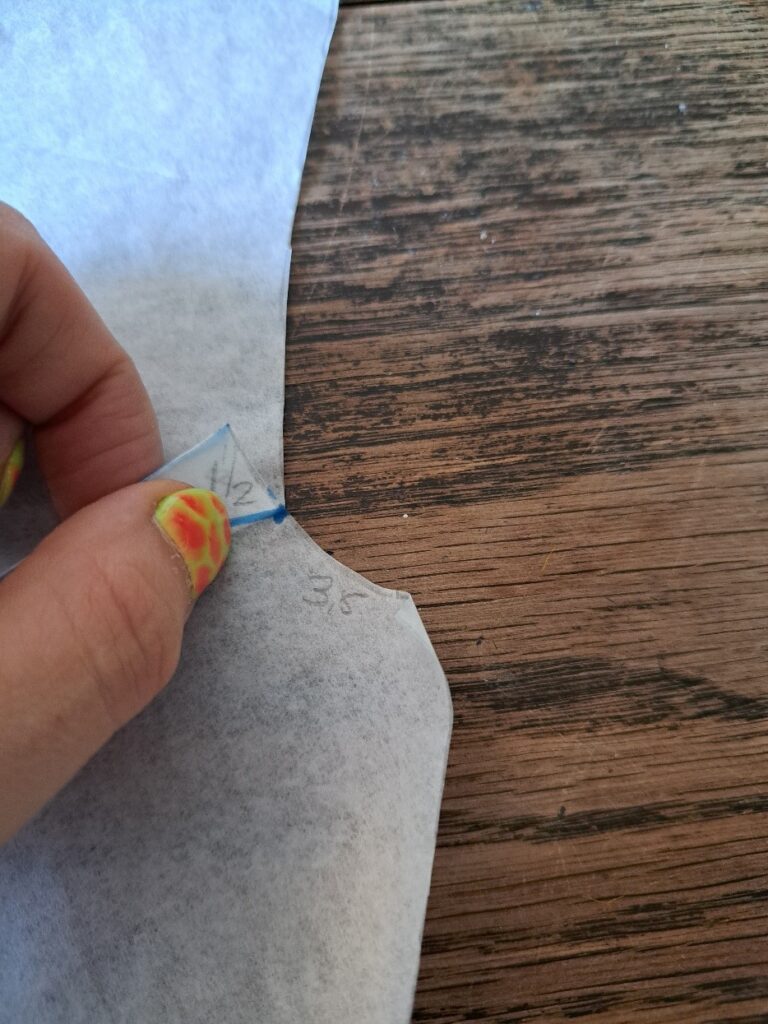
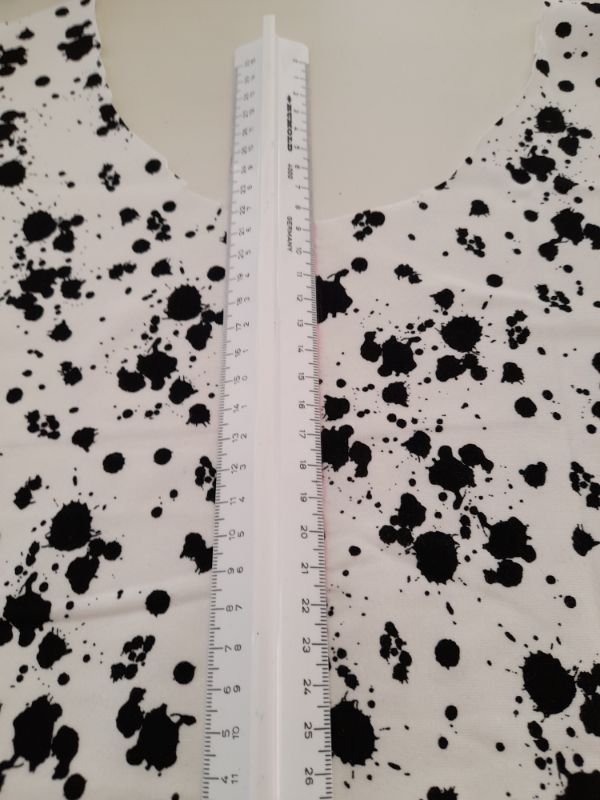
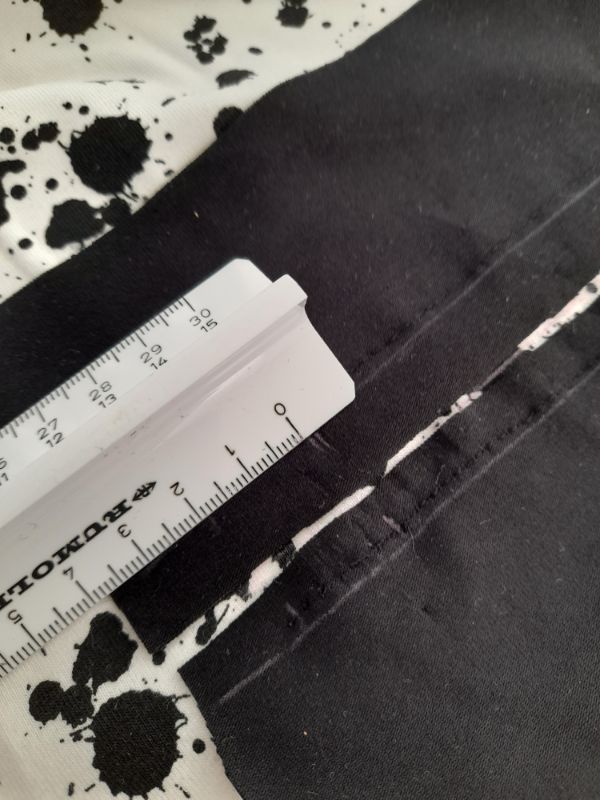
I started by pinning the excess fabric at my chest from the test bodice and pinned it together, This created my dart. Try to pin it as proportional as possible. I also took a picture of my armhole (where there is now a the dotted seam I have created) so you know how much you may add to the pattern, just as a reminder to yourself. Next add markings of your pinned dart. Measure the width, how far the dart goes in and how far from the side seam it starts. After adding the markings, draw it on your pattern piece. Since you measured from your side seam, don’t forget to add the seam allowance (3/8″-1 cm). So for me 1″-2.5 cm from side seam should be 1.3″ – 3.5 on paper. From there you can continue to draw your dart. In my case, I folded 2x just 1/2″- 1.5 cm and it went in 1.5″-4 cm.
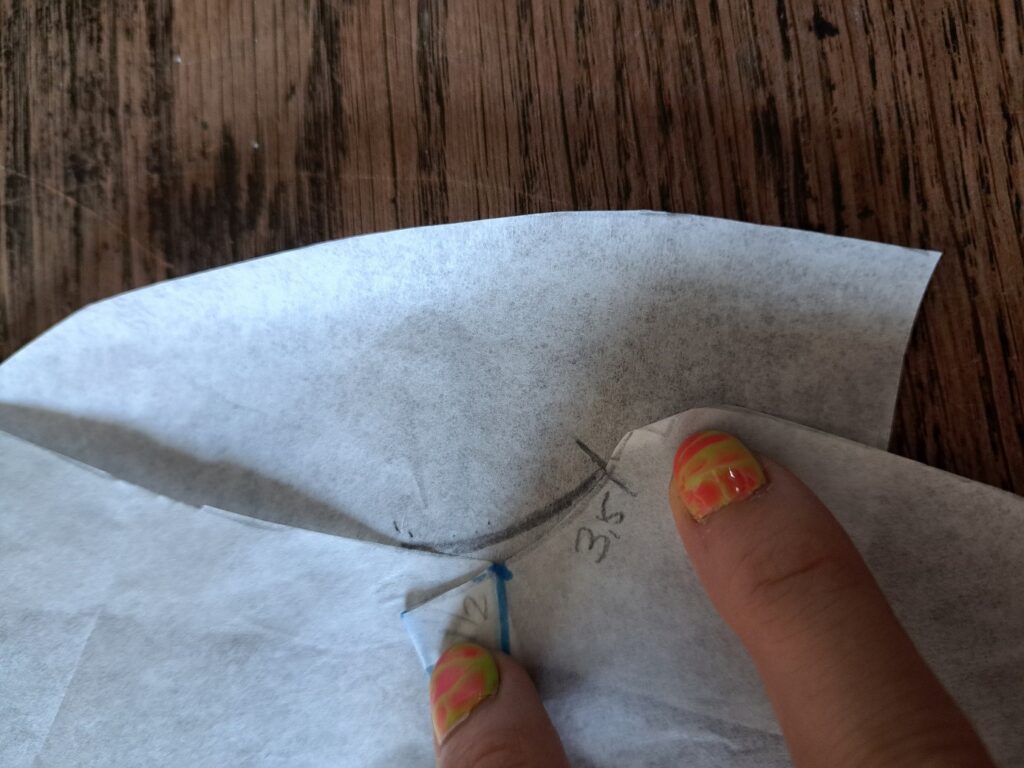
I placed some pattern paper behind it and folded the dart seam, so I could touch up. After matching the curve again , I released the bust dart and drafted towards the armhole. Finally, cut this when your dart seam is in.
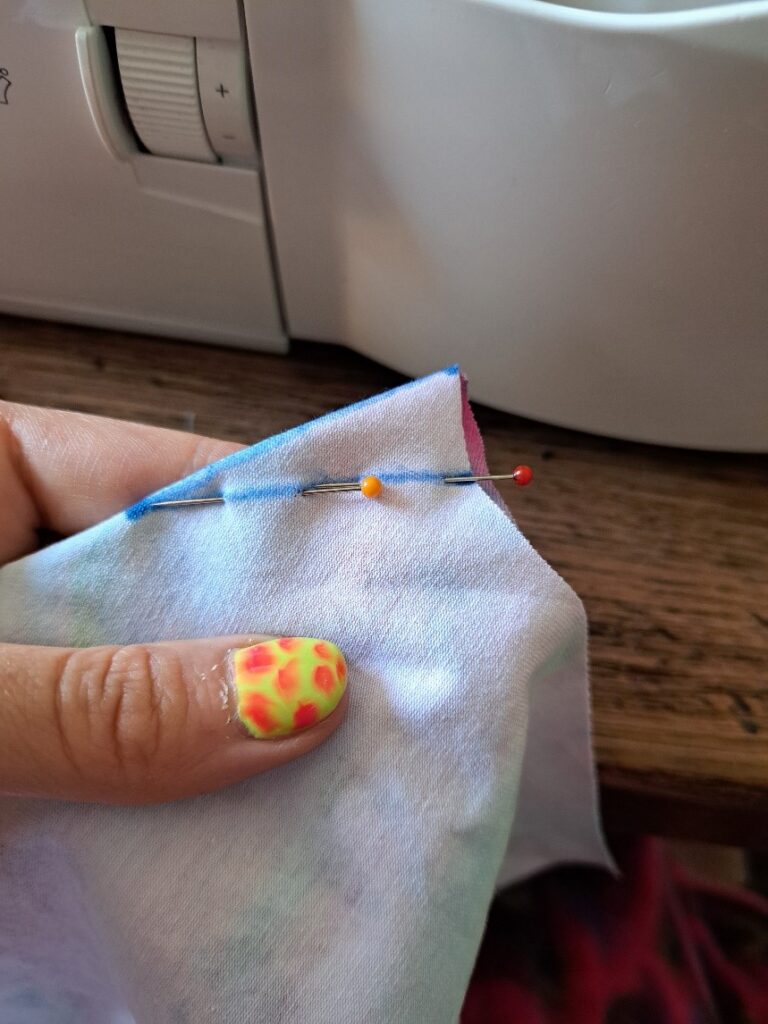
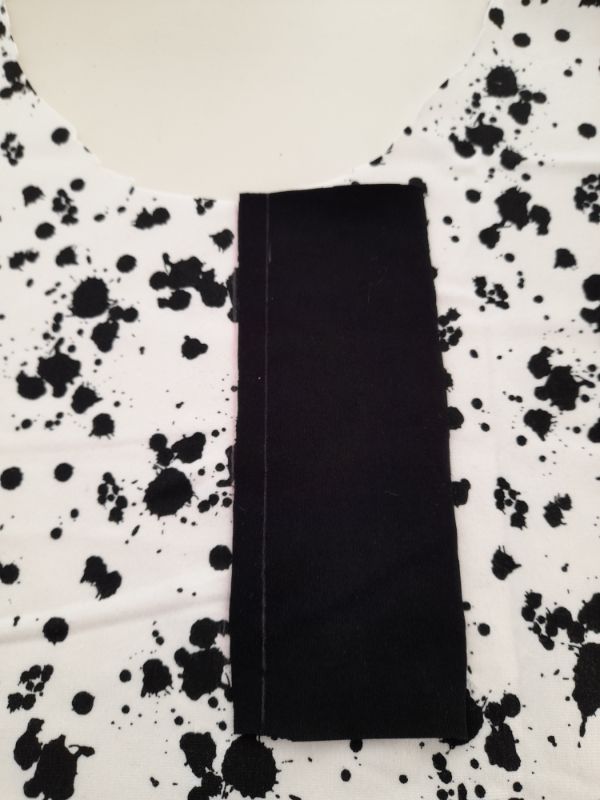
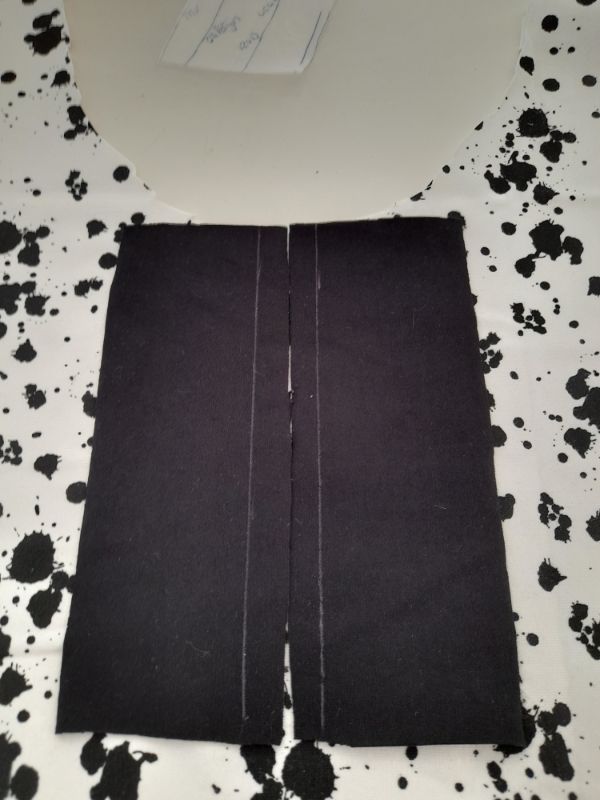
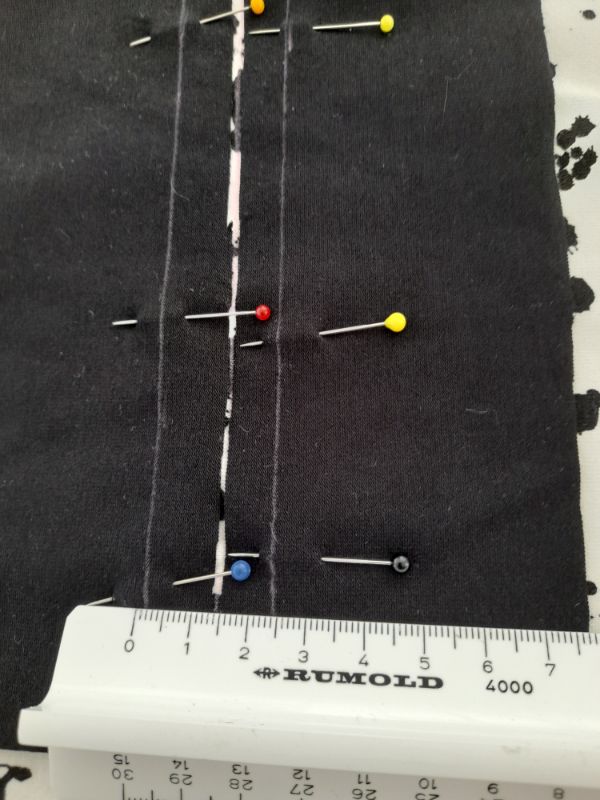
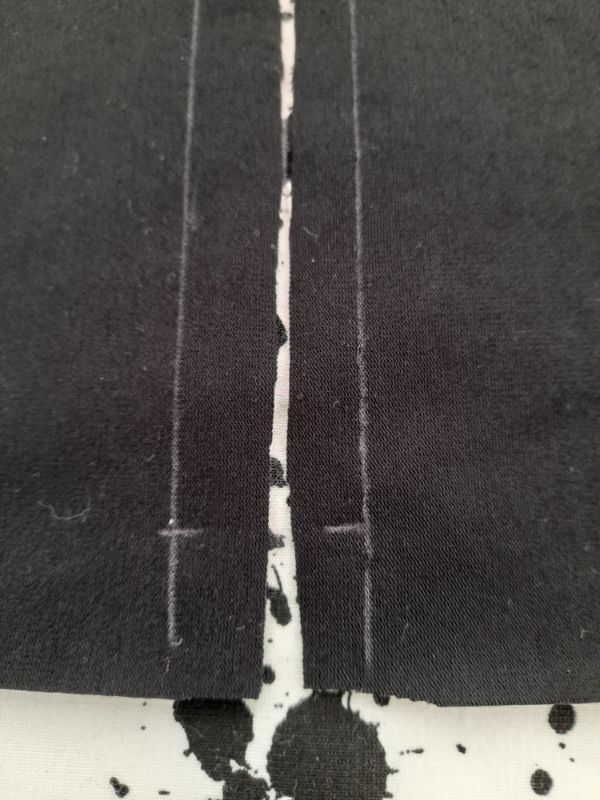
Next step is to cut out the fabric and copy the markings. Then I fold and pin the dart in place. In case you’re wondering what marker I used , it’s my daughter’s washable marker. This brand is super easy to wash out. Then I sewed with a straight stitch on the bottom line. Try to stitch to the point as much as possible, it makes the dart point sit better.
And as the last step I folded the dart down towards the side seam and cut away the excess fabric so the curve flows nicely with the pattern again. Now you can continue as described in the pattern and it is tailored to your beautiful body. Have fun with it!
Are you looking to sew the perfect summer dress pdf pattern? Here at Sofilantjes, we have many beautiful pdf patterns to help you sew the perfect dress. All of our patterns are packed with options, one being the skirts are made to fit the other dresses too.
Let’s meet the dresses.
We’ll start with maxi dress patterns. I absolutely love maxi dresses. I live in them the whole summer. My girls love them too. They have no trouble climbing anything in them, either. The maxi dress patterns we have are:
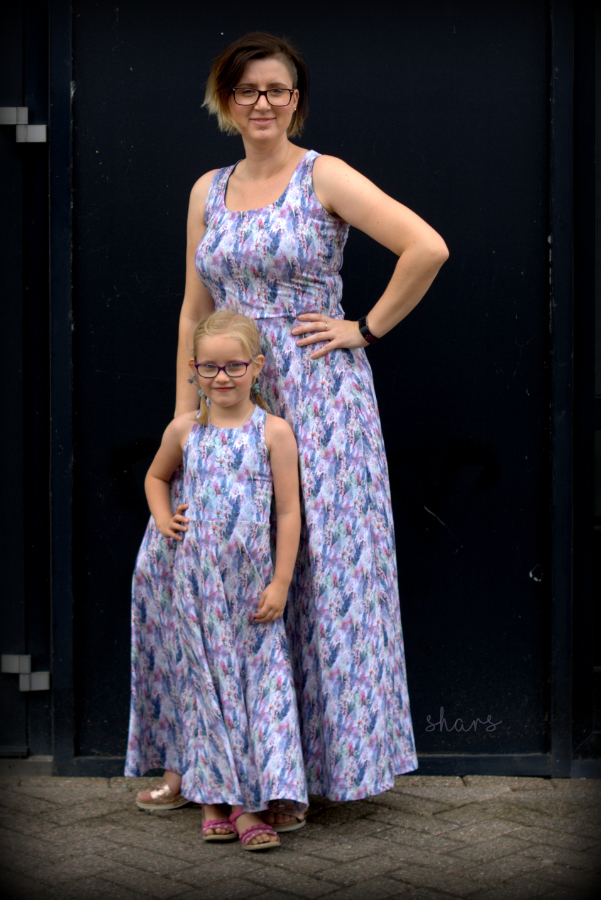
First up is the Litore Dress. This pattern comes with loads of skirt options. It’s a beautiful strappy dress with a lined bodice. The Litore Dress is made for knit fabric, and for those who love to make matching outfits with their children, we have the Litore in adult sizes too!
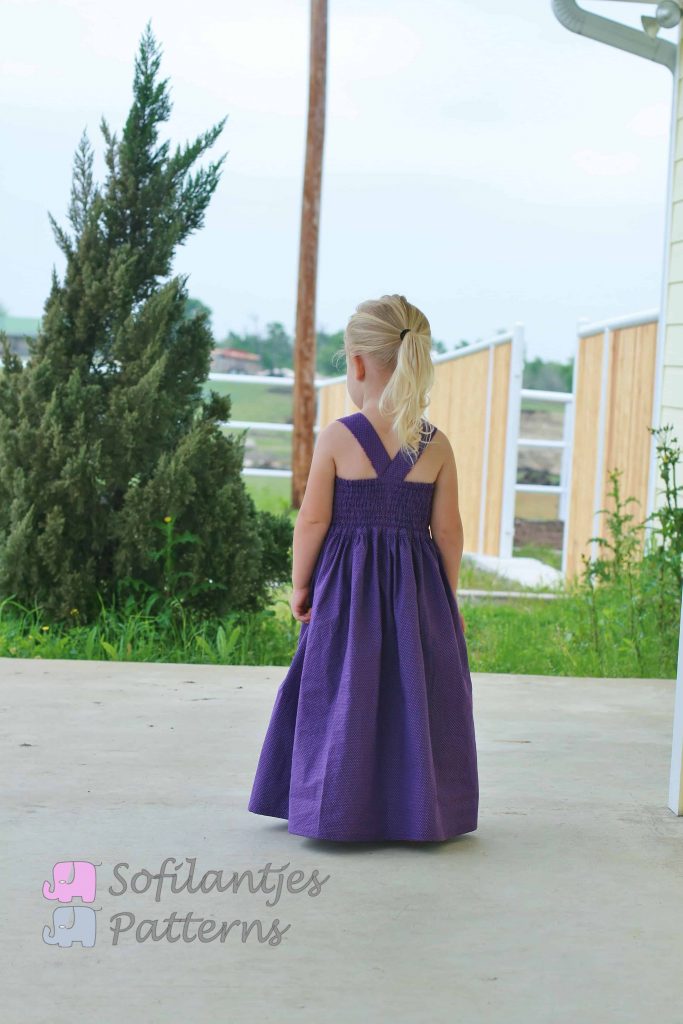
The Brueram Dress is one of the first patterns we drafted and recently updated. It’s a woven dress with a shirred or elastic back. Never shirred before, no problem. Either read this blogpost or use the elastic casing option where you just pull elastic through.
Last but not least we have our Aureum Dress. A beautiful straight dress with side splits and multiple back options to be creative. Check out the listing and you’ll see lace and other beautiful fabrics used. When you are done, sew one for yourself with the adult Aureum Dress pattern.
LitoreBrueramAureum
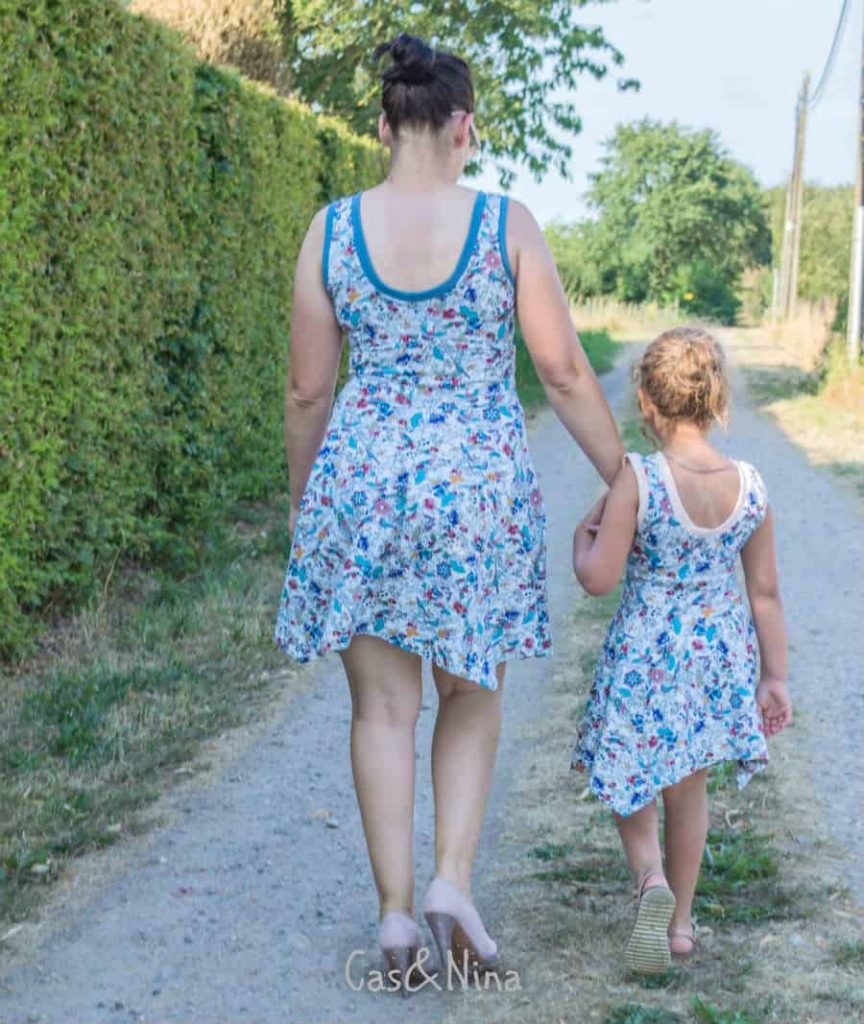
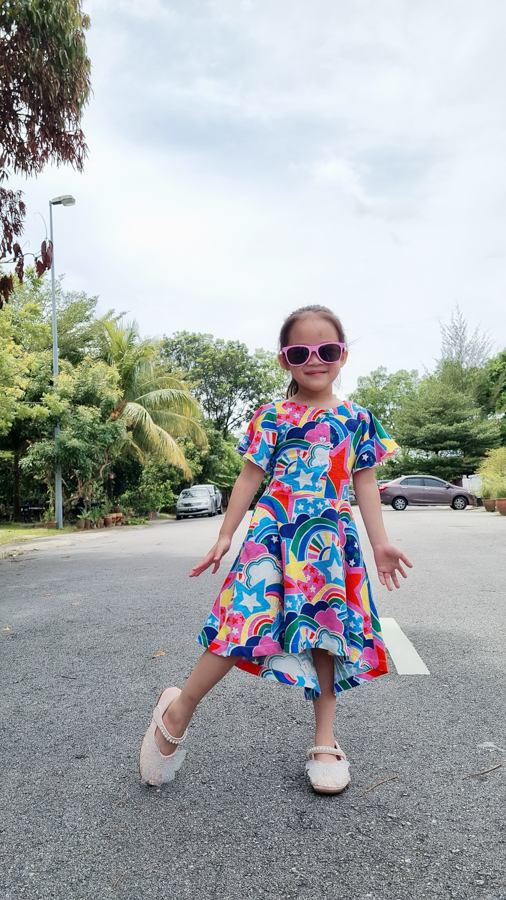
Love maxi dresses but looking for more twirl? We have that. Let’s start with proper summer twirl dresses: no sleeves and beautiful back options.
The Videre Dress is a beautiful dress made with bias binding and an open lower back option. The dress has a half-circle skirt. Like some of the others, this pattern has adult sizes.
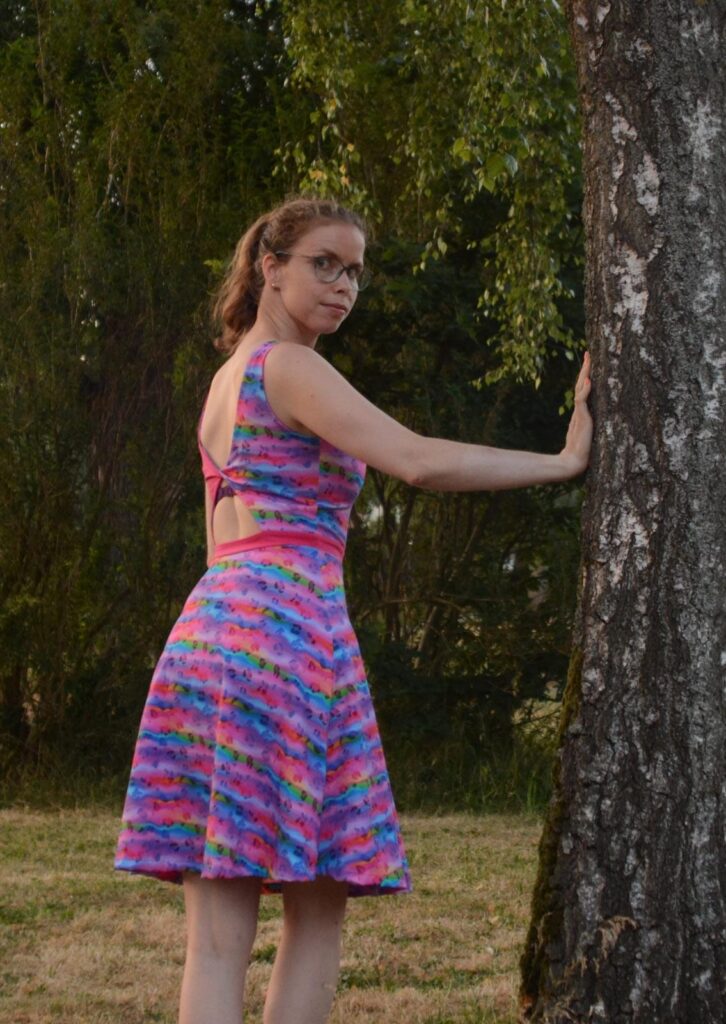
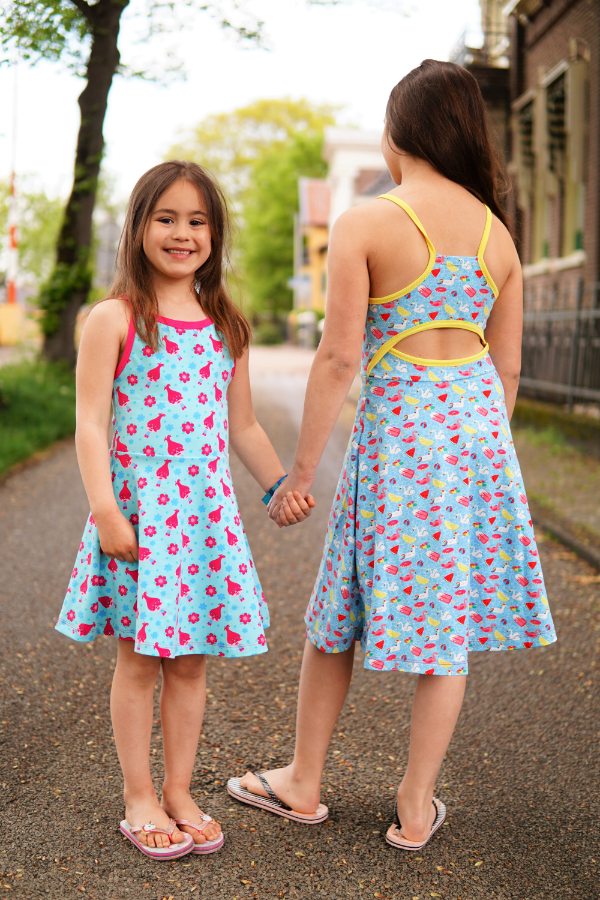
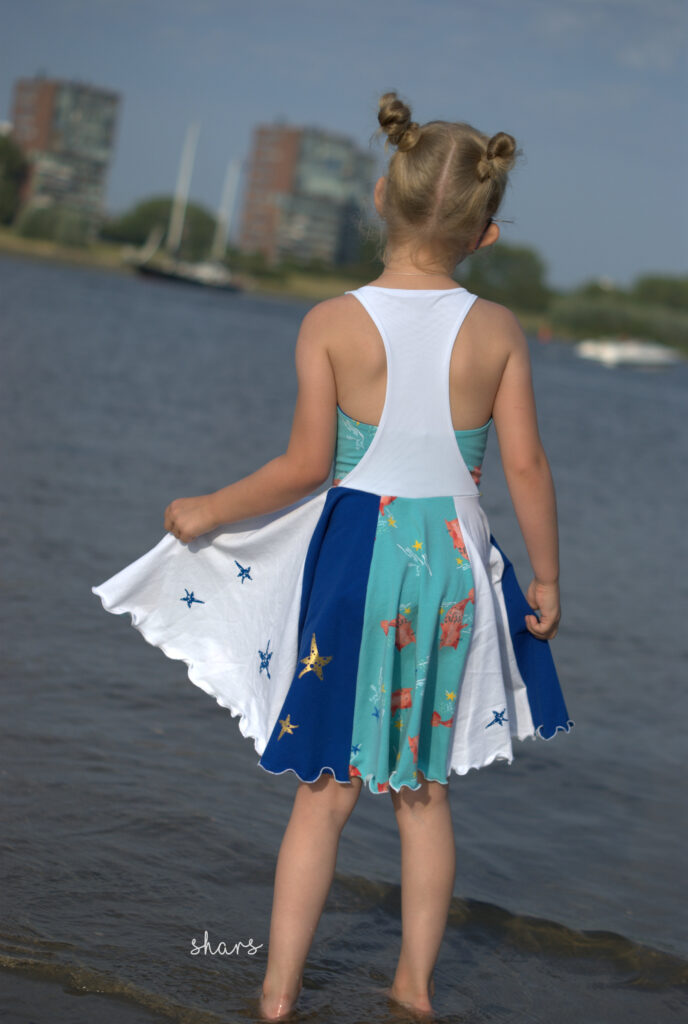
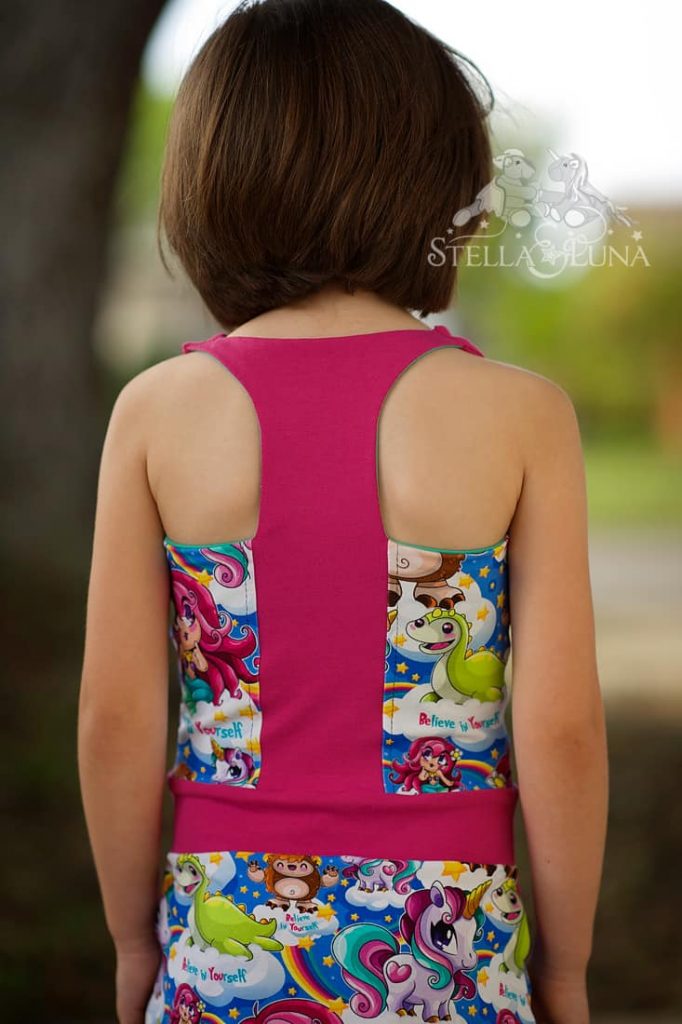
One of our best-selling summer dress patterns is the Solis. It has a full-circle skirt and an incredible back detail. The racerback is made with loops. The bodice is lined to hold the heavier skirt. For those who want less twirl we do have a pleated skirt option.
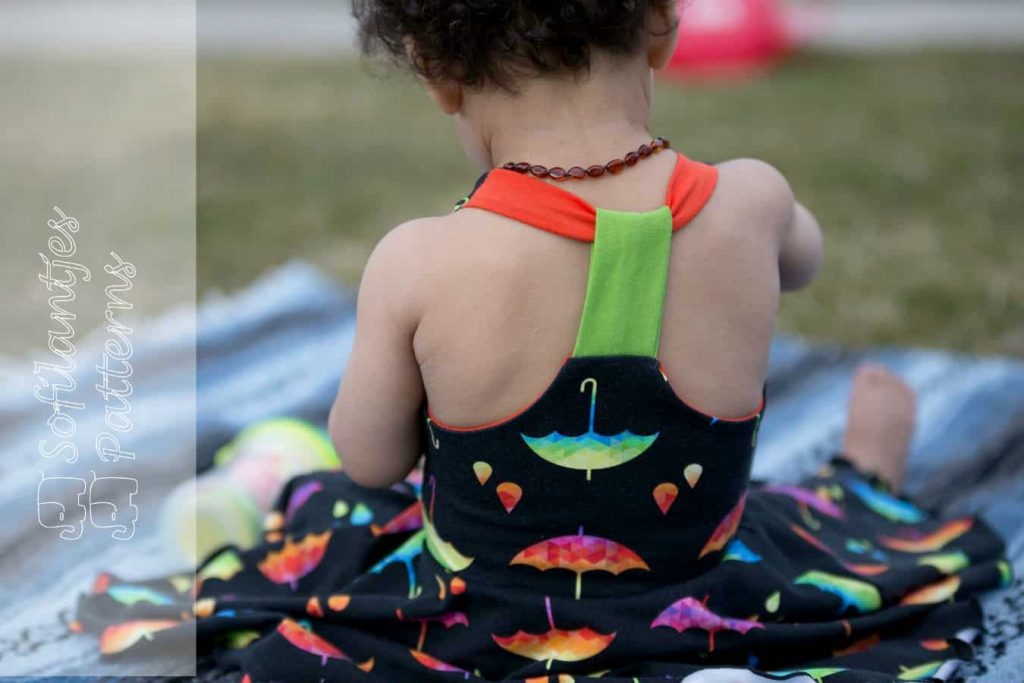
Another racerback option that is different than the Solis and a real fabric saver is the Optimum. It also has a lined bodice and multiple color block options for the skirt.
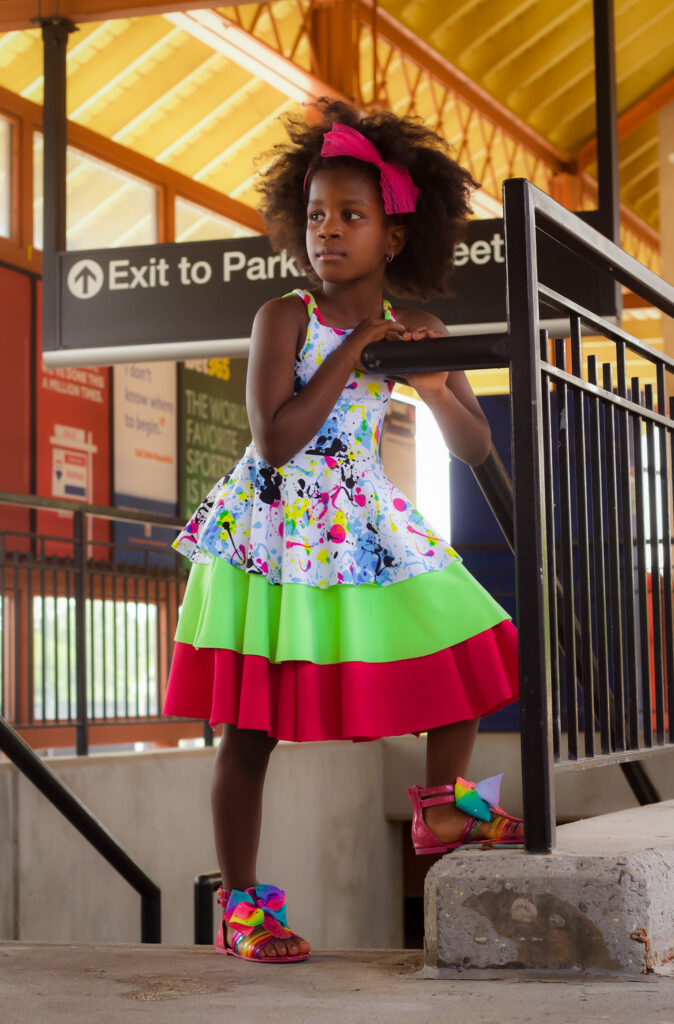
The Festum doesn’t have a special back, but it does have braided straps, a lined bodice, and the most festive circle skirt in 3 layers! As an added bonus, this dress starts at baby sizes.
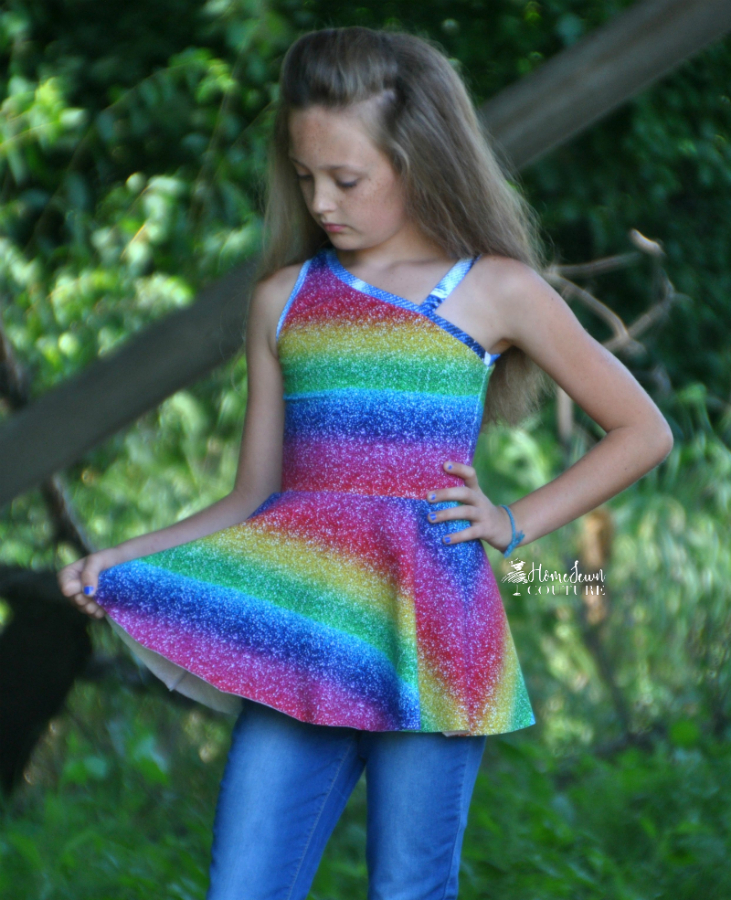
Our favorite one-shoulder option is the Montis. With two bodice options, one lined and one not lined, you are ready for all summer temperatures. The Montis has a ¾ circle skirt.
And last but never least is the Vallis. With alow back, unlined bodice, and half circle skirt you have a very easy summer dress and a quick sew. The different skirt options help you to make a new dress every time.
Note that all skirts of the above mentioned patterns are interchangeable.
VidereSolisOptimumFestumMontisVallis
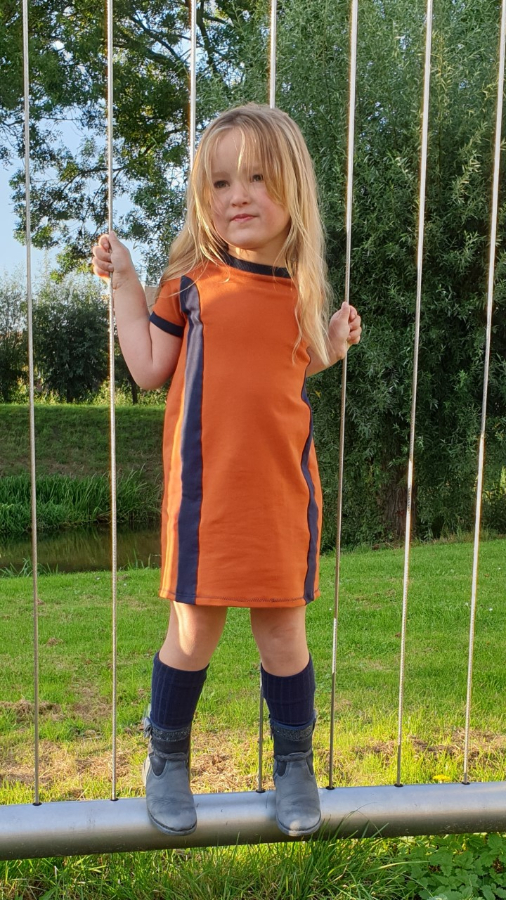
Cute right? For the girls who are not fans of twirly dresses but are still looking for a proper summer dress. Check these out:
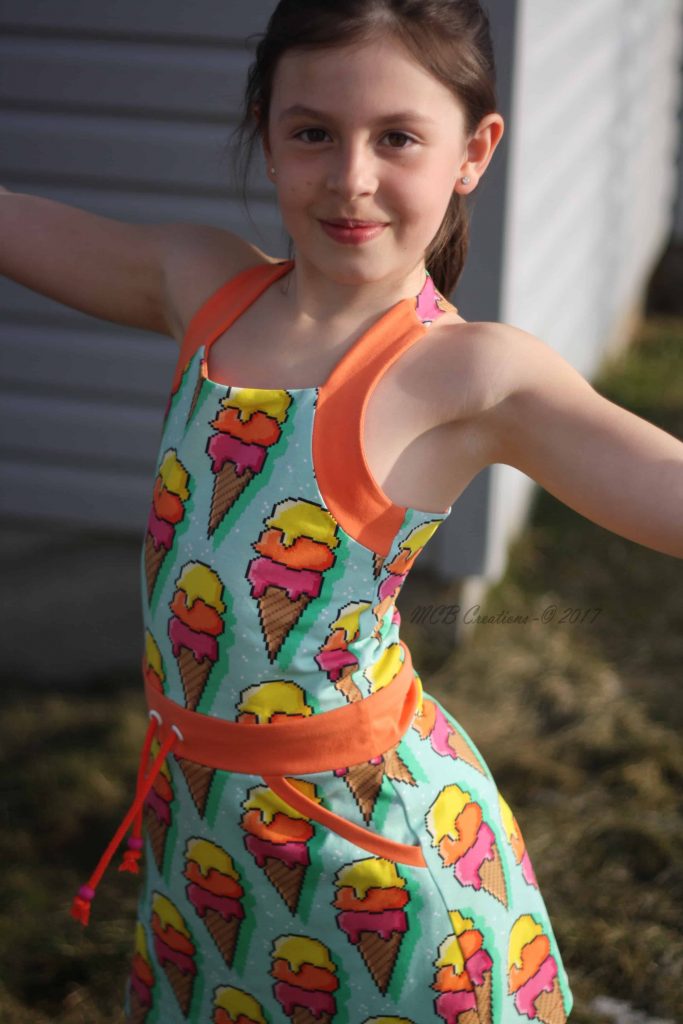
The Mantica is one of our personal favorites. With the gathered skirt or the sporty short skirt and three back options it is one of our best patterns. The perfect summer dress pattern to save fabric on to. You’ll love this one.
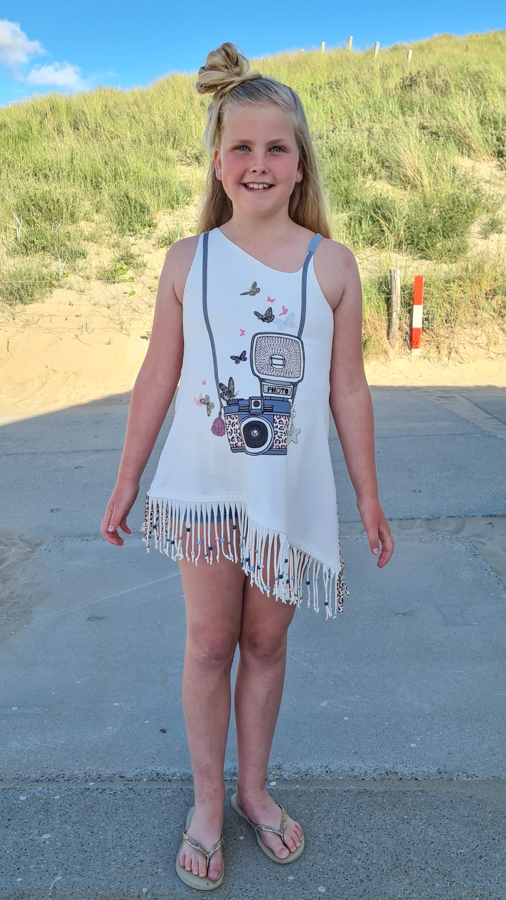
Felix is one of our newest summer dresses, released in 2021. It is one to love. The Felix is lined with a cami top. The loose fit of the main dress is not only beautiful but airy too. The one shoulder neckline is one to love. Looking to sew for yourself? The adult Felix has a self bra sewn into it.
ManticaManticaFelixFelix fringe tutorial
Looking for a sleeves summer dress? We have that to!
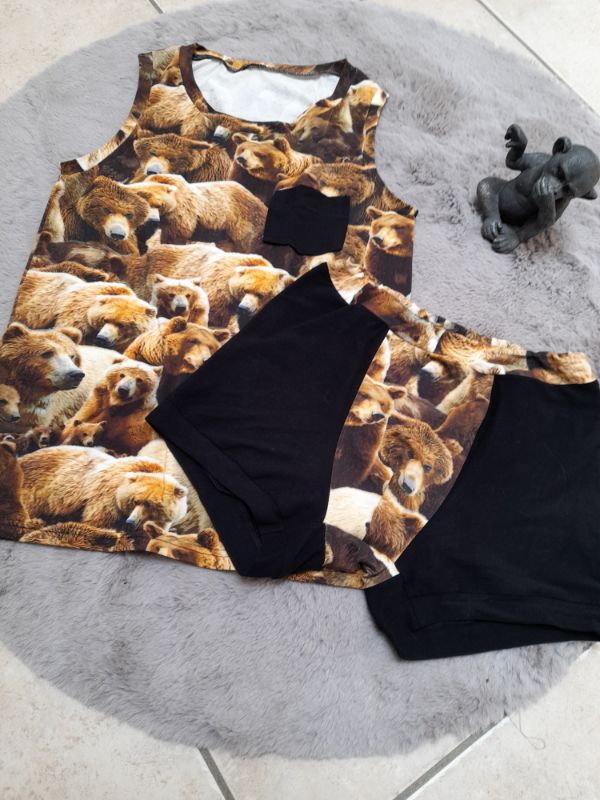
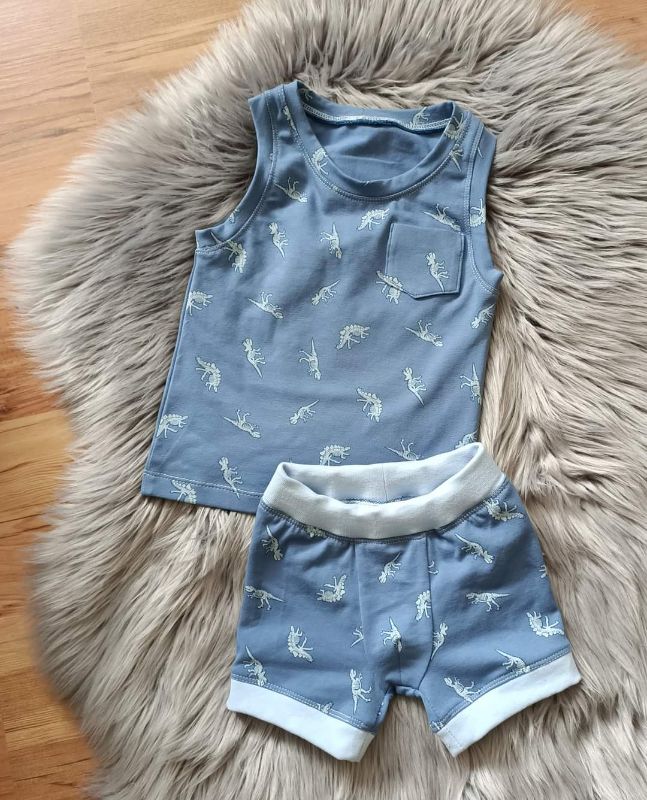
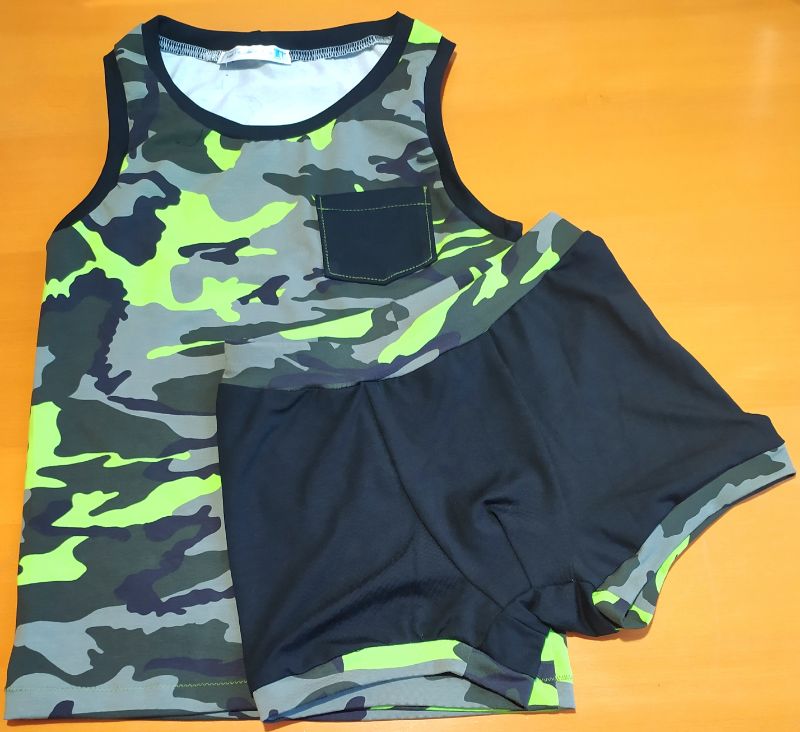
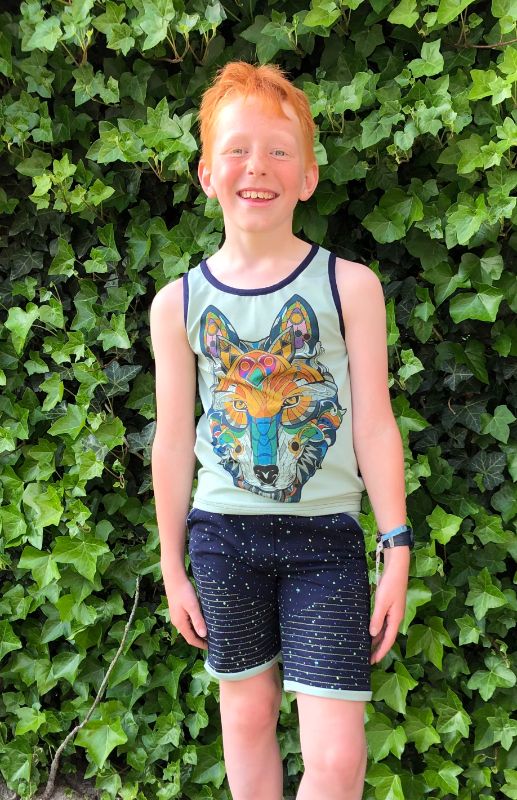
The wait is over! Finally, a little brother for our Link underwear set. And a cute one, too. Just in time for a lovely warm summer. This summer, your little man will walk in a beautiful handmade undershirt with well-fitting boxer shorts and maybe even handmade swimming shorts.
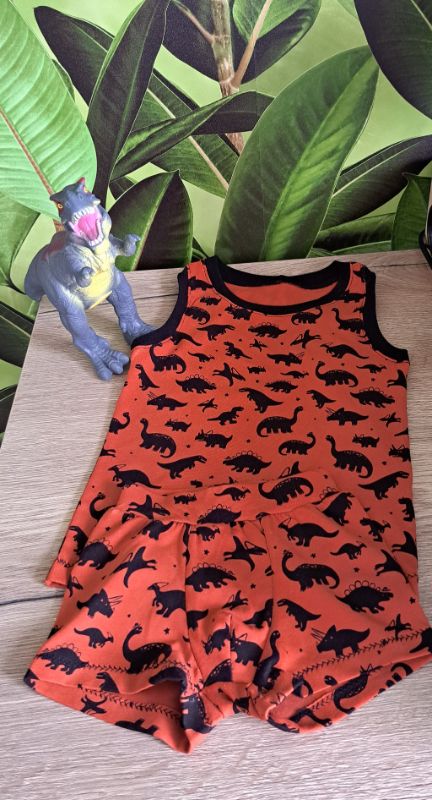
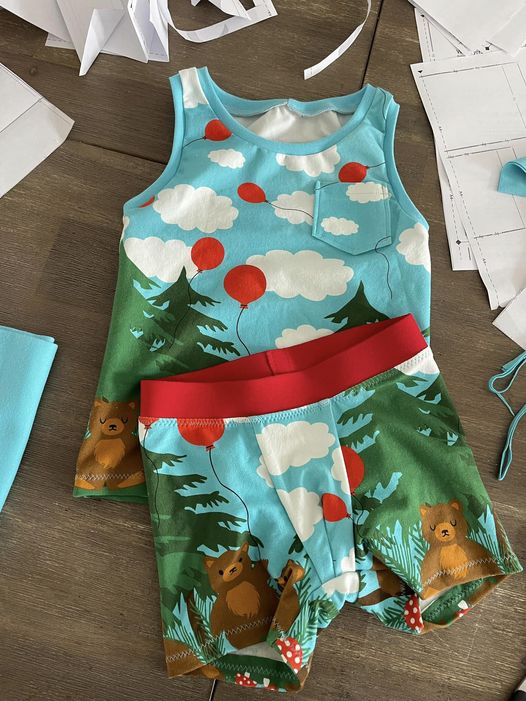
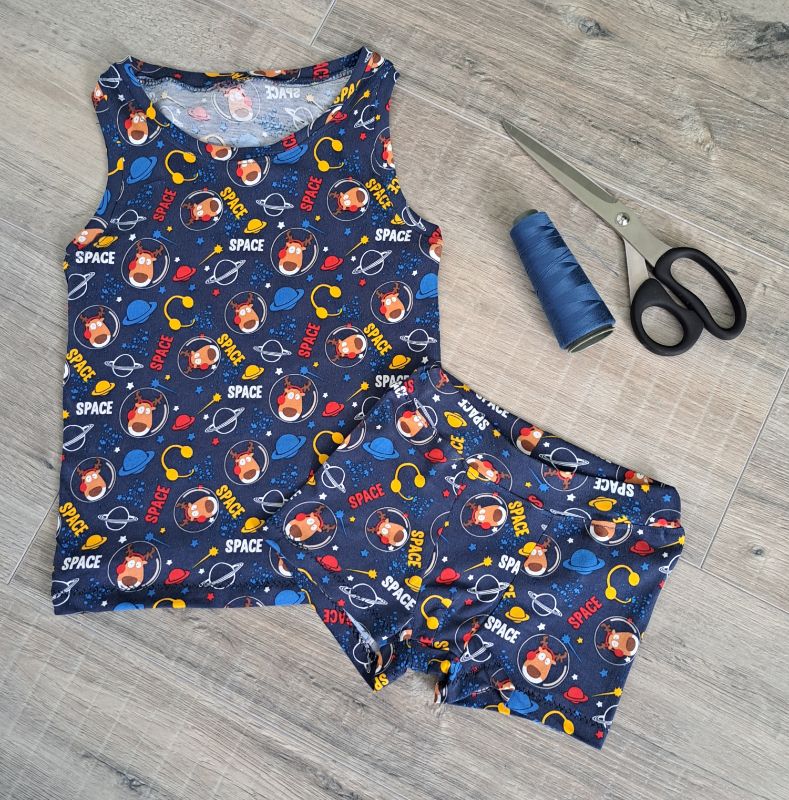
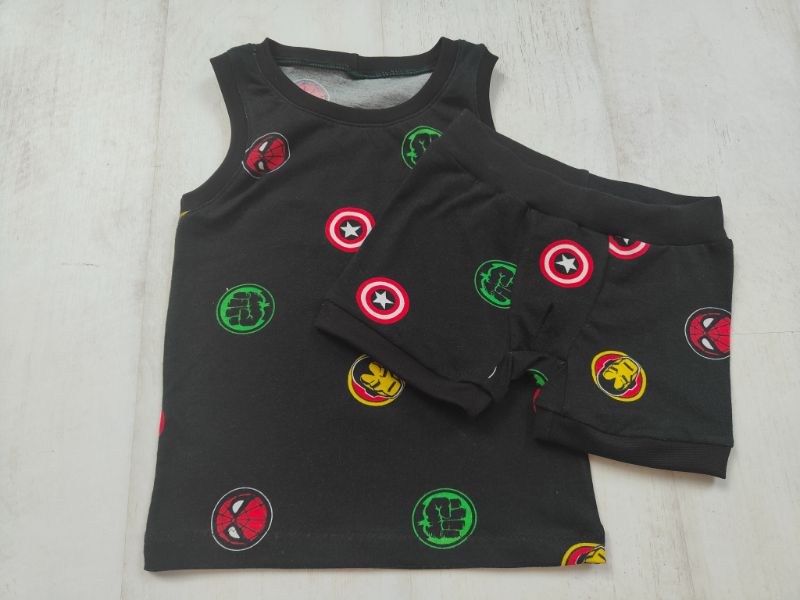
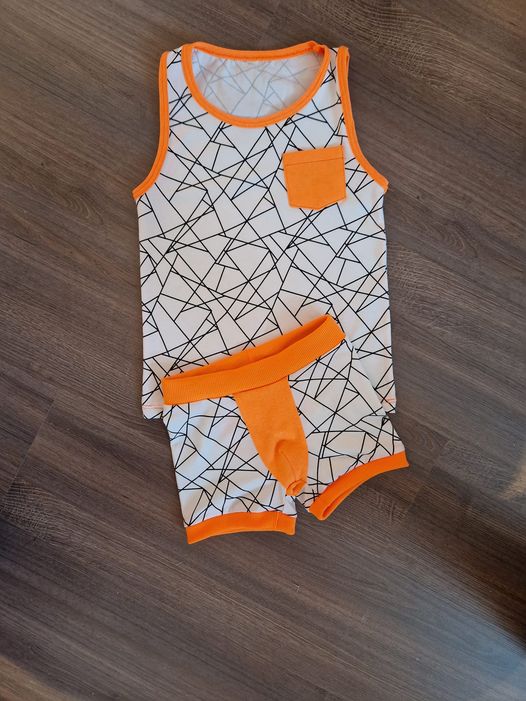
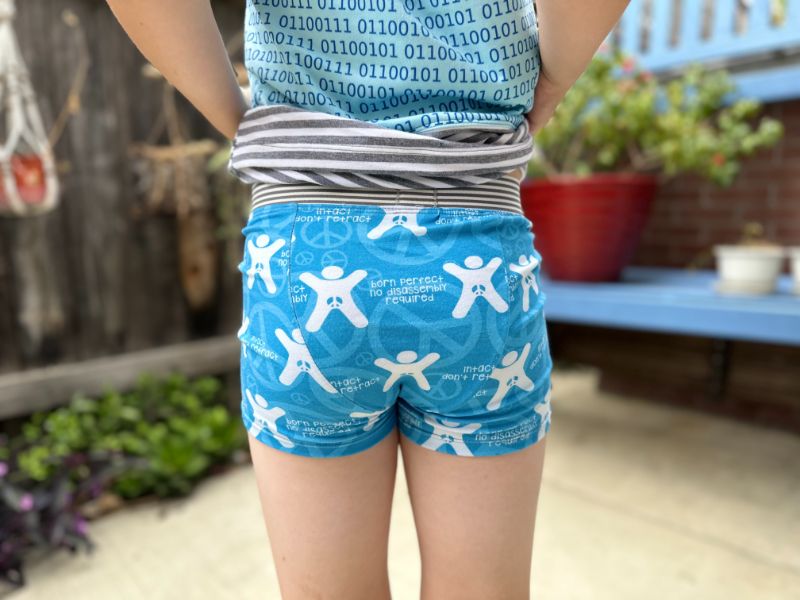
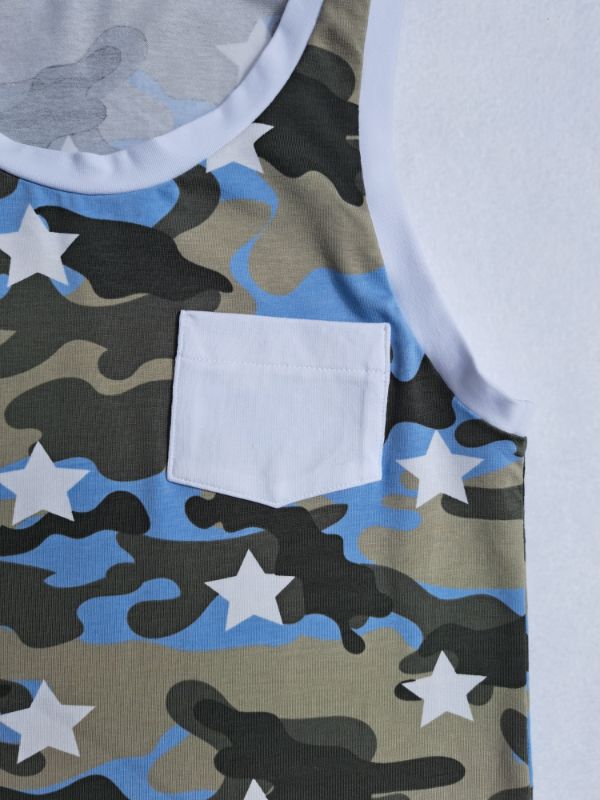
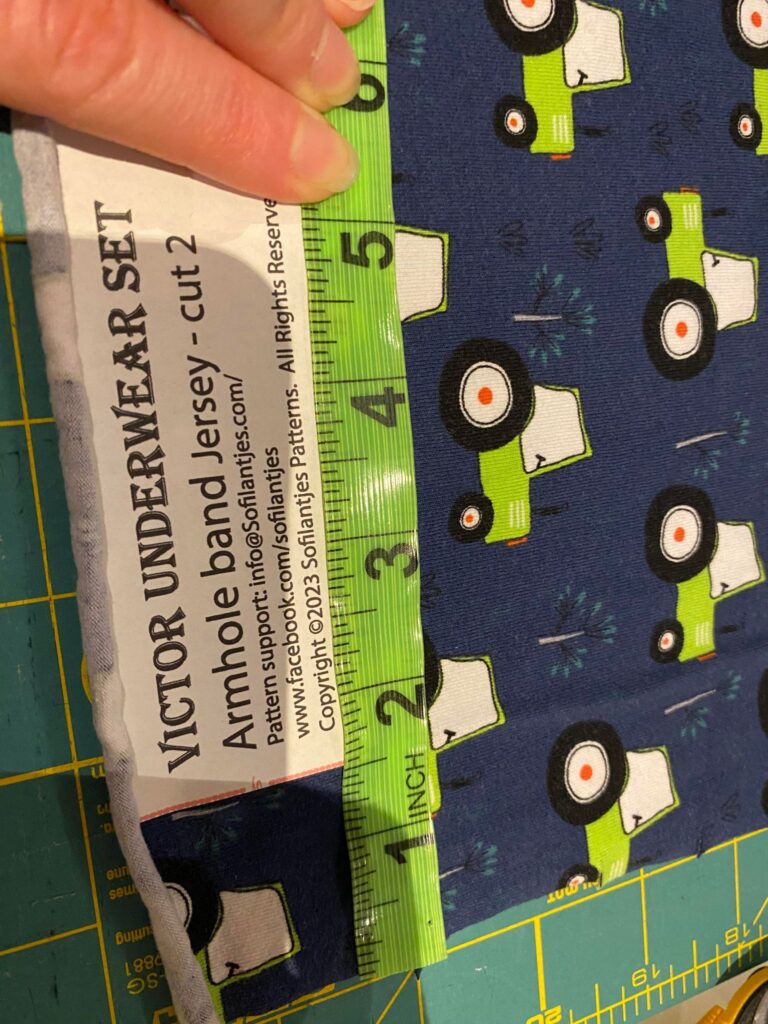
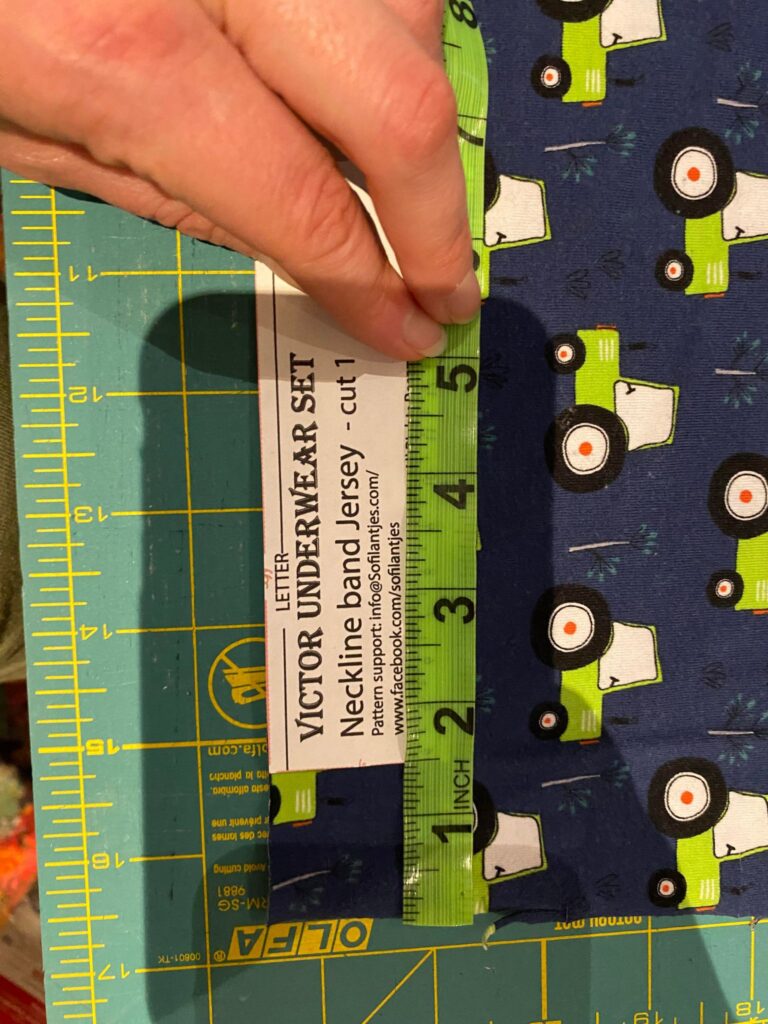
May I introduce you to all the options of the Victor Underwear? The undershirt has three different types of bands. Bias band, ribbing band, or jersey band. It also has a cute chest pocket. The boxer short has two waistline options—encased elastic, visible elastic, and ribbing or jersey waistband. The leg options are hemmed long, hemmed short, or cuffed.
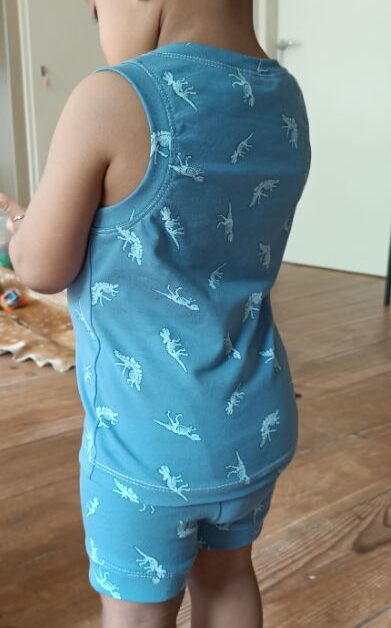
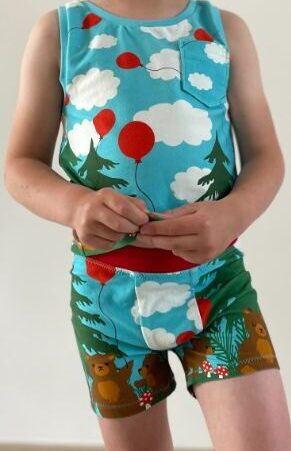
Undershirt: Jersey bands Boxers: Jersey waistband and cuffed legUndershirt: Jersey bands. Boxers: Ribbing waistband and ribbing cuffed legUndershirt: Jersey bands. Boxers: Visible elastic waistband and hemmed long legUndershirt: bias bands. Boxers: Jersey waistband and short hemmed legUndershirt: Jersey bands. Boxers: Jersey waistband and hemmed short leg
We usually do not show modeled pictures of underwear on our website. But since these pictures cover the body completely, I’m making an exception. If you need more modeled examples, you can just follow this link to our Facebook group.
BandsLong hemmed with visible elasticHemmedHemmed with visible elasticWe love the chest pocket!
Last but not least, we have a few more options for you. Use the code Victor and get a 20% discount (expires June 5 CET) on the Brevis Shorts or Domi Sweatpanst pattern.
Looking for even more fun? Create a Jumpsuit using the Domi sweatpants. Follow THIS tutorial or add a henley placket to the undershirt using THIS tutorial.
Combine with DomiCombine with BrevisCreate a JumpsuitAdd a henley placket
Get the Victor underwear pattern on sale for €4, excluding taxes, until June 5, 00.00 CET/ June 4, 6 pm EST.
Simone Lukkassen is here to teach you how to sew a henley placket. This placket is sewn to the Victor pattern. Follow the steps below to sew your own.
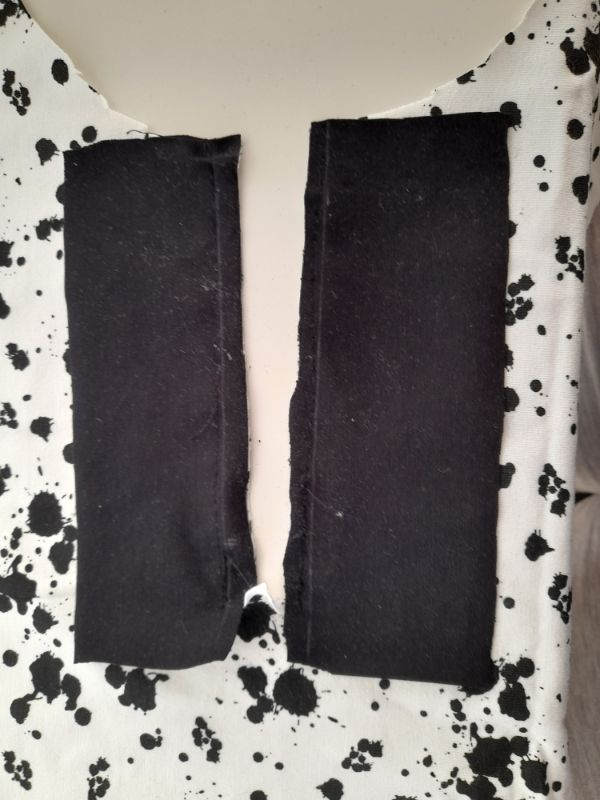
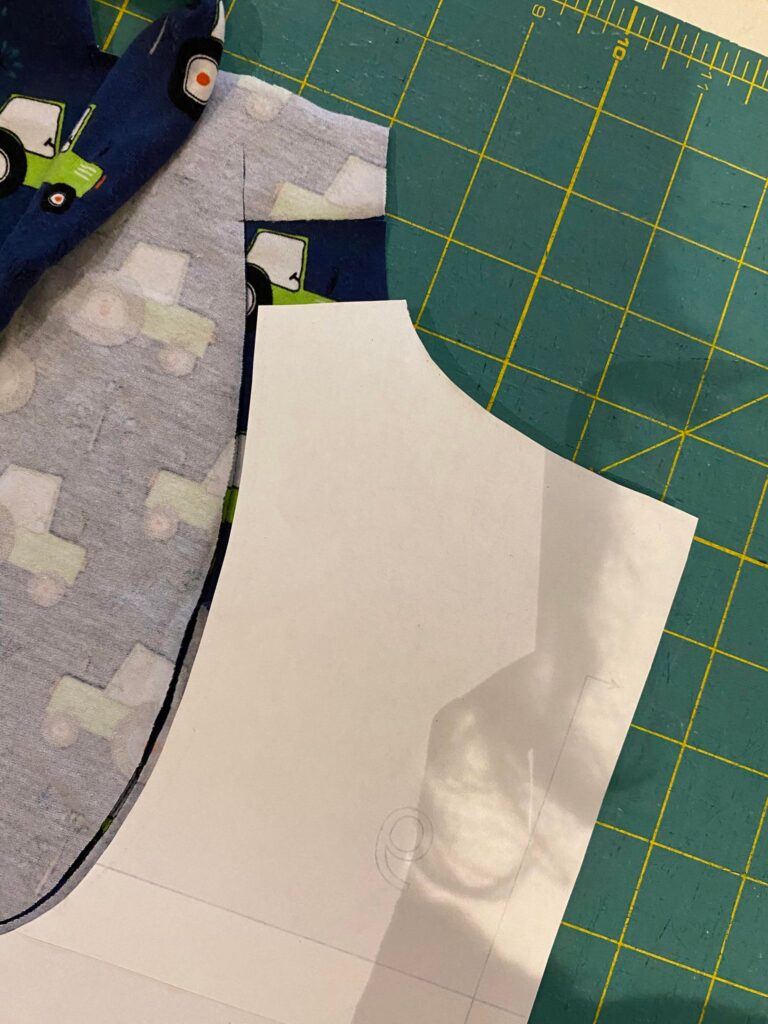
Print the pattern piece: Henley closure (can be found below) and choose your size. Cut the placket 2x and press interfacing. Copy the length lines of the pattern piece to your placket pieces. Cut the front and back bodice of the Victor undershirt and widen the shoulder seams by 3/4″- 2 cm for a more bold effect.
Find the centre of the front neckline and add a vertical marking.
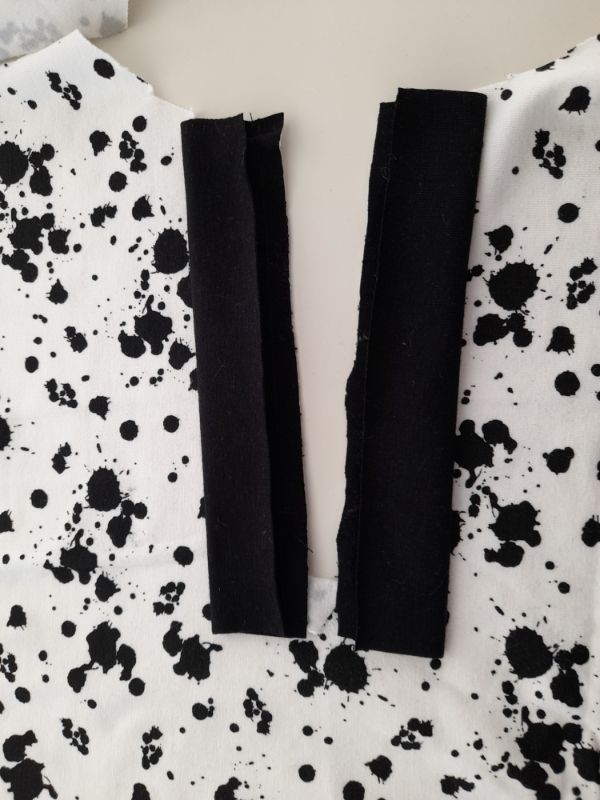
Place the first placket to the right of the center marking, right sides together. Sew directly on the first vertical line you tranfered from the pattern piece. Stop sewing 3/4″- 2 cm above the bottom edge.
Repeat the previous step for left side placket piece. Note: Do not place the placket pieces tightly together. Make sure there is approx. 3/4″- 2 cm space between the two sewn lines.
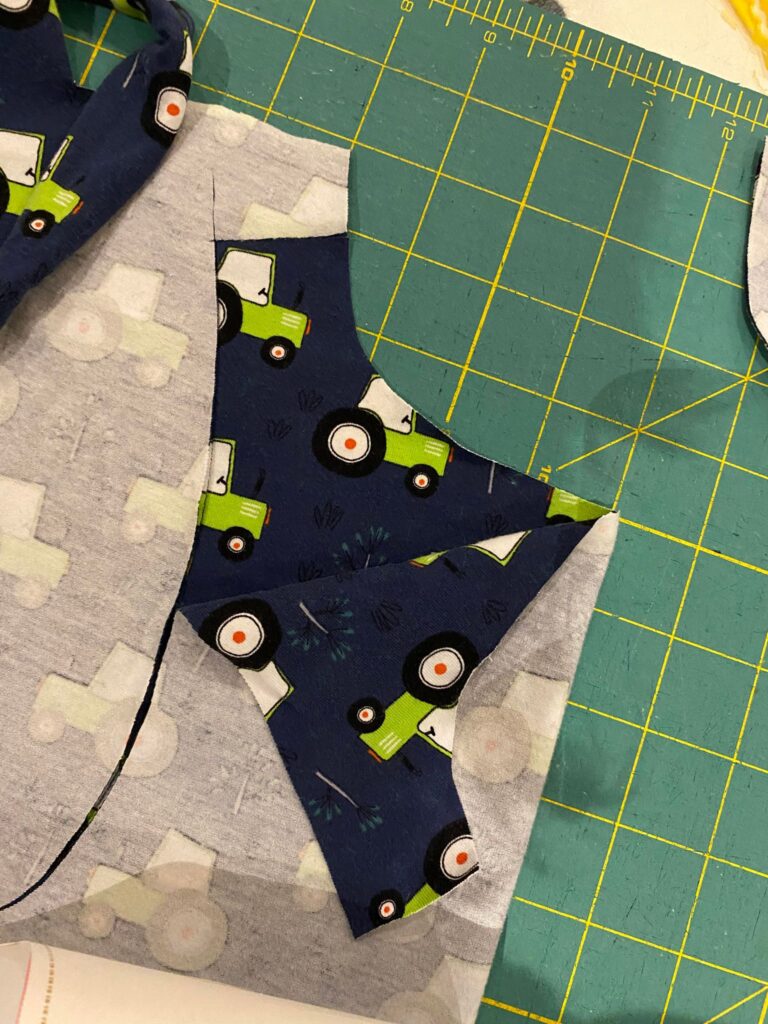
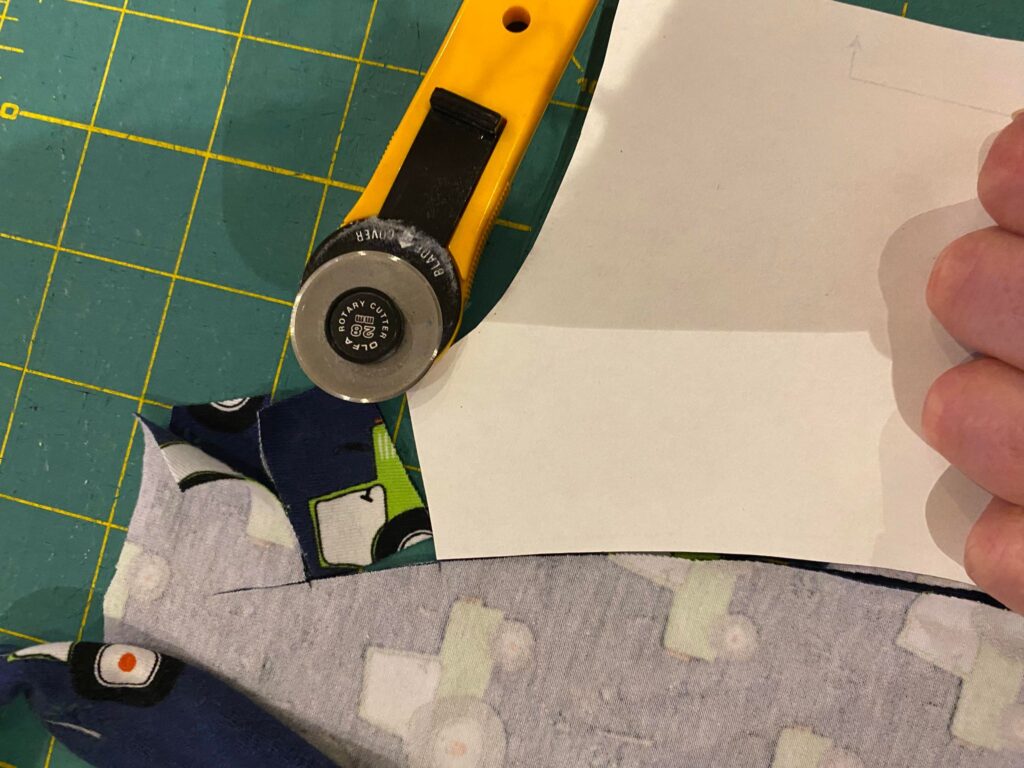
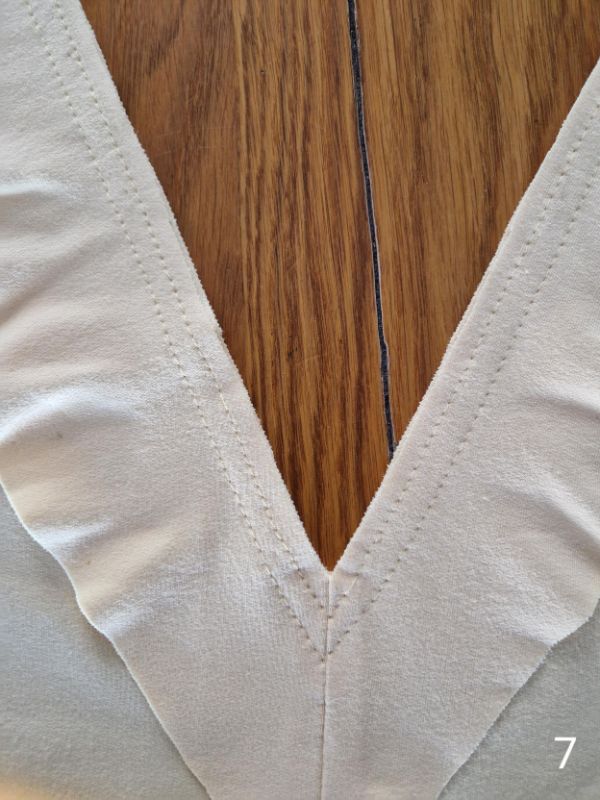
Draft a horizontal line between the bottom stitches and cut the front piece to about 3/4″ – 2 cm from that line.
From there, cut a V-shape in the direction of the bottom stitches. Trim the long sides to about 5mm.
Fold and press the pieces flat on the front bodice and towards the seam. Fold the bottom placket (left) to the centre front just over the seam that you used to secure the parts to the front piece (step 1 and 2). Secure with pins or wondertape and stitch 2mm from the edge. Sew to 3/8″- 1 cm from the bottom edge.
Fold the overlap (right part) right sides together and sew a horizontal line. Trim the seam allowance.
Turn the bottom edge of the overlay to the right side. Make sure it stays well in the middle of the front piece. Topstitch the overlay 2 mm from the edge. Sew a square at the bottom of the closure. Start 2 cm from the bottom edge.
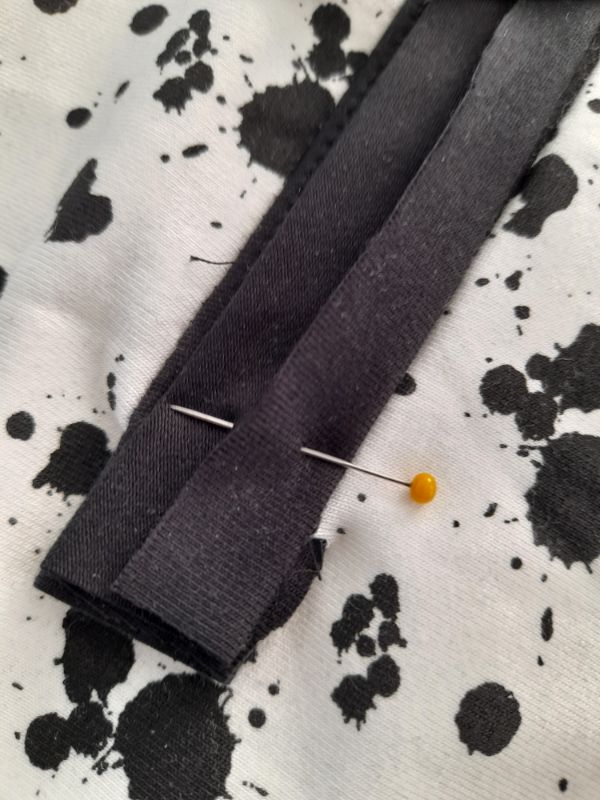
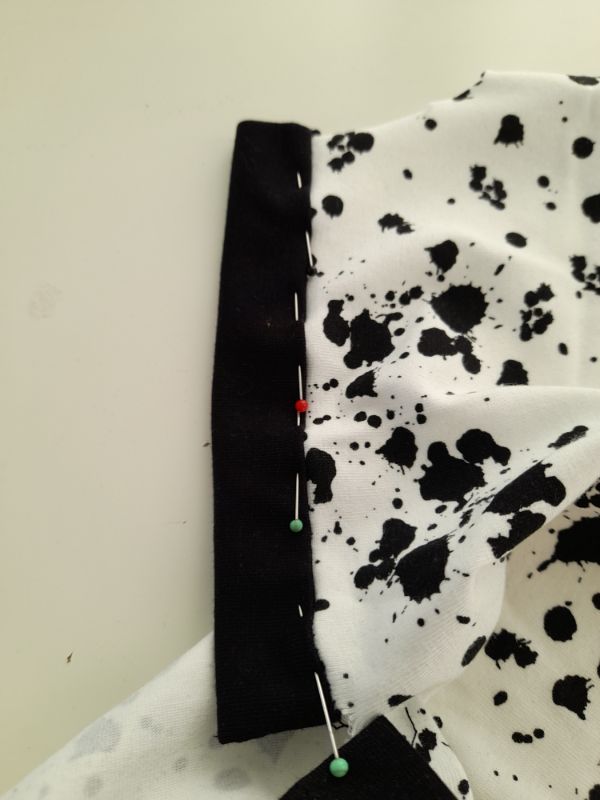
Place the necklineband along the neckline and sew 1 long edge right sides together. Sew slow to make sure the neckline fits. Leave 3/8″- 1 cm protruding on the left and right sides.
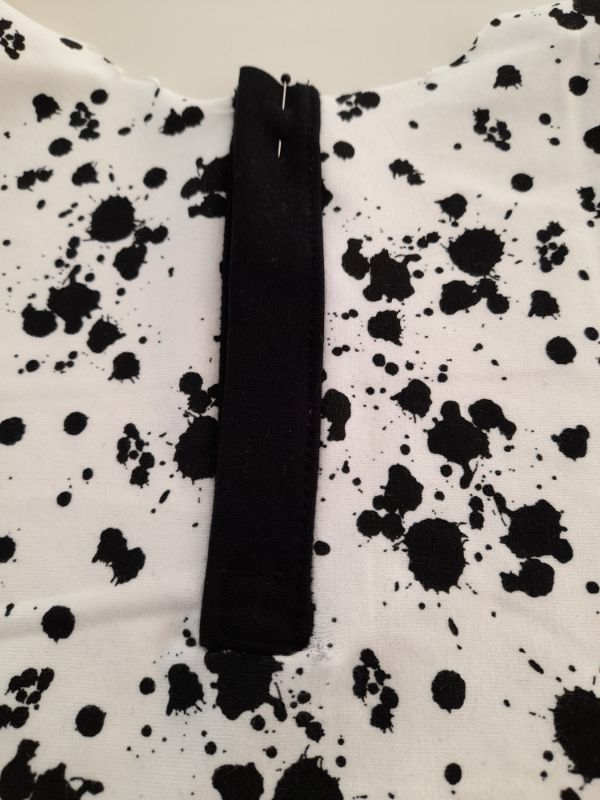
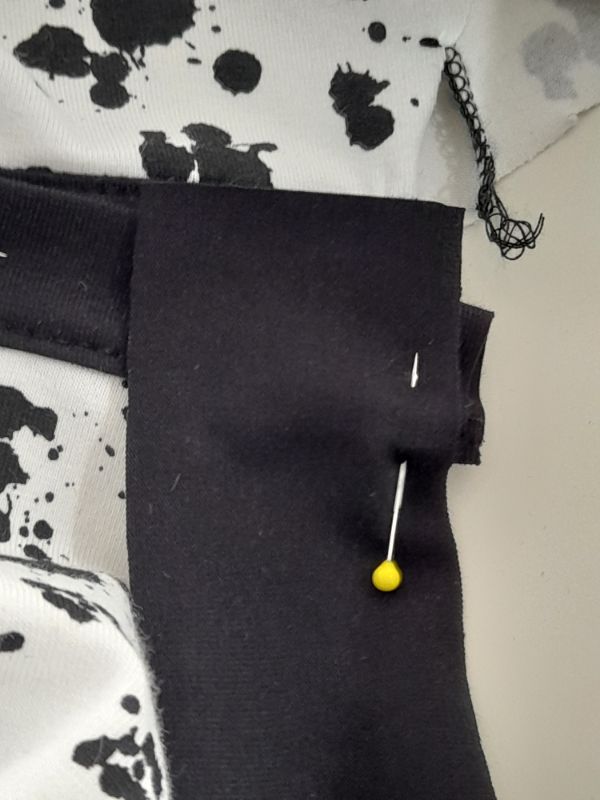
Fold the neckline over right sides together. Sew the short side 3/8″- 1 cm from the edge. Do this on both sides. Turn the neckline over again and press out the corner.
Pin the long open edge to the starting seam of the neckline. Secure with a twin needle or coverlock. Again, stretch gently so that the neckline fits. Press and put on buttons or kamsnaps and enjoy!
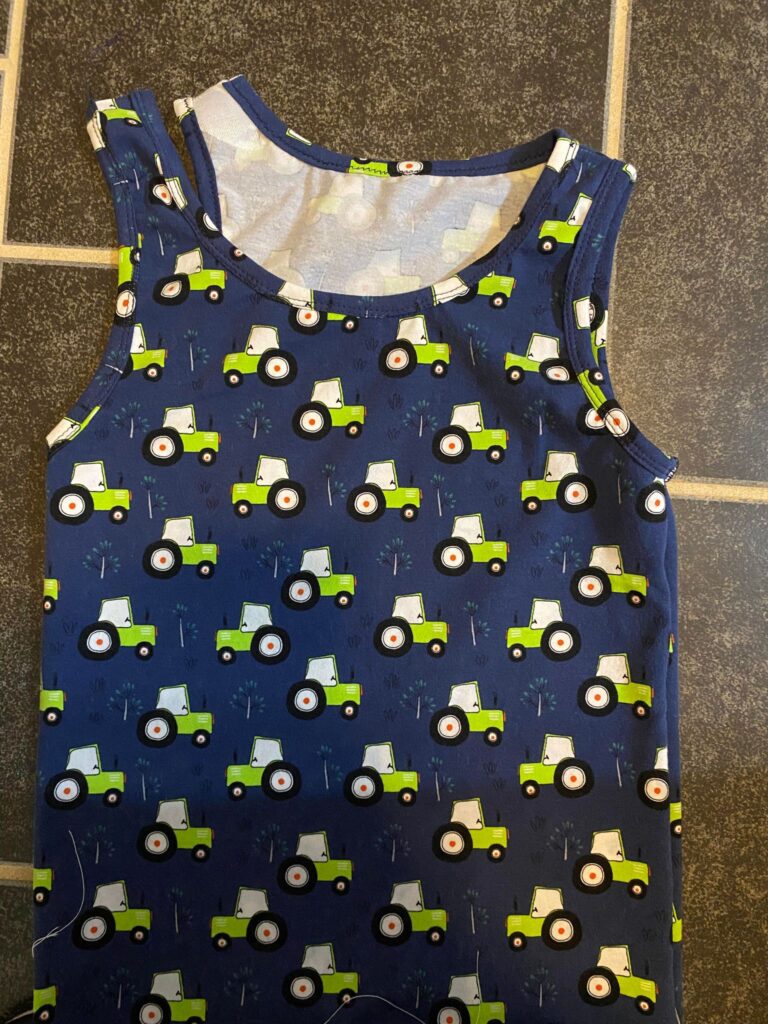
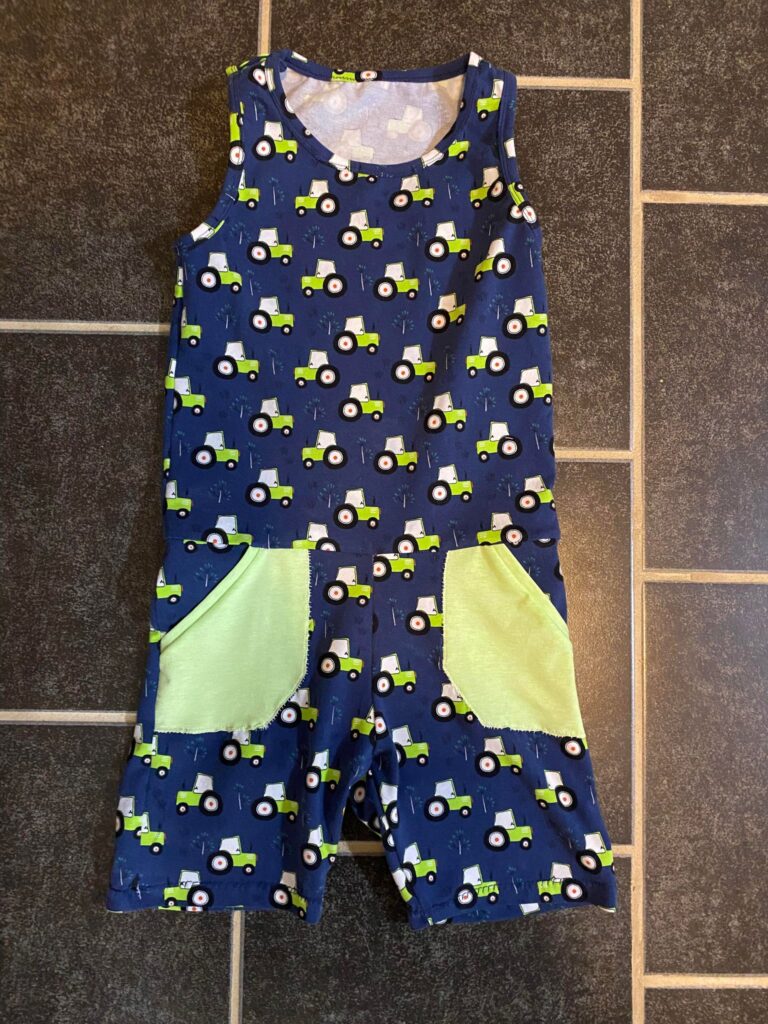
Marrie Claude is here to teach you how to sew a Victor/Domi Jumpsuit.
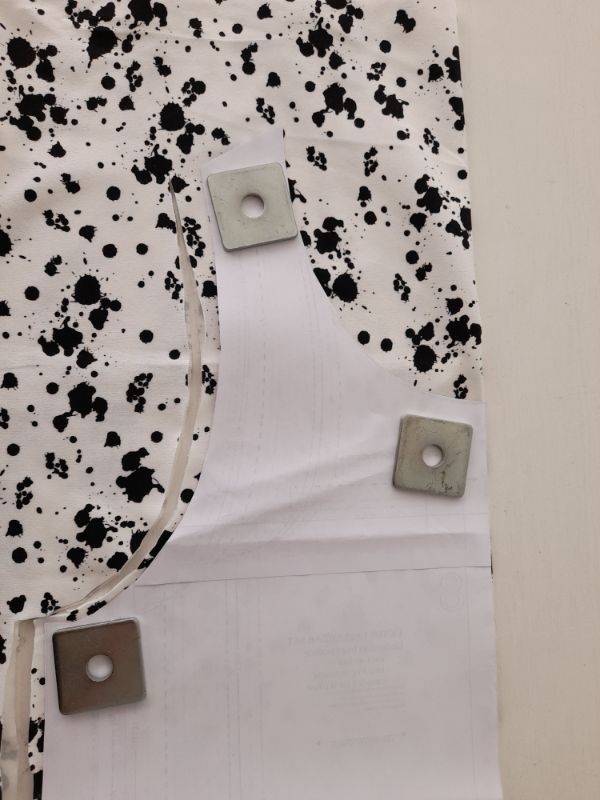
Add 1 inch- 2.5 cm length to one shoulder so you’ll have ¾ inch – 2 cm to fold at the end.
2. Cut following the angle of the shoulder.
3. Cut the other shoulder following the original pattern. That shoulder will be sewn as written in the Victor instructions.
4. Repeat step 2 and 3 for the back bodice.
5. Make sure you cut the extra inch – 2.5 cm on the mirrored shoulder of the front bodice.
6. Add length to one armhole band. I added 75% of the inch – 2.5 cm that I added on both sides of the shoulder so 1,5 inch – 4 cm total.
7. Repeat step 6 for the neckband.
8. Press interfacing on both sides of the longer shoulder to prepare for the snaps or buttons.
9. Sew the short shoulder and divide the neck in 4 equal parts.
10. Sew your bias or band on the neckline. Raw ends with raw ends of shoulder.
11. Place front and back right sides together and sew the side seams.
12. Sew the closed armhole as written in the Victor instructions and sew the open shoulder with instructions below.
13. Fold the raw end of both sides by ¾ inch – 2 cm to the wrong side of the fabric. Topstitch.
14. Apply snaps or buttons.
15. Your top part is now done.
16. Sew Domi sweatpants following the instructions of that pattern.
Tip! Before sewing both parts together, measure a jumpsuit that already fits on your model to know how mmucht take off on the top. For size 5, I took off 1,5 inch – 4 cm.
Arina is here again to share a great modification with us. Adding a ruffle to the V-shape of the Volare Sweater is right on trend. This style is something I see a lot in the store. Now you can make your own. Follow the directions below, and do not forget to show us your result in our Facebook group or tag us on IG (@Sofilantjes_anne).
Take the pattern pieces for a 2 piece front piece and take pattern piece 2 for the ruffle.
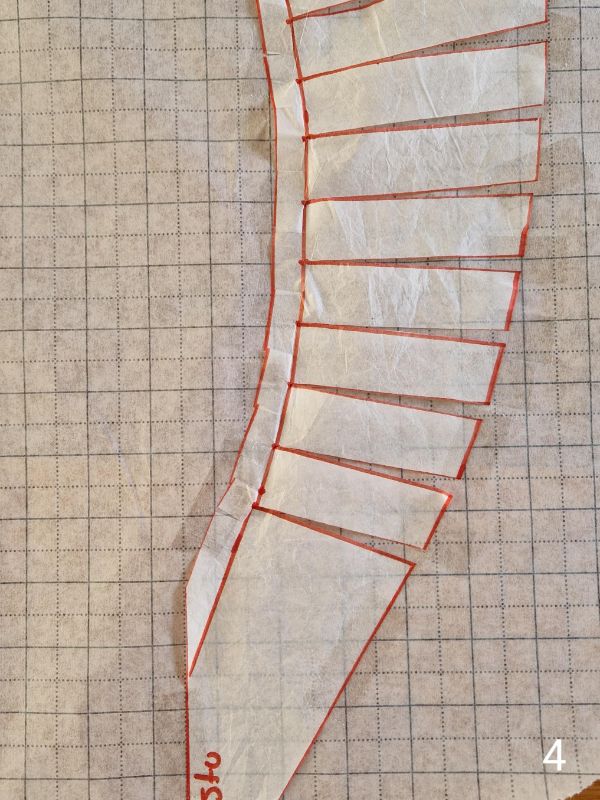
Draw lines of 2 cm on your pattern piece, to about 5 cm above the point and cut these lines to the seam value.
Fold the seam value inward and tape your pattern piece to a new piece of pattern paper. Then you are going to place the cut-in pieces 4 mm apart and glue them in place.
Fold back the seam value, cut in a few times if necessary and also glue in place.
Draw seam value on the side where normally the fabric fold is. You can’t cut your pattern at the fabric fold anymore because of the curve you have in your pattern now.
Place your pattern piece on double fabric, cut out and sew together. Trim the corners.
Temporarily attach the ruffle to the lower part of your front.
From now on, sew the pattern as in the instructions
As a fan of Sofilantjes pdf pattern you own them all. Or maybe not all but a lot of them. But now you have a challenge, you are lost in this large pdf pattern library that you own. What pattern to sew for spring, we hear you asking yourself. We have the answer. All of them! Kidding.
In spring we personally prefer dresses with sleeves. Either half, ¾ or long sleeves are our favorite. So what choices are there? Lets select the dresses that have a separate skirt. This means that these dresses have a seam in the waist. If your child does not like that, sew her a singlet using our Link underwear pattern.
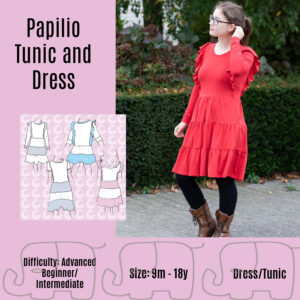
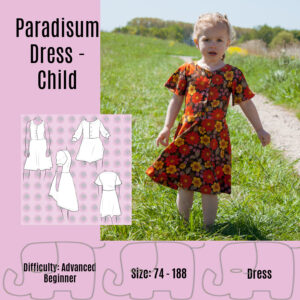
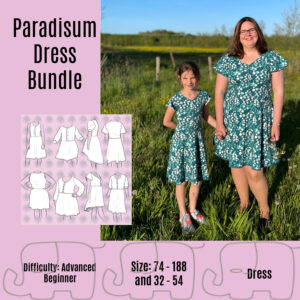
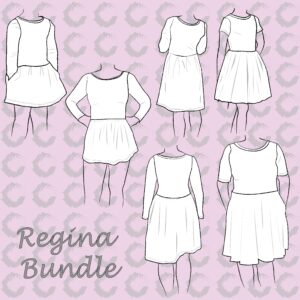
Lets talk options. First up is our Papilio dress. This is our newest dress pattern and features a great colorblock with ruffle option. Another lovely option is our Paradisum dress. The wider sleeves and button front are so comfortable. Or maybe our bestseller, the Regina dress. You can never go wrong with a classic.
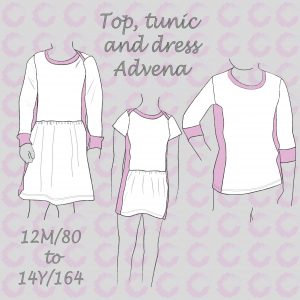
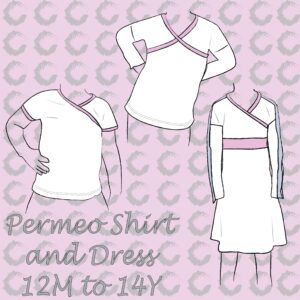
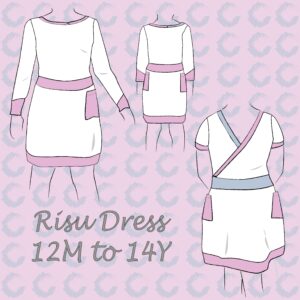
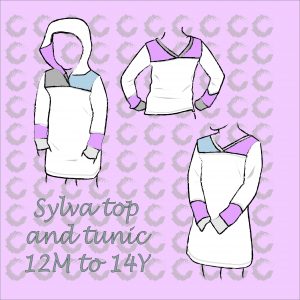
Do you prefer a faux wrap dress? Try the Permeo dress. This one has many options. Or the Risu dress with the faux wrap at the back. And not a faux wrap but it has an envelope shoulder: the Advena dress. Full of fun details. Oh, and do not forget the Sylva dress. This one is amazing with the cross over option and the button option with hood!
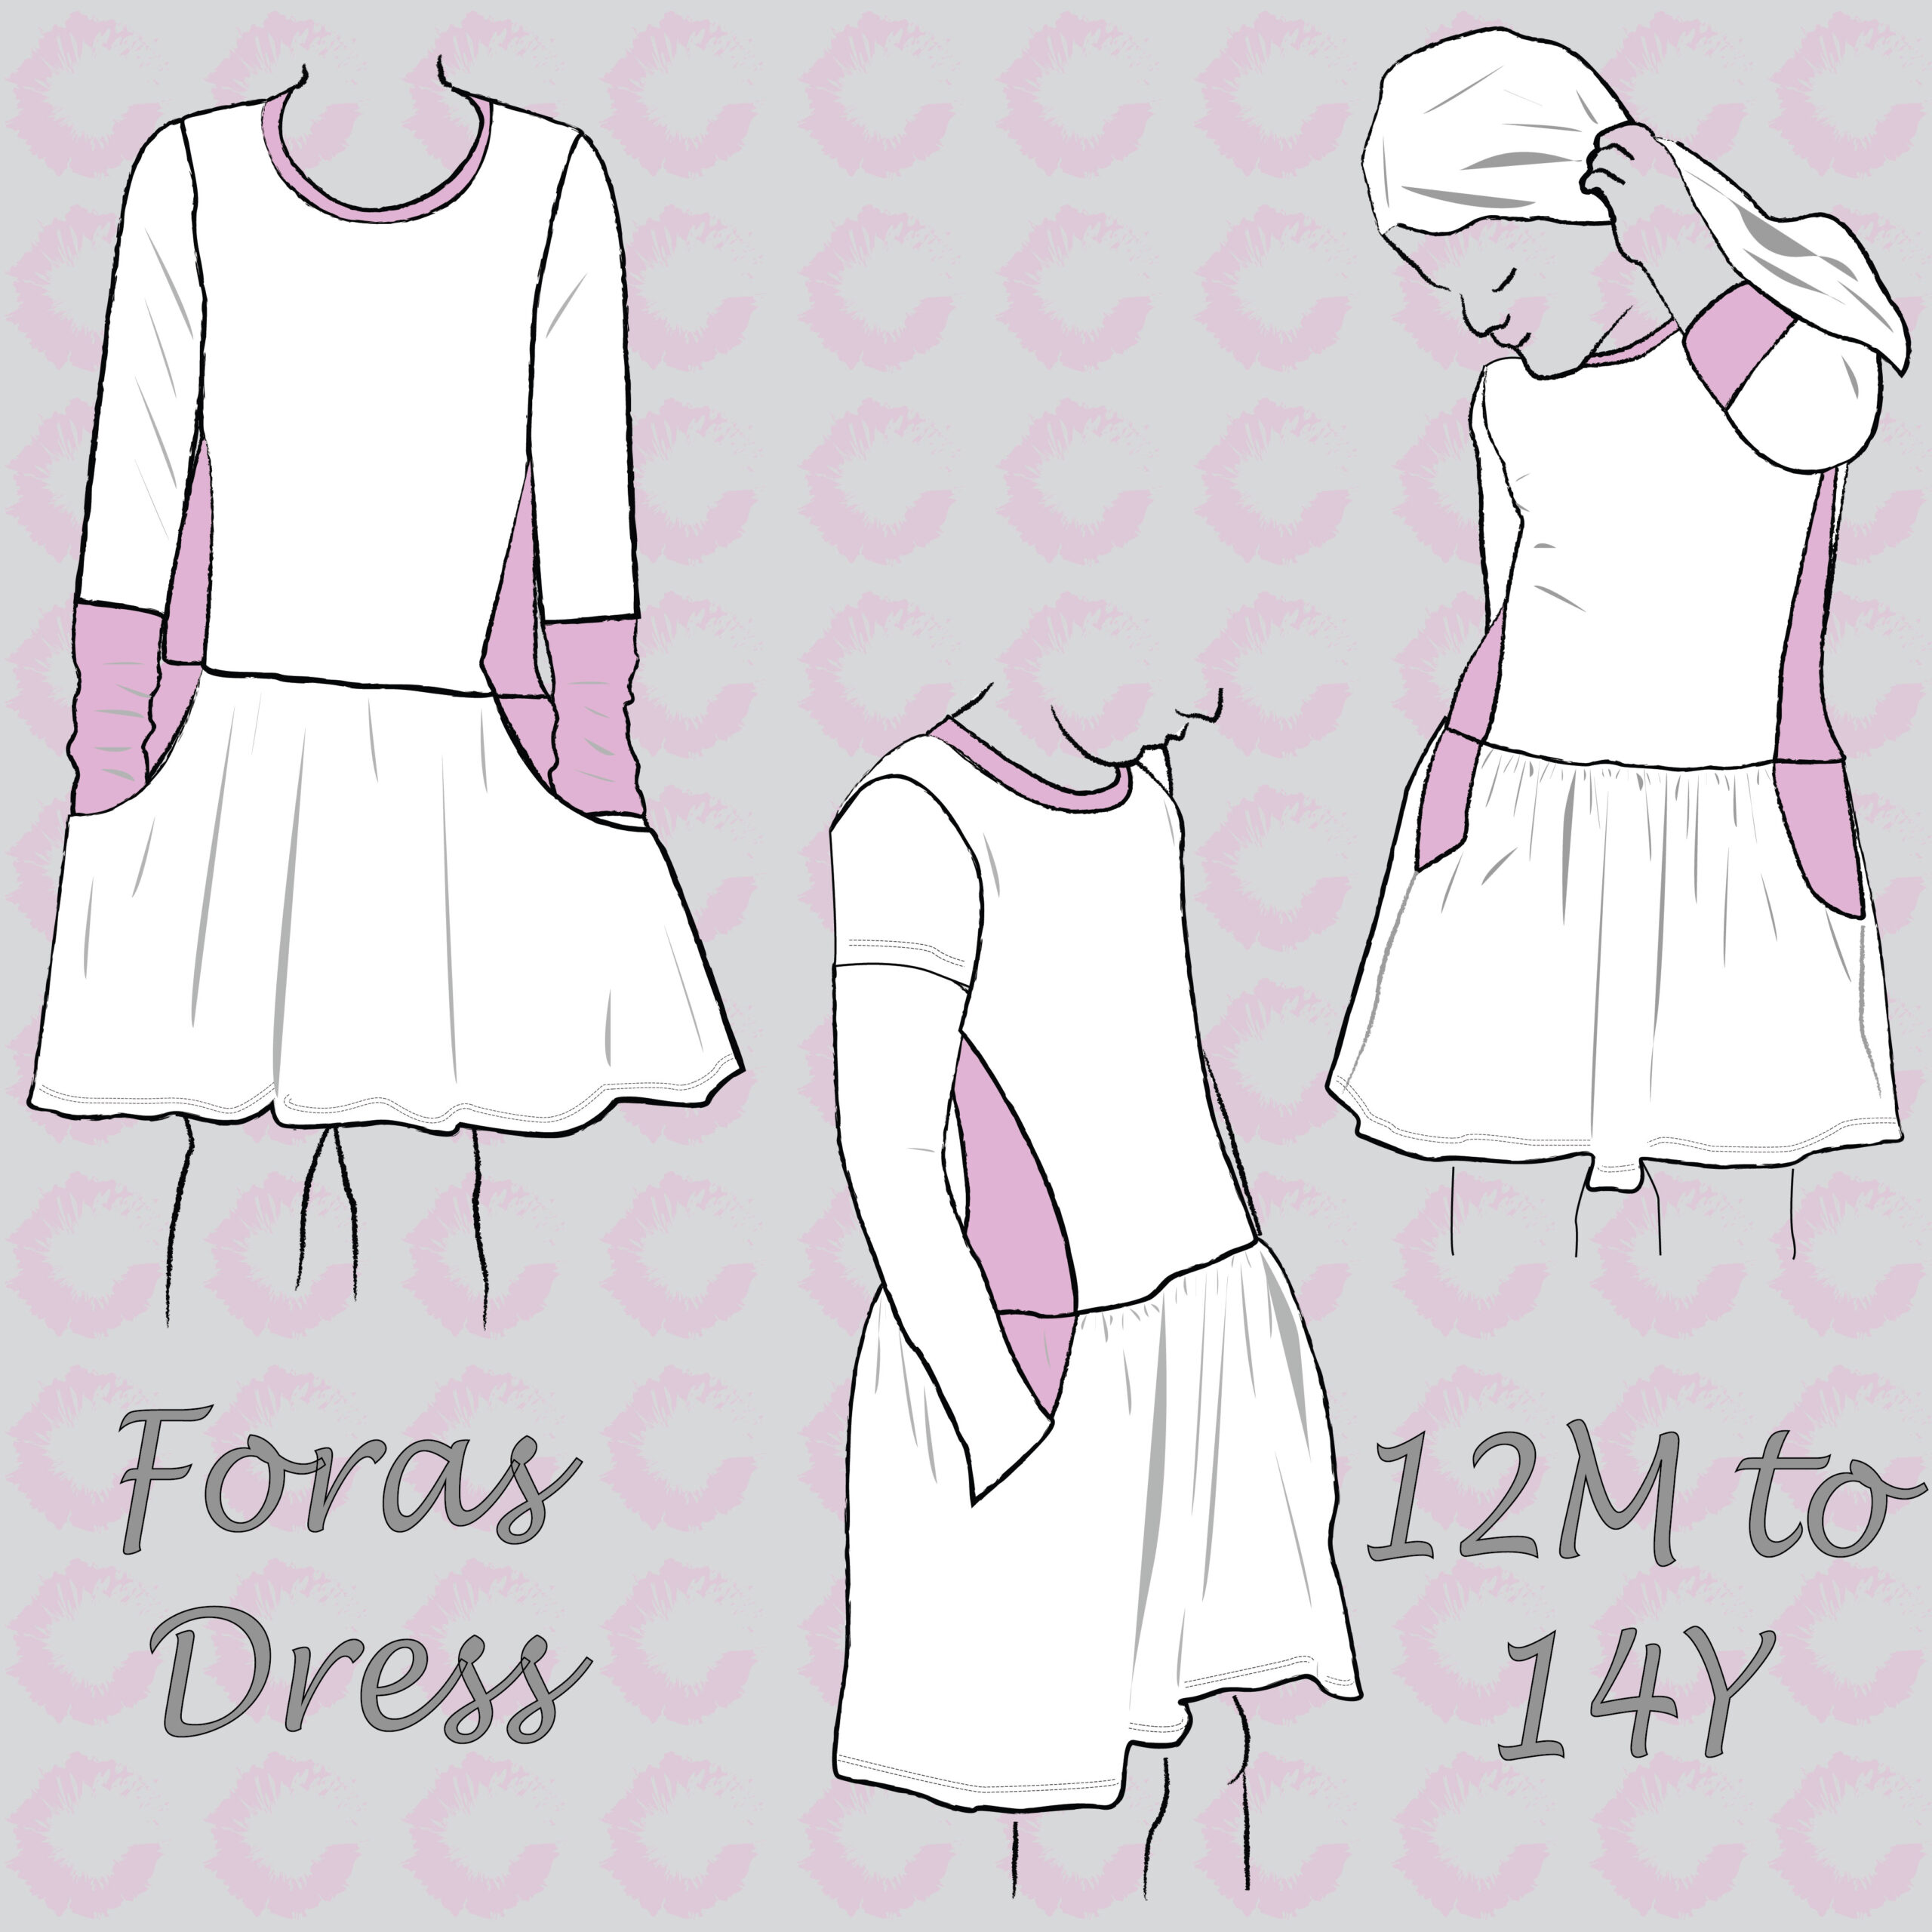
Do you prefer a good colorblock? Sew the Via dress. This pattern is also a great scrap buster. I hear a great new years resolution is being fulfilled. The foras has a beautiful round colorblock. And do not skip our Ferias dress. With its beautiful V-shaped back.
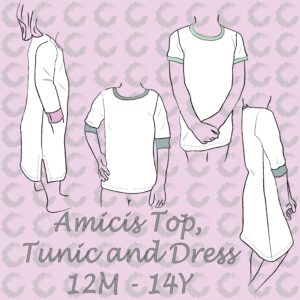
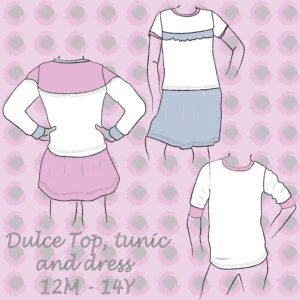
We have a few more to show you. First the Amicis dress. Looking for a great basic with loads of length options, the Amicis is your friend. The Dulce dress is the sweetest pattern out there. Add the ruffles, they look amazing. Or sew a Vivax dress. With the coloblock neckline or the original collar you have so many options to sew.
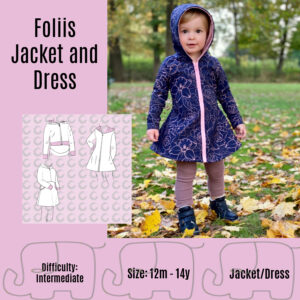
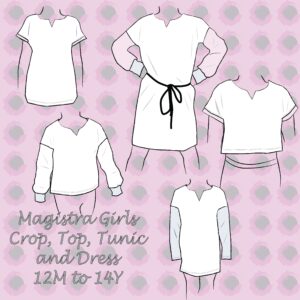
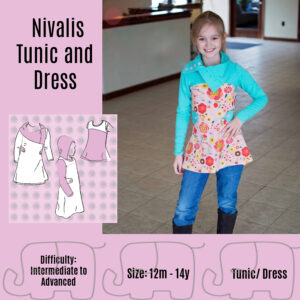
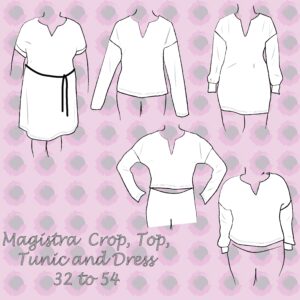
Ok, we have two more to show you. These are our personal favorites. The Foliis dress, is one to challenge you. Are you afraid of zippers? Don’t be. It’s really very easy ones you try it. And we’ll teach you step by step. The Magistra dress however is one to sew in bulk. It’s that easy. And the loose fit is amazingly comfortable. Last but not least the Nivalis dress. One of our first and most amazing dresses out there.
So what will it be? Have you chosen yet? Or were you looking to twin? Use the patterns below and create a mommy and me wardrobe. Enjoy your sewing time.
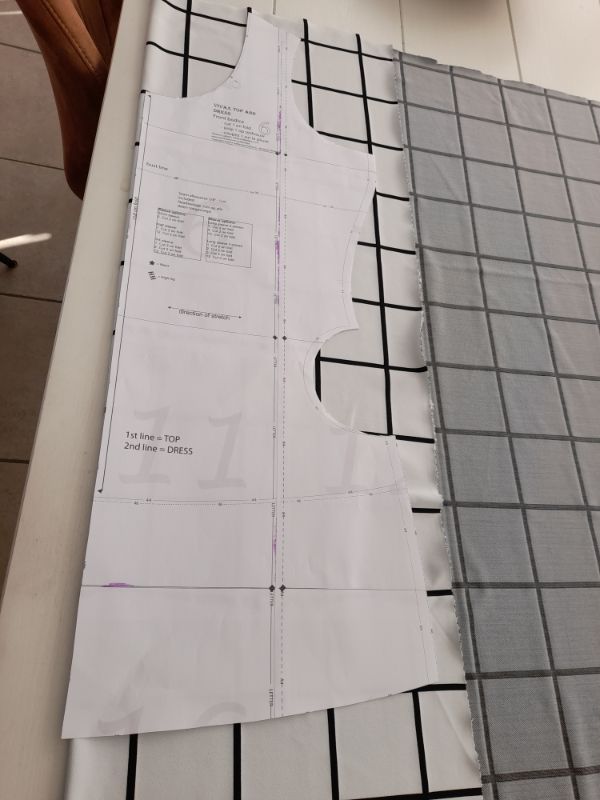
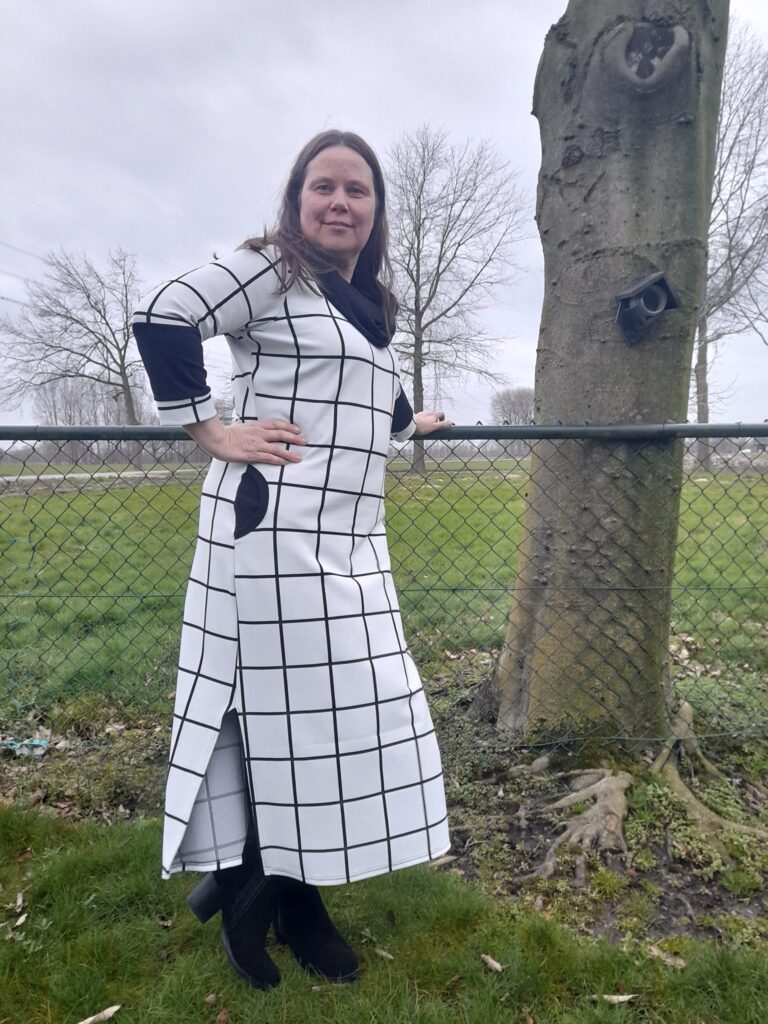
We’d like to that Simone Lukkassen fot this fun and short Vivax maxi dress tutorial. It’s that easy to mash two patterns together. We love it!
Place your pattern, as you normally do, against the fabric fold. This applies to the front and back panel.
If you have the Amicis pattern, lay it on top of the Vivax pattern. Make sure the arm openings are aligned. If you do not have the Amicis pattern, extend the length using a tape measure.
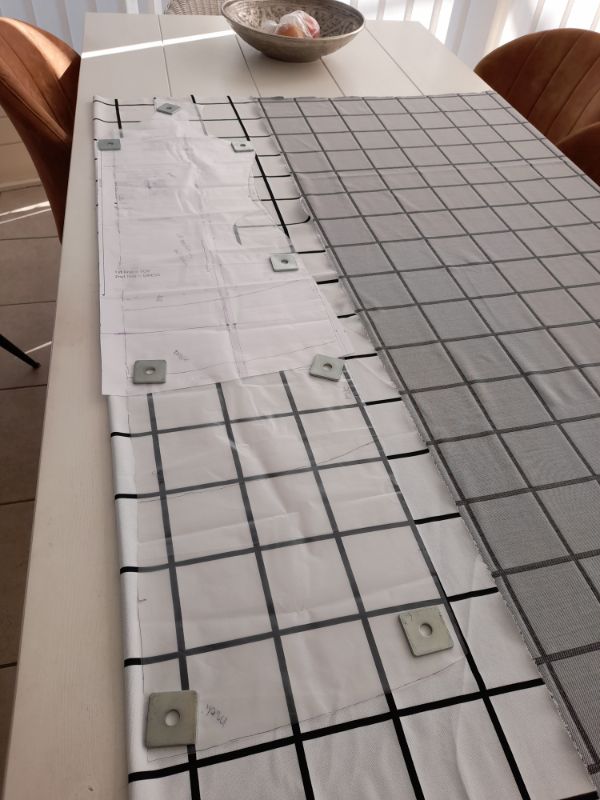
Be sure to secure both patterns to prevent them from shifting. Pay close attention to the high hip point. It should be straight. You have to cut a piece off there. And then cut and sew following the instructions of both patterns.


