Simone Lukkassen is here to teach you how to sew a henley placket. This placket is sewn to the Victor pattern. Follow the steps below to sew your own.
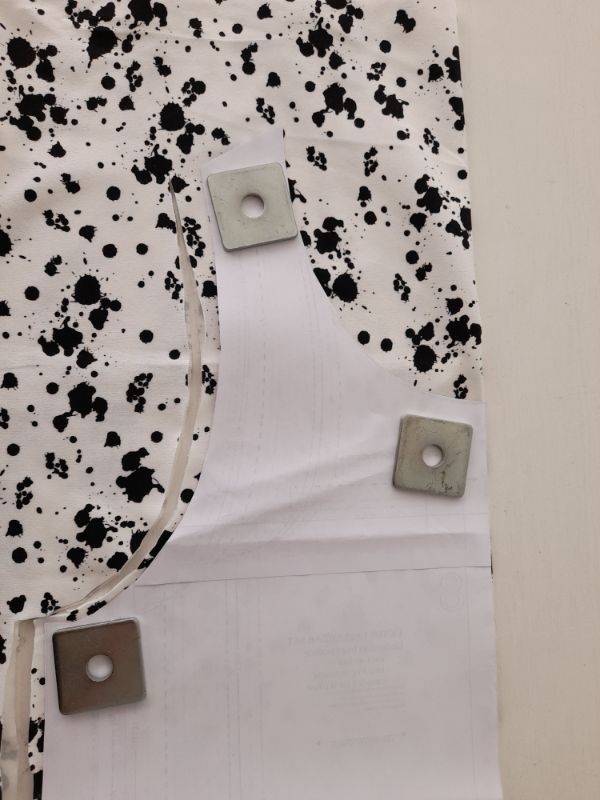
Print the pattern piece: Henley closure (can be found below) and choose your size. Cut the placket 2x and press interfacing. Copy the length lines of the pattern piece to your placket pieces.
Cut the front and back bodice of the Victor undershirt and widen the shoulder seams by 3/4″- 2 cm for a more bold effect.
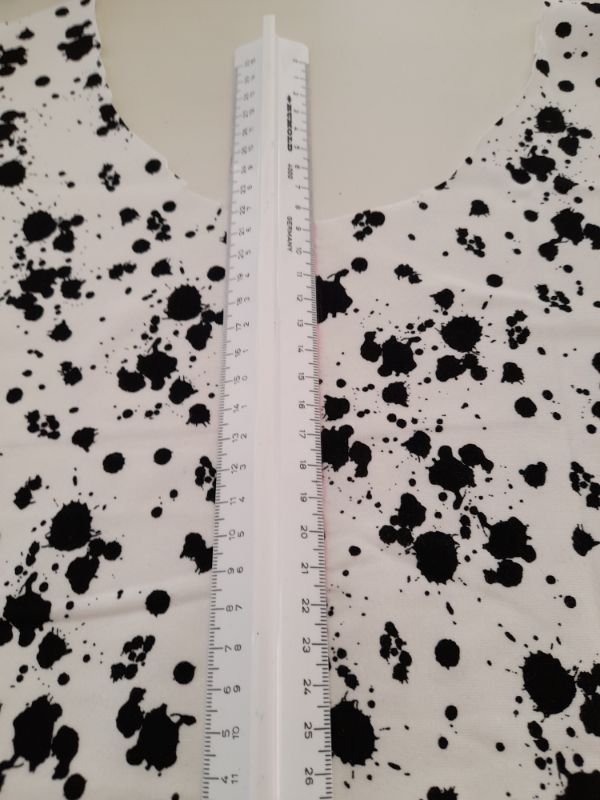
Find the centre of the front neckline and add a vertical marking.
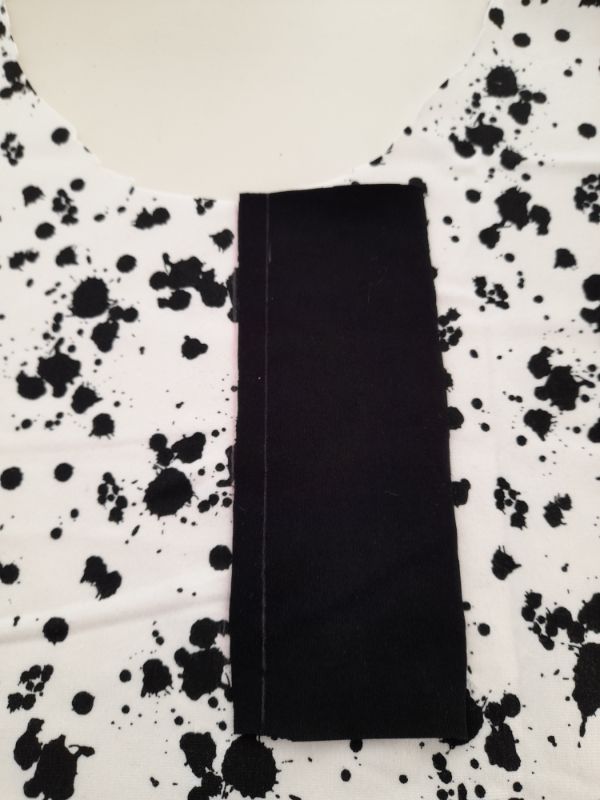
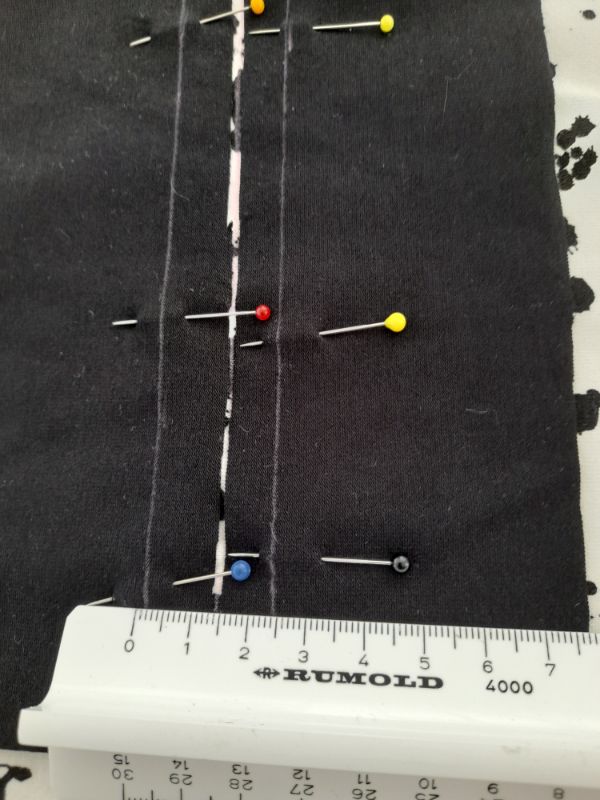
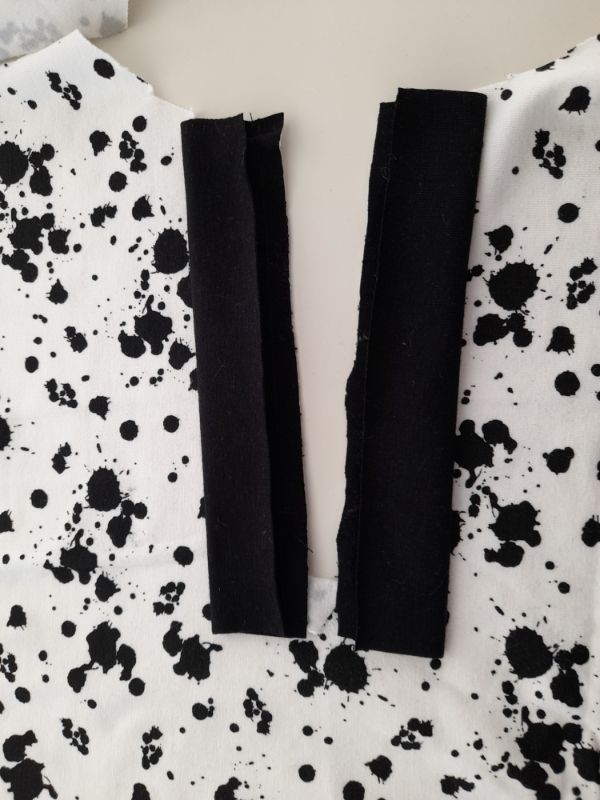
Place the first placket to the right of the center marking, right sides together. Sew directly on the first vertical line you tranfered from the pattern piece. Stop sewing 3/4″- 2 cm above the bottom edge.
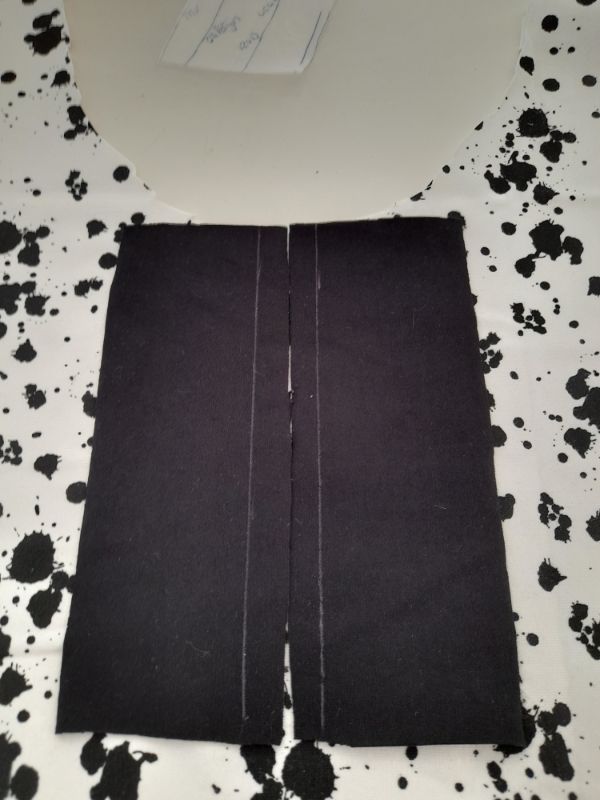
Repeat the previous step for left side placket piece. Note: Do not place the placket pieces tightly together. Make sure there is approx. 3/4″- 2 cm space between the two sewn lines.
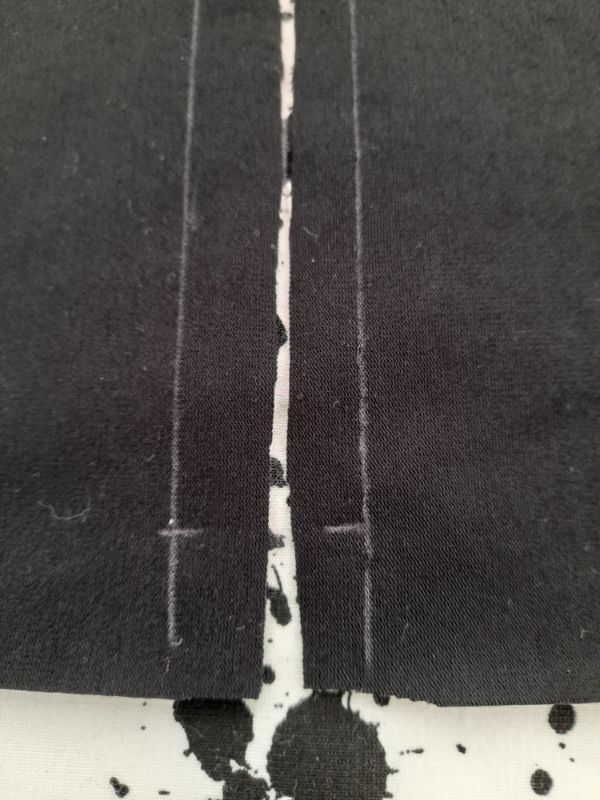
Draft a horizontal line between the bottom stitches and cut the front piece to about 3/4″ – 2 cm from that line.

From there, cut a V-shape in the direction of the bottom stitches. Trim the long sides to about 5mm.
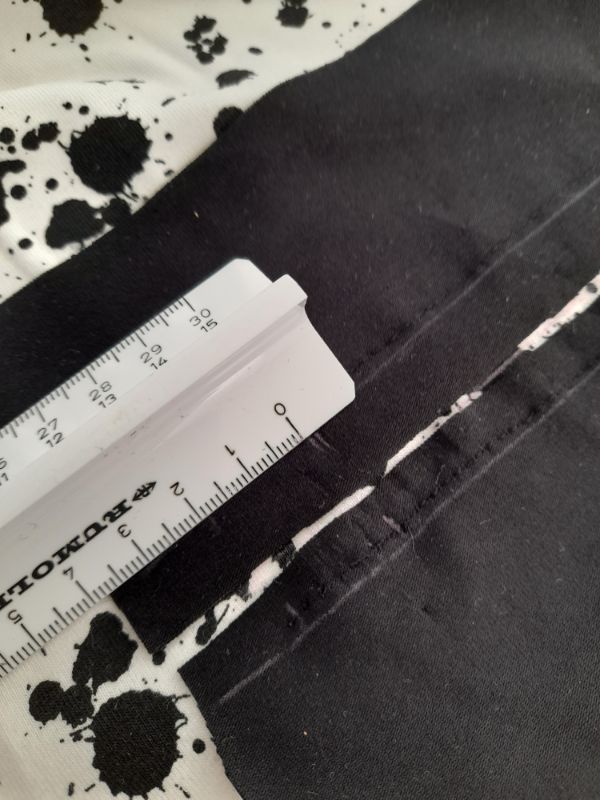
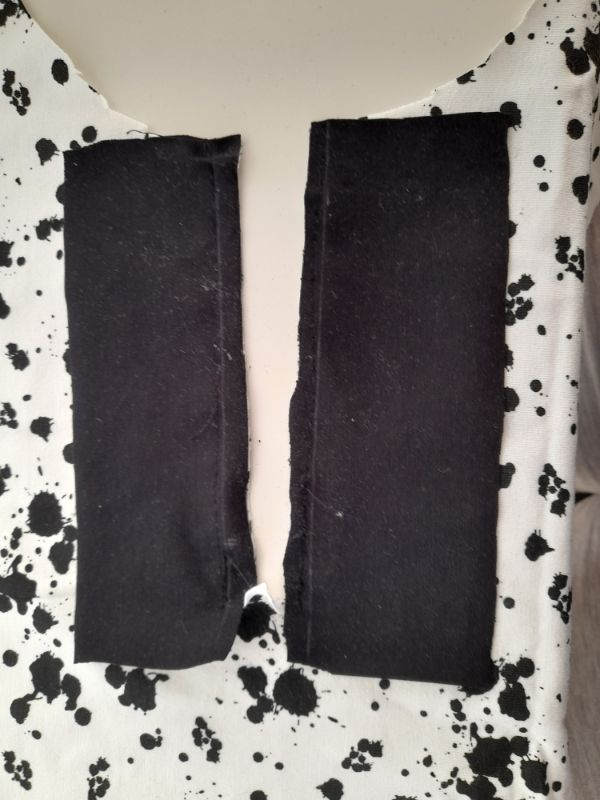
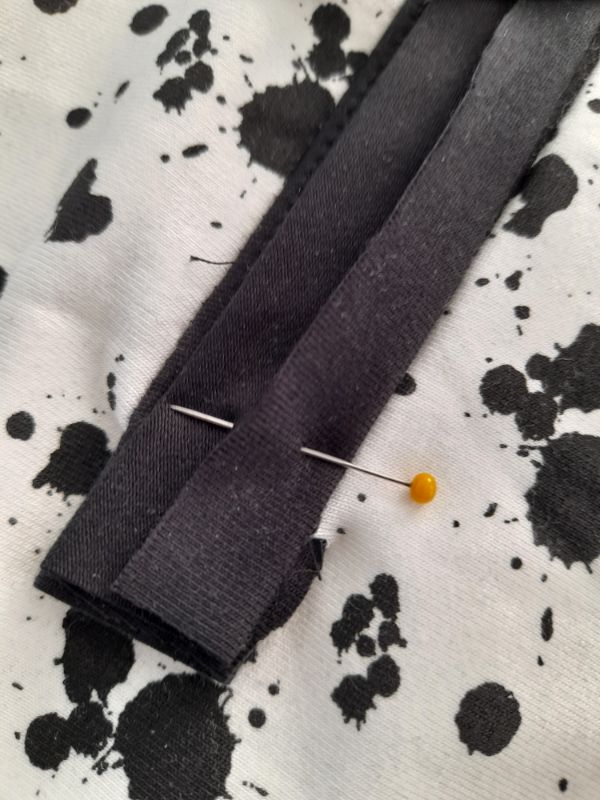
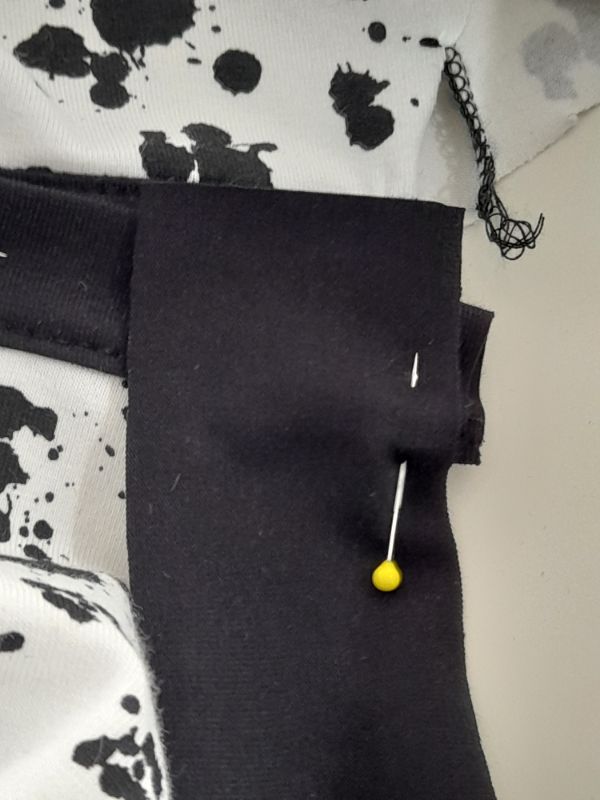
Fold and press the pieces flat on the front bodice and towards the seam. Fold the bottom placket (left) to the centre front just over the seam that you used to secure the parts to the front piece (step 1 and 2). Secure with pins or wondertape and stitch 2mm from the edge. Sew to 3/8″- 1 cm from the bottom edge.

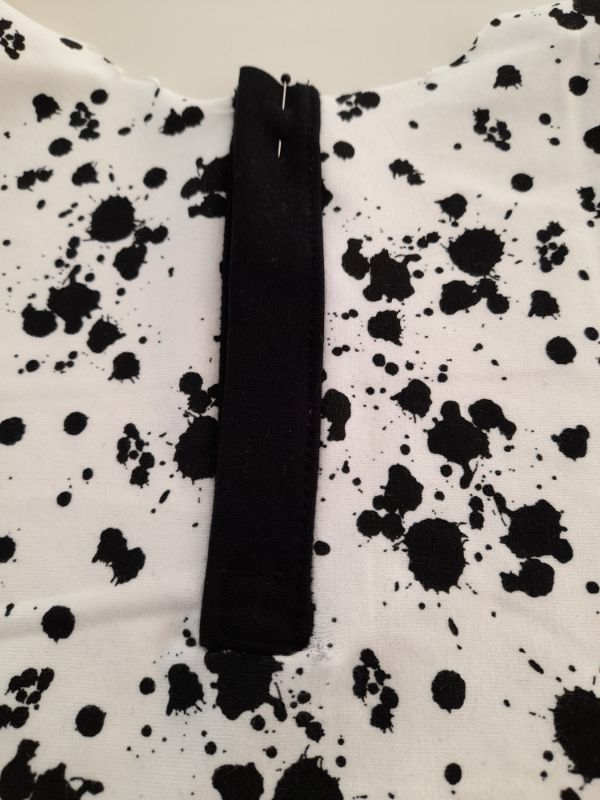
Fold the overlap (right part) right sides together and sew a horizontal line. Trim the seam allowance.

Turn the bottom edge of the overlay to the right side. Make sure it stays well in the middle of the front piece. Topstitch the overlay 2 mm from the edge. Sew a square at the bottom of the closure. Start 2 cm from the bottom edge.
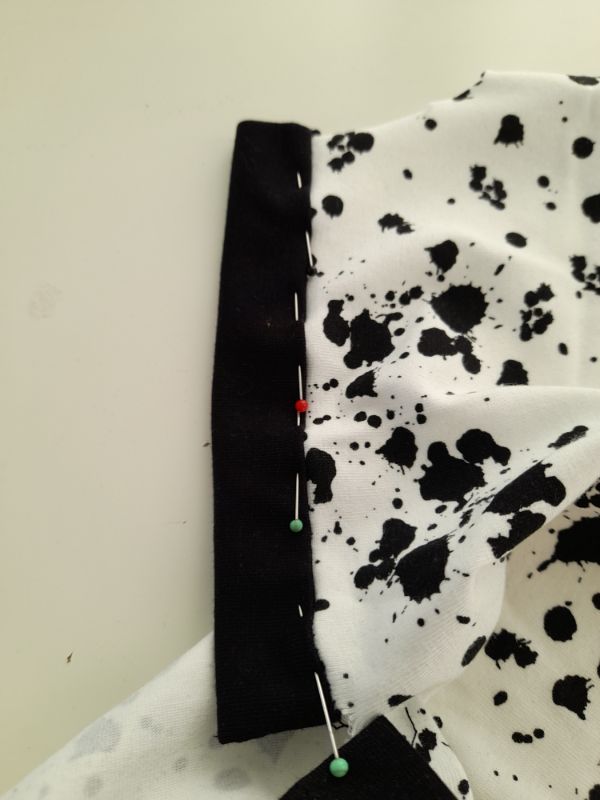
Place the necklineband along the neckline and sew 1 long edge right sides together. Sew slow to make sure the neckline fits. Leave 3/8″- 1 cm protruding on the left and right sides.

Fold the neckline over right sides together. Sew the short side 3/8″- 1 cm from the edge. Do this on both sides. Turn the neckline over again and press out the corner.

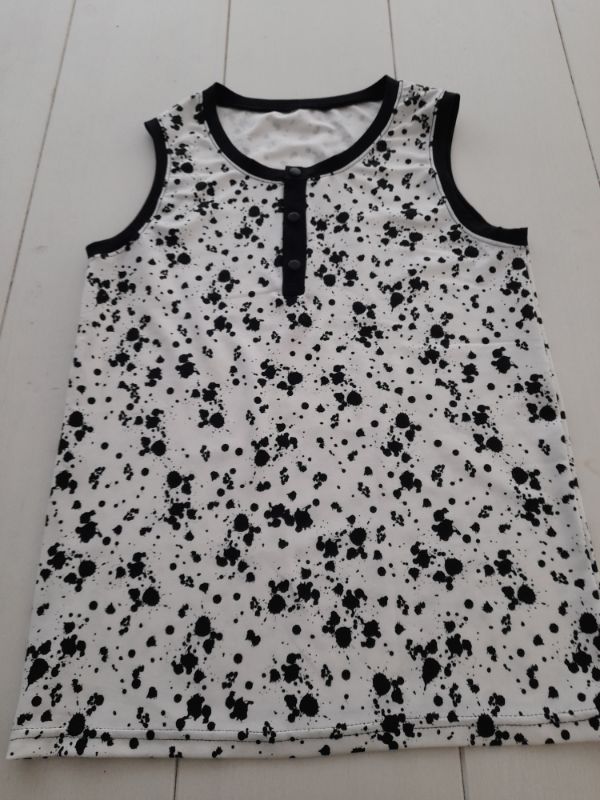
Pin the long open edge to the starting seam of the neckline. Secure with a twin needle or coverlock. Again, stretch gently so that the neckline fits. Press and put on buttons or kamsnaps and enjoy!
You did it!

Buy more save more
(PDF patterns only)
- Spend €25* or more and save 10%.
Use code: SAVE10 - Spend €45* or more and save 20%.
Use code: SAVE20 - Spend €65* or more and save 30%.
Use code: SAVE30
(Sale items excluded)
* Excl. Taxes
Recent comments
Archives

Thank you for visiting
Thank you for visiting our website. This website and all its content are copyright protected. Please ask permission before sharing any pictures or articles, especially when a child is shown in the image.


Leave a Reply