In these times when everything is even more expensive than it already was, saving money on sewing will help. There are several ways to save money on sewing. Read the tips below:
Tip 1. You can save money by purchasing fabric in bulk or when it’s on sale.
Tip 2. Use patterns: Patterns are a great way to create a new garment without having to create the design from scratch.
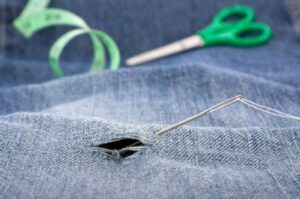
Tip 3. Learn how to repair: Instead of buying new clothes or accessories, you can save money by learning how to repair or refashion your existing items.
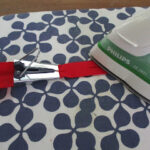
Tip 4. Make your supplies: Make your bias tape, piping, buttons, and thread from fabric scraps.
tutorial Hip Homemade
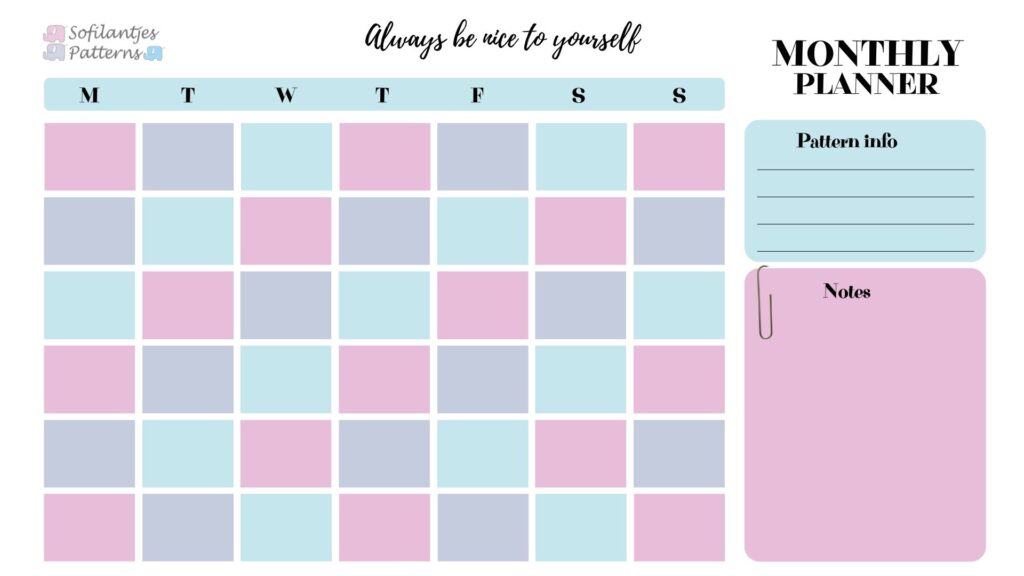
Tip 5. Plan your projects: Before starting a new project, plan it out and make a list of the materials you will need to avoid buying unnecessary items. Download our monthly planner for free to help organize your projects.
Tip 6. Take classes or workshops: Learn from experts and expand your skills. YouTube is a good tool for learning some new techniques for free.
Tip 7. Be creative: Use old clothes, sheets, or other fabrics to make new clothes and accessories.
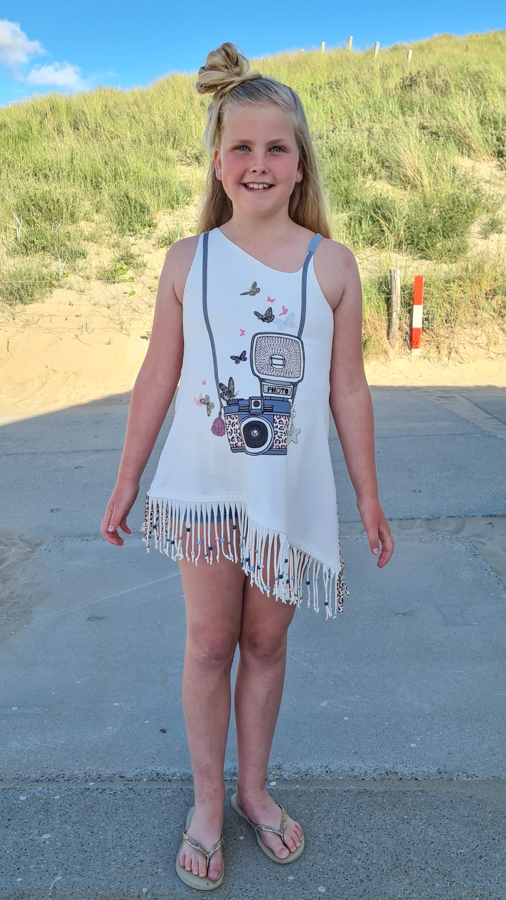
Felix fringe tutorial
By taking these steps, you can save money and create unique, one-of-a-kind items.
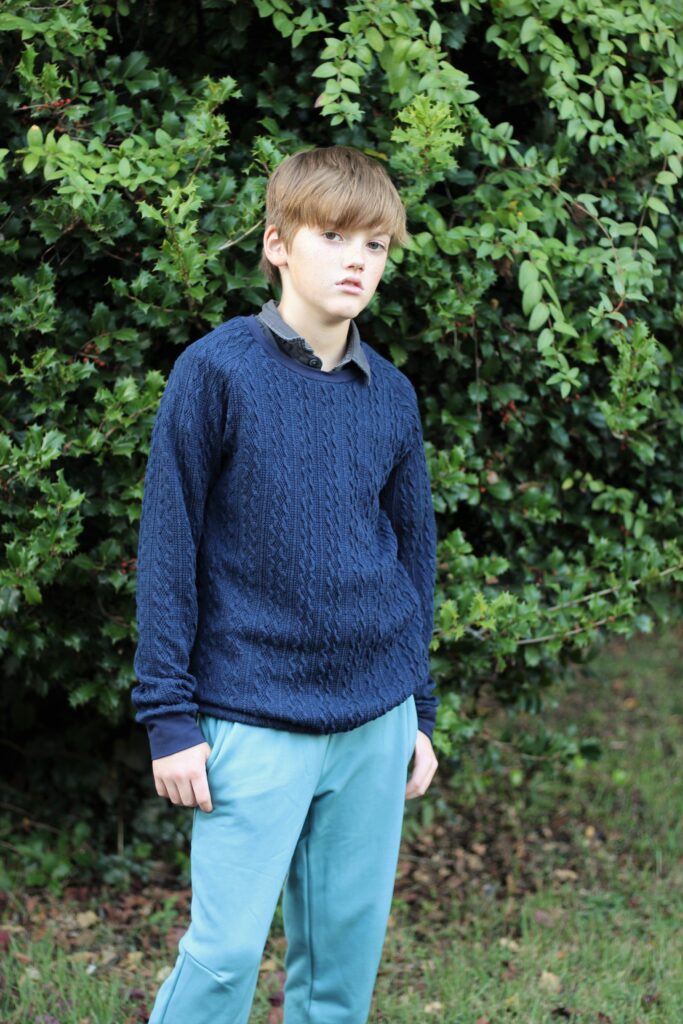
Are you looking for a good sweater for yourself or a family member? Look no further. We have the pdf pattern you need. What’s your poison? Are you looking for a hoody, a simple neckline, a raglan, or regular sleeves? We have them all. And a plus. This month only you get 20% off using the code Sofilantjes20.
Let’s start with hoodies.
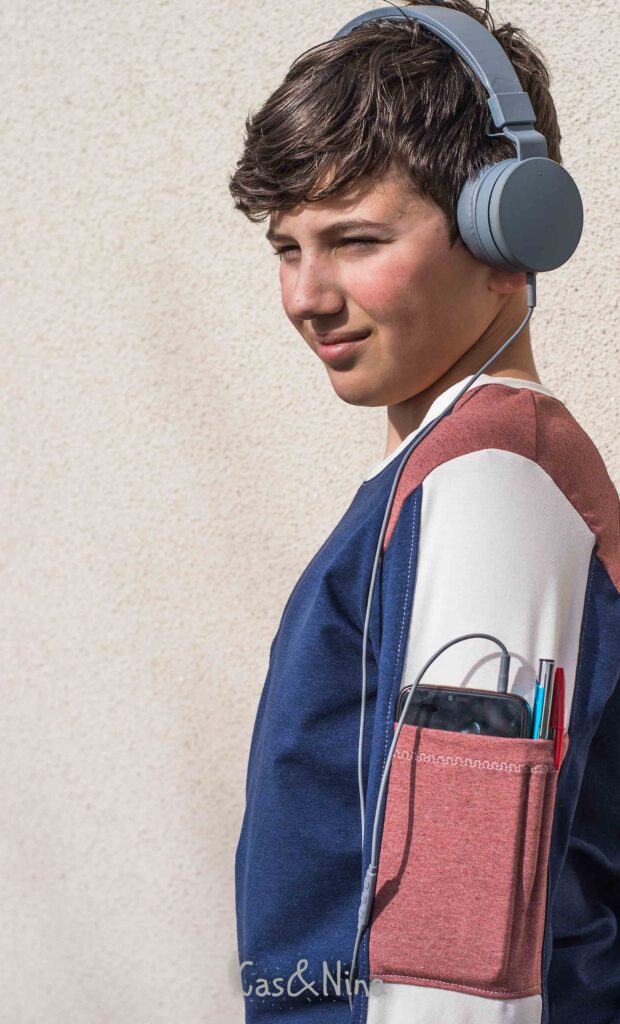
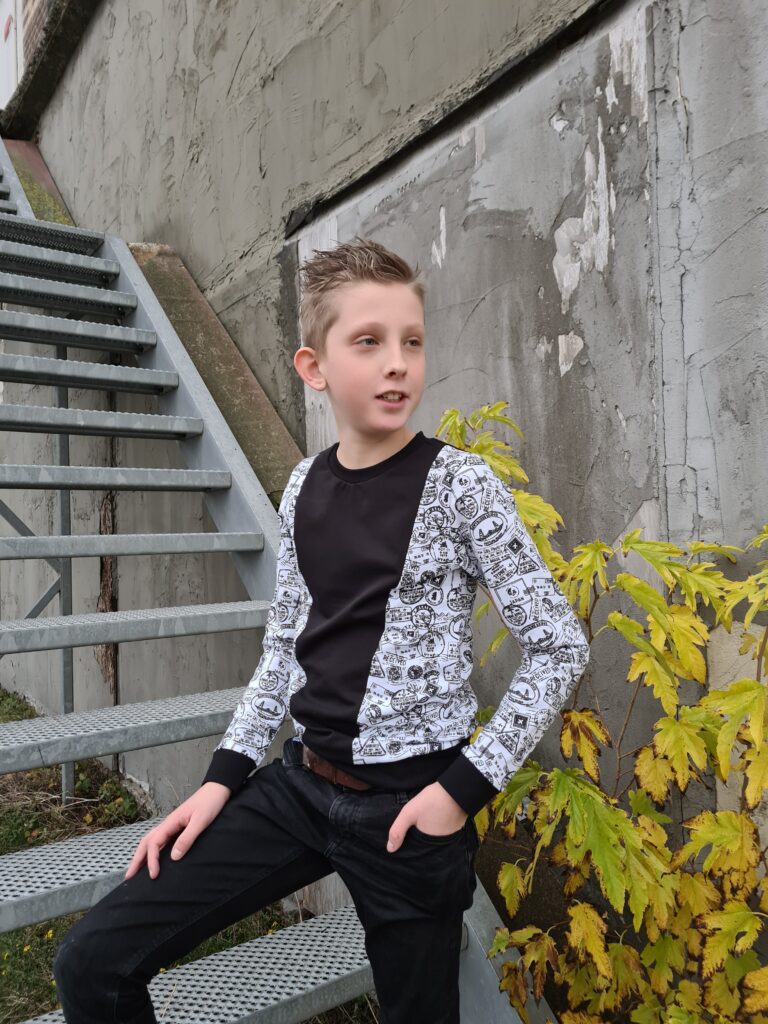
First we have our Velocitas Hoody. This sweater has one hood option and two bodice options. One simple with pocket and one triangle colorblock. The regular sleeves are color-blocked too.
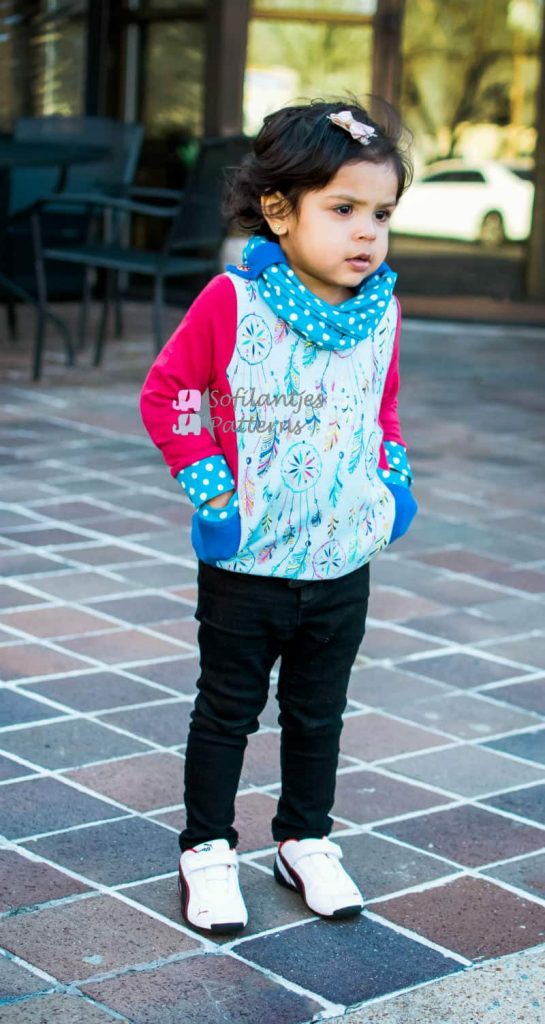
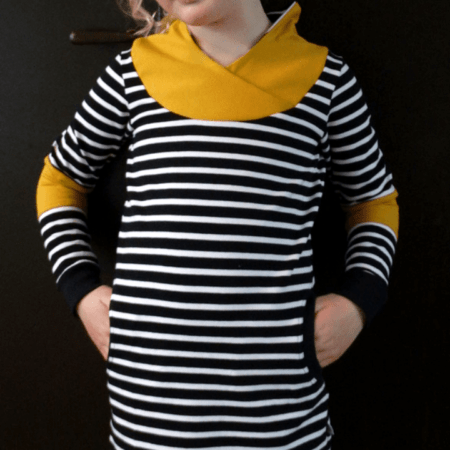
Do you prefer side pockets? Check out our Semper Sweater. This pattern not only has a hood option, it also has a cowl neckline. Our favorite neckline for this pattern. With the side panels that hold big pockets, you can never go wrong. The sleeves are raglan sleeves. Looking for a sweater dress? Use the free dress add-on pieces and voila. Note that this dress add-on can also be used on the other sweaters we have.
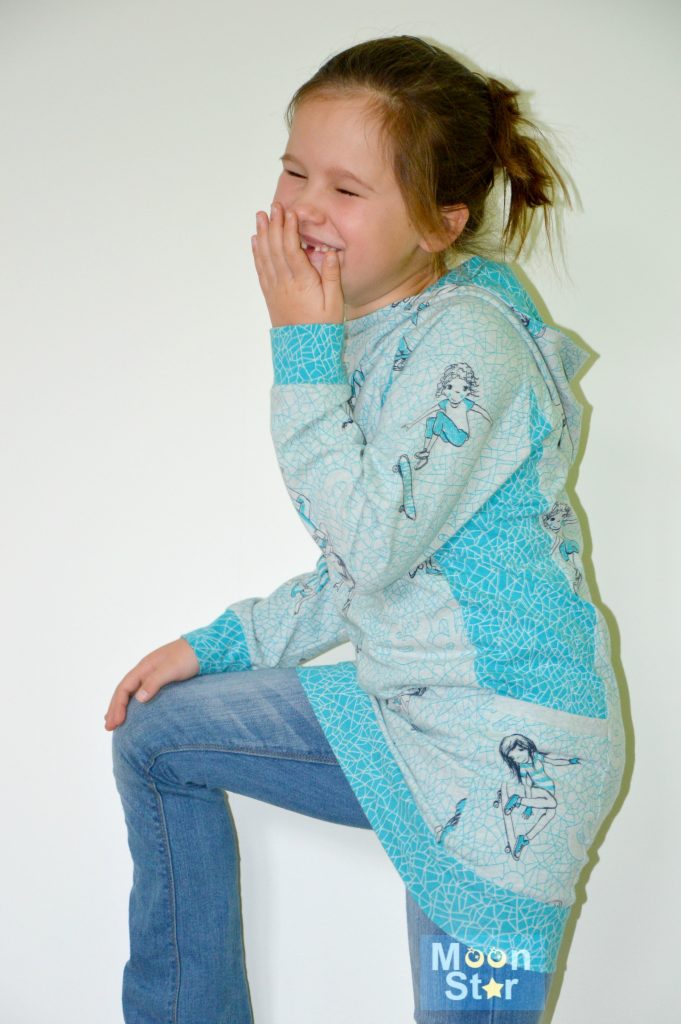
Are you sewing for girls or just want a slimmer option, check out our Hibernis Cowl shirt. No hood but with side panels. A bit different than the Semper Sweater but also very cute. Would you like to know the differences? Check out this blogpost.
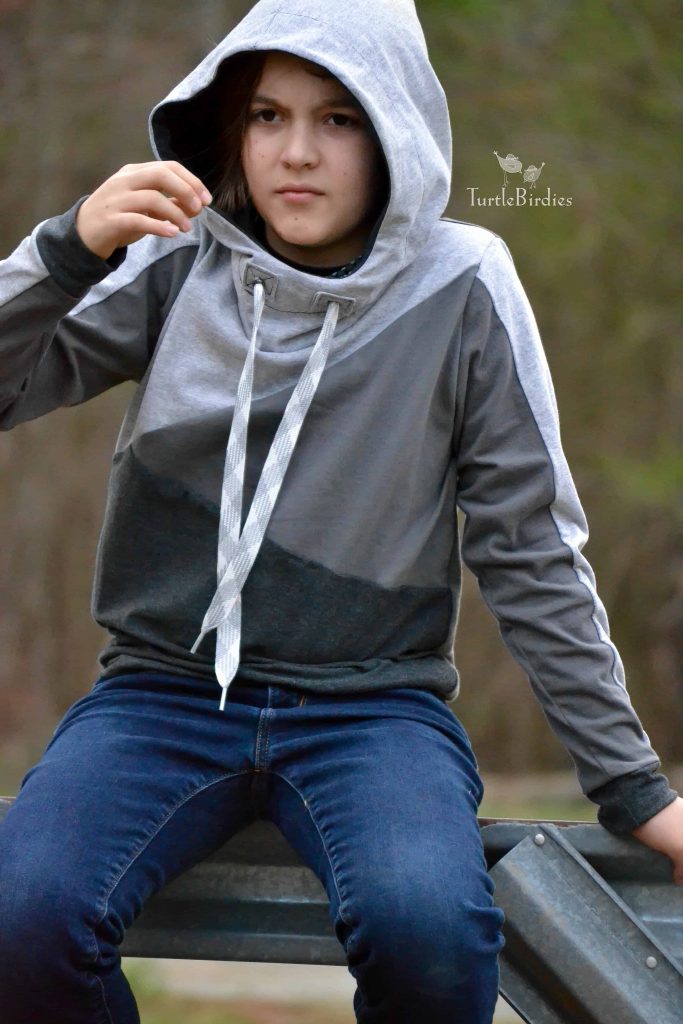
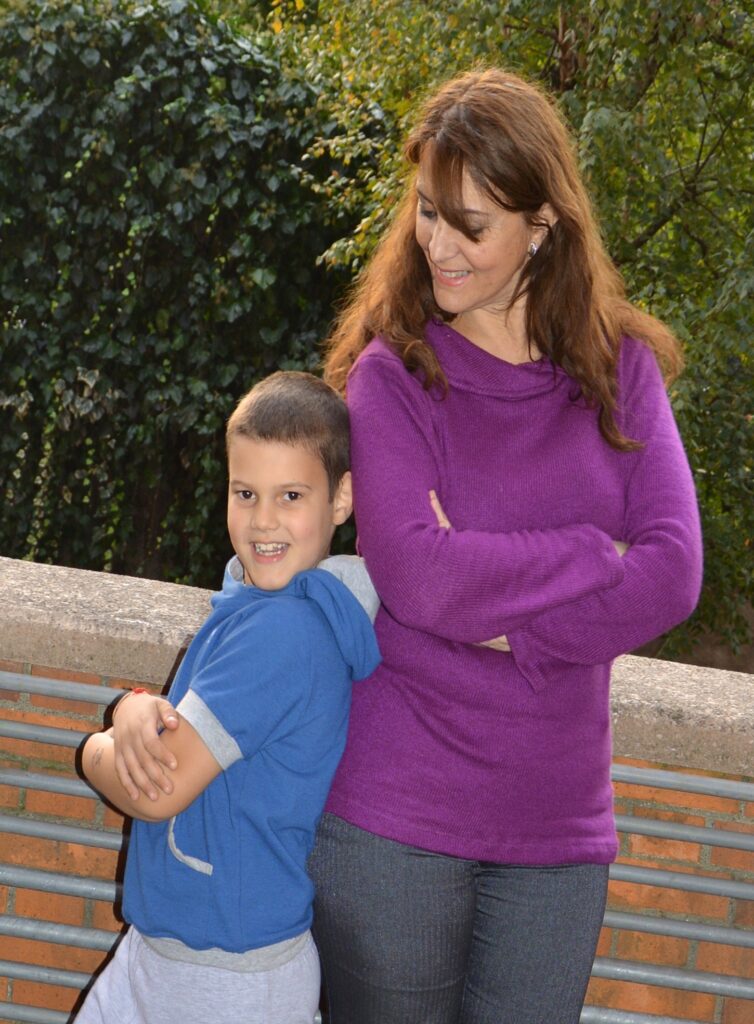
The last hooded sweater we have for you is our Omni Tempore. With a cross-over hood or collar, you can create beautiful simple but classy-looking hoodies. And this pattern does not only come in kid’s sizes but also adult sizes!
VelocitasSemper Semper dressHibernis CowlOmni Tempore
Next, we have a few more options for you.
Fortuna is a sweater that looks good on all. With the fun diagonal colorblock and simple neckline it’s one to have and hold on to. Plus if you only have small pieces of fabric, this pattern has your back.
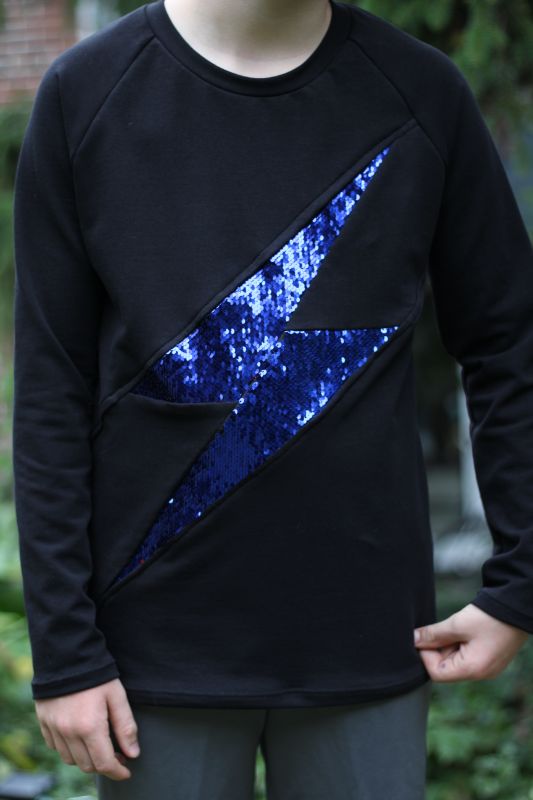
Want to use even smaller pieces of fabric? Check out our Potens Sweater. The lightning bolt is an option you have to sew. Your child will love that one. And when you are done, sew the other three bodice options too. One pattern, four sweaters.
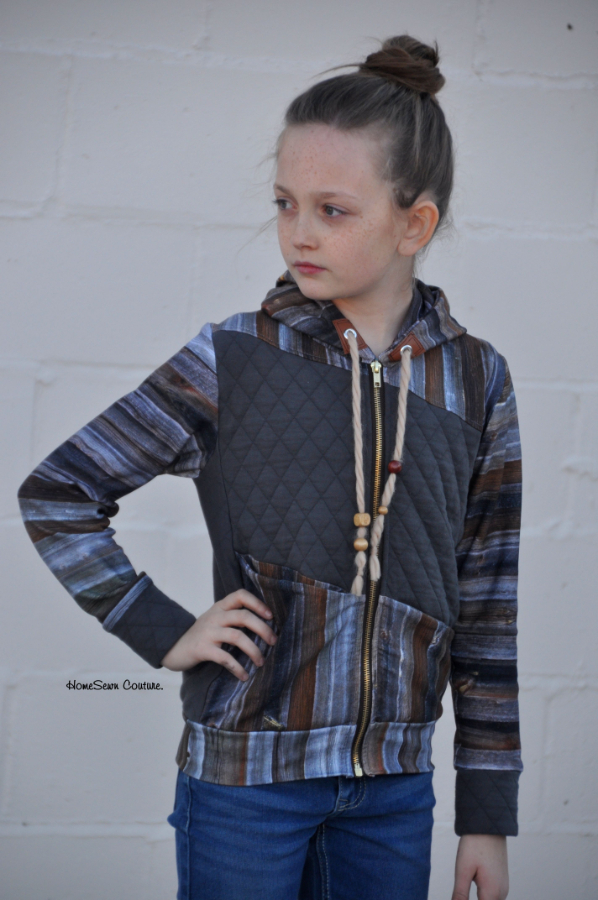
Are you sewing for girls? Then you definitely want to check out the Vivax Top. With its beautiful cross-over neckline, it’s more than perfect and still warm too. This pattern also has a beautiful dress option. Pair with a Callens legging in the right color, and you are set. We also have the Foliis Jacket and the hood alone is a reason you should sew the Foliis. It lays perfectly. Don’t forget to sew the crop option to pair with your favorite summer dress. Your girl will thank you.
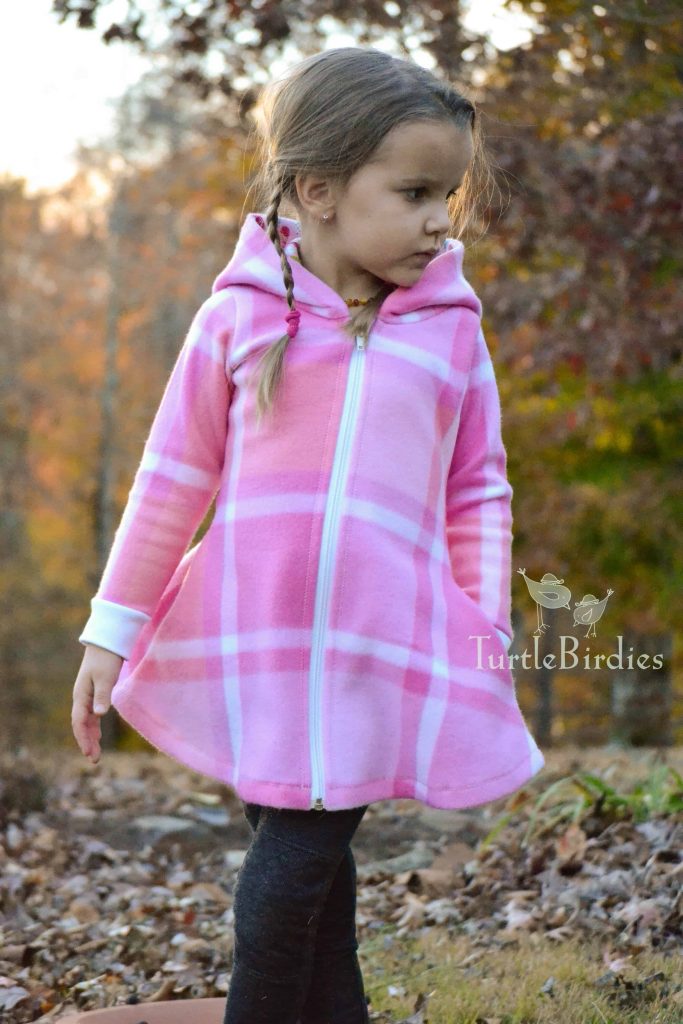
Are you scared of zippers? Don’t be. Check out this blog post while sewing a Cicero Jacket. I promise you; you can do it. This jacket is the perfect jacket to learn how to sew a zipper.
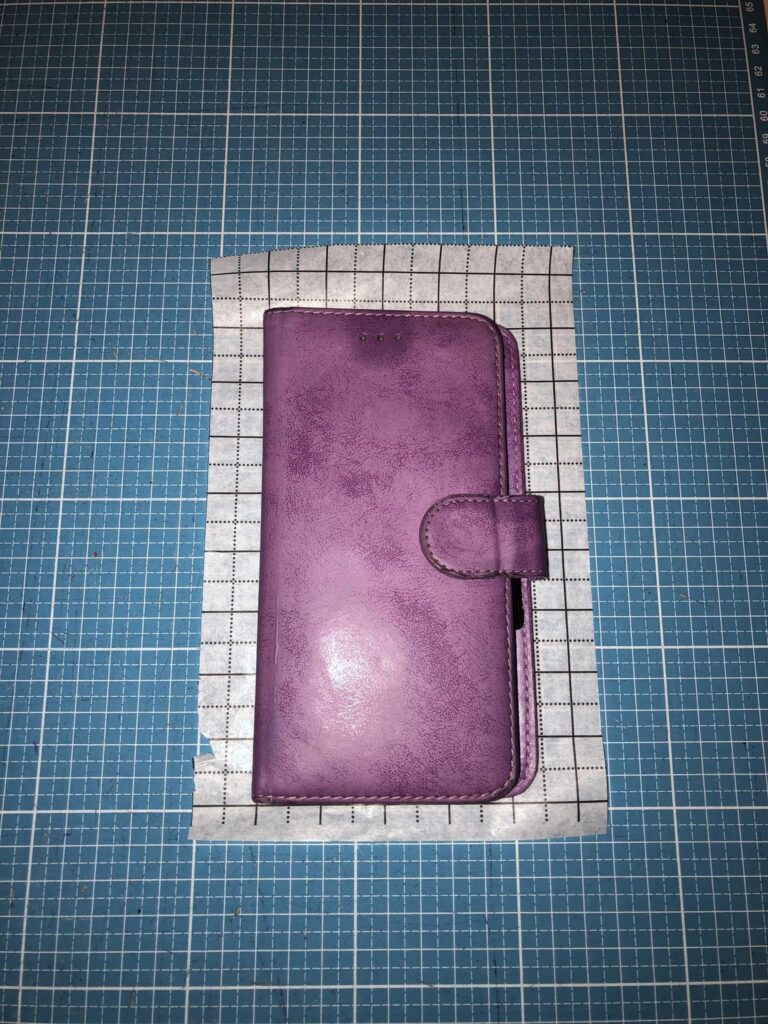
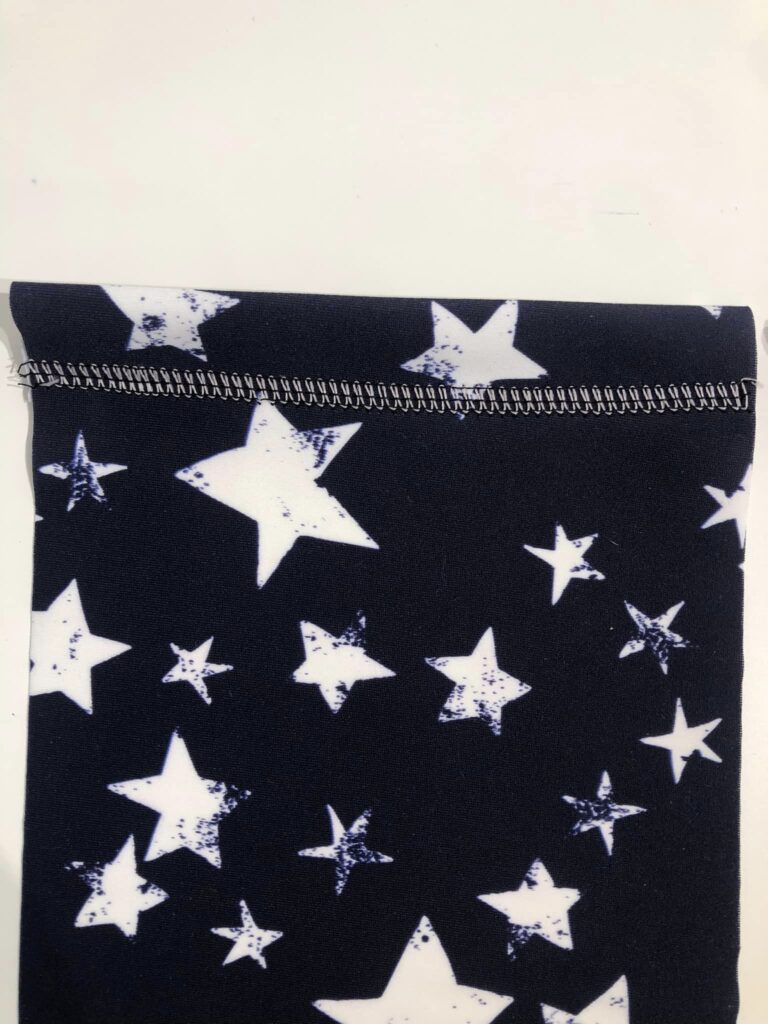
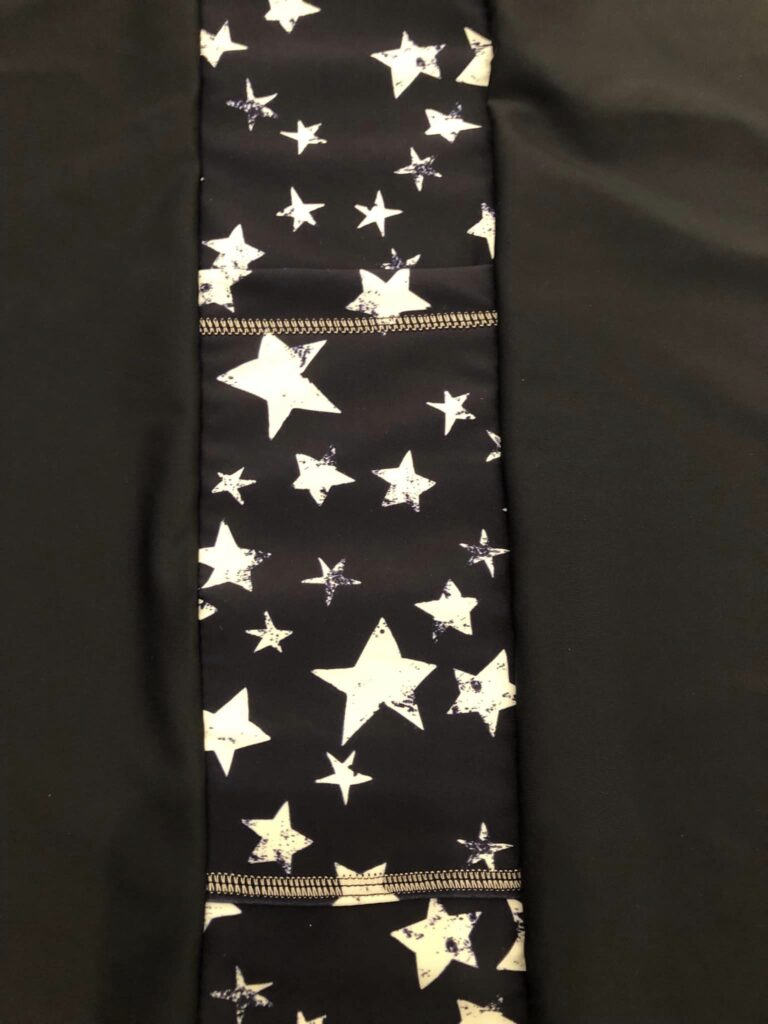
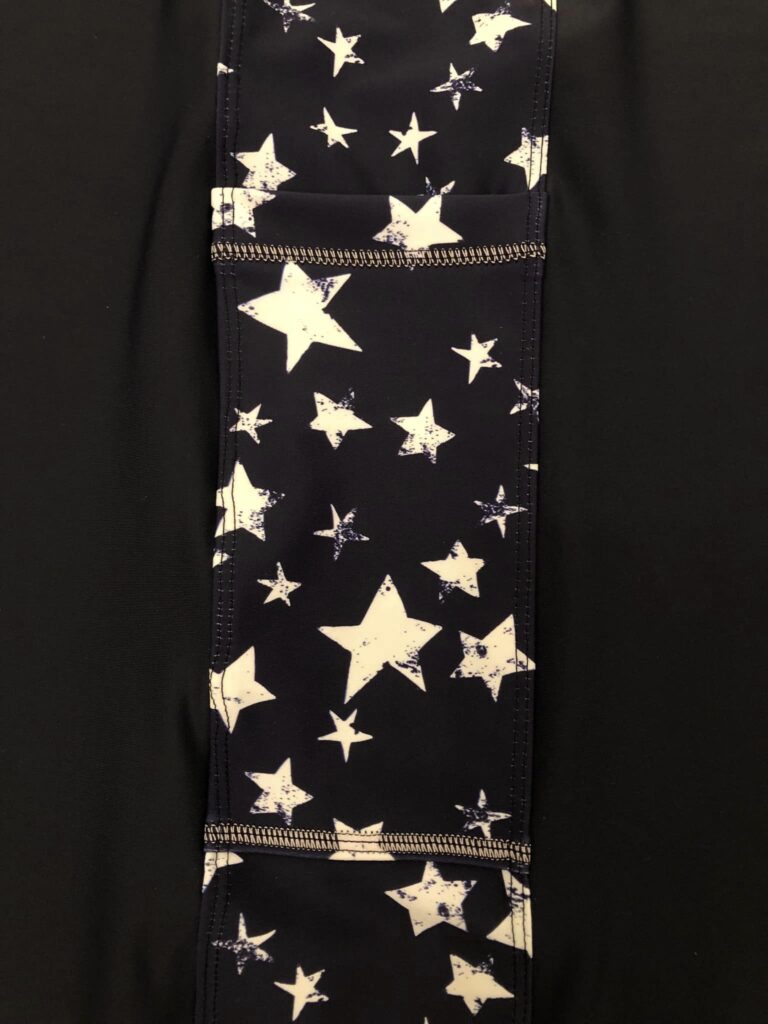
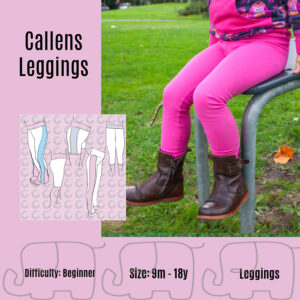
The adult version of the Callens legging is finally here. Just like the kids version this pdf pattern has a side stripe option. And because the adult sizes are wider, so is the stripe. This calls for a pocket hack doesn’t it? We think it does and so did some of our testers. Therefore we asked them to create a tutorial for you and Marije Oudejans was the first to respond. She took pictures of the steps for you. All you need is some extra fabric and your phone or whatever you’d like to store in the pockets.
Ready? Here we go.
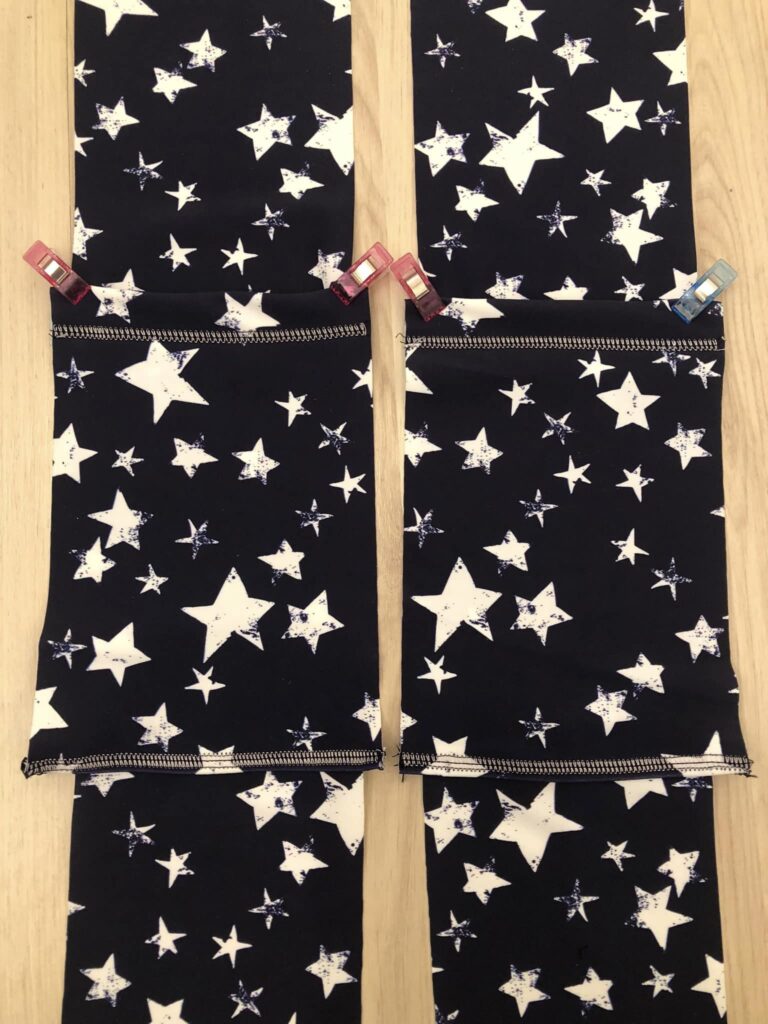
The above pictures are in the correct order. Though if you are less experienced you might miss the steps in between. Between the second and third picture, sew the pocket to the stripe. There are two ways to do this. The first way is to place the pocket wrong side to the stripe like explained in this tutorial. The second way is to fold the bottom of the pocket inwards and sew the pocket bottom directly to the stripe as shown in the fourth picture.
After sewing the pockets to the stripes, you can follow the pattern directions for sewing the stripe option. And voila, you have your perfect exercise leggings with pockets. This tutorial works for the legging option with the stripe and the flared option with the stripe.
After another busy and impressive year where Corona looked over our shoulder, where we suffered from inflation, petrol became unaffordable, and energy costs rose, we look forward to the end and dream of a new year. A year in which our purchasing power rises again, new lockdowns are no longer an issue, and, above all, we can enjoy ourselves.
The year has not been all bad though. This year we released 7 beautiful sewing patterns.
Our team had some succes to. One of us found a new home. Two of us found new jobs and we as a team have grown. Our community has gotten stronger, bigger and we got to meet a lot of new people in our group. Oh and we got to celebrate our birthday together with Bernina and had a huge give away!
We’d like to thank you for being a part of our yourney. For supporting us.
In December, we, team Sofilantjes, look back. Take time for our family and make wonderful new plans. After the upcoming release, we will therefore be less available. But before we take a break, we have two gifts for you. First, you will receive a 20% discount on all our patterns with the code: Sofilantjes20.
And for those moments when you don’t get around to sewing, play Memory with your family. Download our free Memory game in Sofilantjes Sew and Show. (Remember to post a picture, we’d love to see it). Have a very happy, warm, and, above all, cozy December month. On behalf of the whole team.
Ps. do not forget this month’s sewing calendar and get our Ferias on with a higher discount.
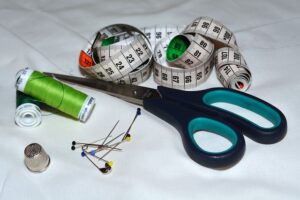
When it comes to sewing for beginners, where to start with your notions and other items can often be a big questionmark. Needles, thread and? Let us help you get started.
A list of sewing notions every beginner needs
No. 1. a Seam ripper
Every sewist needs a seam ripper. You develop a love hate relationship with this item but you can’t do without. If you’ve made an error in your stitching, unpick them and voila. You’re ready to start over and forget it ever happened.
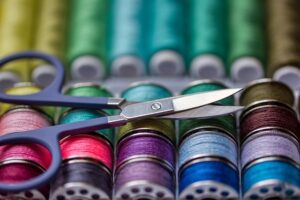
No. 2. Fabric scissors
We can’t cut our fabrics without a fabric scissor. Yes there are these handy rotary cutters but you’ll still need the scissors now and then. Fabric scissors are designed to cut through all sorts of fabric. They are extremely sharp. Note that there are a lot of different kind of fabric scissors. take your time and find the one you like and need for your project. and tell the family to not ever use them!
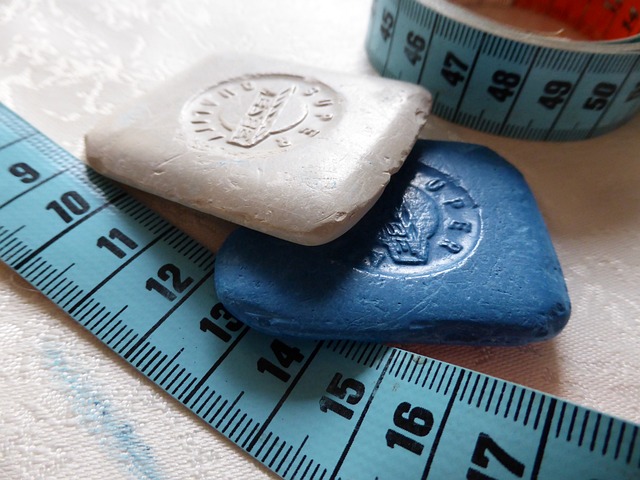
No. 3. Tape measure
A tape measure is a must for all sewits. Measuring your sizes, lengths and fabric is one of the most important things you need to do before starting your project. Always measure twice before you start cutting. It will save you a lot of time and money (fabric). The last thing you want is sew up a nice item, only to find out it’s to be too small or too big.
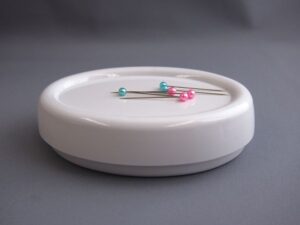
No. 4 Magnetic pin holder
You could use a simple pin cushion or cup, but if you are anything like me you’ll tip over the cup and have your pints all over the desk or floor. With a magnetic pin holder I do not have that problem and picking the pins up is a matter of seconds.
No. 5. Chalk or washable markers
With almost every project you’ll sew you will need to add markings on your fabric. A regular pen will not wash out and destroy your fabric. Chalk, or somewashable markers won’t ruin your fabric.
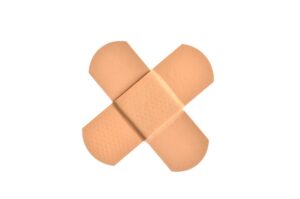
No 6. Thimbles / Band-Aids
By the time you get more experienced you can put the band-aids away or at least put them further away. You’ll be working with sharp objects. So obviously one day you’ll prick your finger. Or cut it with a rotary cutter like I do. It’s not a big deal, but bleeding all over your gorgeous fabric is. Use a thimble when hand sewing, and keep a few band-aids close.
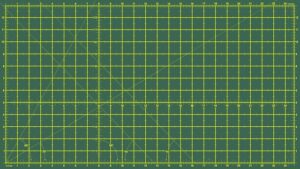
No 7. Cutting mat
This item is up for debate but in my opinion if you don’t want to ruin your table or floor, I suggest investing in a self-healing cutting mat. Note that you need the green mat (for sewing) and not the blue one if you are using a rotary cutter or you’ll destroy your blades in no time.
No. 8 Thread
A basic cotton thread to begin. It is recommended to get a pack of variety colored thread so you’ll have a thread that matches colored fabrics.
no. 9 Needle threader
Also one for debate. If you have a steady hand like me you’ll manage without. If not this might just be your new favorite thing ever. It will save you a lot of time and frustration.
No. 10 Lots of lovely fabric
You’ll learn that hoarding fabric is a hobby on it’s own. Find some good stores near you and add a few great online stores to that. Purchase a few beautiful fabrics but also purchase some fabric to practise on first. In time your stash will grow.
No. 11 a sewing machine
Yes there it is, so be able to sew you need a good sewing machine. I suggest to not start with a cheap one. If you want to start your sewing journey on a good way, find a better sewing machine. Having a tight budget, get a second hand machine. There are some great groups on Facebook where you can find great second hand machines.
No. 12 Patterns
When starting to sew, start with a good sewing pattern. You could buy one of those sewing magazines but their explanation is limited. Looking for more guidance, buy a PDF pattern. You can start using some free ones before buying.
When starting to sew with PDF patterns, having a printer is needed. This, unless you have a copy shop nearby. Want to be a little more green? Consider using a beamer.
Let us know if you liked this list and what other lists you’d like us to write for you.
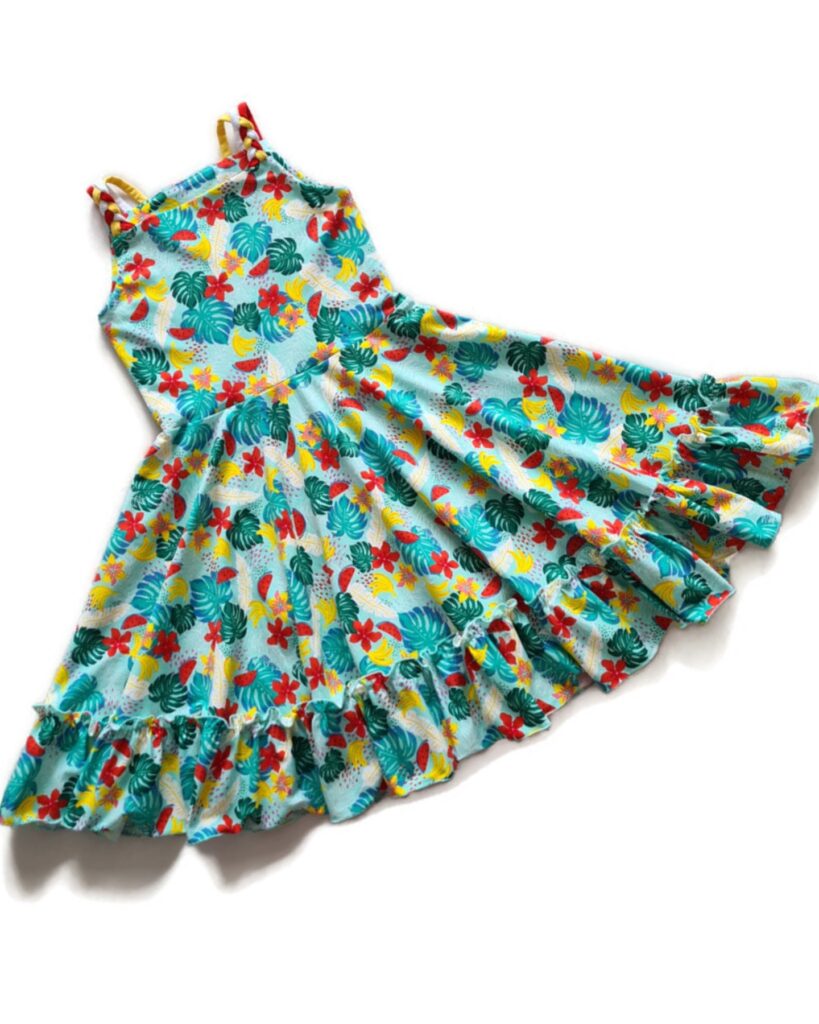
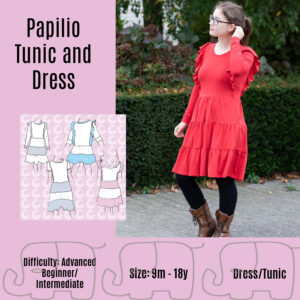
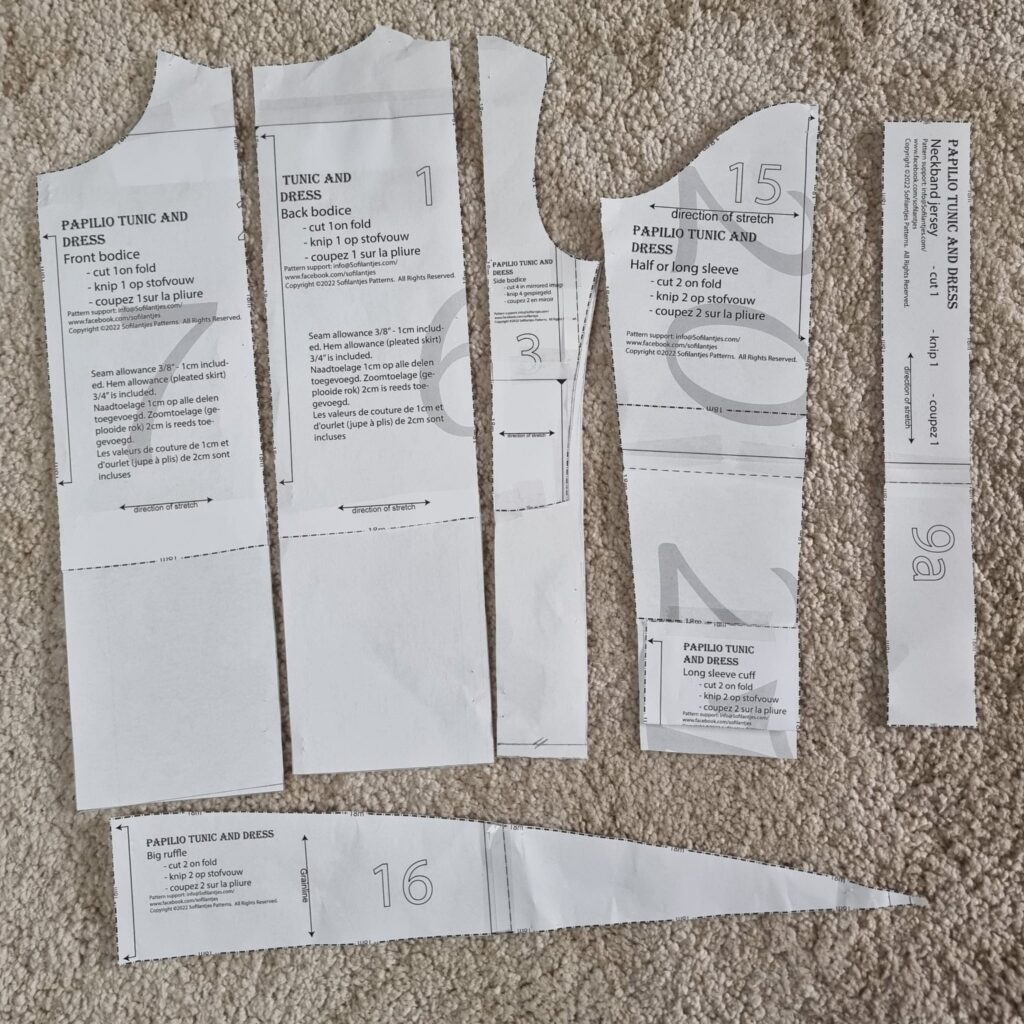
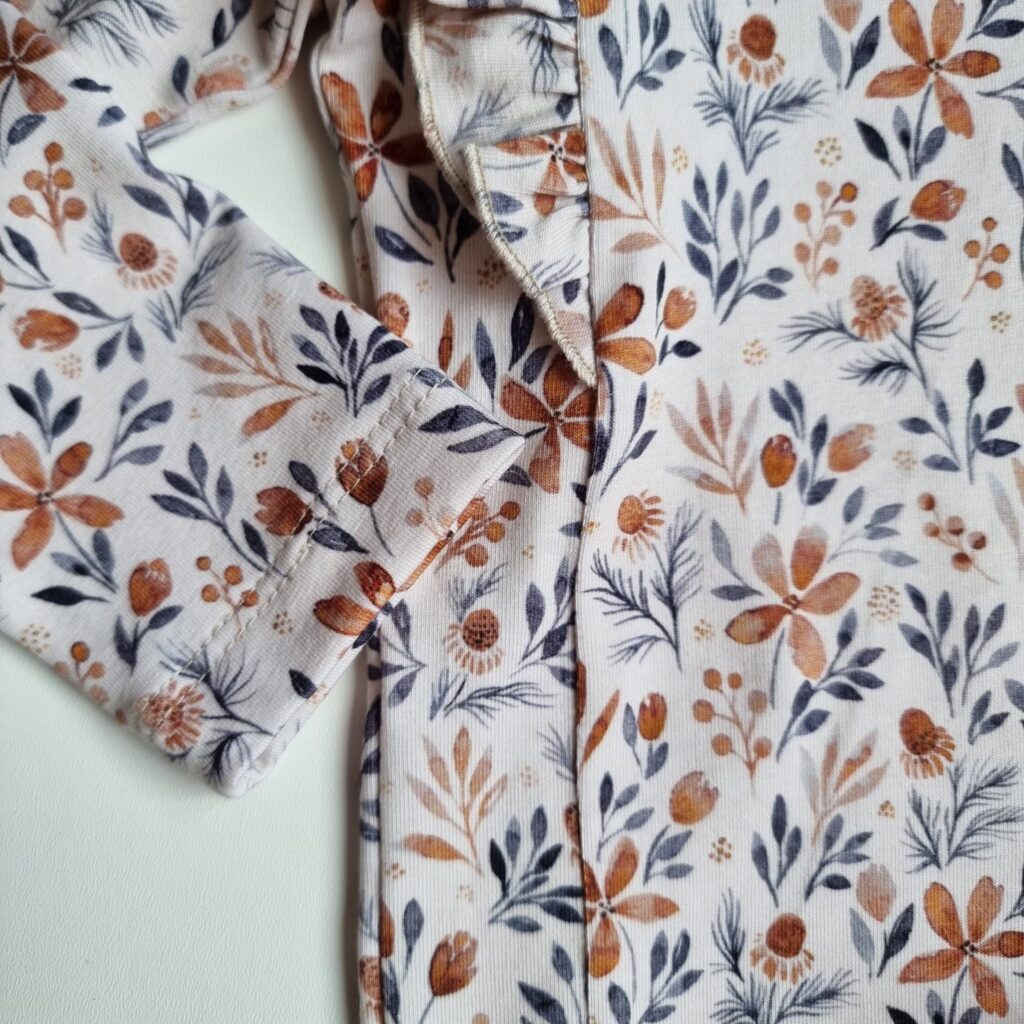
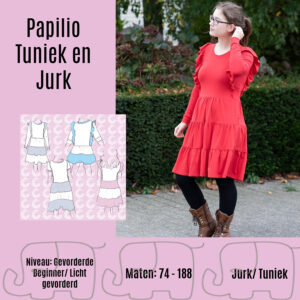
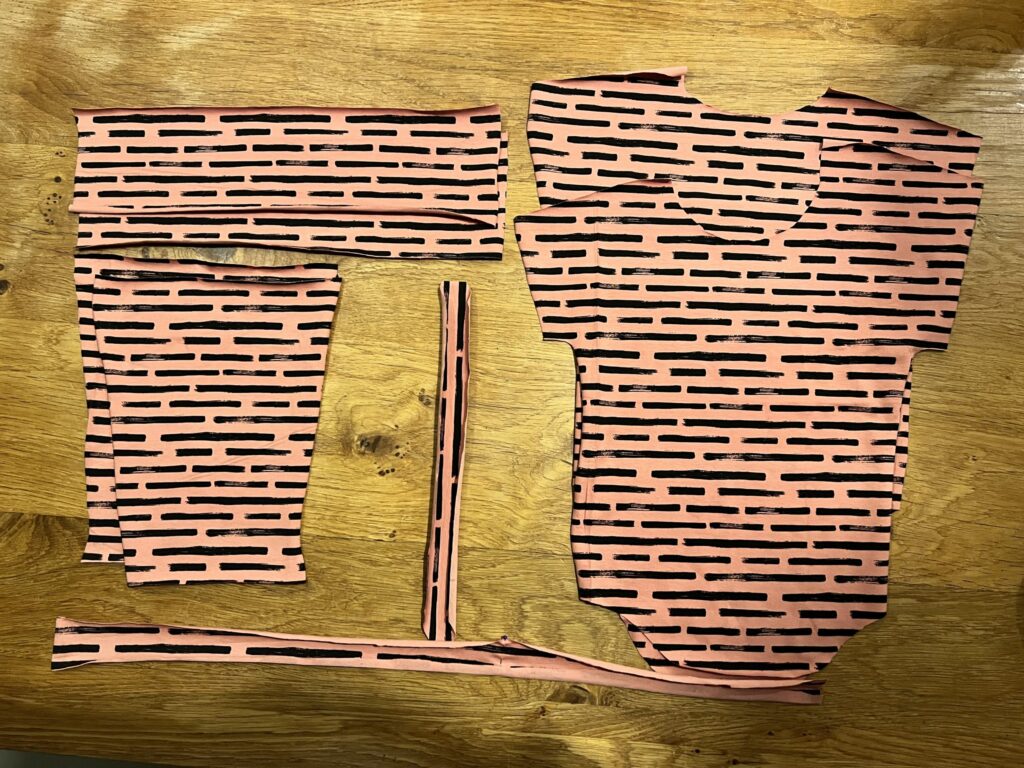
Sarah Schuurmans tested the Papilio pdf pattern for us and decided to get creative. She changed the dress option into a top and skirt (follow to get the tutorial). We asked her to share her tutorial with you. It’s way more easy than you think. You can absolutely do this.
Thank you Sarah!
Adjust pattern pieces. The front, back, and side panels need to be lengthened. To determine how much to lengthen, use a well-fitting shirt or shirt pattern. Line up the shoulder panels of the pattern and see how much you need to lengthen. Add the length you need at the bottom of all 3 pattern pieces.
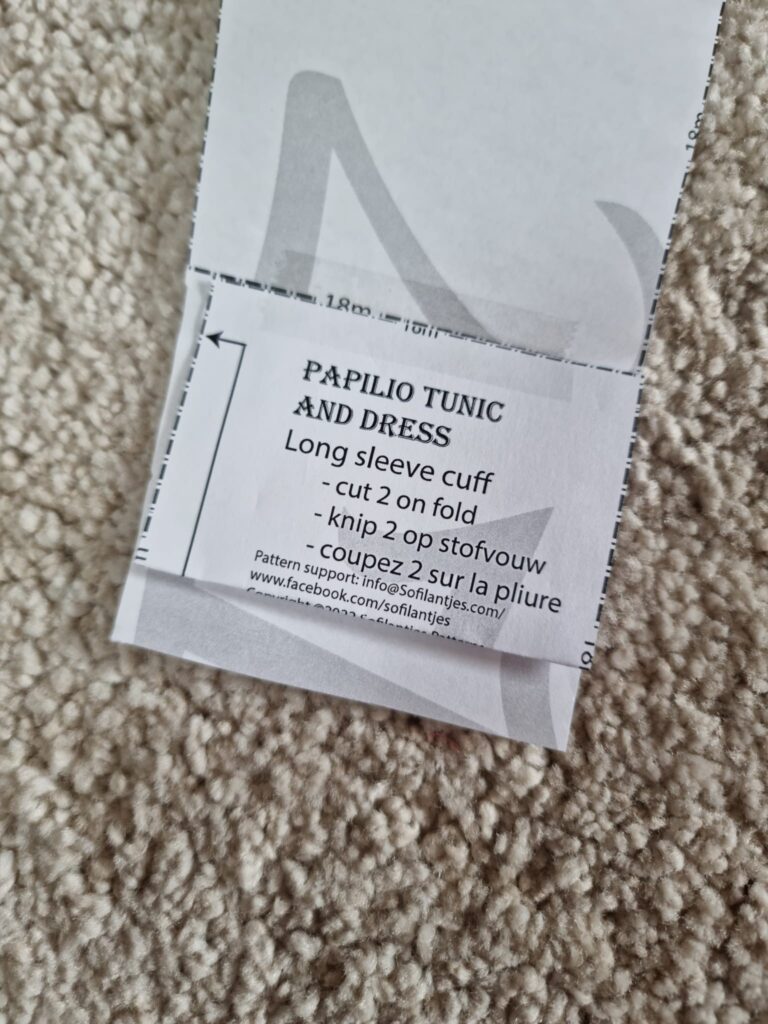
You also need to lengthen the sleeve. I used the cuff for this as the length of the sleeves, with cuff the length was perfect for my daughter. I folded the cuff in half and glued it to the sleeve pattern piece. I added an extra 1 cm because I wanted the sleeves to be a bit longer, so she can wear the shirt longer. Optional: I widened the side a little bit because my daughter still has a baby belly.
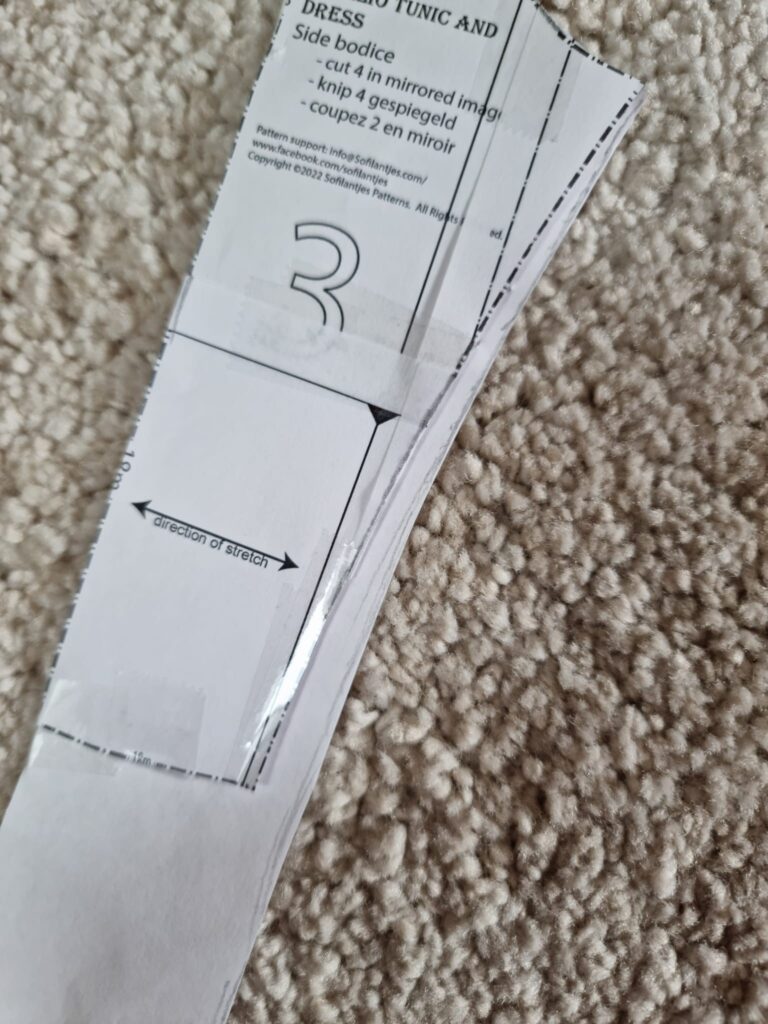
On the dress, it falls under the first tier, but of course not with the shirt. To make sure her belly fits well, I widened the side panel a little more.
Cut out all the pattern pieces from the fabric.
Assemble:
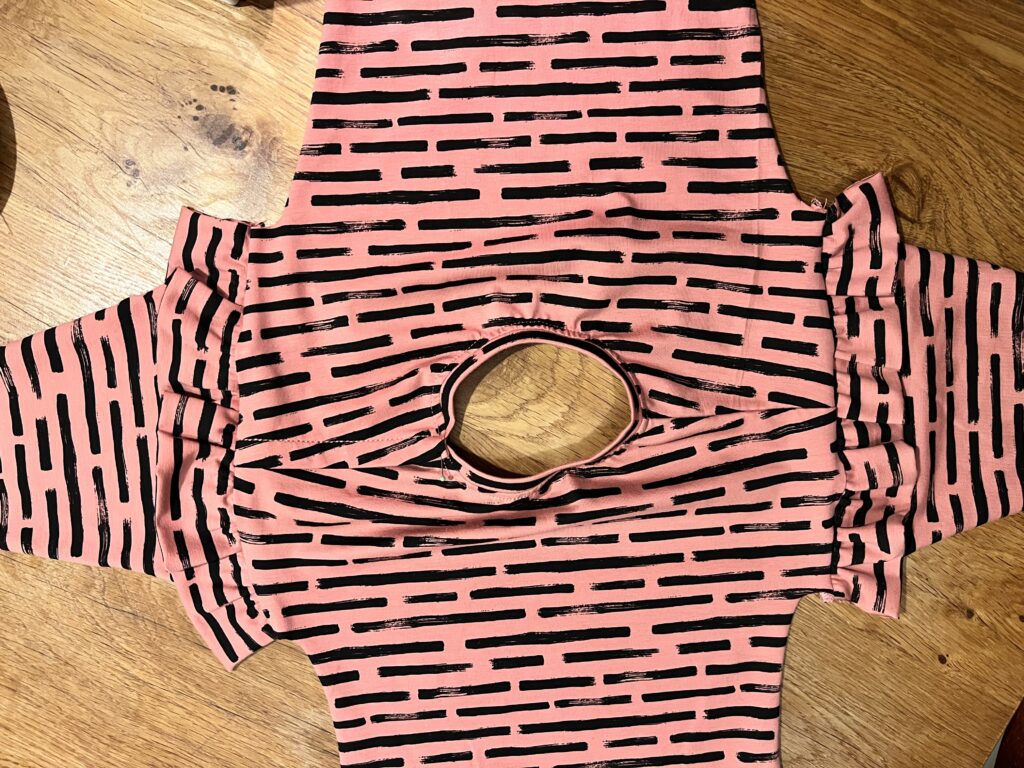
Sew the shoulders of the front and back panel together and those of the side panels.
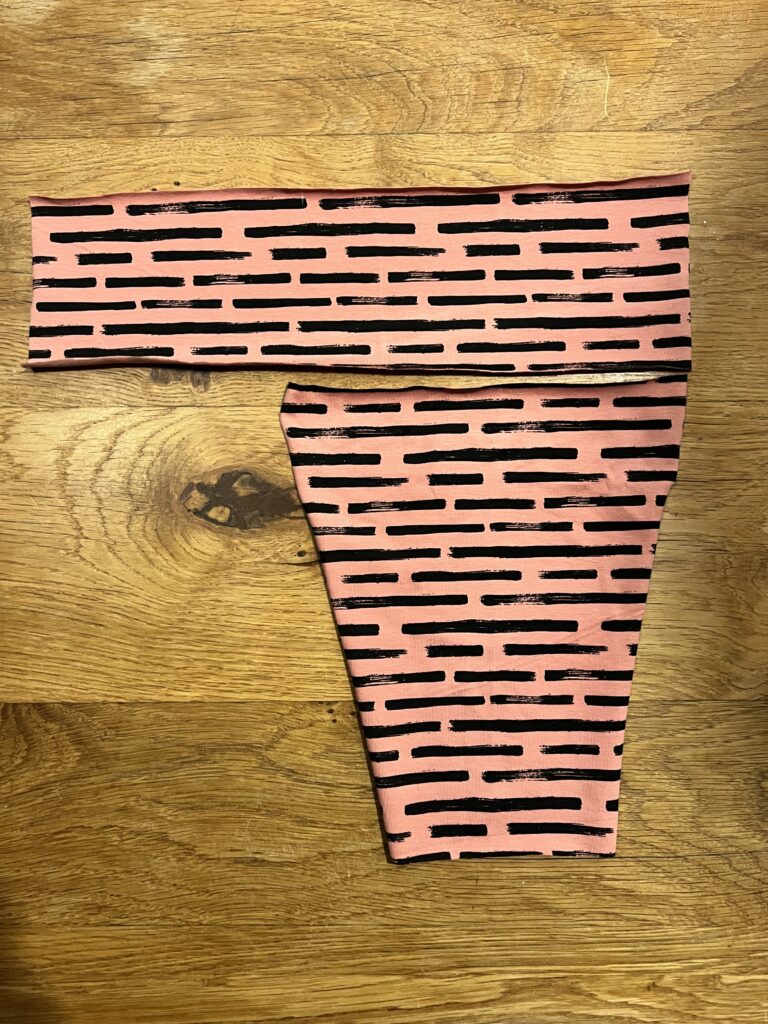
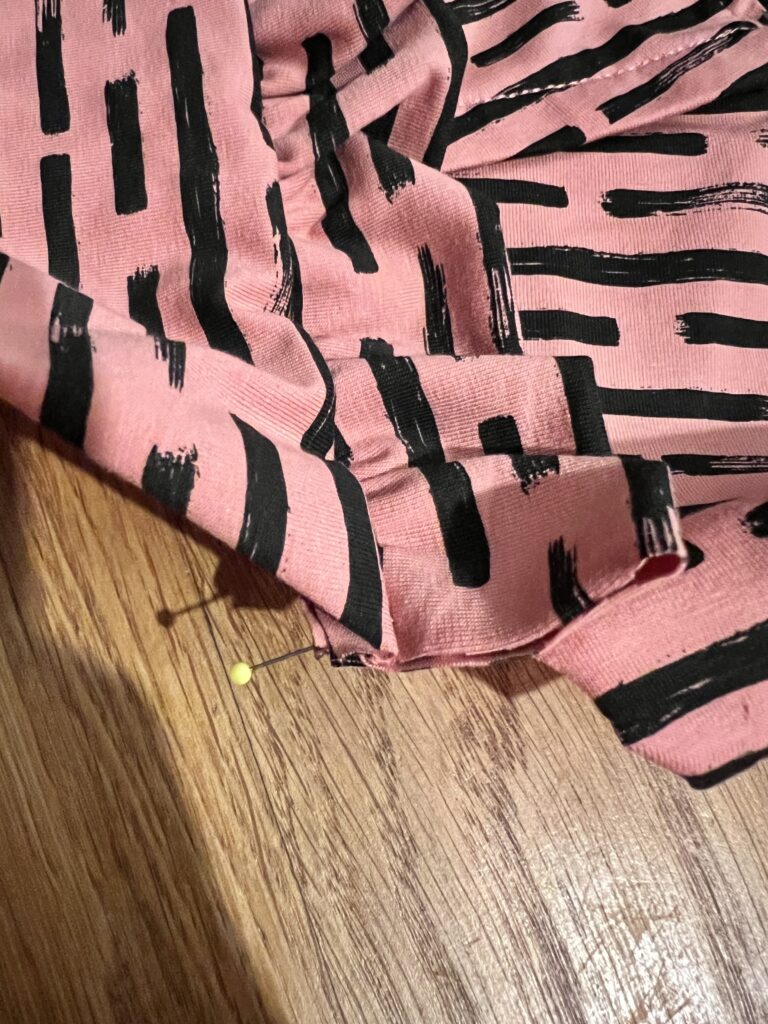
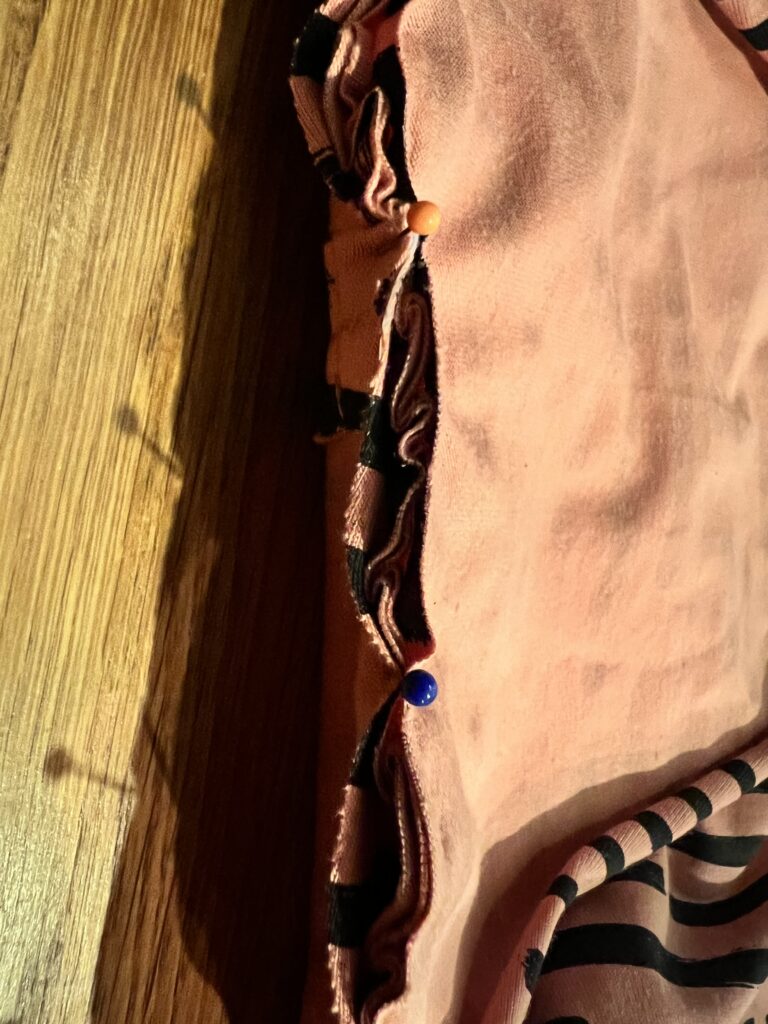
Finish the convex side of the ruffle with a rolled hem
Gather the ruffle as described in the pattern.
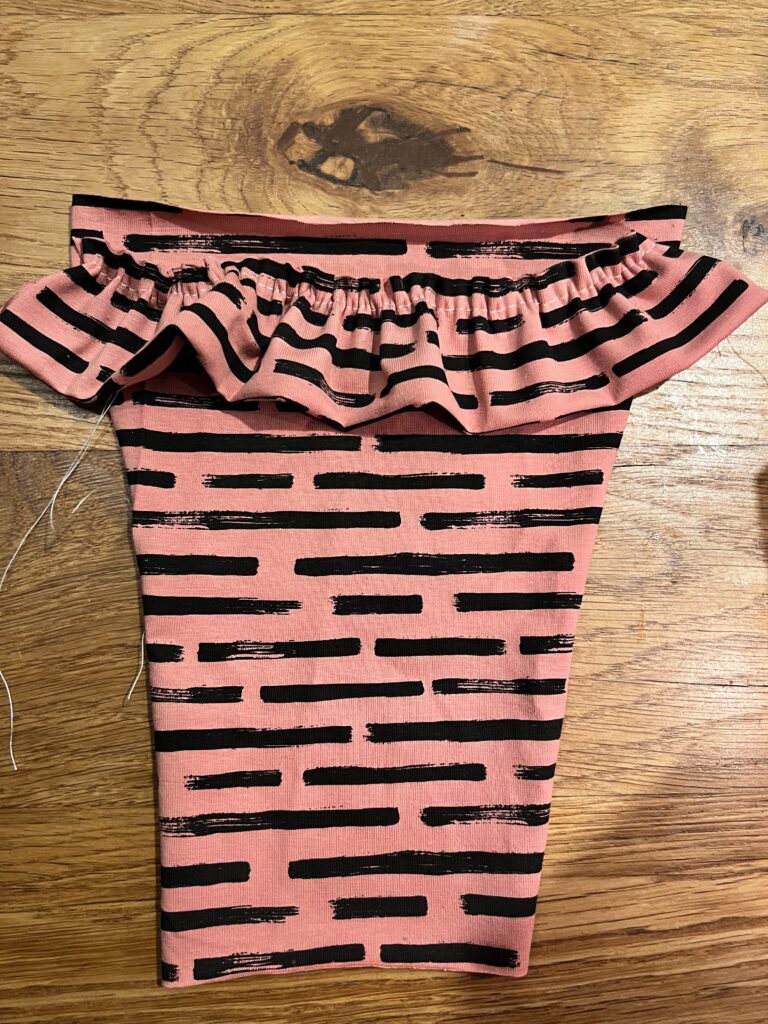
Mark on the front and back panel where your ruffle should end. For size 86, I marked 18 cm from the bottom of the shirt on both sides of the front and back. You do this so you know exactly where your ruffle should end and so it stops at the same point everywhere. See for yourself what looks best for the size you are making.
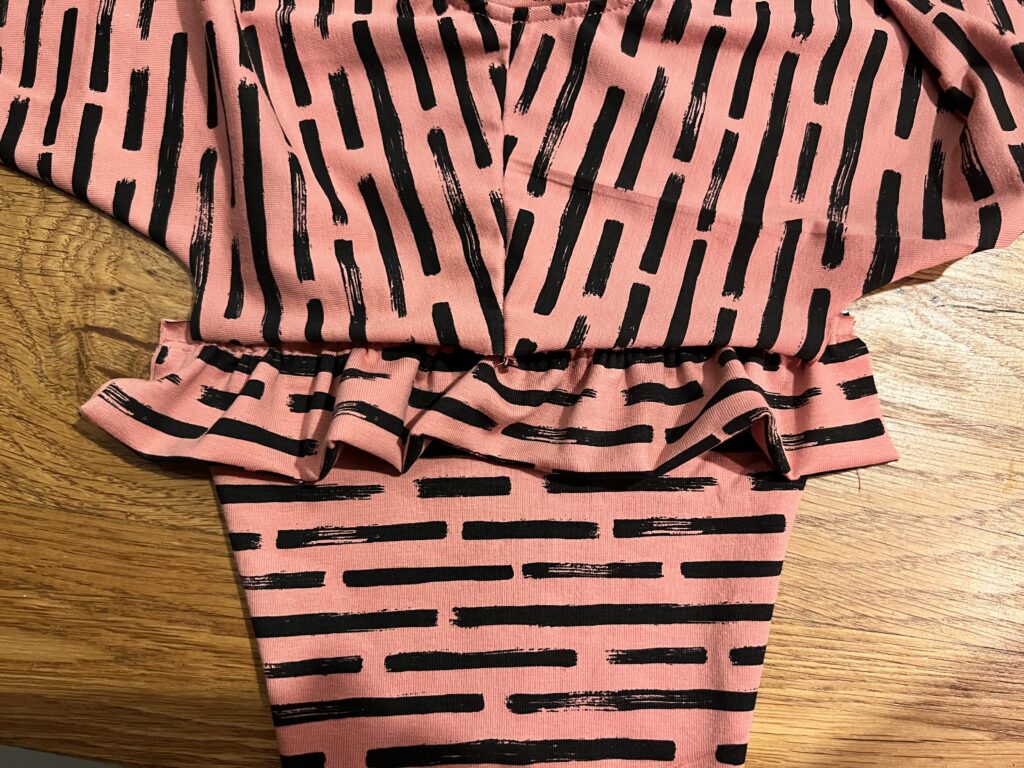
Attach the ruffle to the front and back panel, and then attach the side panels. (How to do this is described in the pattern.) Also, attach the sleeves and sew the sides together.
Next, sew on the neckline and hem both the bottom and the end of the sleeves by 2 cm. Your shirt is now ready.
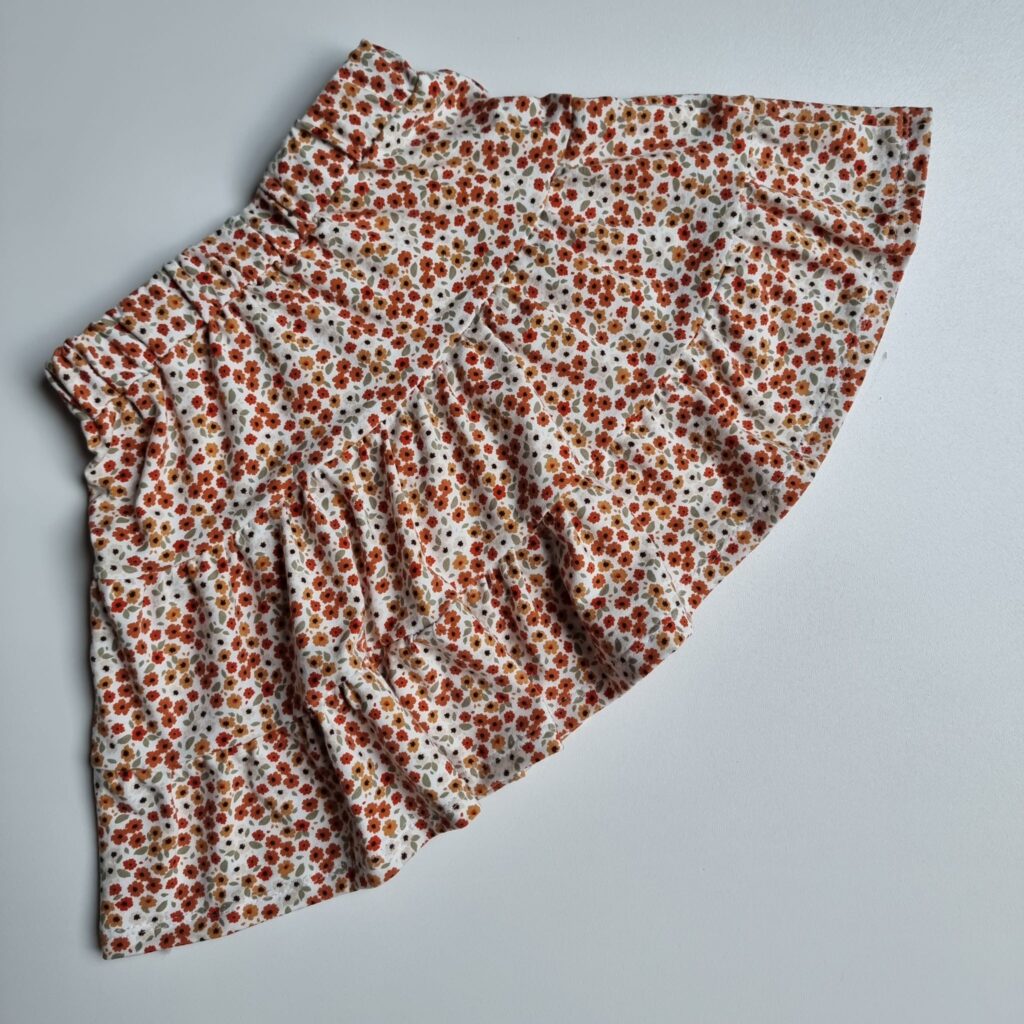
Sarah Schuurmans tested the Papilio for us and decided to get creative. She changed the dress into a top and skirt. We asked her to share her tutorial with you.
Thank you, Sarah!
Print out the pattern pieces for the skirt. There are three tiers.
Cut out the pattern pieces from the fabric. Also cut 2x extra tiers 3″- 8 cm wide and the same length as the top tier.
Assemble the skirt as described in the pattern. You can choose to add or omit pockets.
Place the 2 extra 3″- 8 cm wide tiers right sides together and sew the short sides. Next, fold this strip in half, wrong sides together.
Sew the double-folded tier all around to the top of the skirt. Leave a small piece open. This is where we will pull the elastic through.
Cut a piece of elastic as long as the waist of the model (+ seam allowance). Pull the elastic through the tunnel using a safety pin. Sew the ends of the elastic together.
Next, close the part you left open to pull the elastic through. Your skirt is ready.
Note: the skirt is longer than the dress because you added a waistband. It falls over the knee. If you want a shorter skirt, use a length 1 or 2 sizes shorter than the width.
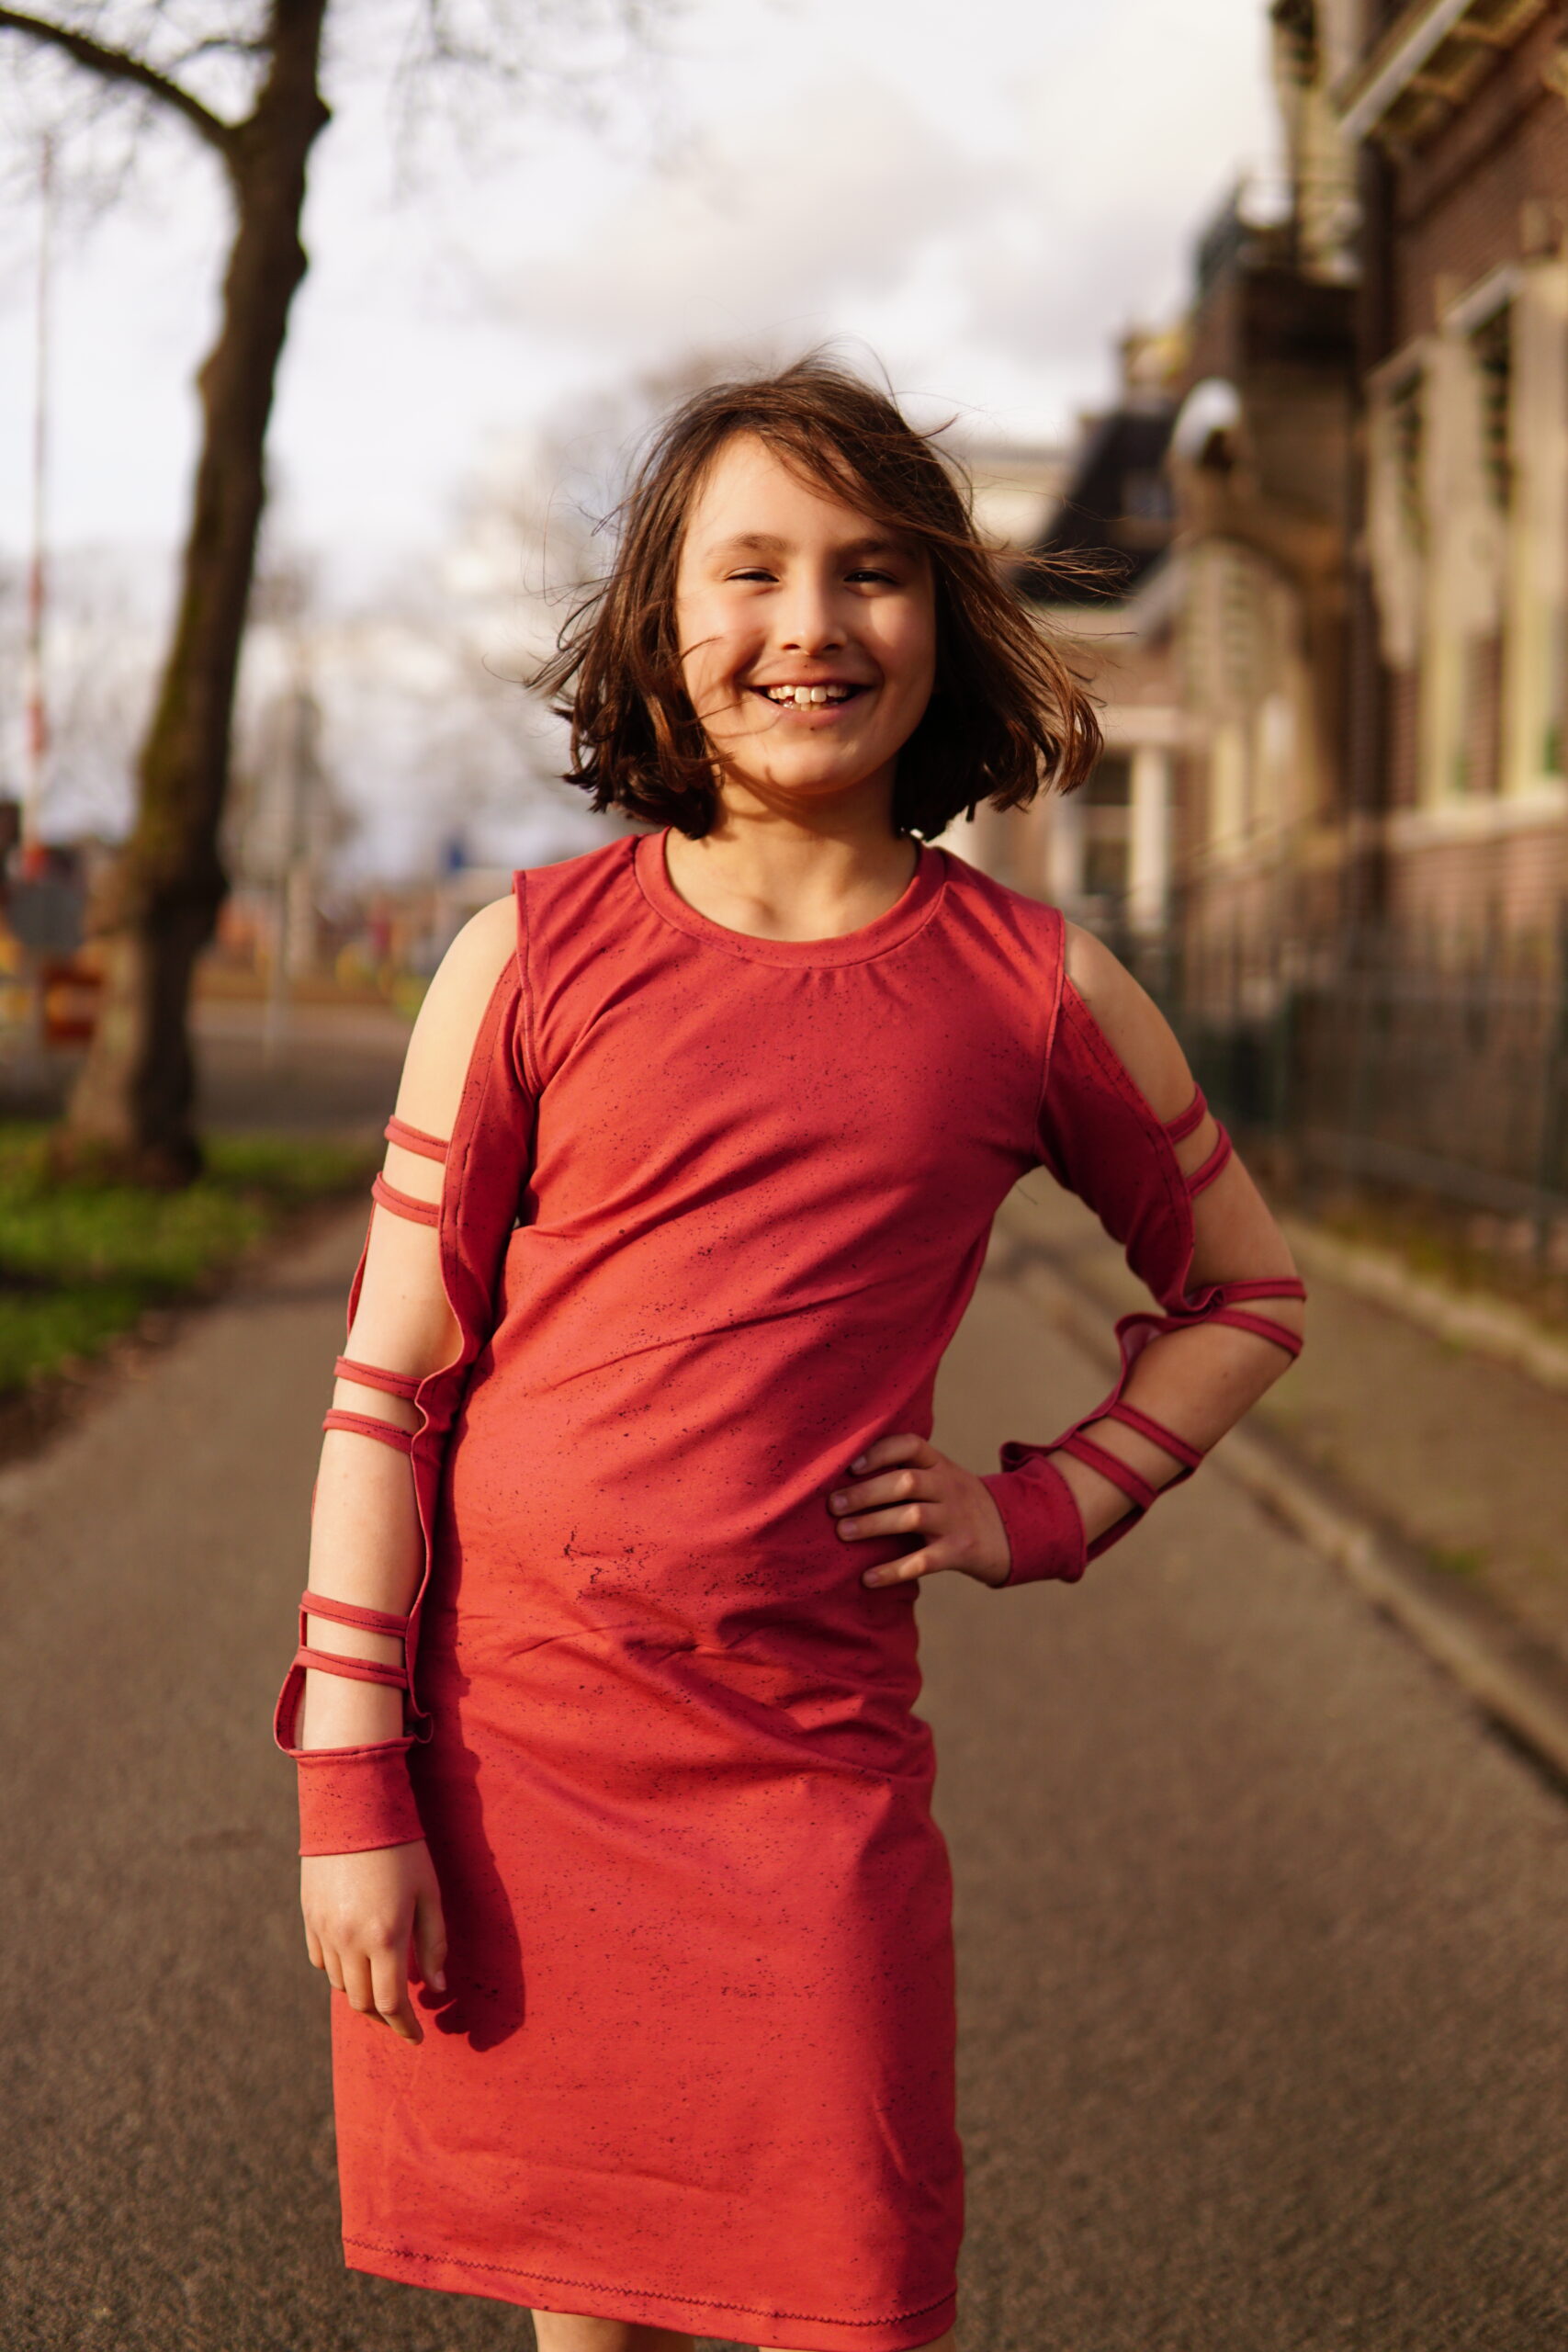
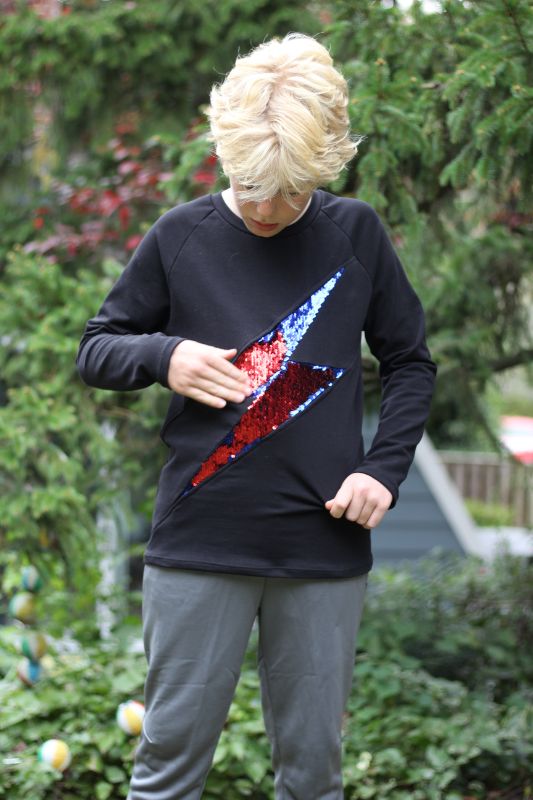
Lauren is here to show you something fun. Lauren added bands and sequin to our Potens Sweater PDF sewing pattern. This sweater has a lightingbolt colorblock. Adding sequin works for this upcoming season. This style is something I’d wear myself. Now you can make yours. Follow the directions below, and do not forget to show us your result in our Facebook group or tag us on IG (@Sofilantjes_anne).
Adding bands is a very straightforward process. To keep the length the same, you have to account for the length of the band, plus seam allowance (and subtract from the hem allowance). I prefer a band that is 2-3″ tall. The seam allowance accounts for 3/8″ of that on each side when the band is folded in half, so whatever height you decide on, you want to use this formula: Finished Height times 2 plus seam allowance times 2. That total number is the height of your pattern piece. If you want to keep the length of the shirt the same, you have to remove this from the bottom of the shirt and sleeves, which also includes a 3/4″ hem allowance. So you’ll want to remove the hem allowance and the height of the band you’ve chosen BUT add back in a seam allowance of 3/8″.
For the width of the pattern piece, the simplest calculation is to measure the opening (bottom of sweater or bottom of sleeves) and multiply by 0.85 to get a piece that is 85% the size of the opening, and then remember to add in a seam allowance of 3/8″ on each side. Now that you’ve calculated your hemband and wristband pattern pieces’ height and width, you can start cutting. Sew and attach them as you would any band.
Now that I’ve told you the correct way to do it, let me tell you the quick and technically incorrect way I did it because I was set on making an oversized sweater. First, I wanted to make this Potens out of a sweater knit, and I wanted it to be comfortable over a shirt. I decided to size up in the chest by 2 sizes. This size coincidentally corresponded with my child’s height size, but I decided to add bands on top of this for extra length, a more oversized look, and longer wear. I followed the same steps I described above to determine the dimensions of the band pattern pieces. I would say that the torso length of the sweater is a bit longer than I intended, but the sleeves are just what I intended. Also keep in mind that I am working with a size 12 height, which means that a random 2 inches added in band length is less impact than if you are making a size 3. Think through how you want your Potens with bands to fit and look, and use these hack directions just as a general guide to get you to realize your vision. And have fun with other medium weight fabrics!
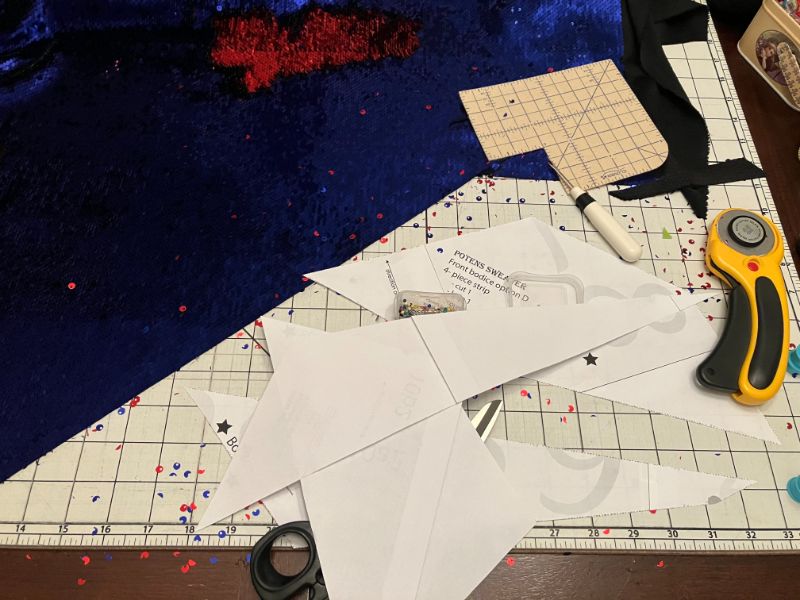
Use reversible sequin fabric for the lightning flash
Full disclosure: I have never sewn with sequin fabric before! As with my first hack, I had a vision of what this might look like, and I took some risks. I’m sure you can improve on this hack with my tips as a starting point.
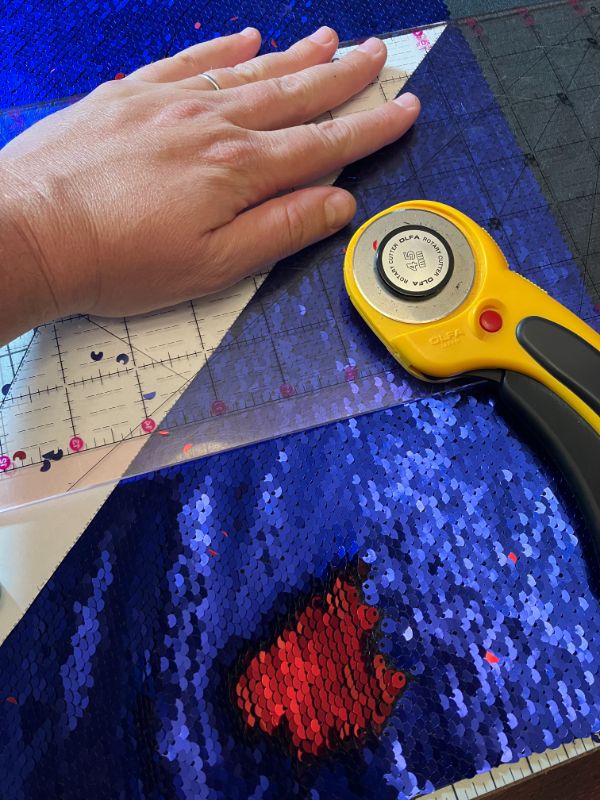
I prepared to sew the Potens pieces with lightning flash. Pieces 10b1 and 10b2 (the lightning flash) would be cut from the sequin fabric. You do NOT want to use your fabric scissors on sequin fabric, as it will dull them. I started with kitchen scissors, but I realized quickly that I could easily cut through the sequins using a rotary blade against a ruler. (Prepare for a sequin explosion in your sewing space as you begin to cut!) The rotary blade is dulled, but you could replace it. You can even keep the dulled blade and label it “sequin” for your next project. Be sure you arrange your pattern pieces so that the sequins go the same direction in both pattern pieces, using the direction of stretch marking as a guide.
Other tips online suggested that I should remove the sequins in the seam allowance, sew down the center of a row of sequins, or cut the tips off the sequins in the seam allowance with scissors and then pick them out. I will try these tips the next time I would like sewing one shirt to take me fourteen hours. (To be honest, I started and realized it would take me way too long.) I do think that if I had followed this advice, it would help when I am flipping to the other color of reversible sequins. The way that I sewed it, some of the blue sequins are caught in the seam allowance, so they cannot flip to red sequins.)
Sources on the internet said I could sew through sequins with a sharp needle, but to look out for needle breakage and replace the needle after sewing the sequins. This sounded like a great starting point to me! Fortunately, my sewing machine is a workhorse and had no issues with the needle going off course or breaking while I was sewing. I sewed all the sequins on my sewing machine to spare my serger!
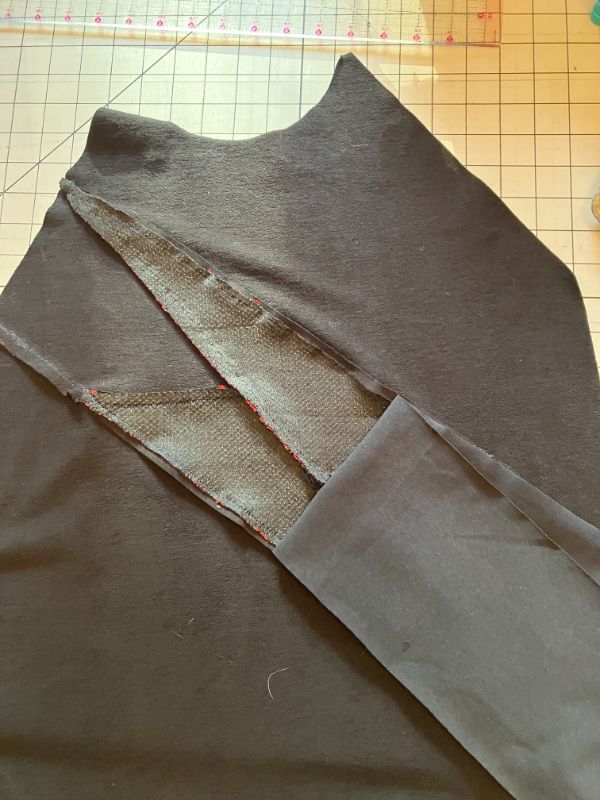
Once I had sewed the lightning flash, I assembled the front of the shirt per the pattern directions. However, I realized that the inner front of the shirt was going to be scratchy with the back of the sequin fabric touching my son’s skin. To solve this, I printed out pattern piece 9 from View B of the Potens pattern. I cut a piece of jersey fabric using pattern piece 9, and I placed it over the four lightning flash pieces but on the wrong side/inside of the shirt. Before sewing it down, I used my kitchen scissors to trim the sequined seam allowances at top and bottom of the flash so the pattern piece 9 completely covered the sequins, encasing them. I then topstitched this piece down, sewing from the inside and using a stretch stitch. (Remember, your bobbin thread will show on the front of the shirt if you sew from the inside.)
From this point, I sewed the rest of the Potens Sweater as normal!
I’d love to hear your sequin sewing tips if you have tried sequins before. If you are inspired by either of these hacks, please post your finished products in Sofilantjes Patterns Sew and Show.
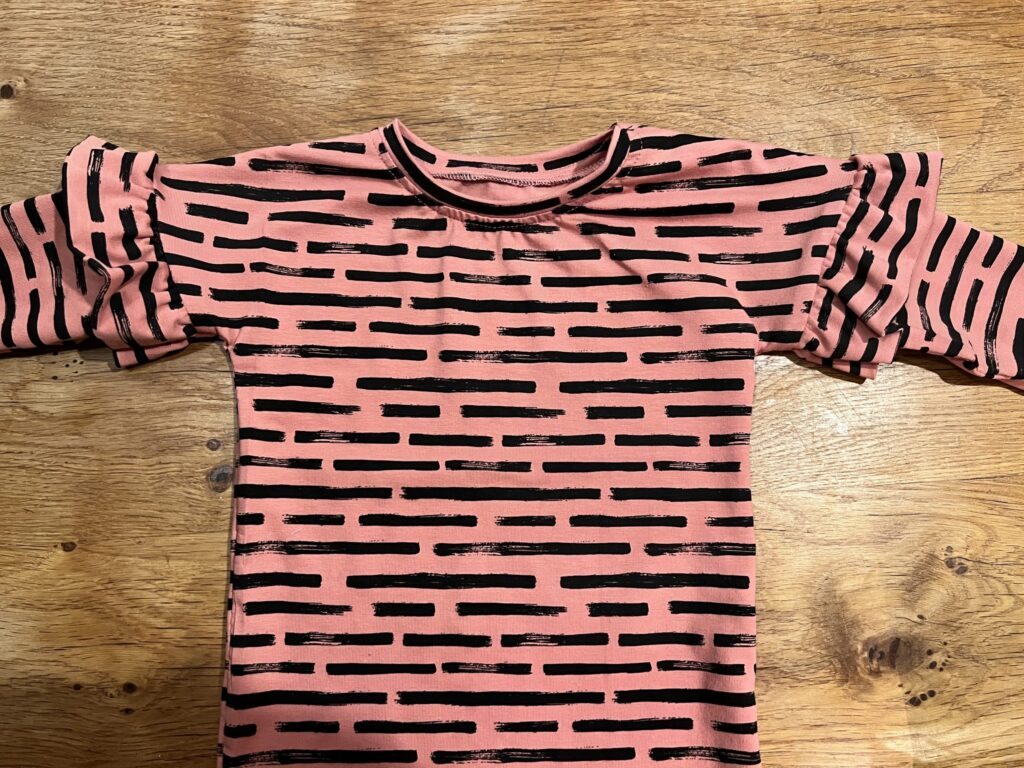
Jessica Pieneman made a tutorial for you. She added a ruffle to the Gemma bodysuit sleeve. This tutorial will also work on the Gemma top. Let’s show you how.
Don’t forget to visit her Social Media to thank her.
When cutting out the pattern pieces, include two straight strips for the ruffles.
To do this, measure the length of the top of your sleeve and multiply it by 1.5x (or more if you want more effect). I used a height of 4″- 10 cm to leave a ruffle of 1.5″- 4 cm.
Fold the strips lengthwise with wrong sides together, and gather those strips so that you end up exactly with your sleeve.
Now place the strips between the sleeve pieces and sleeve openings right sides together and sew in place.
The ruffle is now in between.
When sewing the side seams, place the ends of the ruffle neatly in between and sew together.
Finish the sleeves and sew the leg band as described in the instructions. And ready is your Gemma Romper with ruffle!
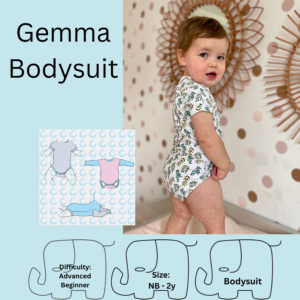
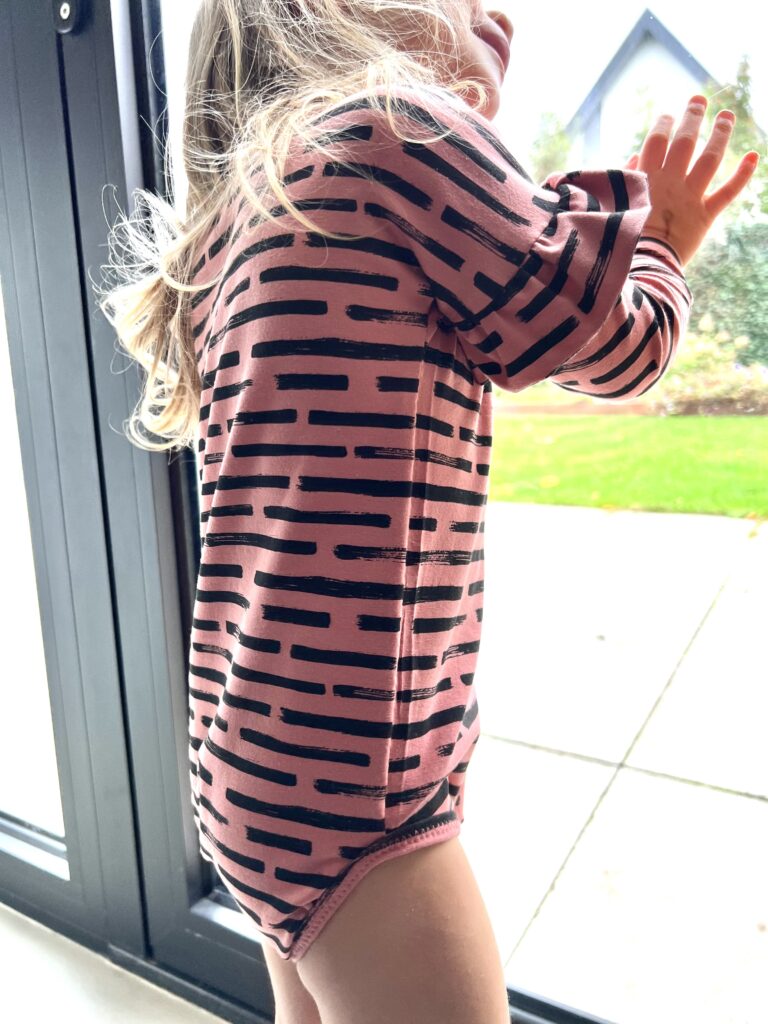
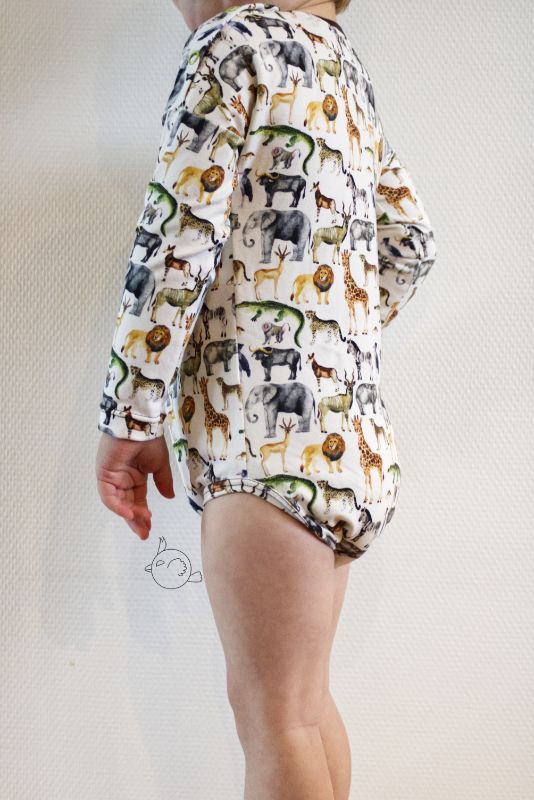
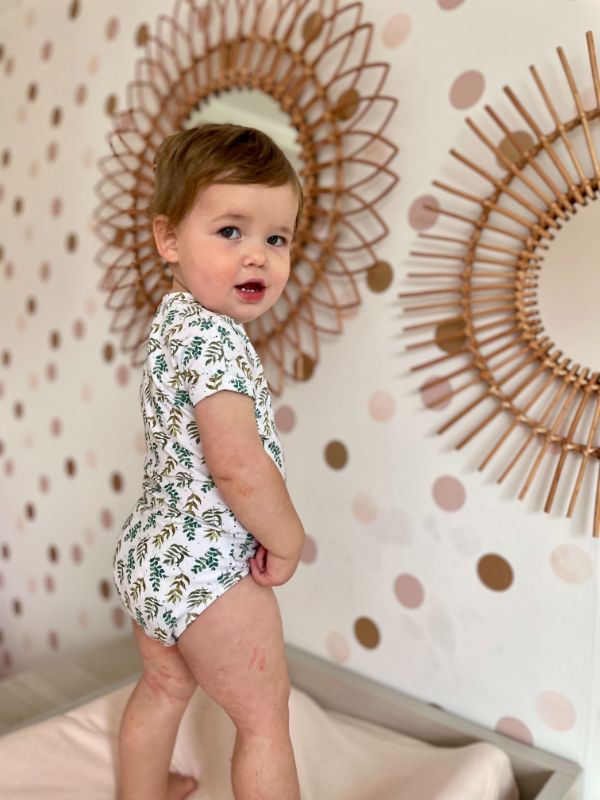
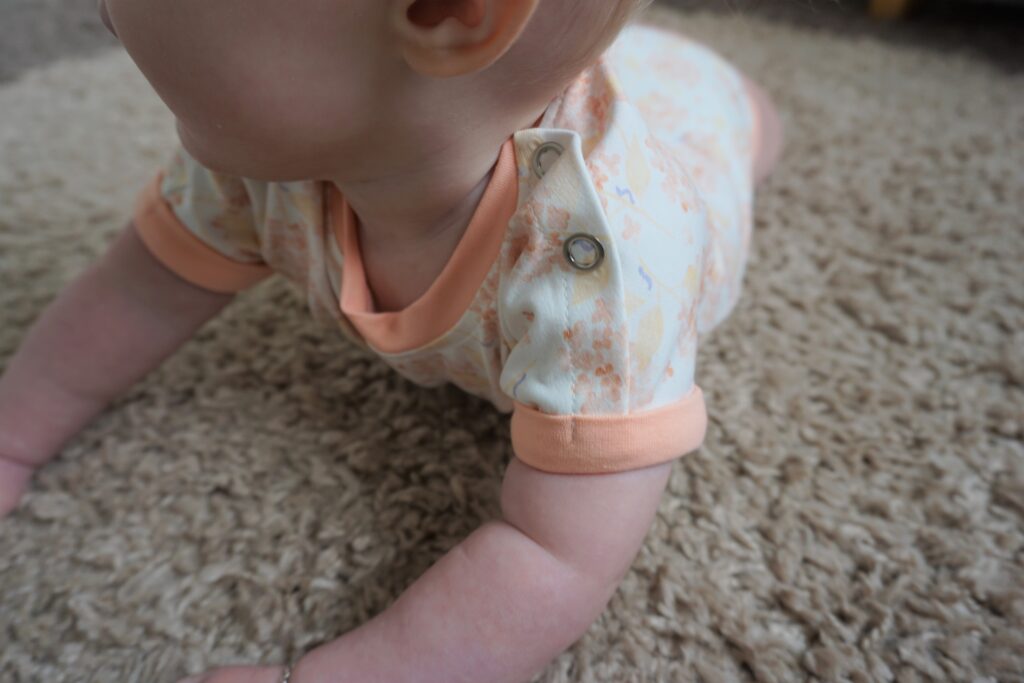
We are celebrating the birth of a new Sofilantjes baby. The Gemma Bodysuit. You asked us for a Gemma in baby sizes so here it is. A lovely bodysuit with three sleeve options. Long, short and short with fold over cuff. With great bum coverage and a well fitted body your baby can play and sleep perfectly.
Short sleeve:
Long sleeve:
Fold over cuff:
The Gemma bodysuit release sale runs from October 20, 00.00 CET (Oct. 19, 6 pm EST) through October 24 00.00 CET (Oct. 23, 6 pm EST) and is €4,99 – excluding taxes, no code needed. You can get your copy using the links below. If you are a Sofilantjes Sew and Show member, join us to show off your Gemma Bodysuit.


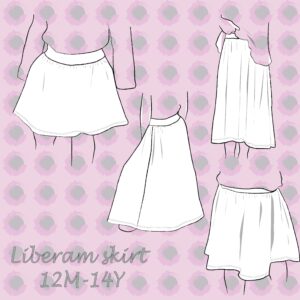 Free Liberam Skirt Child – English$5.00 excl. tax
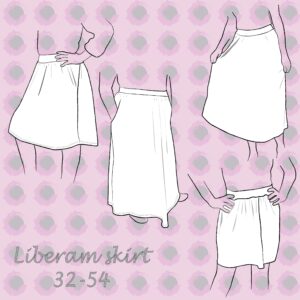 Free Liberam Skirt Adult – English$5.00 excl. tax
 Baby Harem Legging (free for Facebook group members, link in the listing)$1.00 excl. tax
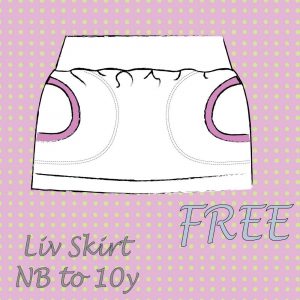 LIV skirt sizes NB to 9/10 EN (free for Facebook group members, link in the listing)$1.00 excl. tax