This tutorial is made for you by Ingrid Coevert. Thank you Ingrid for sharing your creativity with us.
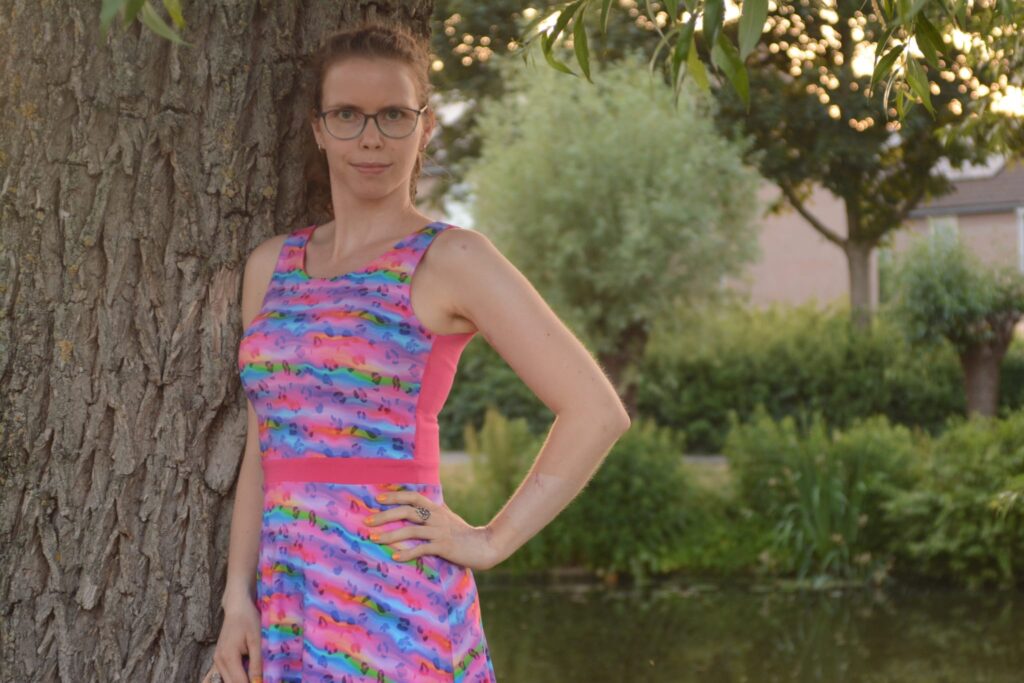
The Alis twist dress is a pattern designed for children ( and teenagers with a starting bust) and not for fully curvy women like you and me. However I did fall into the largest size in the chart! So I thought , I’ll give it a go! By the way I’m a cup 65E.
I started with a test bodice exactly like the pattern. That way I could clearly see where it needed to be adjusted. So I wasn’t surprised that I had to make a bust dart, otherwise it fit perfectly.
So how do you create a bust dart and how do you adjust it to your pattern pieces? Let me show you how I did it.
Don’t forget to show us when you try this adjustment.
I started by pinning the excess fabric at my chest from the test bodice and pinned it together, This created my dart. Try to pin it as proportional as possible. I also took a picture of my armhole (where there is now a the dotted seam I have created) so you know how much you may add to the pattern, just as a reminder to yourself.
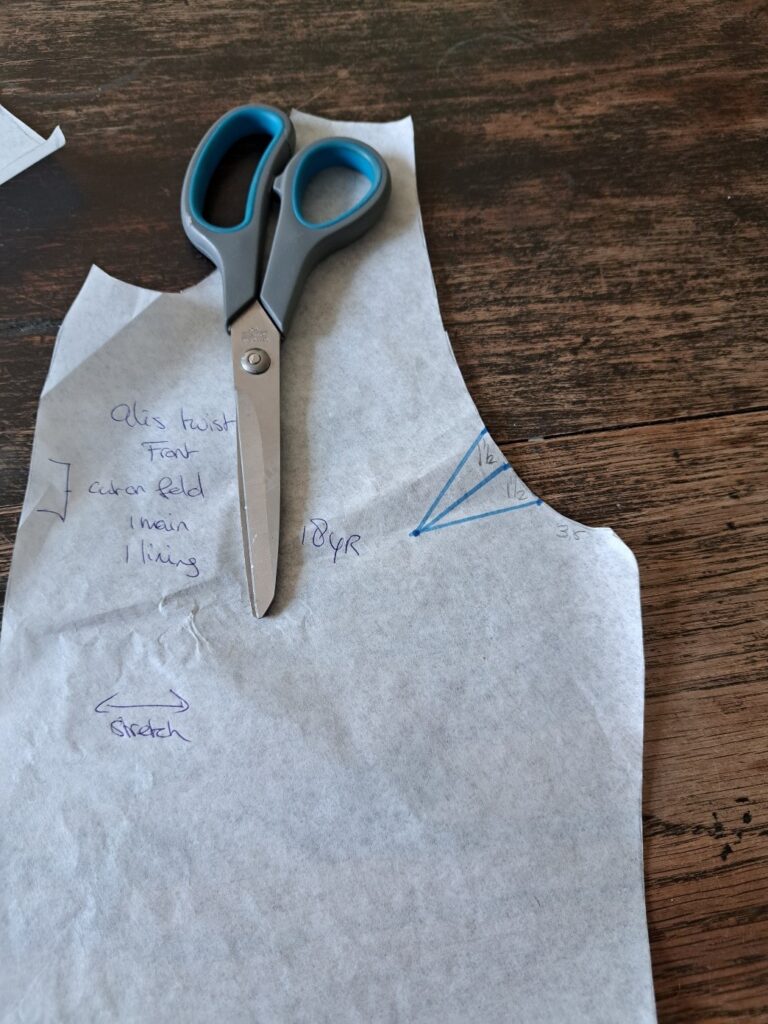
Next add markings of your pinned dart. Measure the width, how far the dart goes in and how far from the side seam it starts.
After adding the markings, draw it on your pattern piece. Since you measured from your side seam, don’t forget to add the seam allowance (3/8″-1 cm). So for me 1″-2.5 cm from side seam should be 1.3″ – 3.5 on paper. From there you can continue to draw your dart. In my case, I folded 2x just 1/2″- 1.5 cm and it went in 1.5″-4 cm.
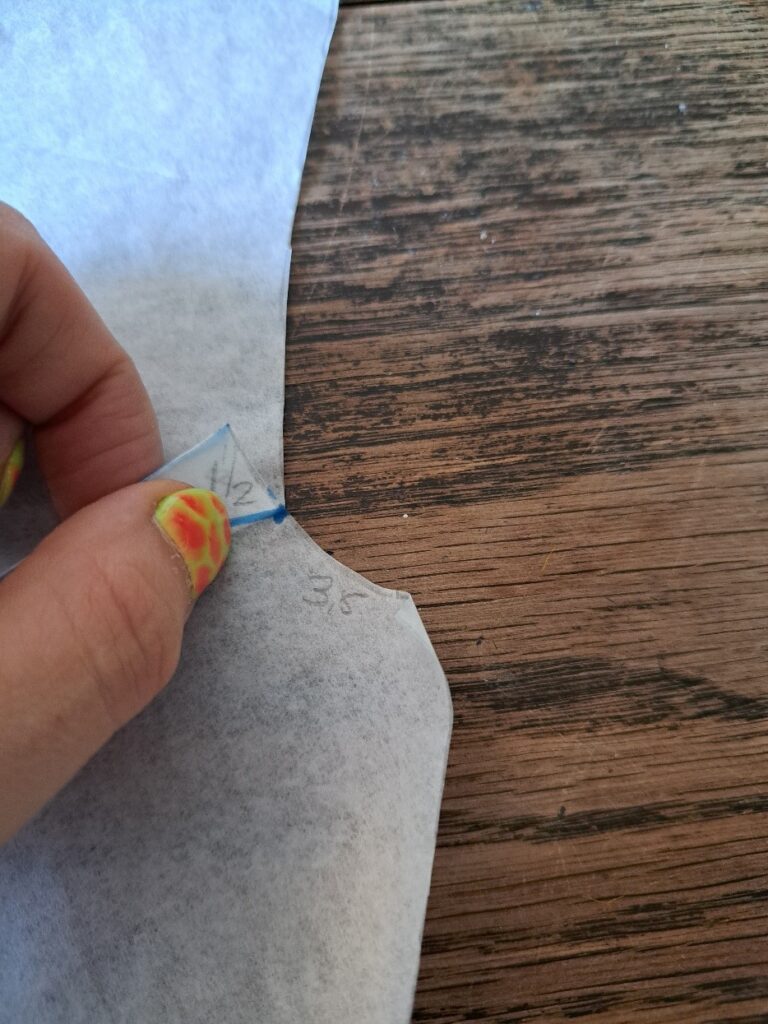
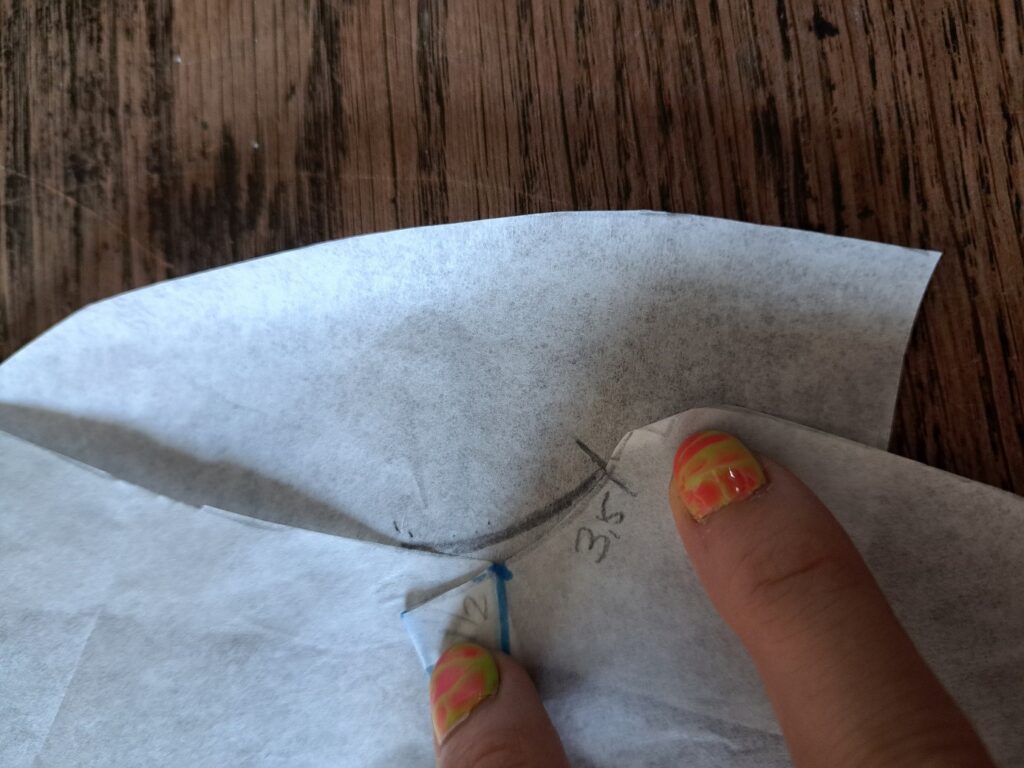
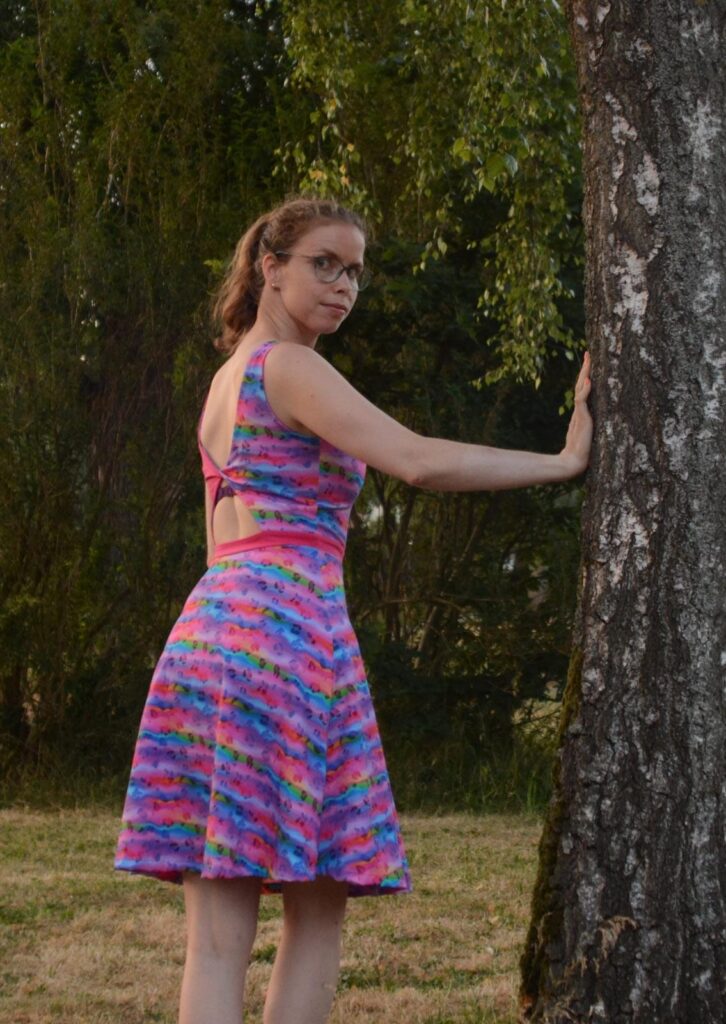
I placed some pattern paper behind it and folded the dart seam, so I could touch up. After matching the curve again , I released the bust dart and drafted towards the armhole. Finally, cut this when your dart seam is in.
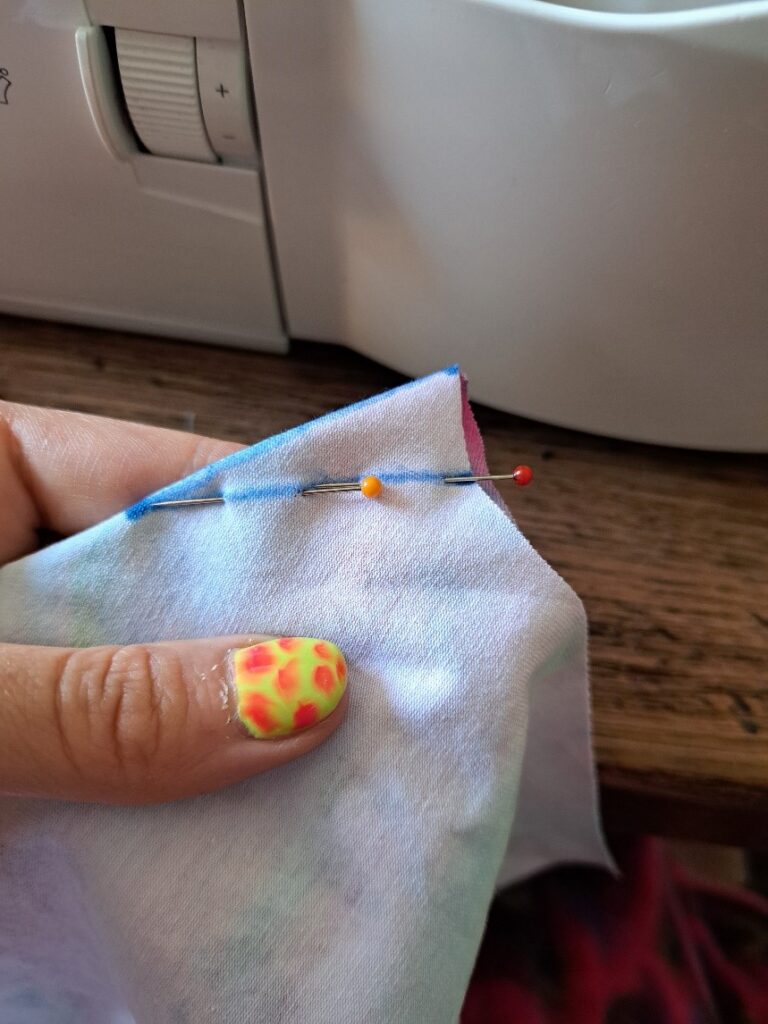
Next step is to cut out the fabric and copy the markings. Then I fold and pin the dart in place. In case you’re wondering what marker I used , it’s my daughter’s washable marker. This brand is super easy to wash out. Then I sewed with a straight stitch on the bottom line. Try to stitch to the point as much as possible, it makes the dart point sit better.
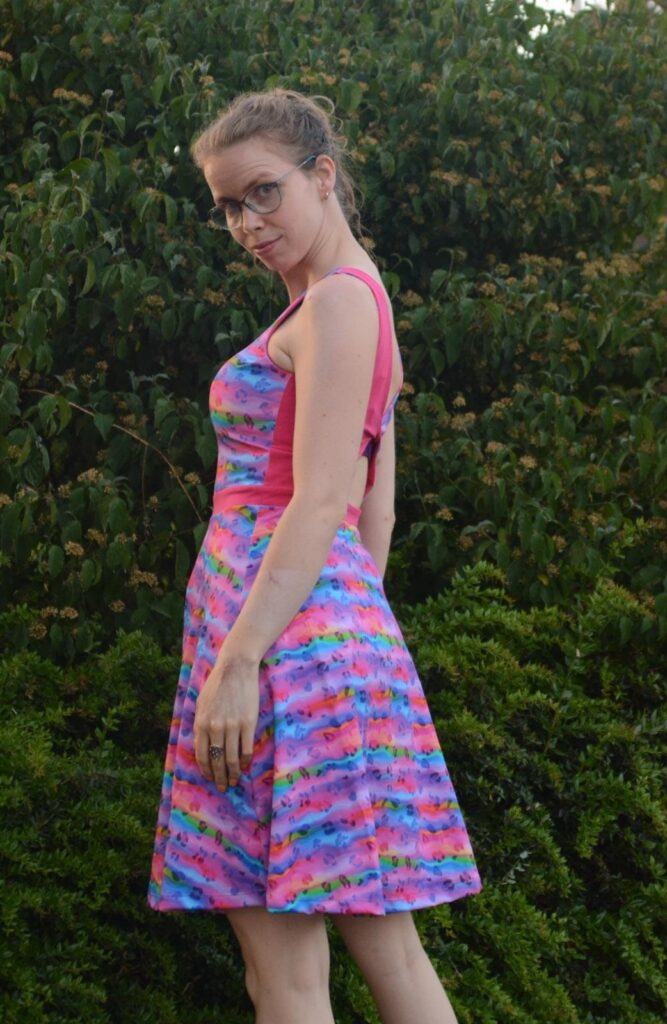
And as the last step I folded the dart down towards the side seam and cut away the excess fabric so the curve flows nicely with the pattern again. Now you can continue as described in the pattern and it is tailored to your beautiful body. Have fun with it!
Buy more save more
(PDF patterns only)
- Spend €25* or more and save 10%.
Use code: SAVE10 - Spend €45* or more and save 20%.
Use code: SAVE20 - Spend €65* or more and save 30%.
Use code: SAVE30
(Sale items excluded)
* Excl. Taxes
Recent comments
Archives

Thank you for visiting
Thank you for visiting our website. This website and all its content are copyright protected. Please ask permission before sharing any pictures or articles, especially when a child is shown in the image.


Leave a Reply