
Author: Anne

Tutorial: Extra Stripe to the Add-on

Lets add an extra stripe. Just because we can… Follow the directions below and do not forget to show us your result in our Facebook group or tag us on IG (@Sofilantjes_anne).

This tutorial is made by Deborah, go say hi over on IG and thank her by following her account.


Tutorial: How to make short striped sleeves

With spring around the corner you might want to use short sleeves. Using this easy tutorial you can do just that. Follow the directions below and do not forget to show us your result in our Facebook group or tag us on IG (@Sofilantjes_anne).

This tutorial is made by Nele, go say hi over on IG and thank her by following her account.


Tutorial: Colorblock the Sleeve Stripe

Add colorblock to the sleeve strip of the Velocitas, Regem (add-on sleeve) or ADVTee (add-on sleeve). Not that you can colorblock almost anything. Sleeves are easy to start with. Read the steps below and let your creativity do the rest. Do not forget to show us your result in our Facebook group or tag us on Instagram (Sofilantjes_anne) so we can ooooh and aaah and flatter you by trying your colorblock ourselves.

Step 1.

Decide how high you want your colorblock to be. I chose a straight colorblock stripe. The stripes are 2″/ 5cm high. In total, I am adding 3 stripes. The bottom stripe looks wider but there is a hem allowance of 3/4″/ 2cm on that piece.


Step 2.

Find the fabrics you want to use. Cut out your stripes in your selected fabrics. Add 3/8″ / 1 cm seam allowance on the sides you are sewing the stripes. Excluding the bottom where the sleeve hem is and the top where the arm hole is.


Step 3.

The fun part. Lets start sewing! Match the bottom and top of the colorblocks and sew.

Always press your seam after sewing. This helps set the seam and makes it stronger.


Step 4.

Sew the remaining two stripes! Repeat the above step. Sew and press.


Step 5.

Inside view. If you skipped pressing in the previous steps, this is your last chance. Press.


Step 6.

Optional: Topstitch you colorblock pieces.


Step 7.

Finish the sleeve following the instructions. Press.


Done!

Well done. You mastered the colorblock.

This pattern is the ADVTee with free colorblock sleeve add-on.

Tutorial: Add a Pocket to the Stripes Sleeve (Option 2)

Did you love the pocket tutorial we shared two days ago? You’ll love this one too.

A pocket worthy of a teenager. No more losing your phone! Follow the directions below and do not forget to show us your result in our Facebook group or tag us on IG (@Sofilantjes_anne).

This tutorial is made by Deborah, go say hi over on IG and thank her by following her account.


Tutorial: Cut it Up and Make it Bold

Ready for more fun? Add an extra layer to the sleeve stripe and get your scissors out. Follow the directions below and do not forget to show us your result in our Facebook group or tag us on IG (@Sofilantjes_anne).

This tutorial is made by Marieke, go say hi over on IG and thank her by following her account.

Step1.

Cut the center sleeve (part 1/2) 2×2 on fold and the long sleeve part 2/2 as in the instructions: 2 x mirrored.


Step 2.

We are now going to layer the center sleeve pieces. Place the outer layer (wrong side) on top of the inner layer (right side) of the center sleeve. To be clear: both pieces are right side up. Baste all around.

Now you can thread them as 1 piece and you follow the instructions from your pattern and finish your sweater.


Step 3.

Using a small pair of scissors, you are going to cut through only the upper layer of your sleeve. Be very careful.


Step 4.

Be as creative as you want; make smaller or longer cuts through your fabric. You can even braid them if you like: as long you cut only through the upper layer of fabric of the center sleeve.

(Mine are all 1 cm wide)
Enjoy your creation! 


And done!

Choose your stripe sleeve pattern below and create your own.

Thank you Marieke for your inspirational tutorial.


Tutorial: Add a zipper pocket to the sleeve stripe

Ready for something fun? Add a pocket with a zipper to the sleeve stripe. Follow the directions below and do not forget to show us your result in our Facebook group or tag us on IG (@Sofilantjes_anne). English directions can be found beneath the photos.

This tutorial is made by Arina, go say hi over on IG and thank her by following her account.

  1. Fold a piece of pattern paper in half, and place the pattern piece of the stripe against the fabric fold. Draw tightly along the pattern piece of the stripe. Keep 15 cm for the height. Unfold the pattern paper.
  2. Now you are going to draw a rectangle on the pocket. Do that 2.5 cm from the top and bottom, and keep 3 cm from the side seam, the width of the rectangle is 1.5 cm.
  3. Cut out the rectangle.
  4. Fold a piece of fabric in half, right sides together, and iron a piece of fleece behind it. Place the pattern piece on the fabric and cut out the outer edges.
  5. Draw the rectangle on the fabric. It is best to use a ruler for a nice straight line.
  6. Now remove the pattern piece from the fabric and fasten the edges to prevent sliding. Now draw a cutting line on your fabric. Stop 1 cm from the top and bottom edge and then go diagonally into the corners. (Dotted line is cutting line)
  7. Sew the outer edges of the rectangle.
  8. Fold your bag in half and make a small cut on the cutting line. Make sure that the bag is neatly straight so that you cut on the cutting line on both sides.
  9. Cut exactly on your dotted line. Then you get this result.
  10. Now fold the top layer of the bag through the rectangle to the other side, so that it looks just like in photo 11.
  11. Turn right sides out.
  12. Iron nicely flat.
  13. Now place your zipper under the rectangle, and possibly secure with pins or wonder tape.
  14. Sew the zipper 0.5 cm from the side of the rectangle. Go back and forth over the stitching at the top and bottom.
  15. Cut the rest of the zipper.
  16. Lock or zigzag the top and bottom of the bag, fold the top and bottom 1 cm and iron.
  17. On the stripe, mark the point where you want the bag to start. Do this on both sides of the stripe. It is best to measure this on your child. Place the stripe on his or her arm and measure how high you want the bag to be.
  18. Topstitch the top and bottom of the bag that you just turned up at 0.7 cm from the edge.
  19. Assemble the sleeve as shown on the original pattern.

Colorblock the Magistra

Colorblock it. Follow the instructions below.

1. Measure and cut out your block on the pattern pieces (both front and back).


2. Cut your pattern pieces.


3. Add seam allowance to the fabric where the cut has been made.


4. Measure and secure the pivot point, the bortom of the V-shape, on both pieces together with a pin.


5.Sew the pieces together, preferably with an elastic seam on your houshold machine. Flip the fabric at the pivot point for a neat finish. Cut a notch in the seam allowance at the bottom point of the V all the way down to the seam.

6. Flatten out your front and pack pieces, give them a good press and topstitch if you like.

7. Follow the instructions to assemble your Magistra.


Enjoy your new Magistra.

Tutorial and picture credit: Jenny Svensson.

Cicero Turned into a Sweater

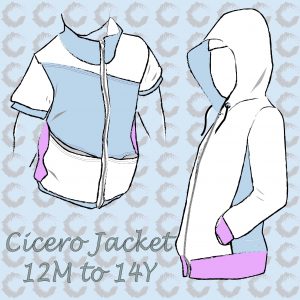
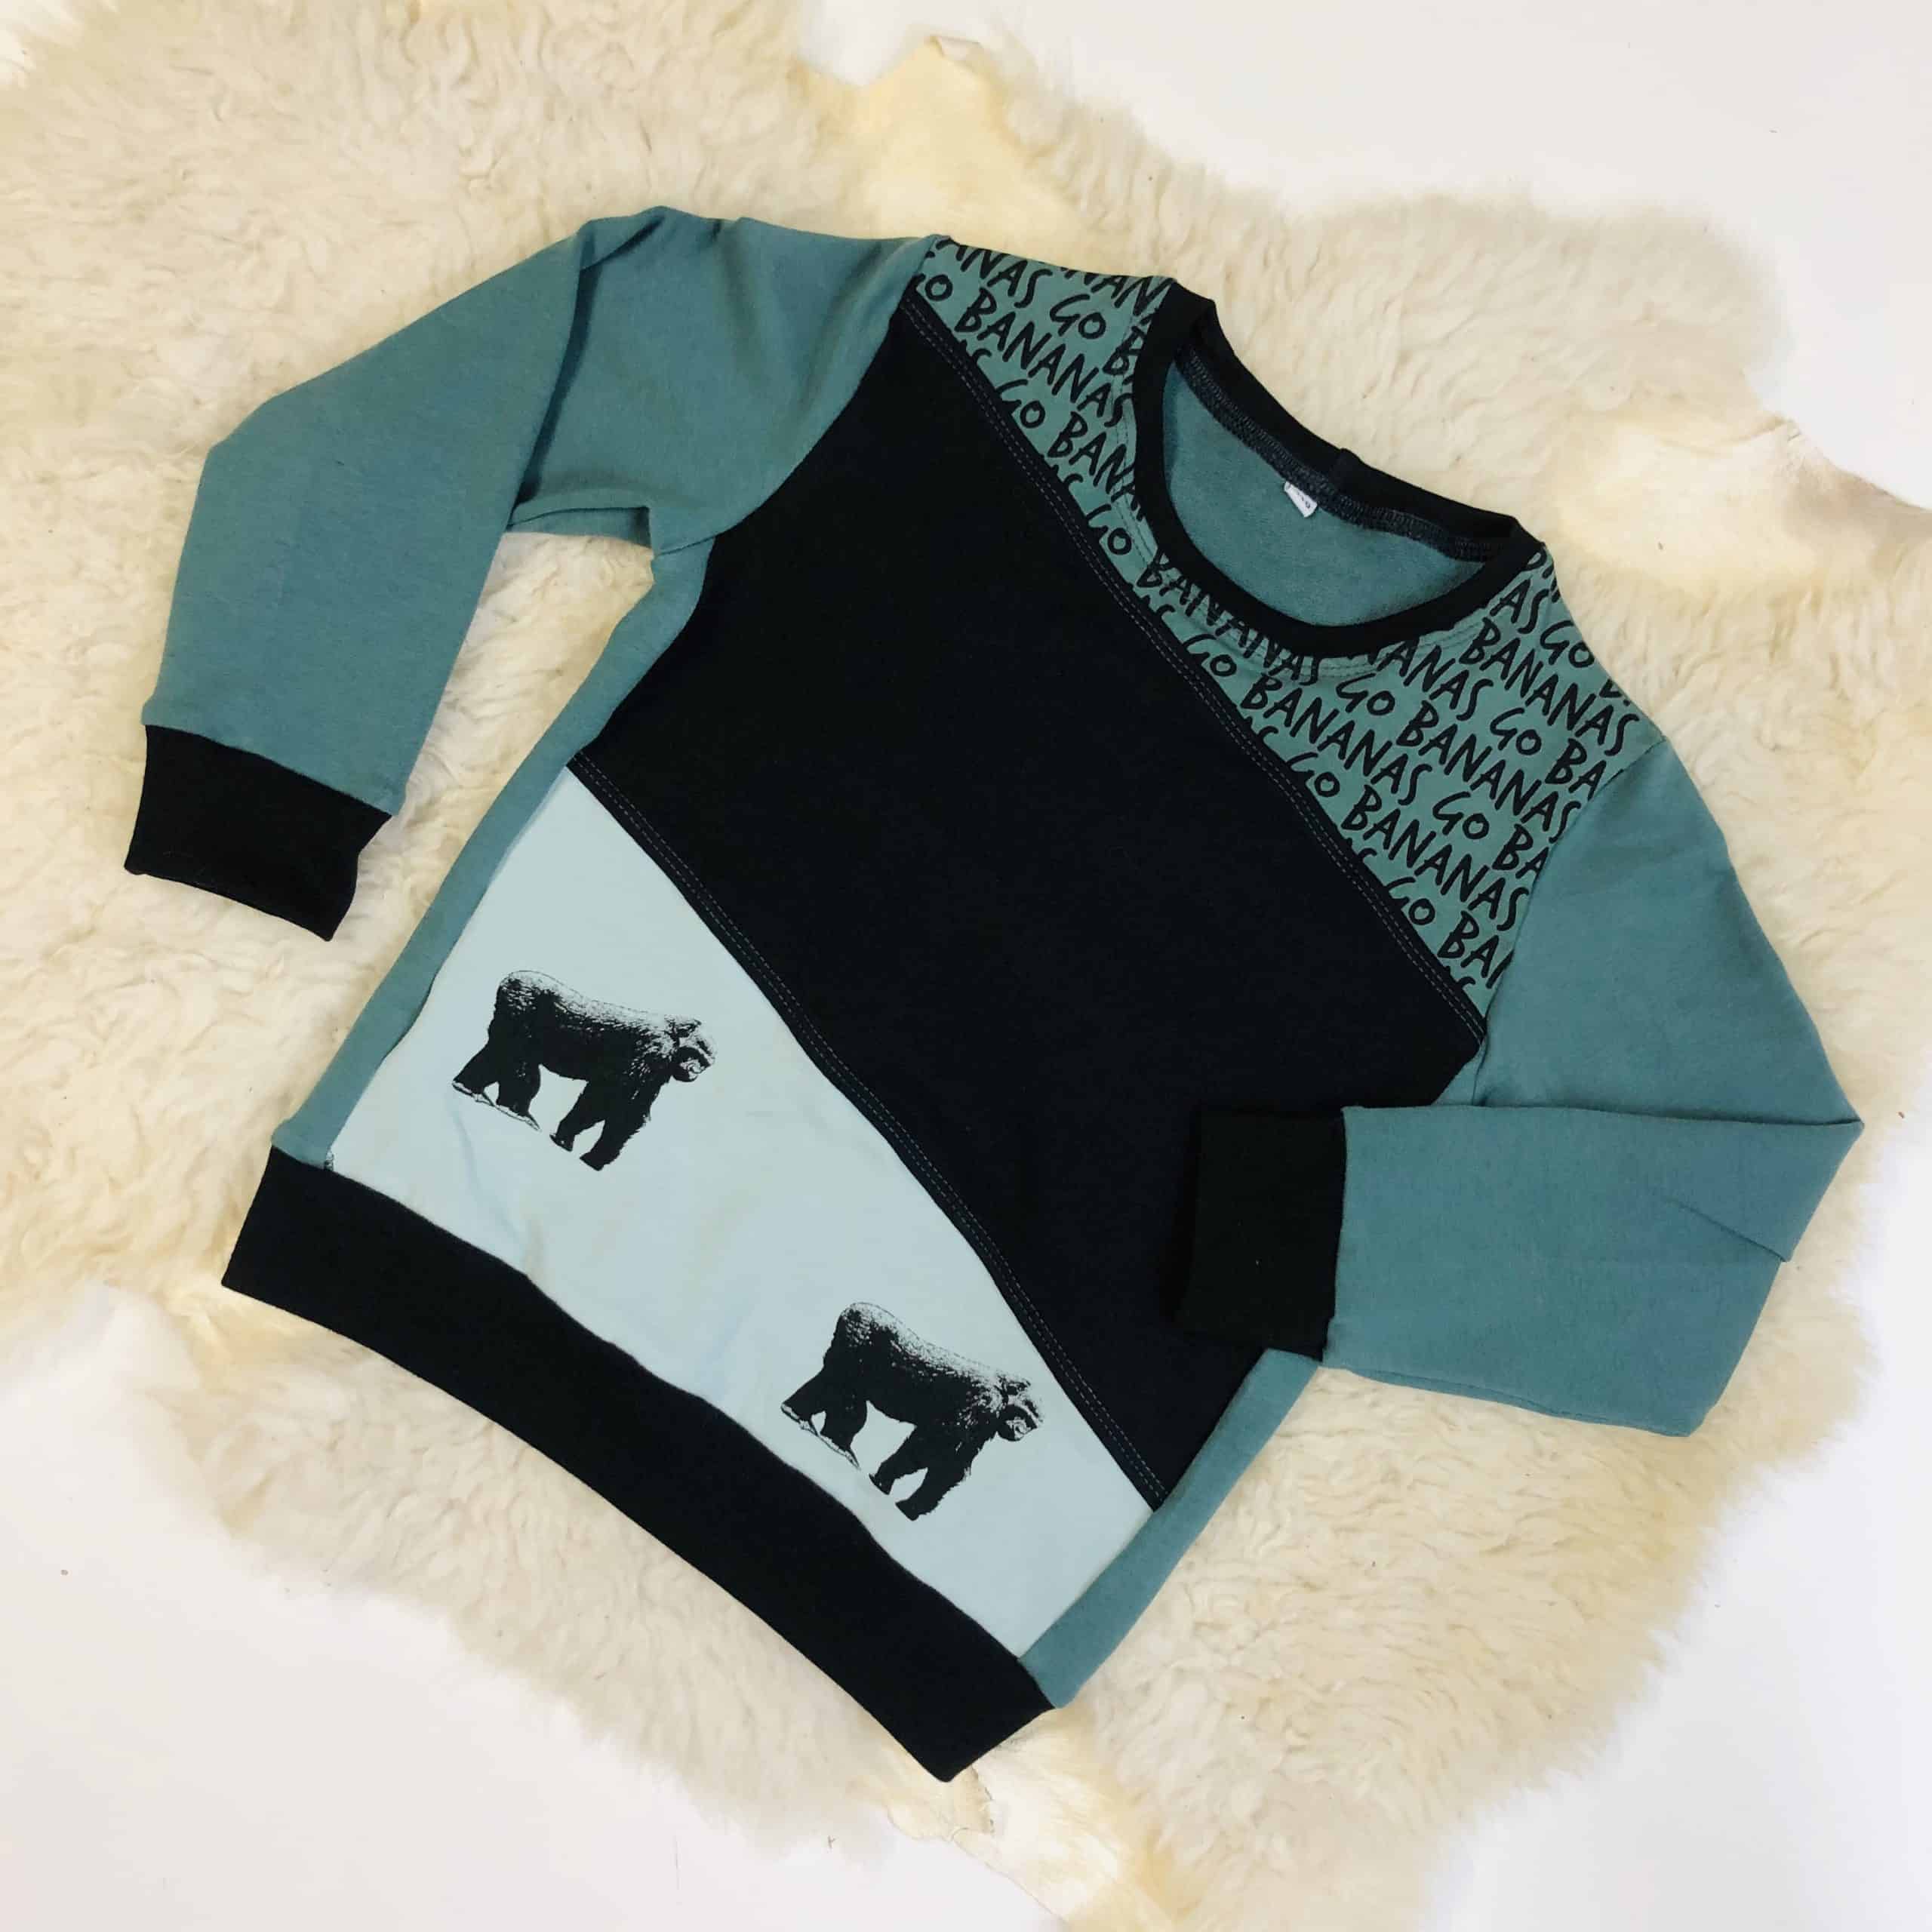
You probably all know the Cicero Jacket! Such a fun jacket, suitable for all kinds of weather days, and I even see it hacked into a softshell jacket every now and then. But, with just a little alteration, you can also turn this pattern into a cool color-blocked sweater! Today I’d like to show you how!

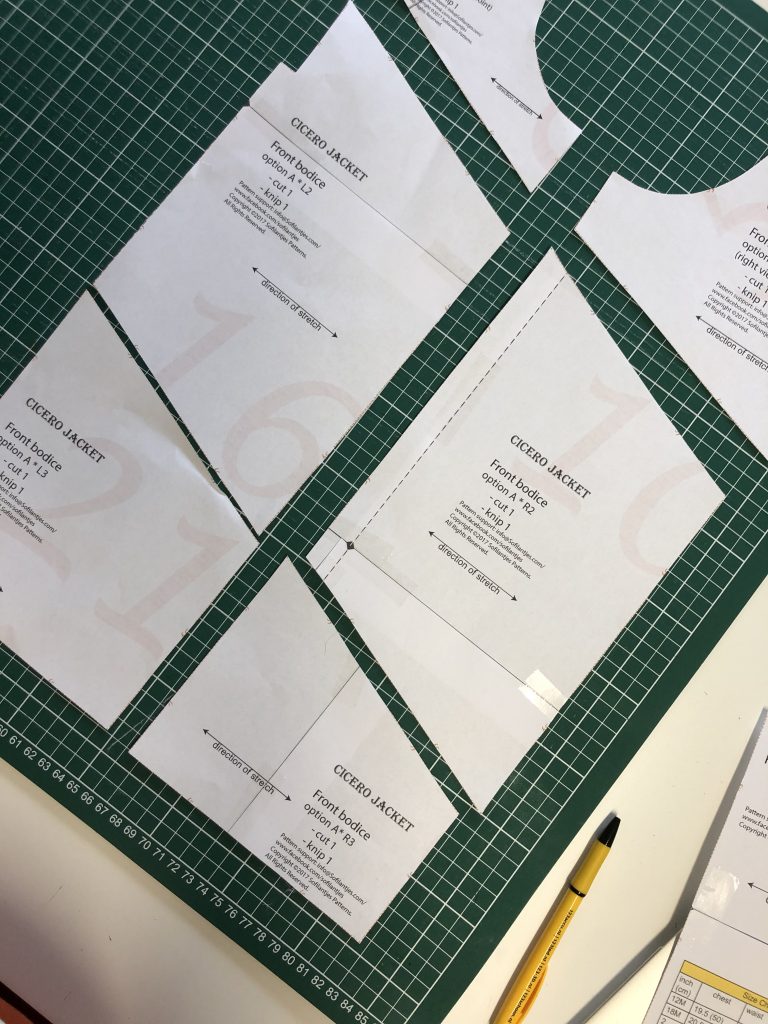
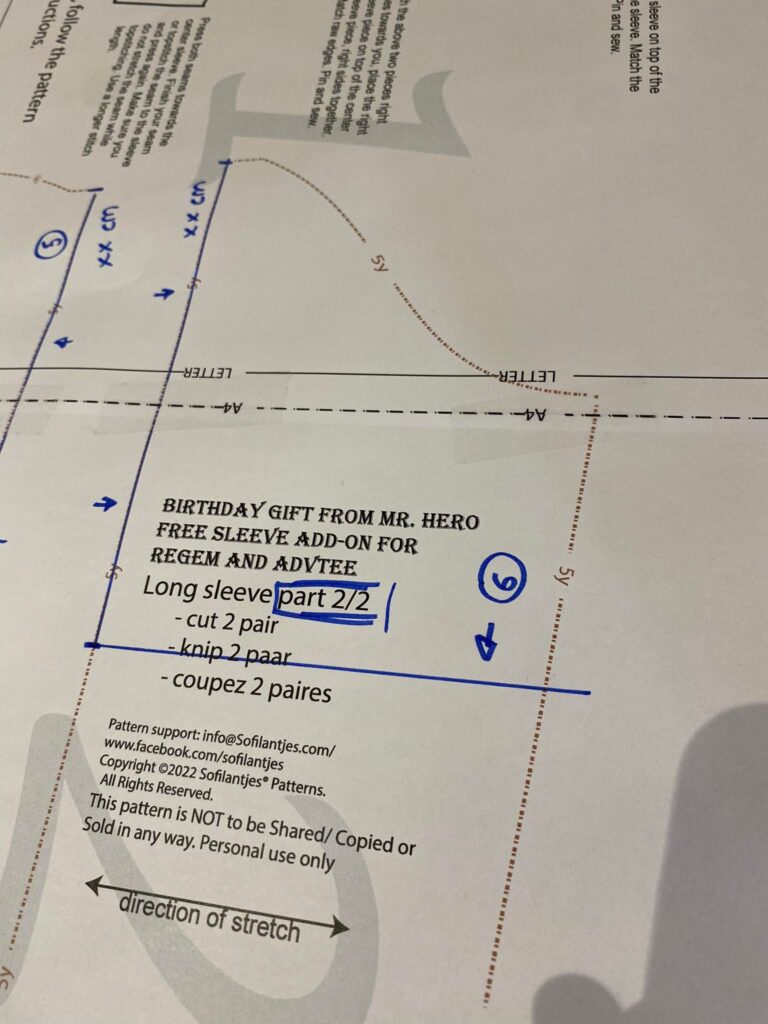
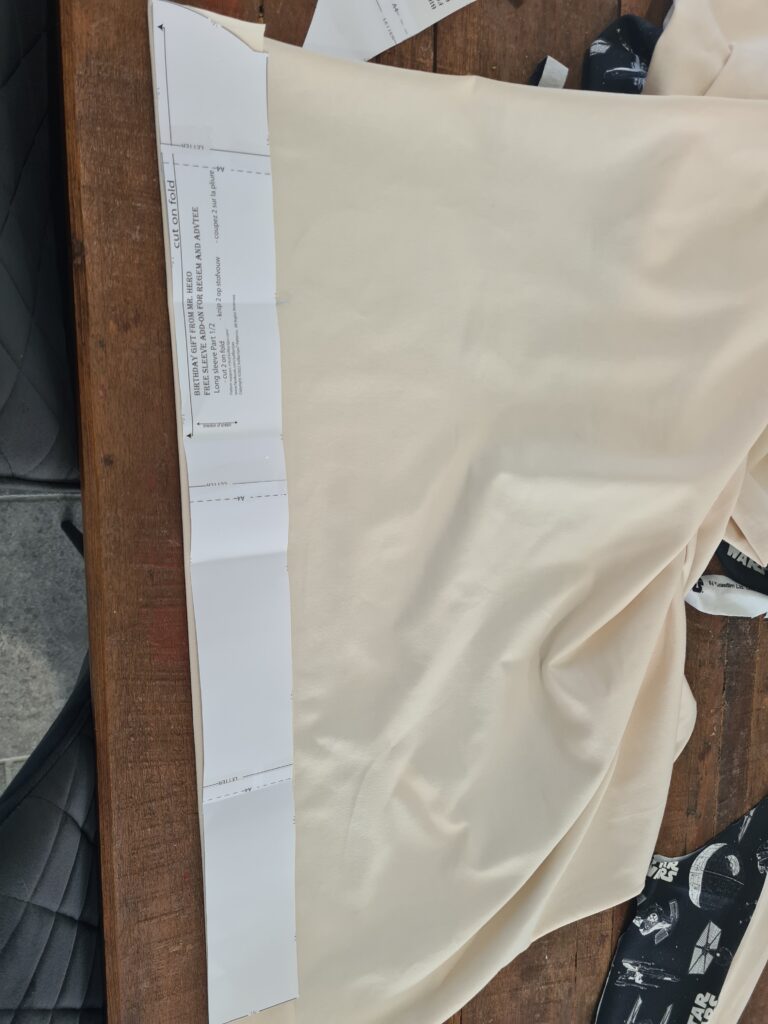
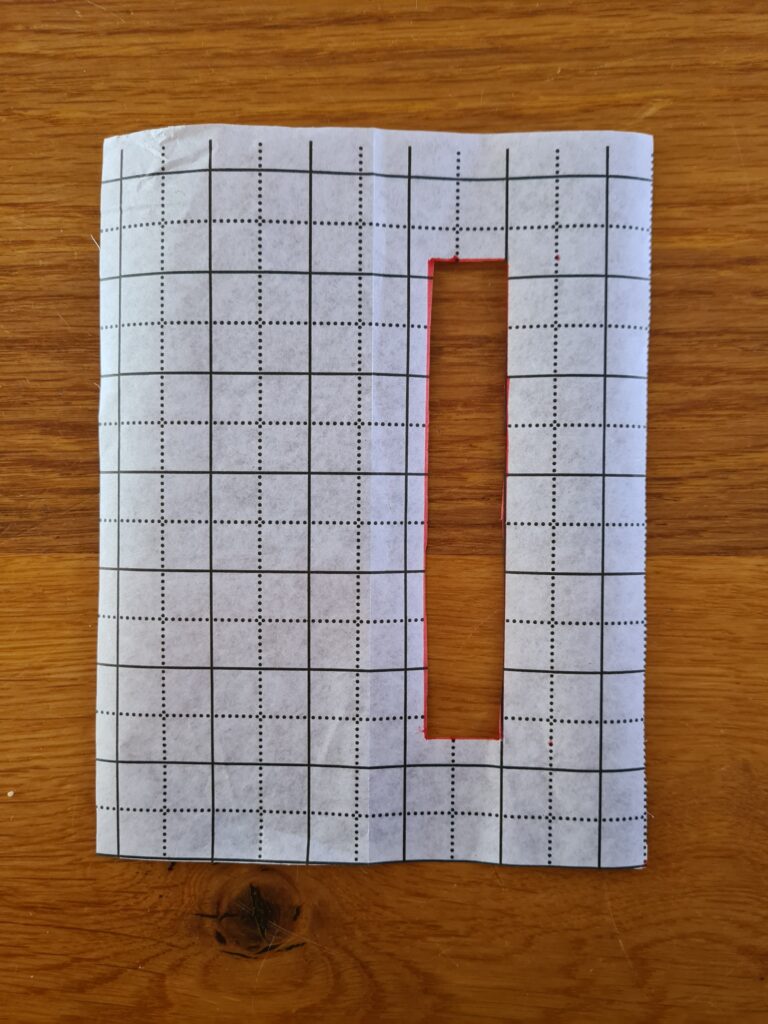
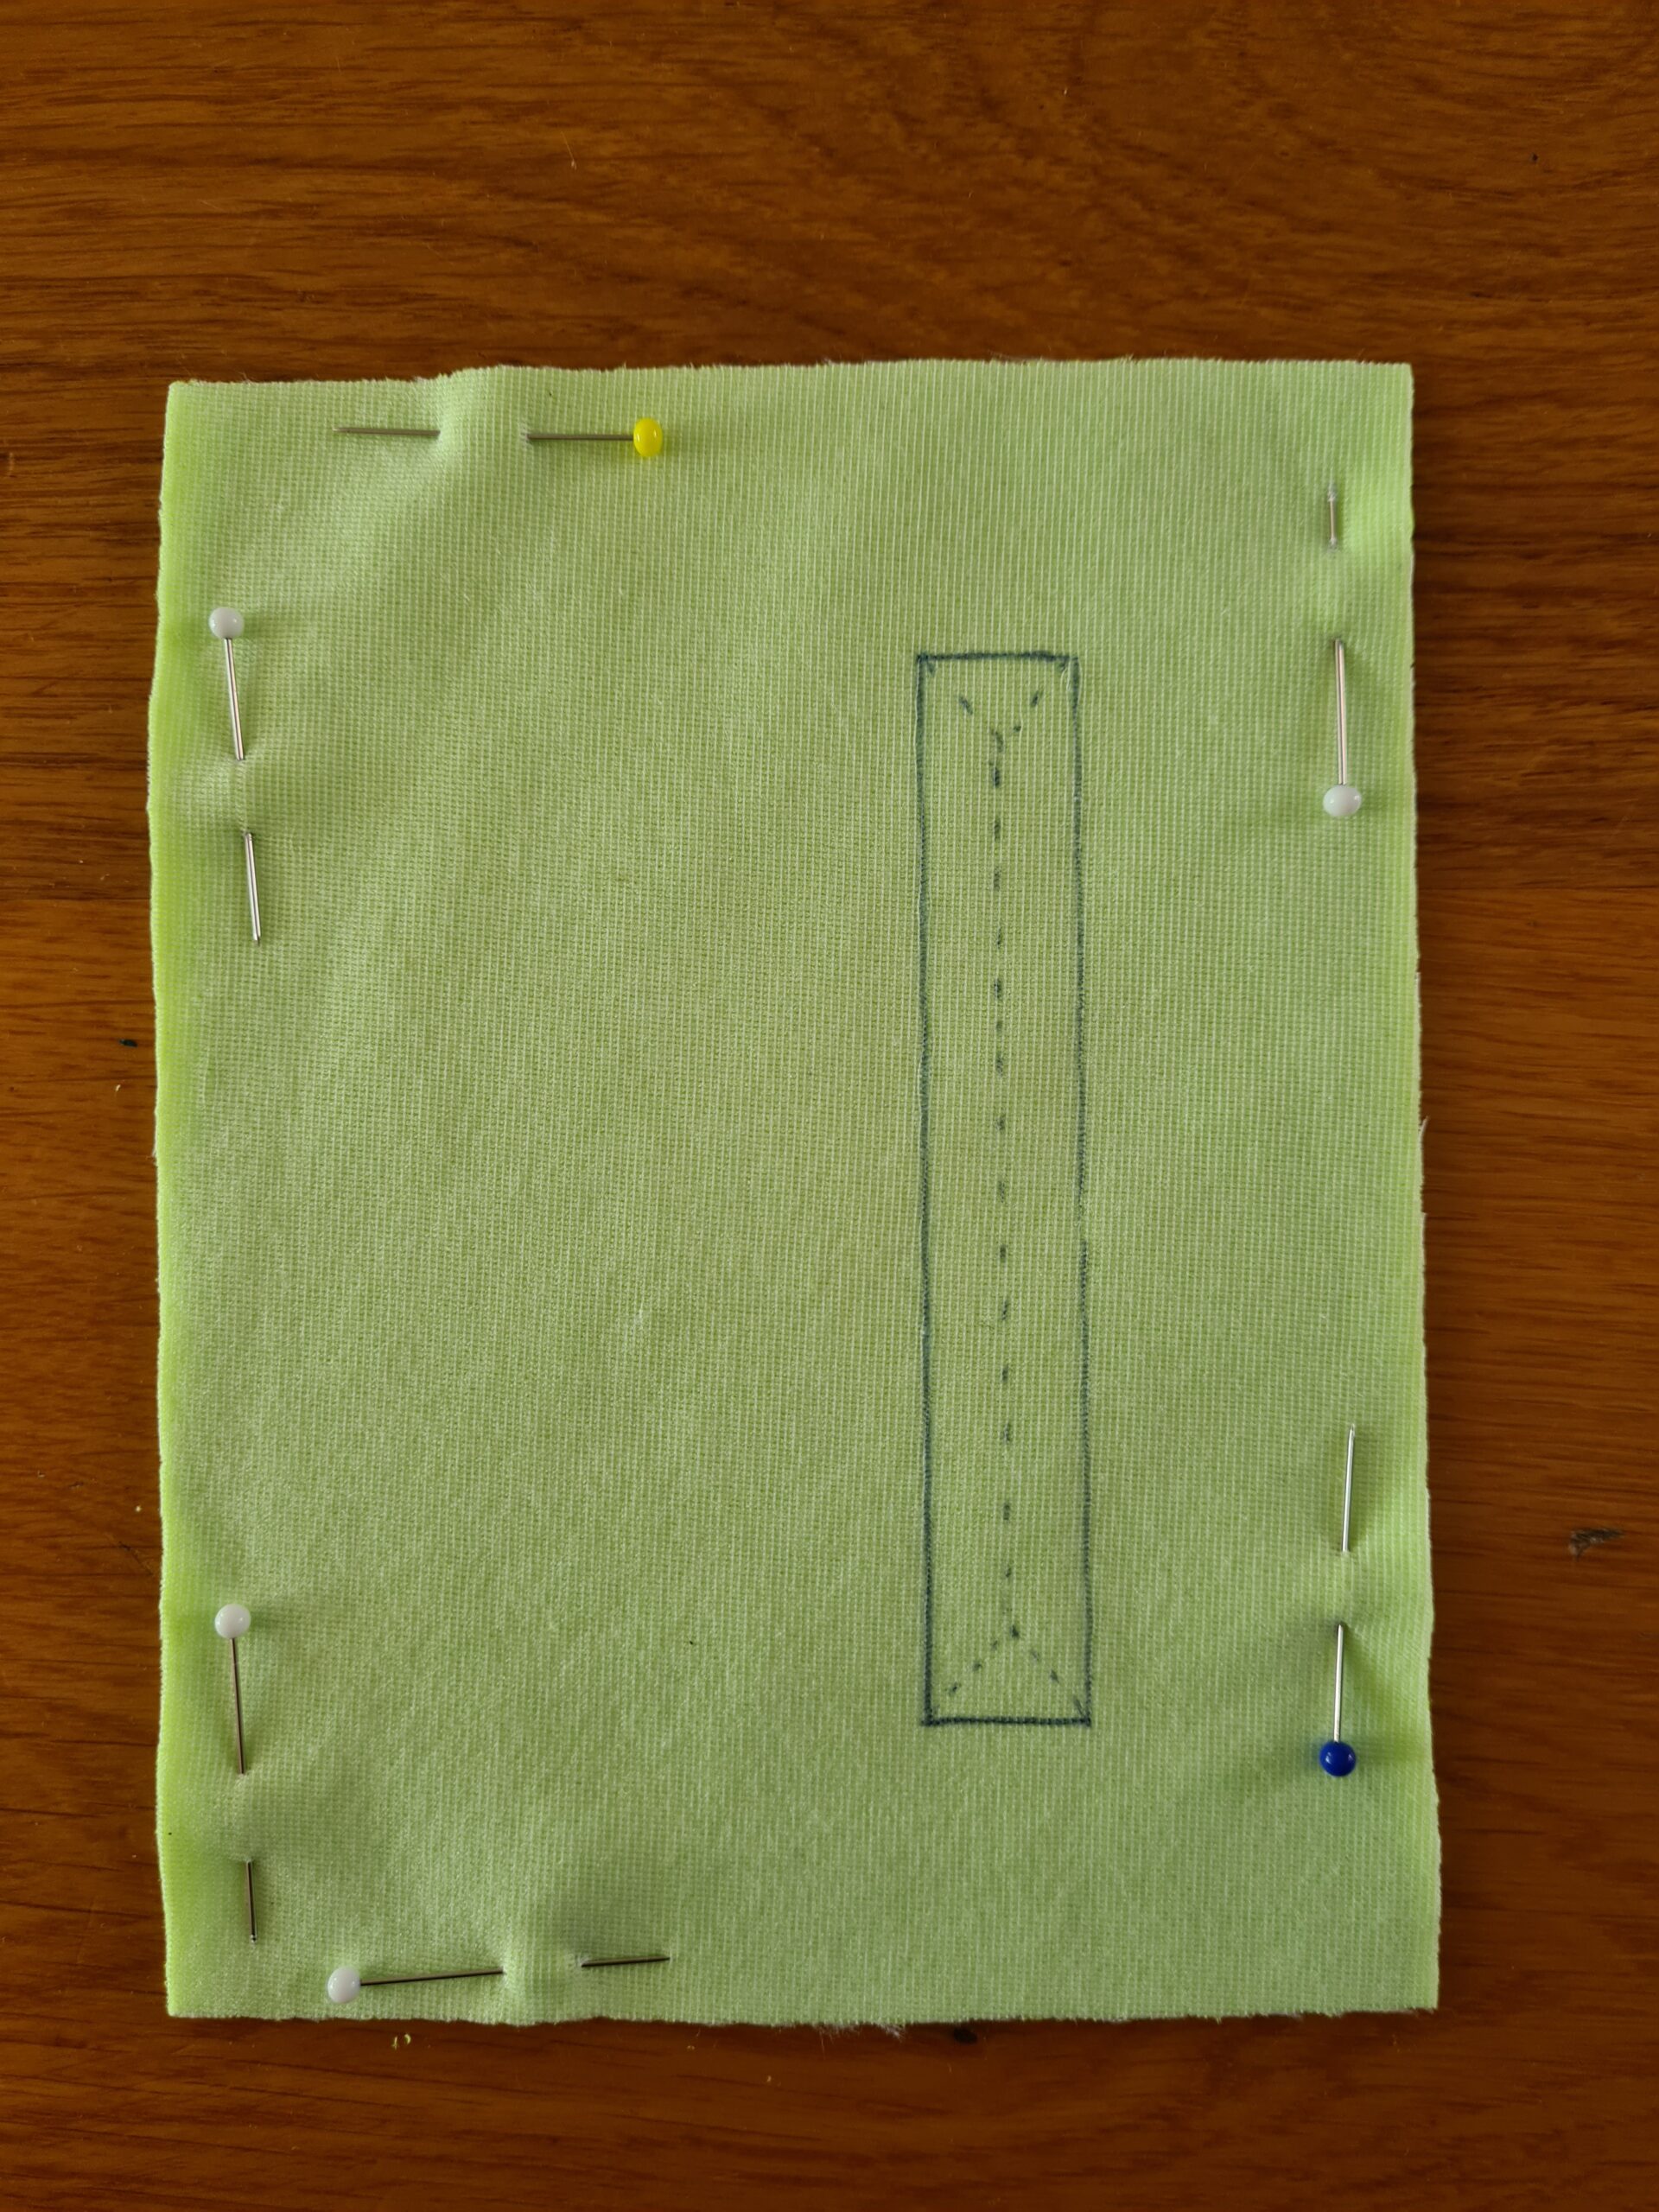
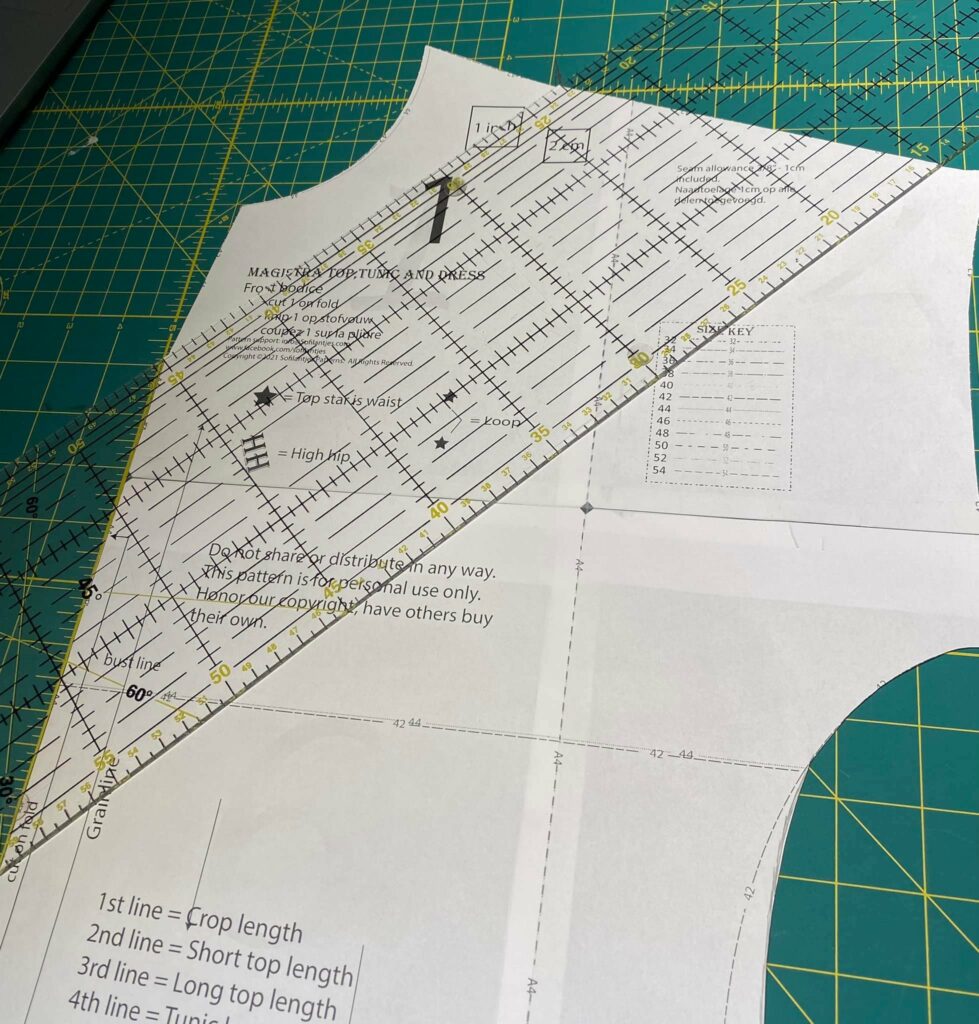
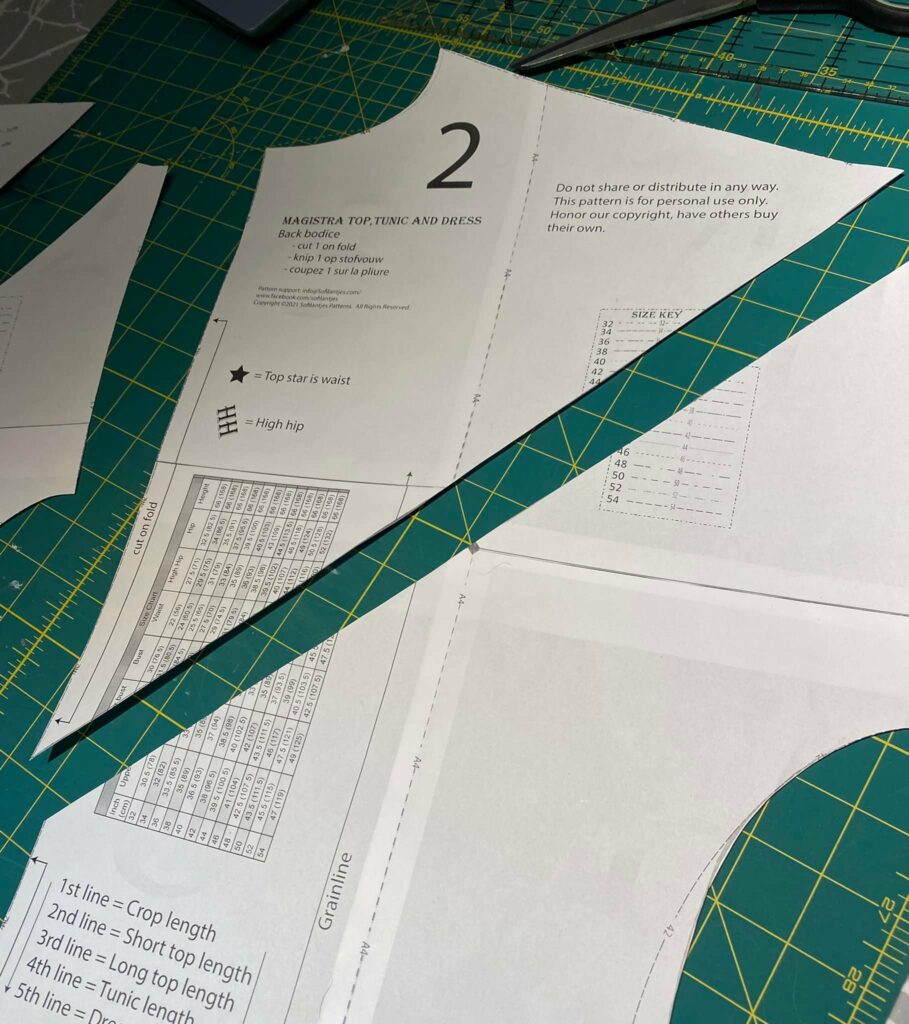
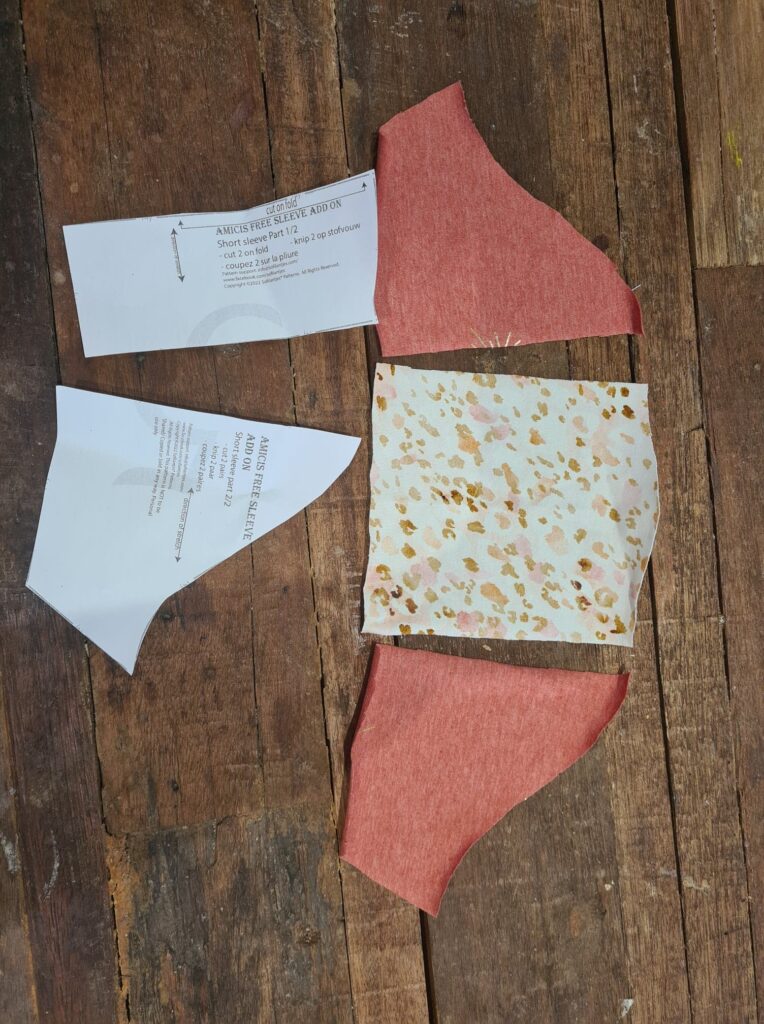
To make this alteration, you need the front bodice pieces for option A.  Print them & cut them out according to the size chart.

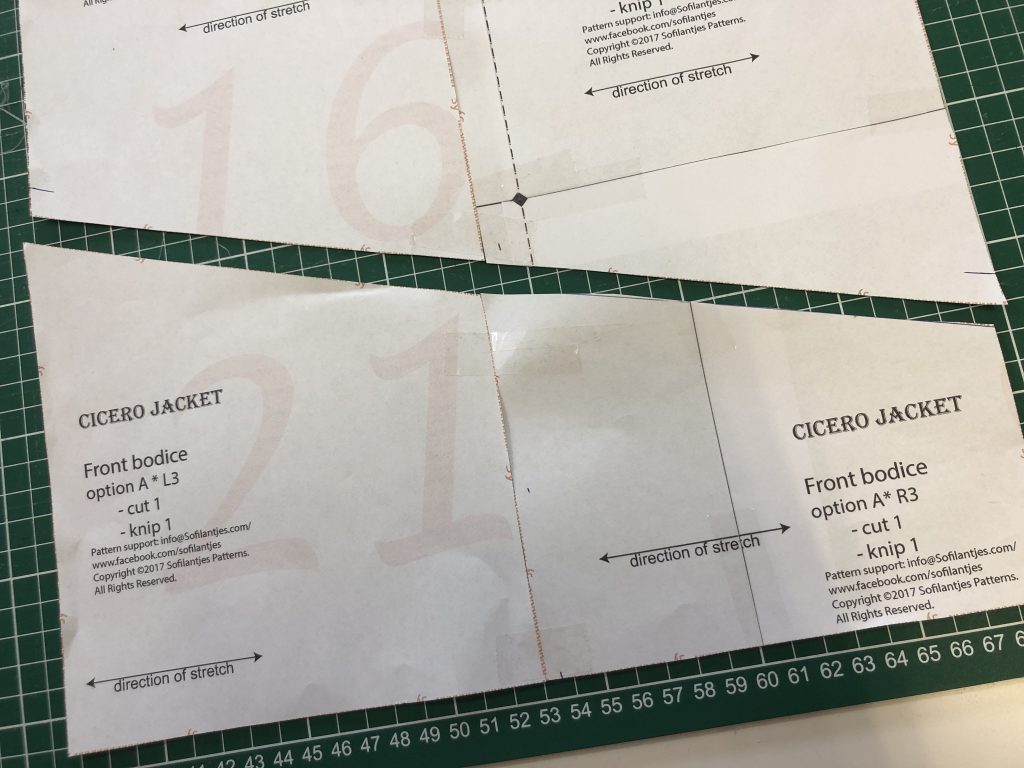
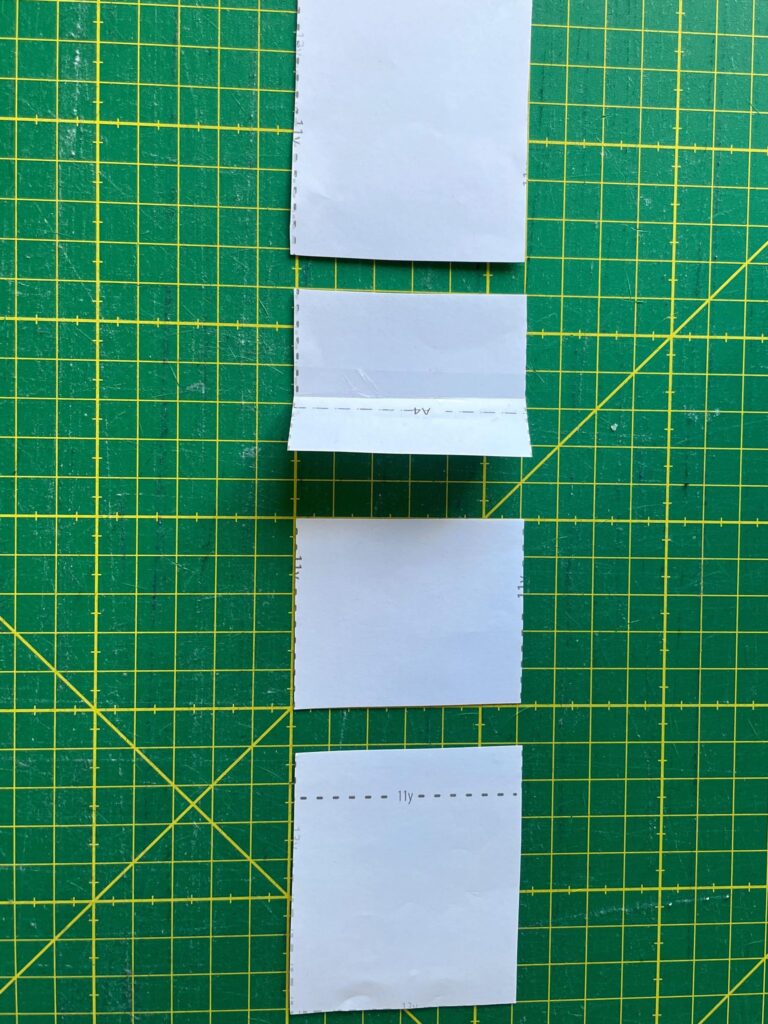
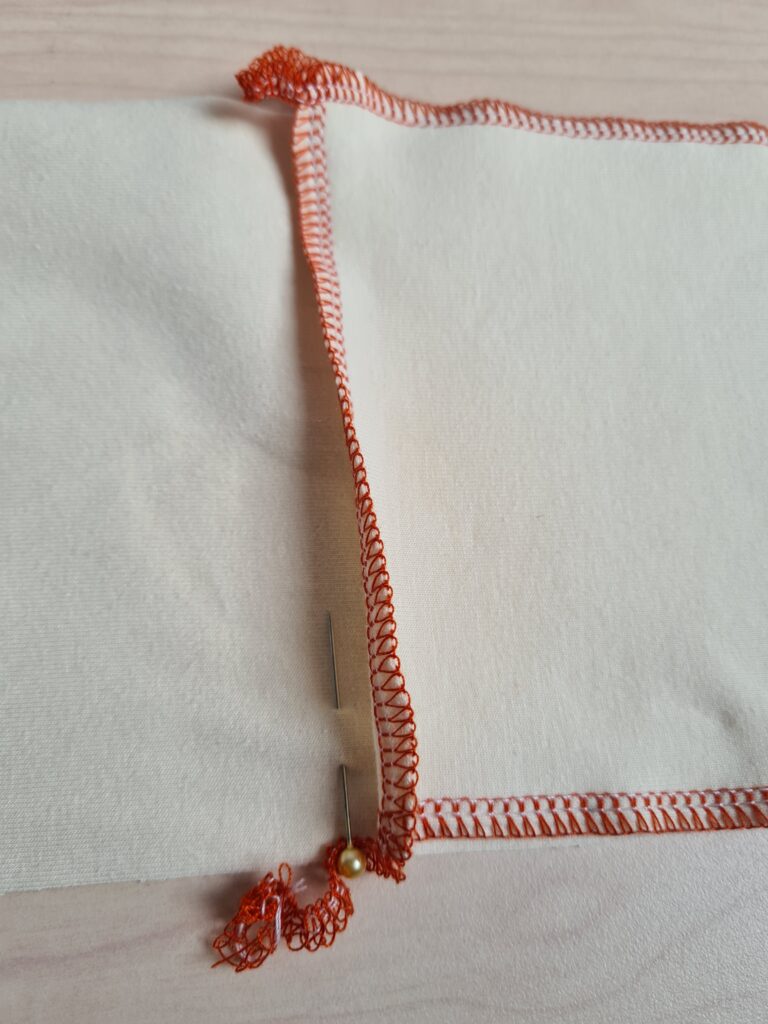
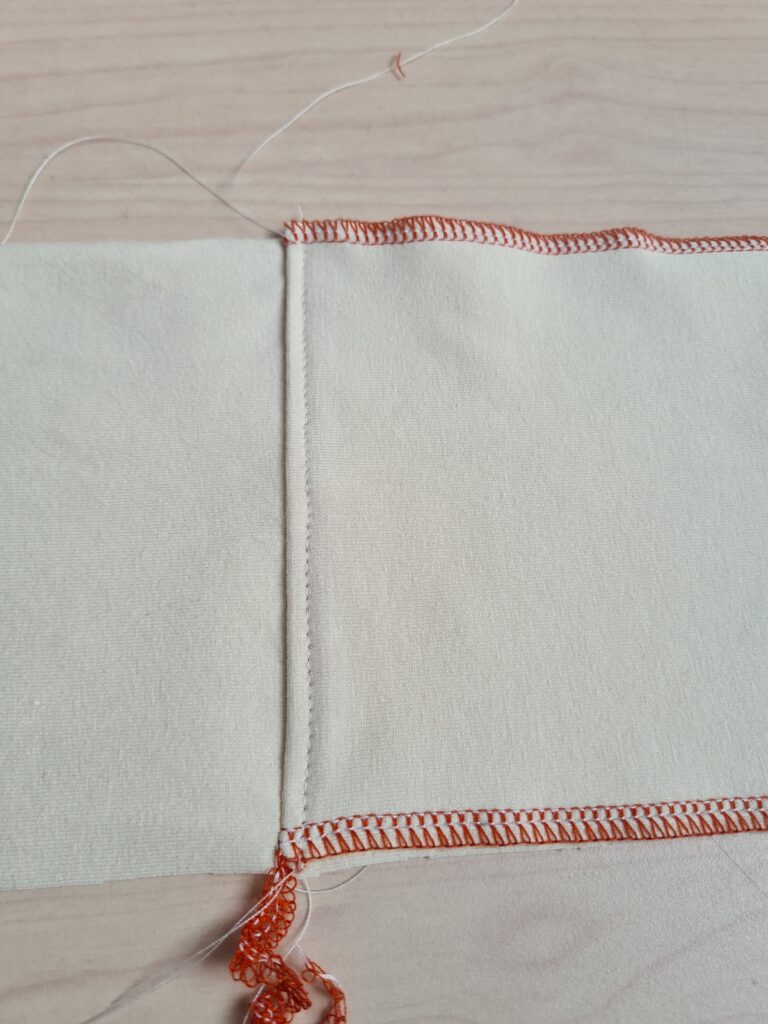
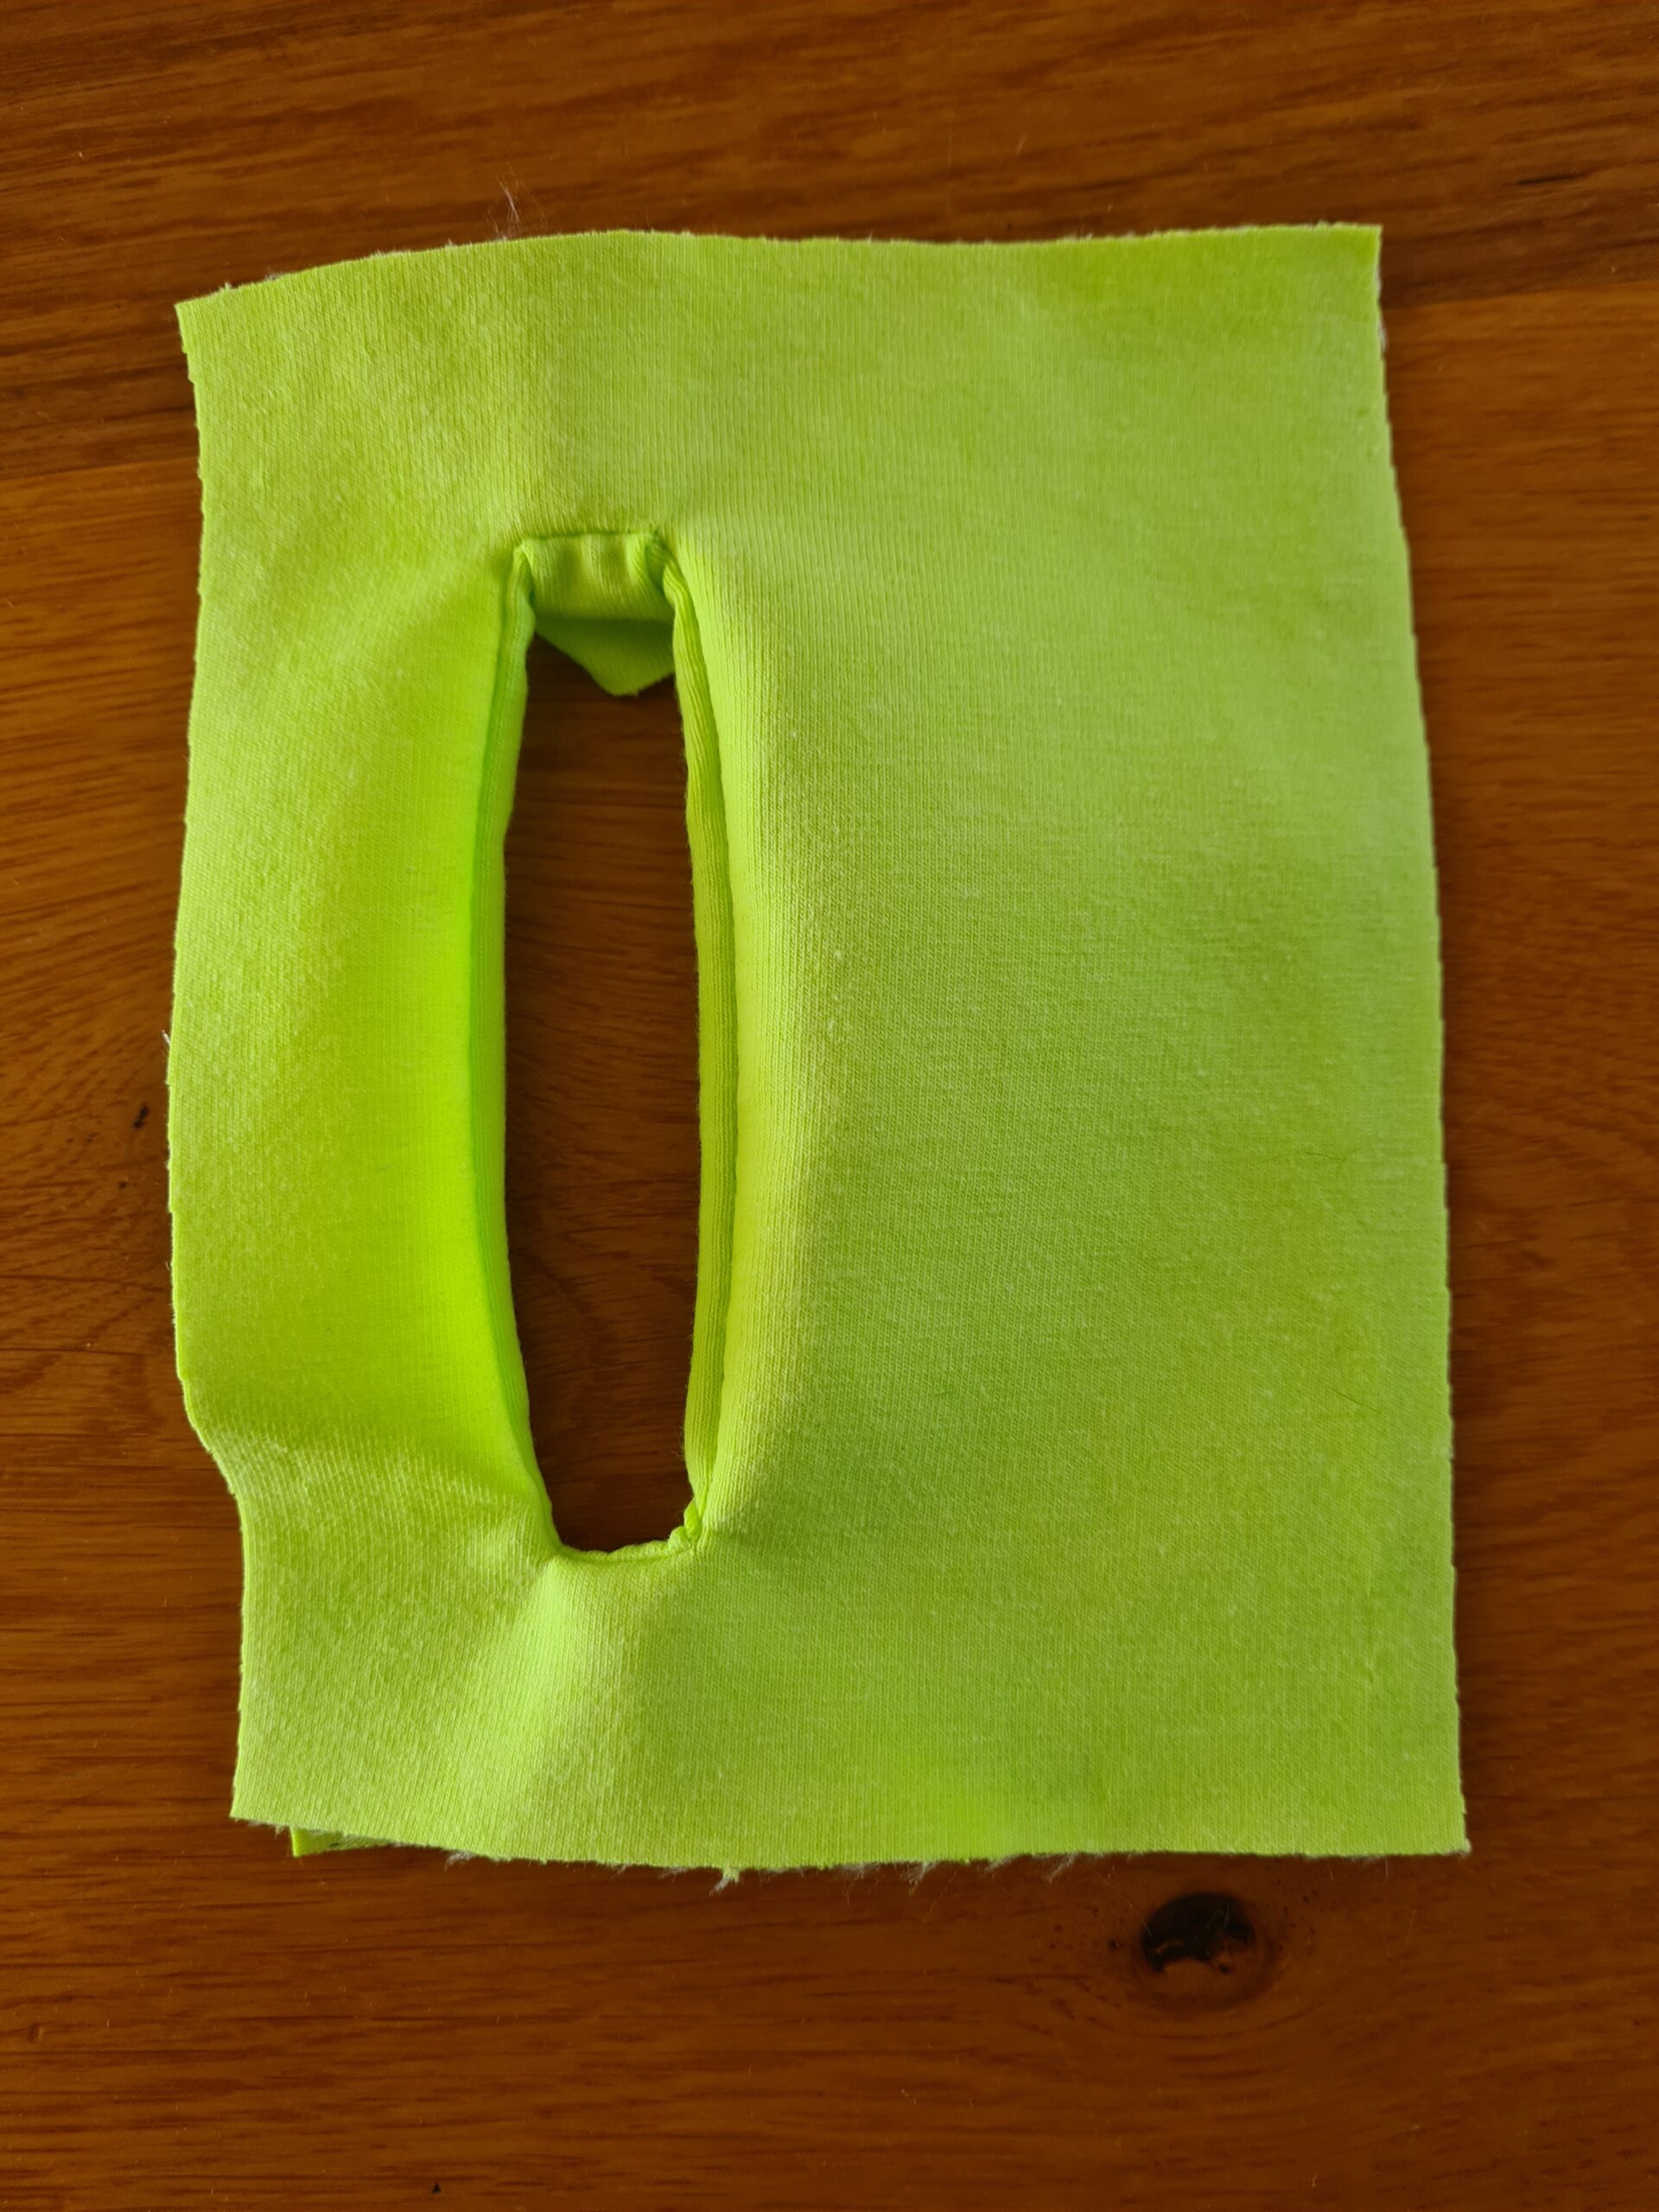
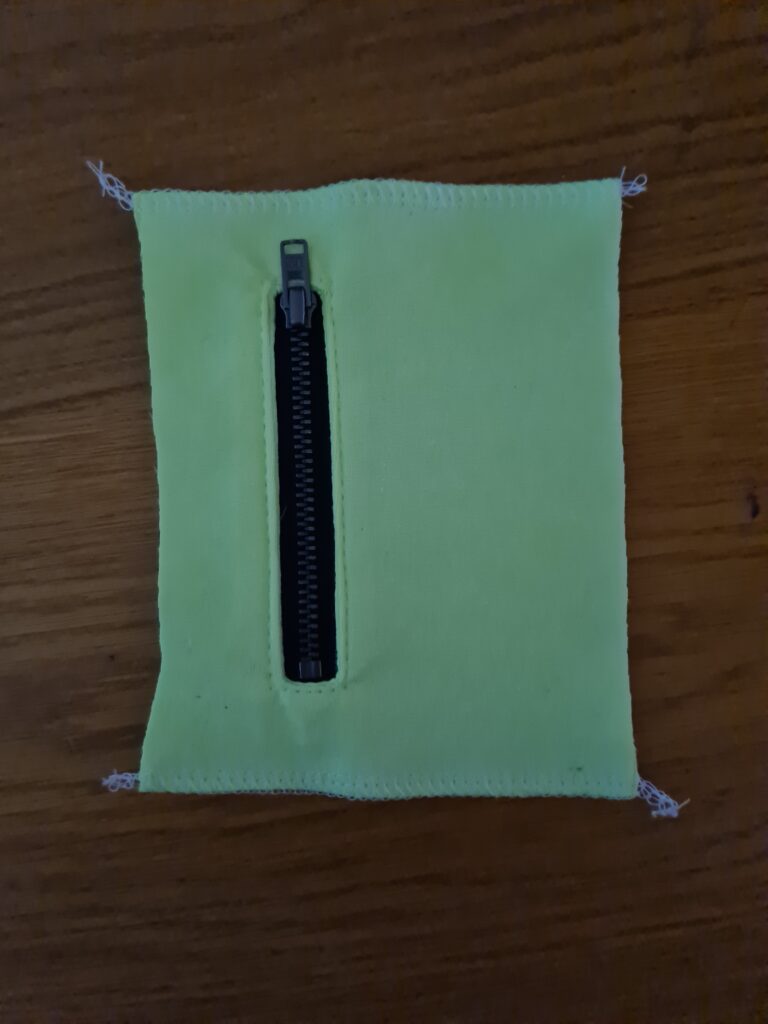
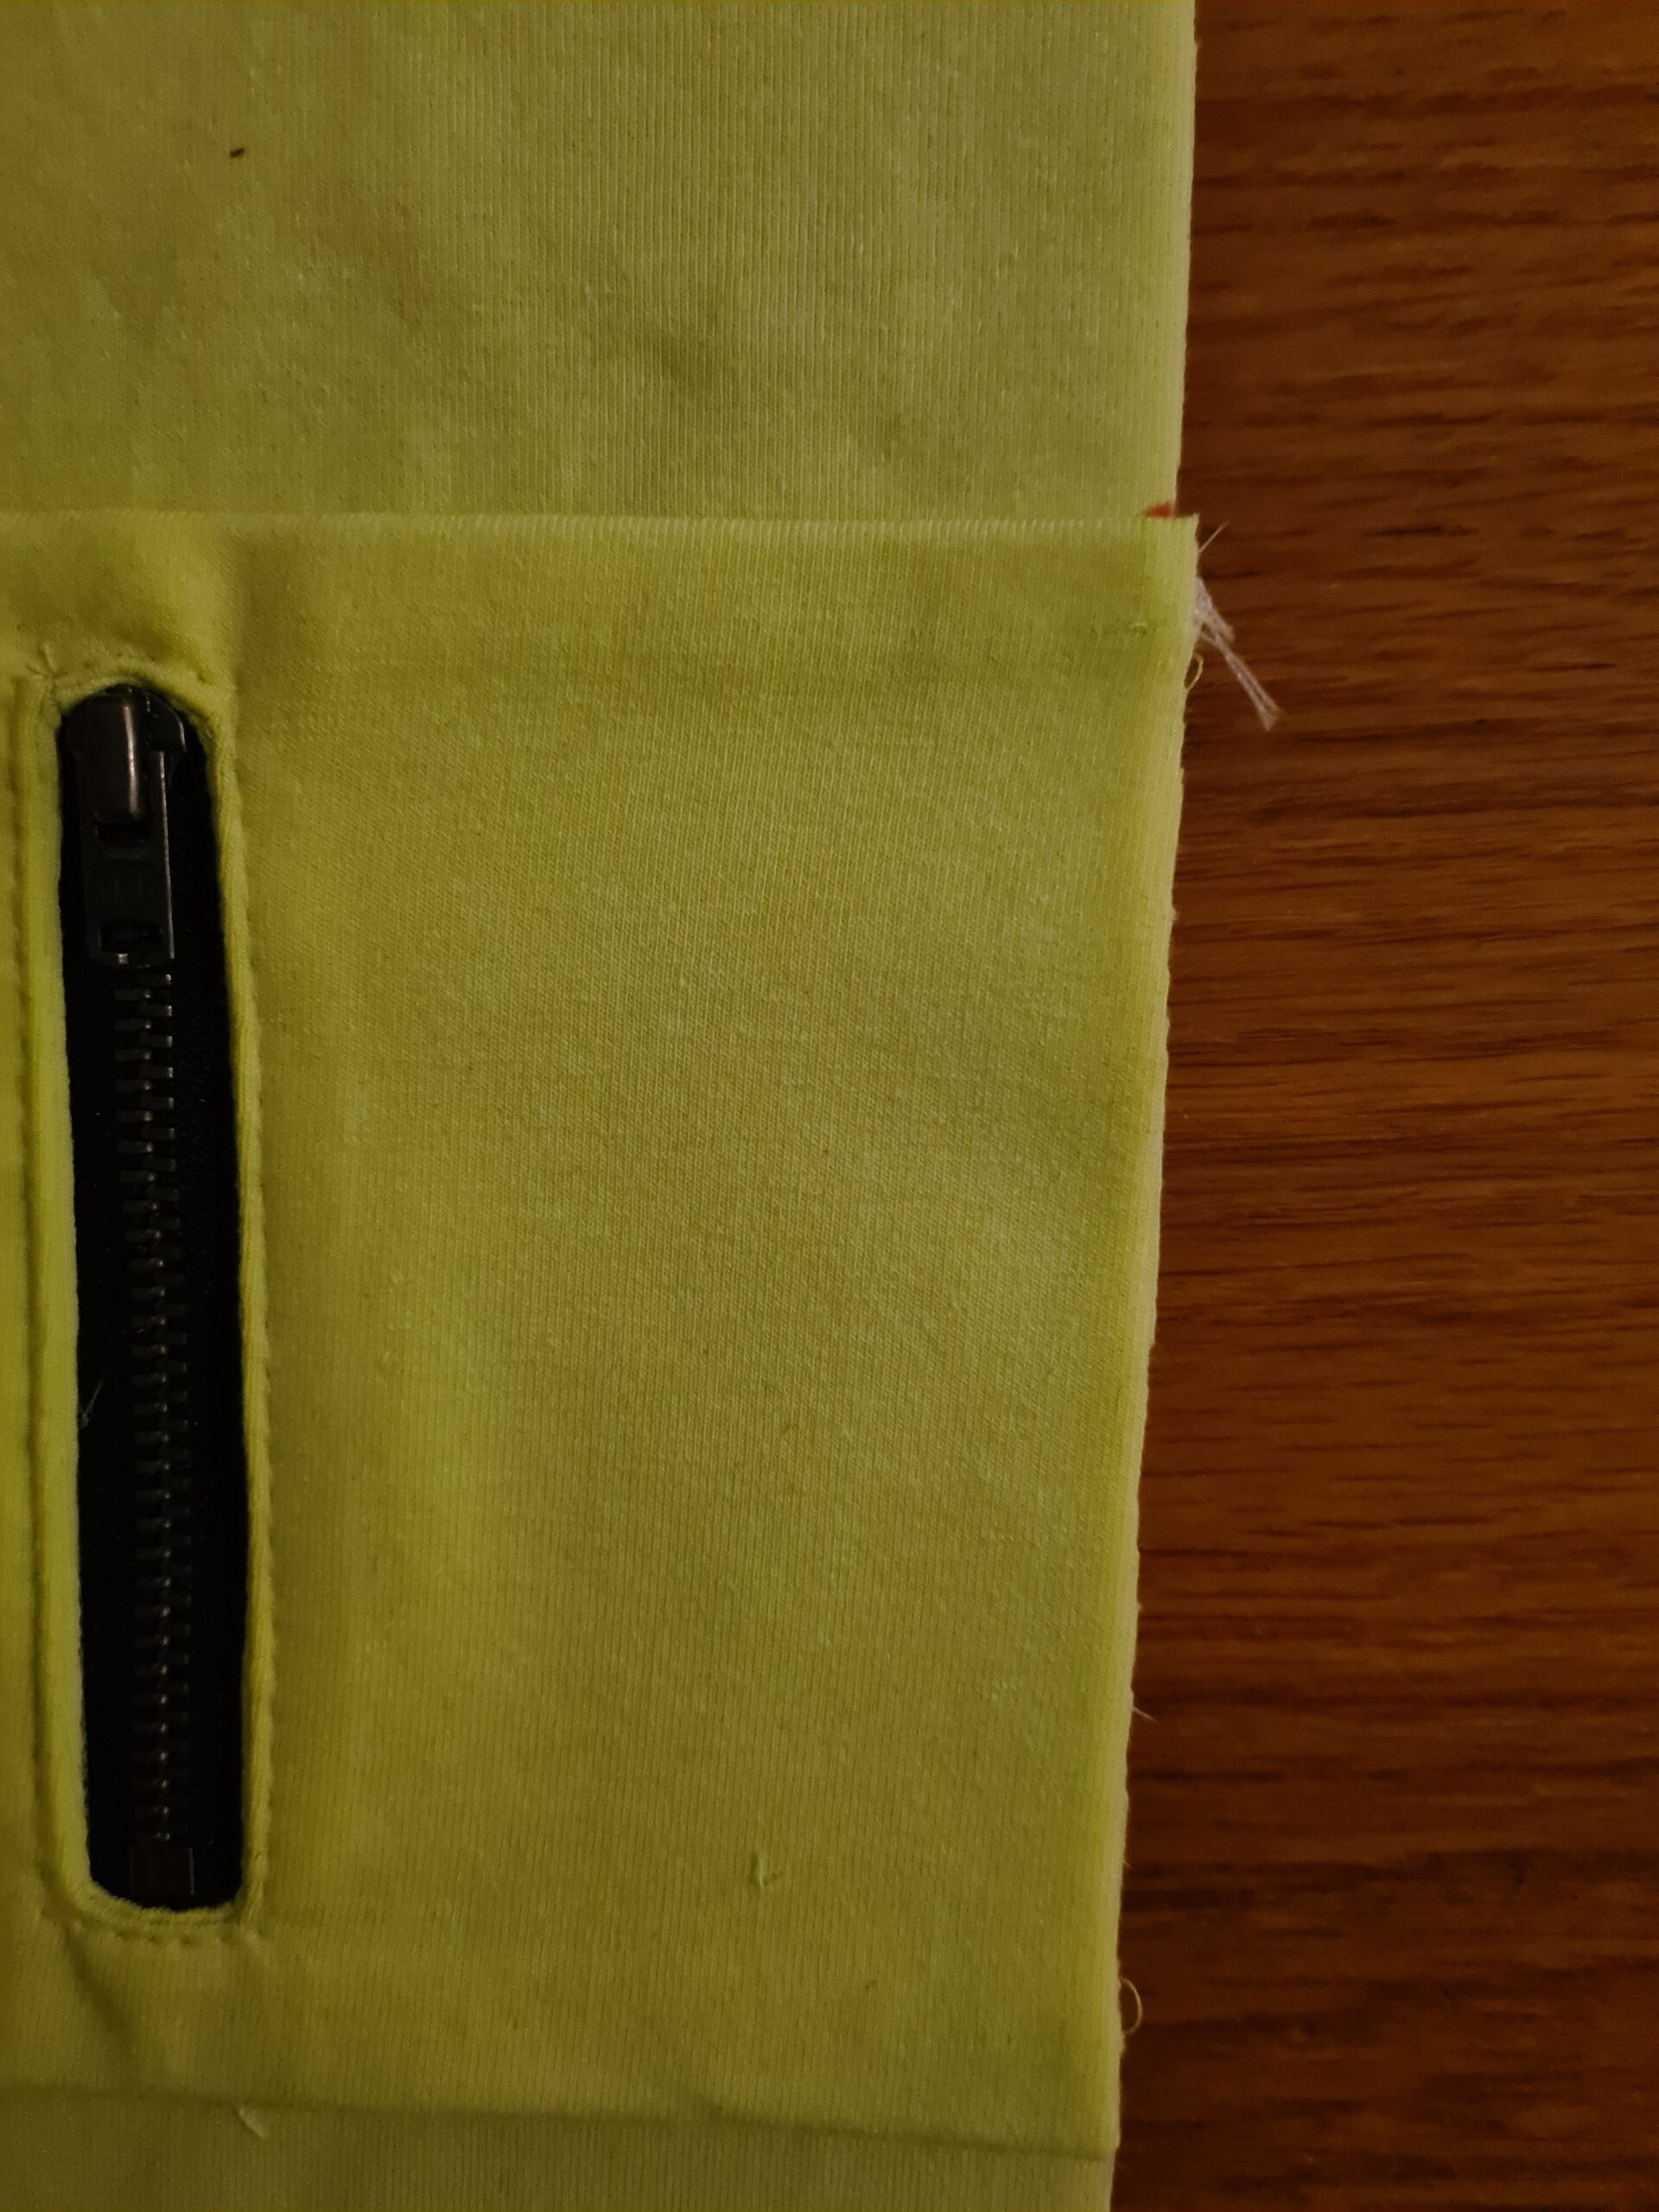
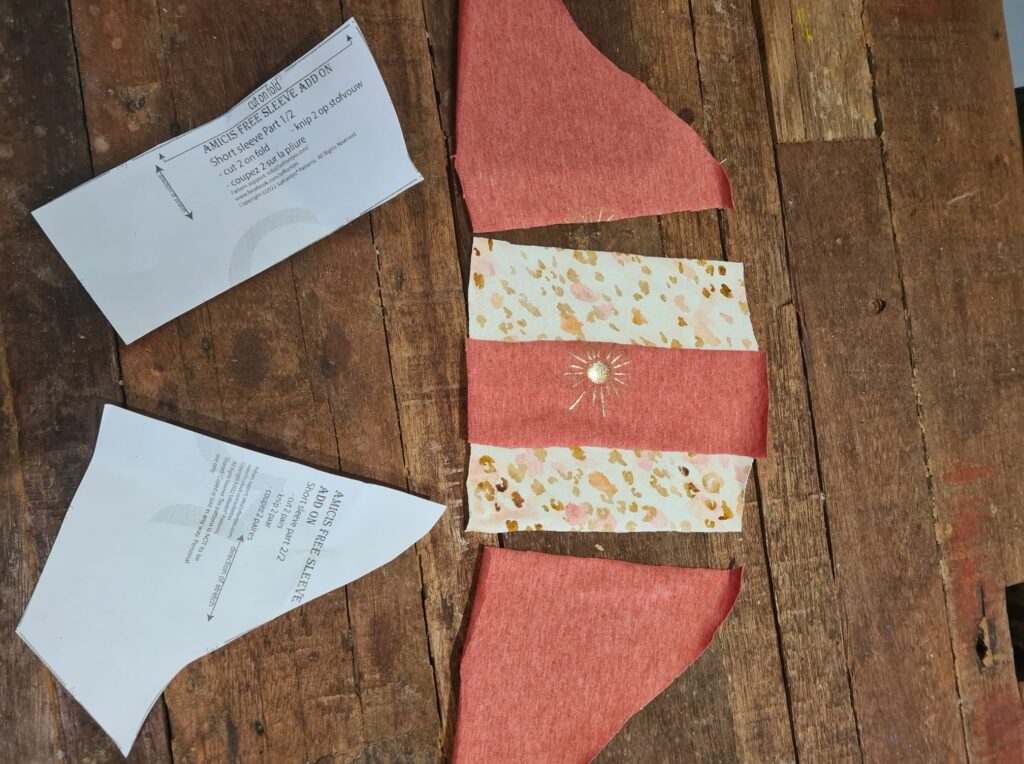
To make the jacket into a sweater, we need to combine the pattern pieces where the zipper was supposed to go, so in the middle front. We do this by taping L1 & R1 – L2 & R2 – L3 & R3 together in the middle. I laid the pieces side by side without any overlap and taped them together. Usually, you would sew a zipper in with 0,6 cm seam allowance so you would lose that in the width of the fabric pieces, but again the zipper would add +- 1 cm. So with leaving the zipper out, I figured it would be about the same to line up the pattern pieces instead of overlapping them to compensate for the seam allowance.

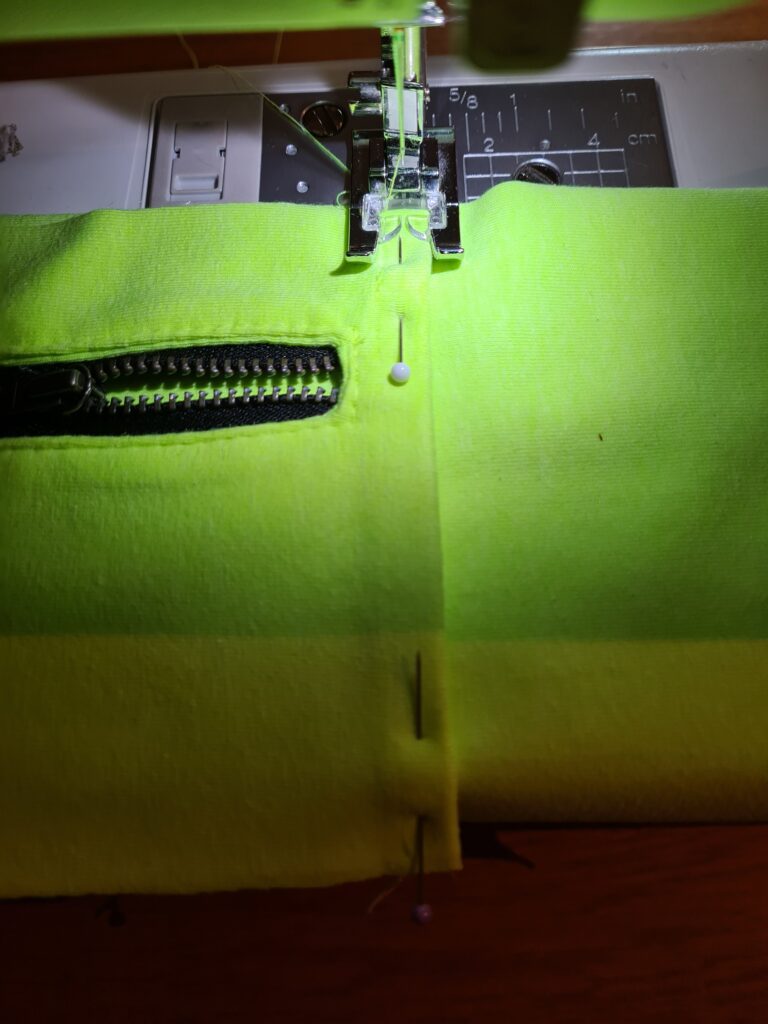
Make sure your bottom pieces (L3 & R3) line up nicely at the bottom. There will be some points sticking out at other lines. You can straighten them out by drawing a new line. Make sure, though, not to add or lose any length at the side seams when doing so.

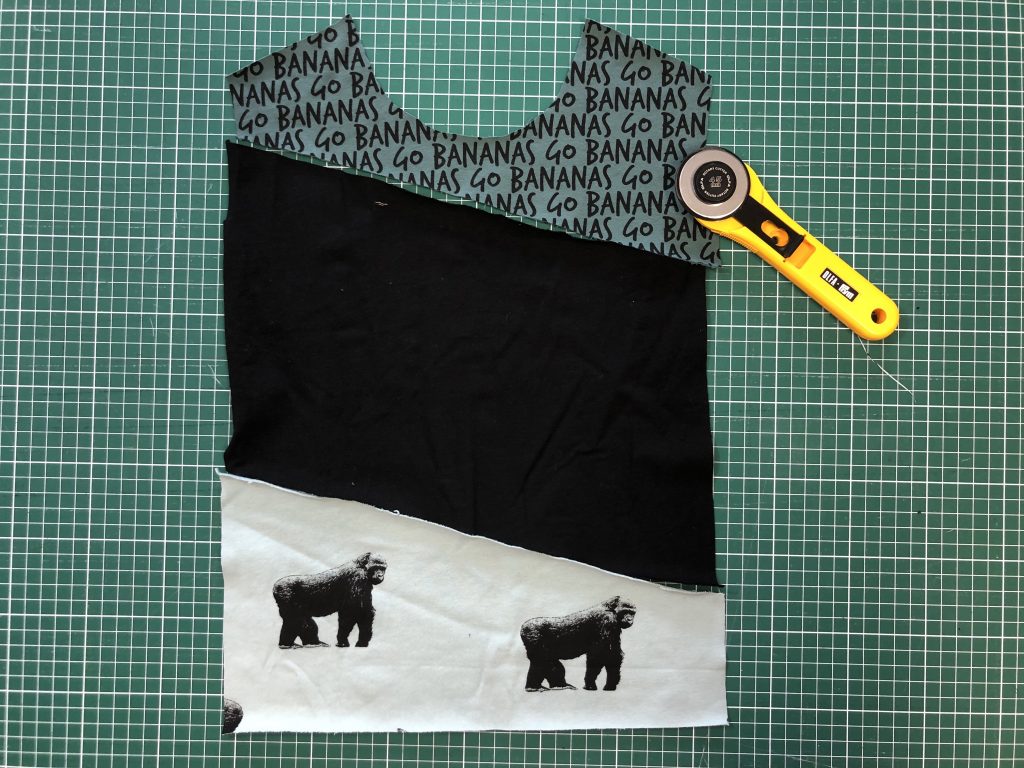
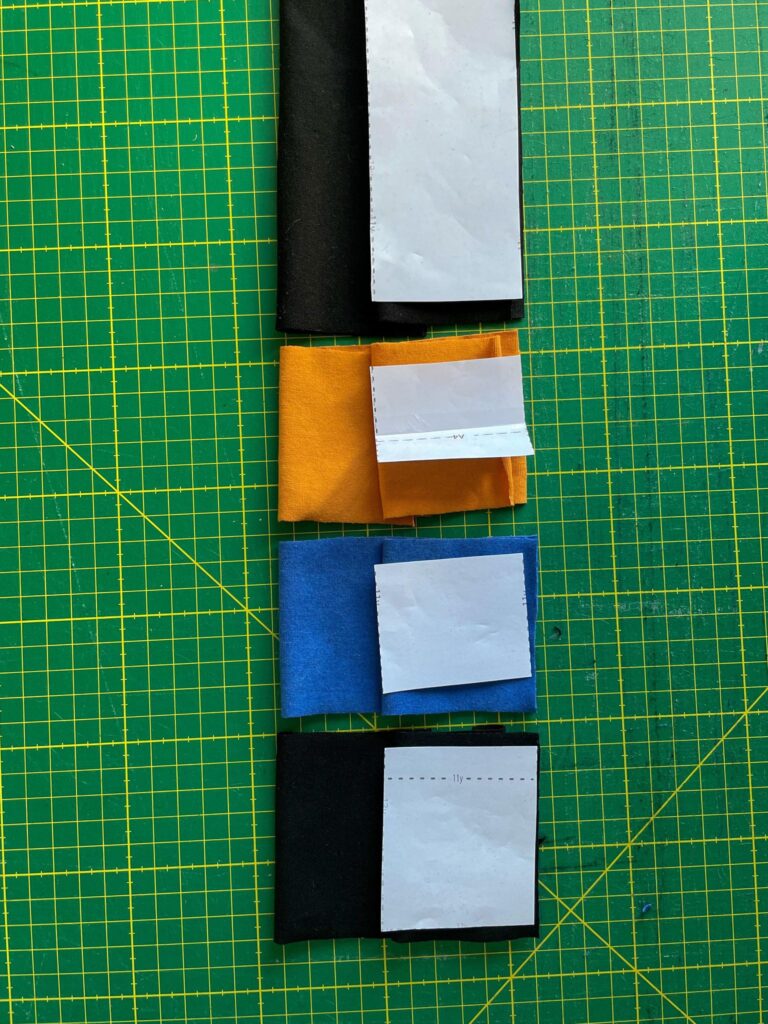
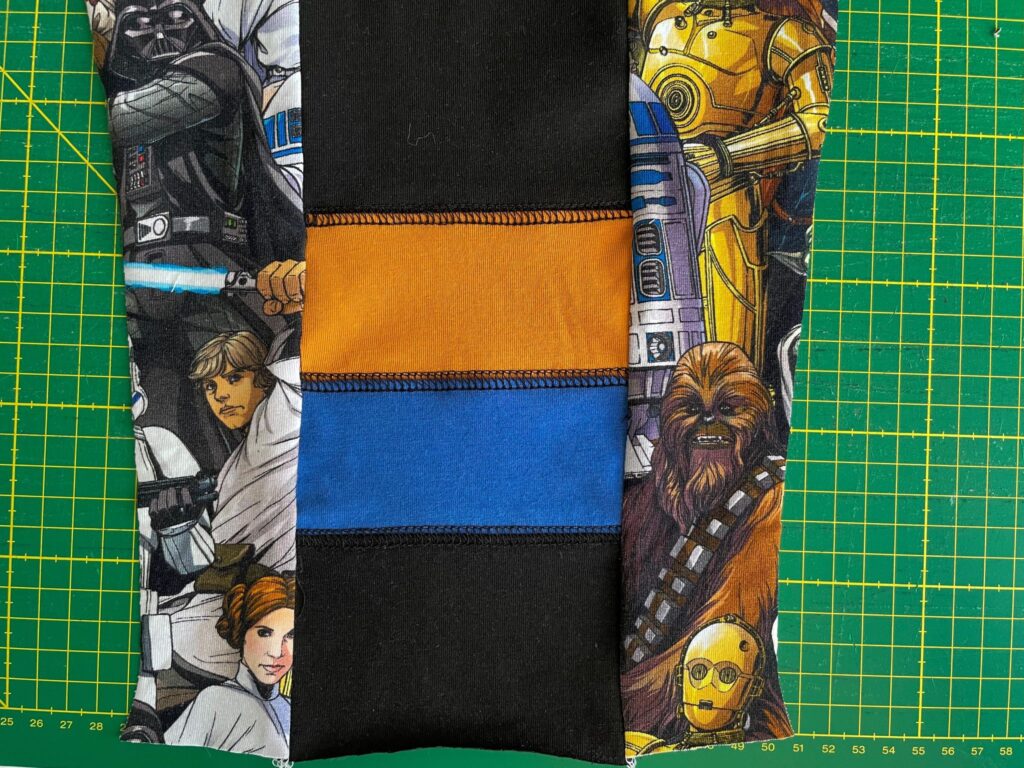
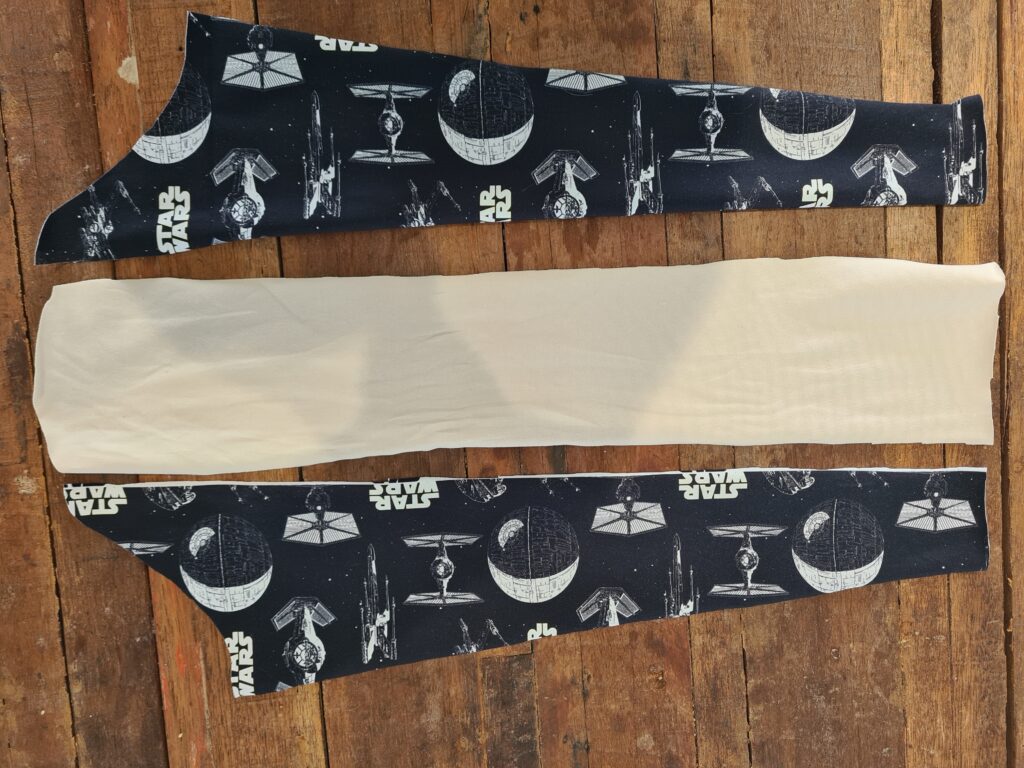
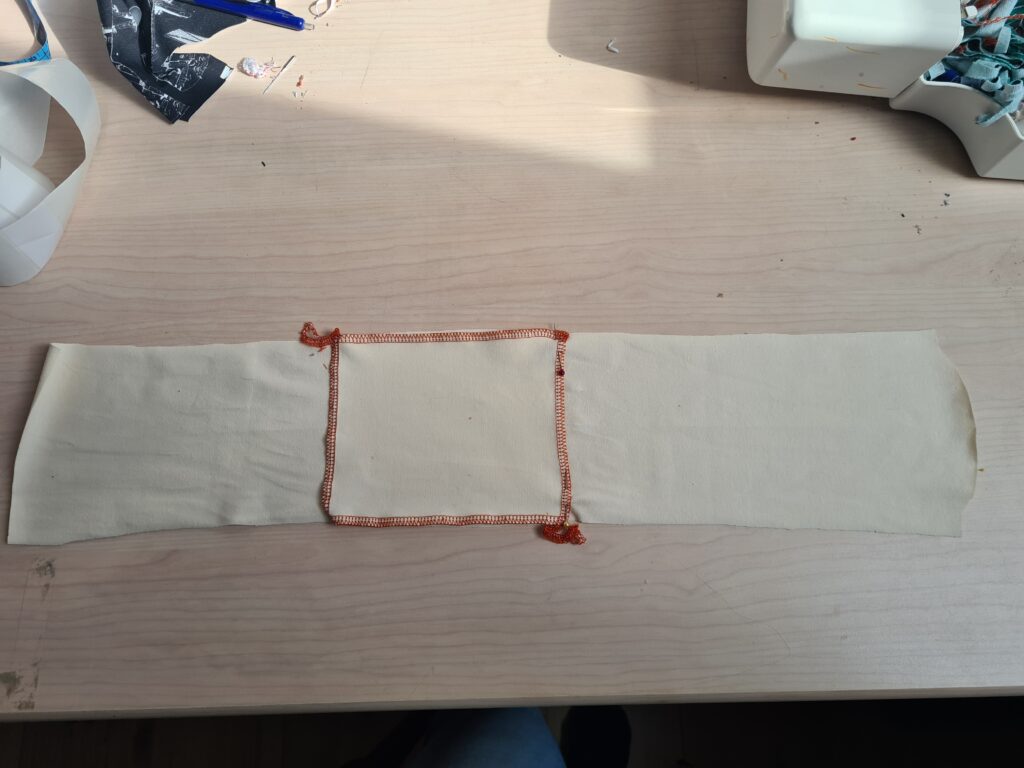
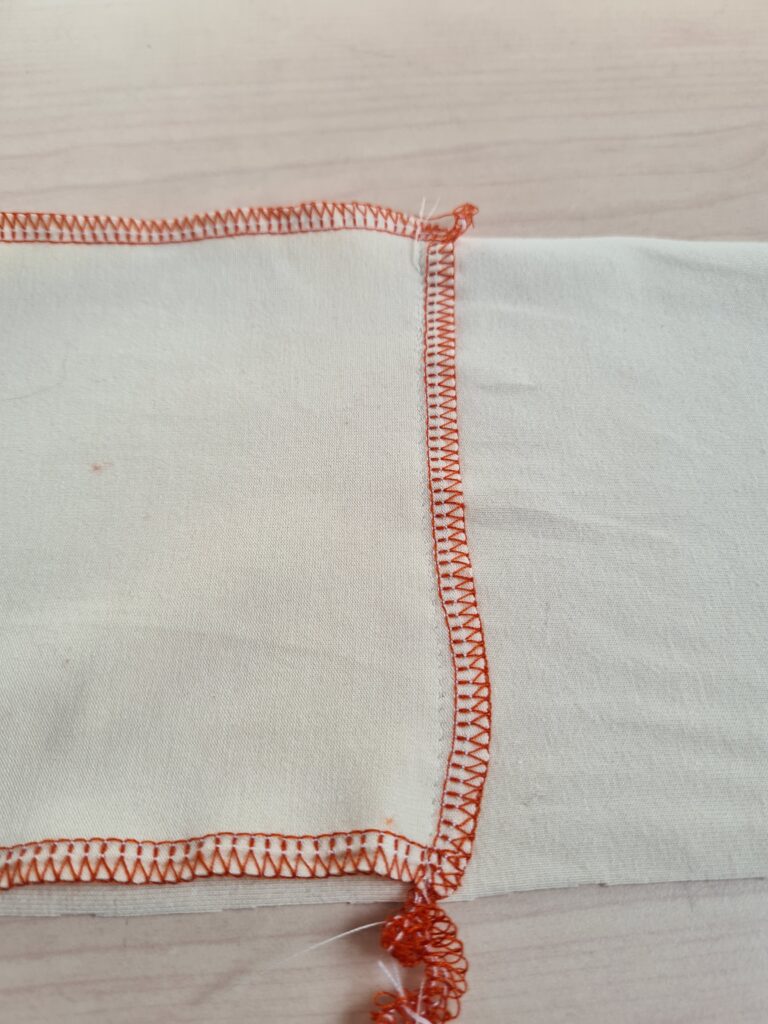
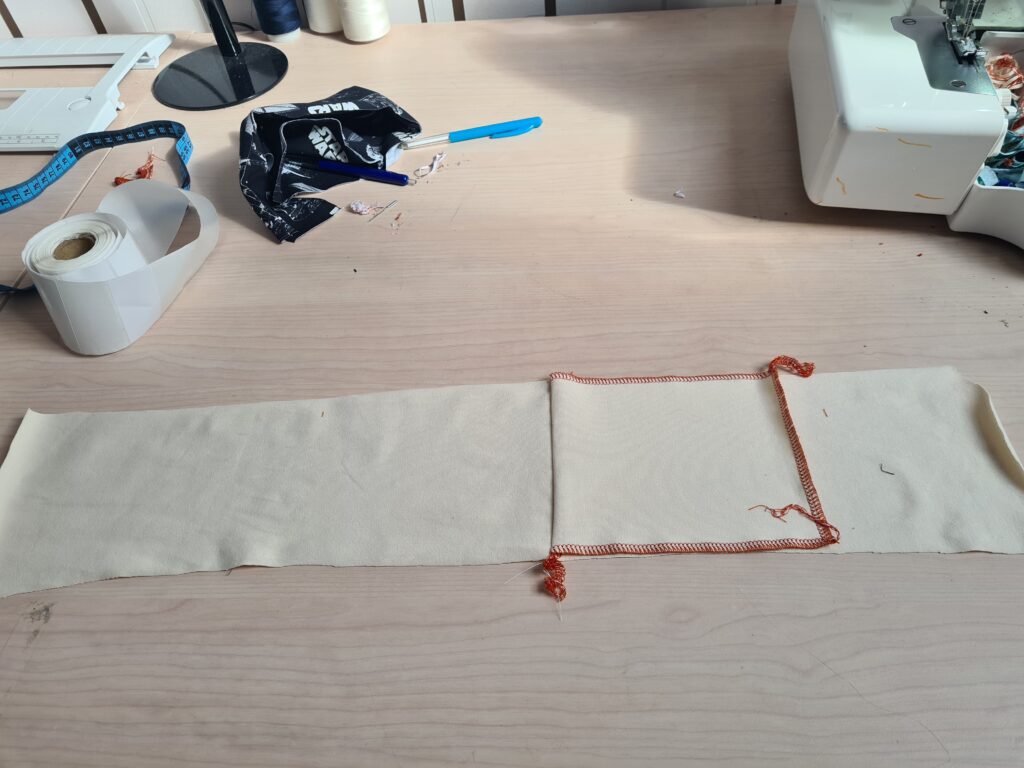
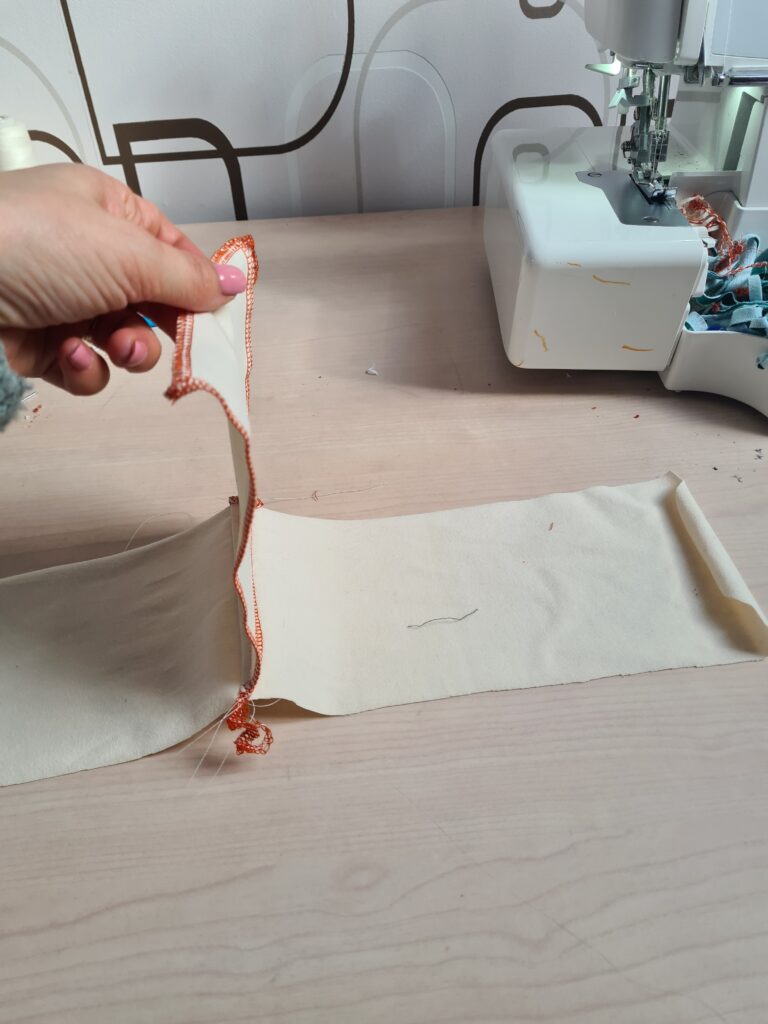
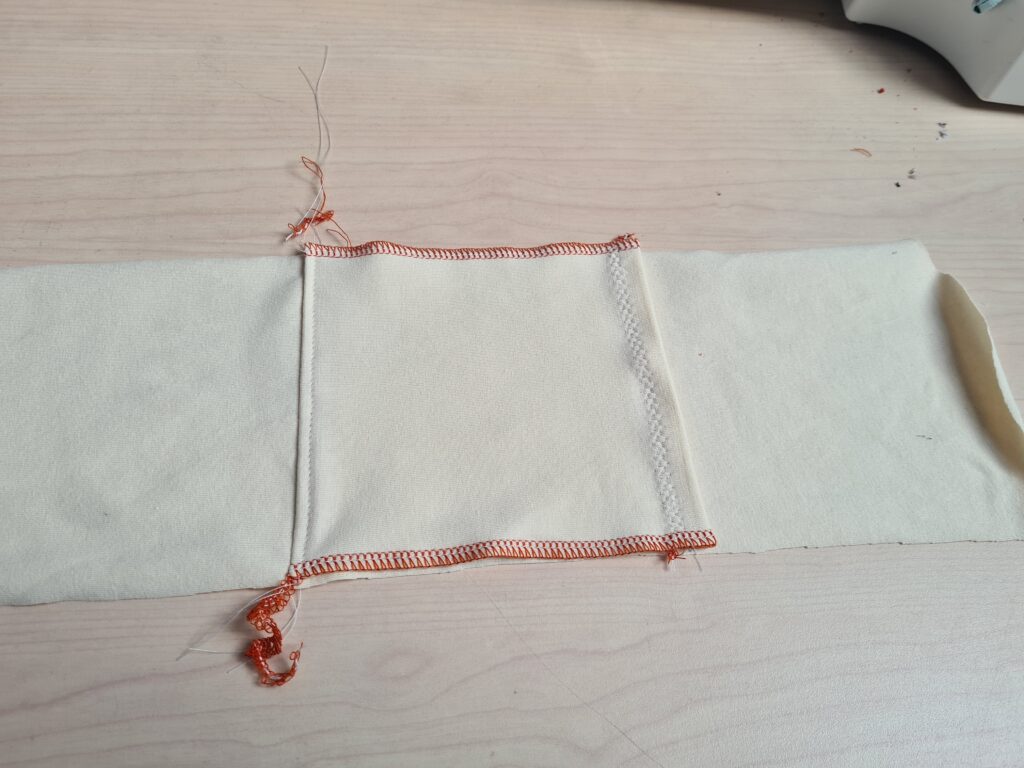
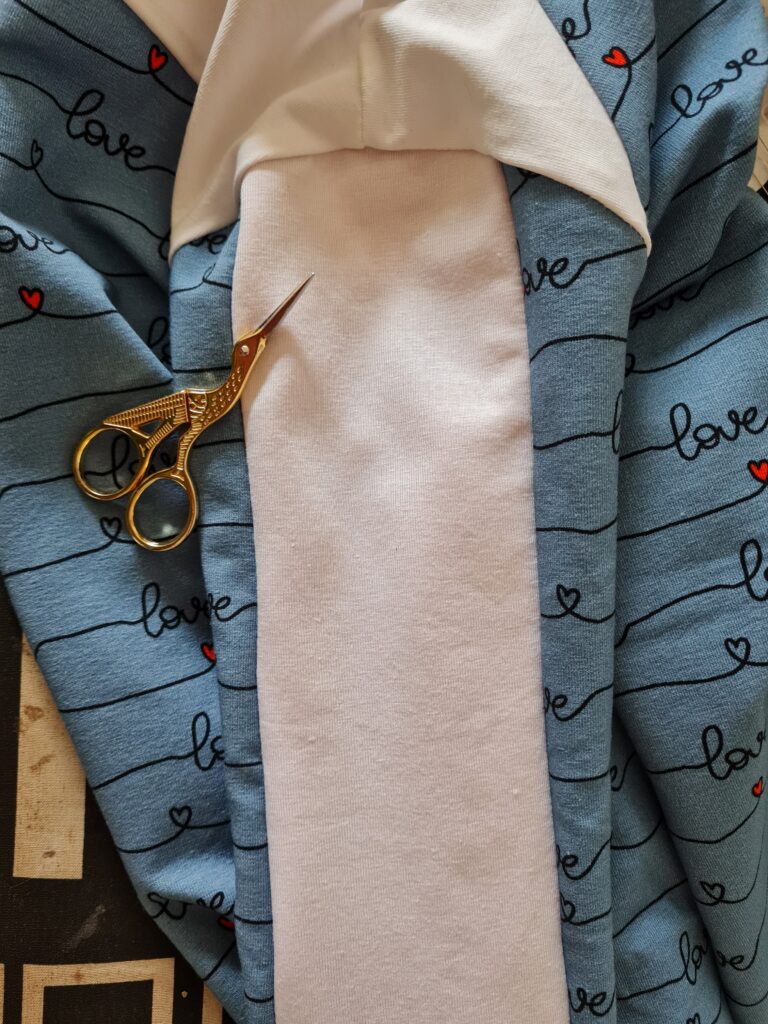
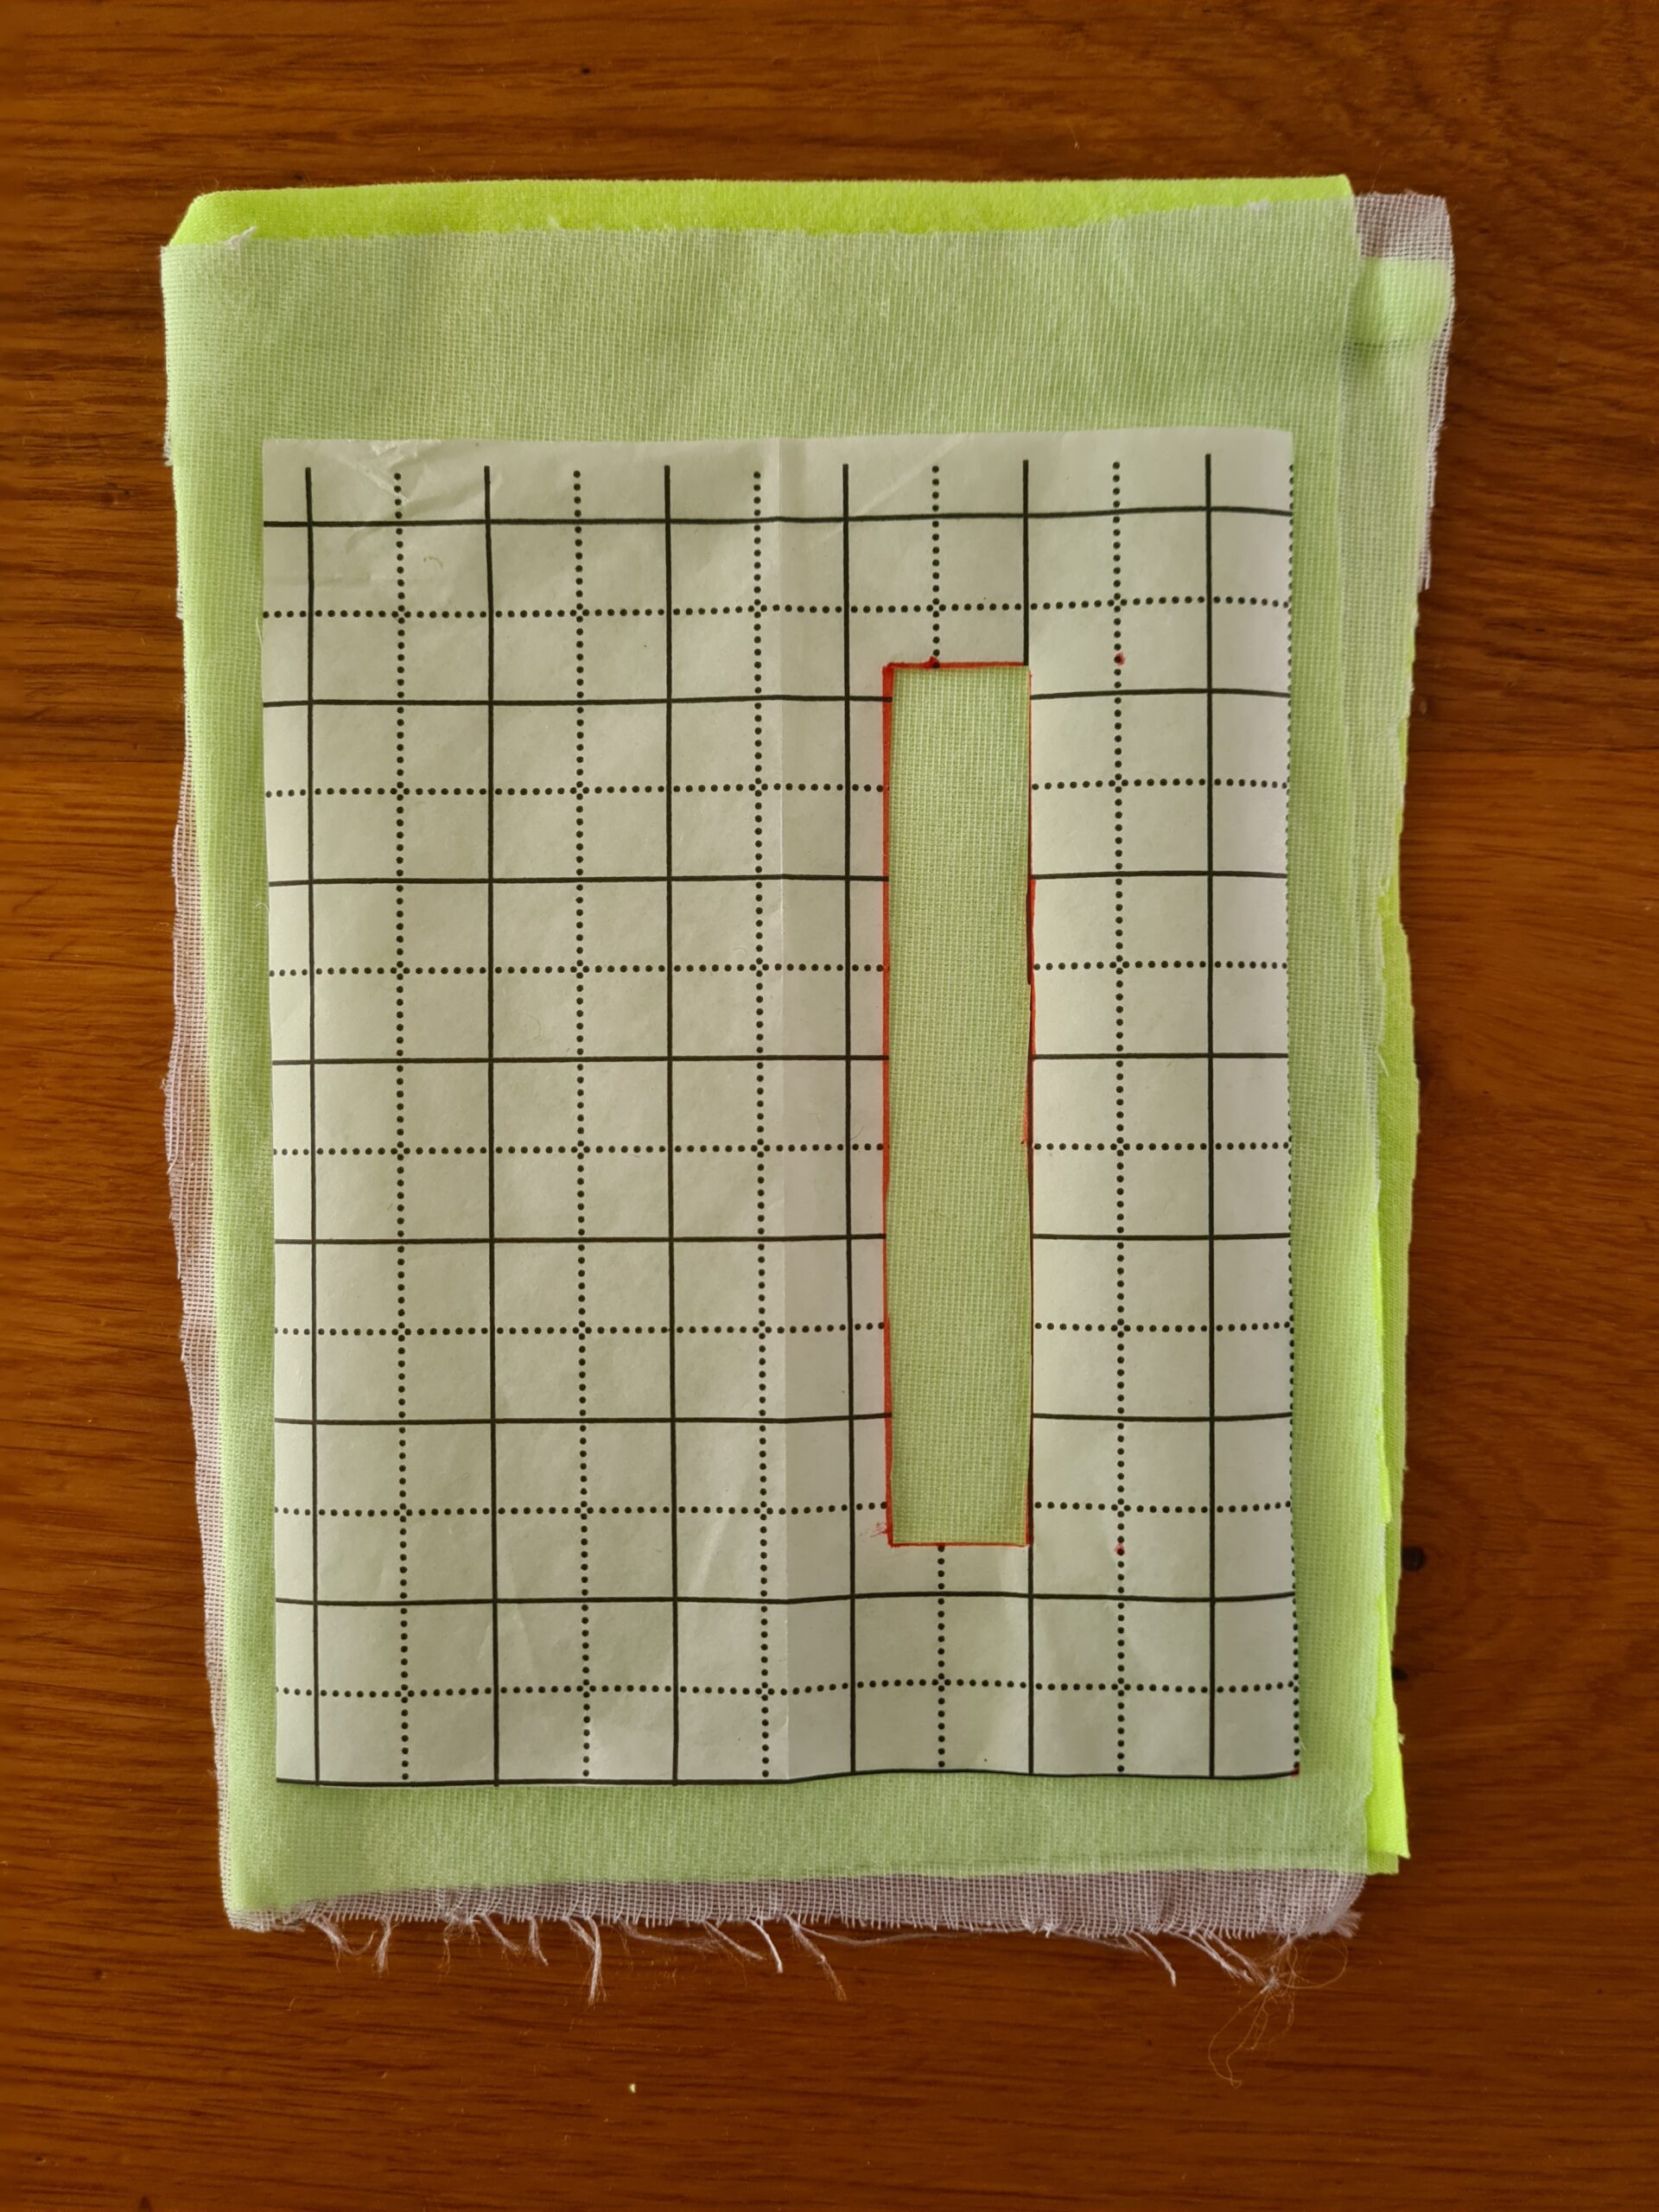
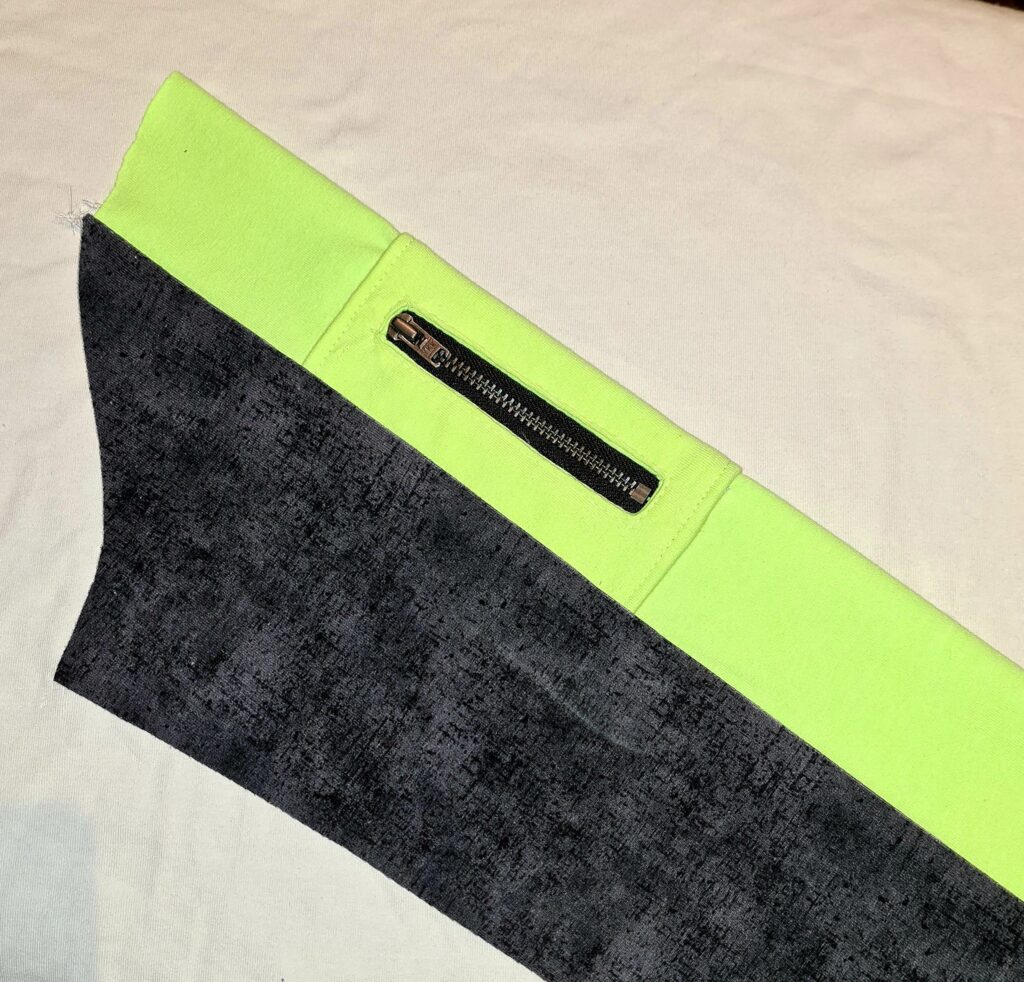
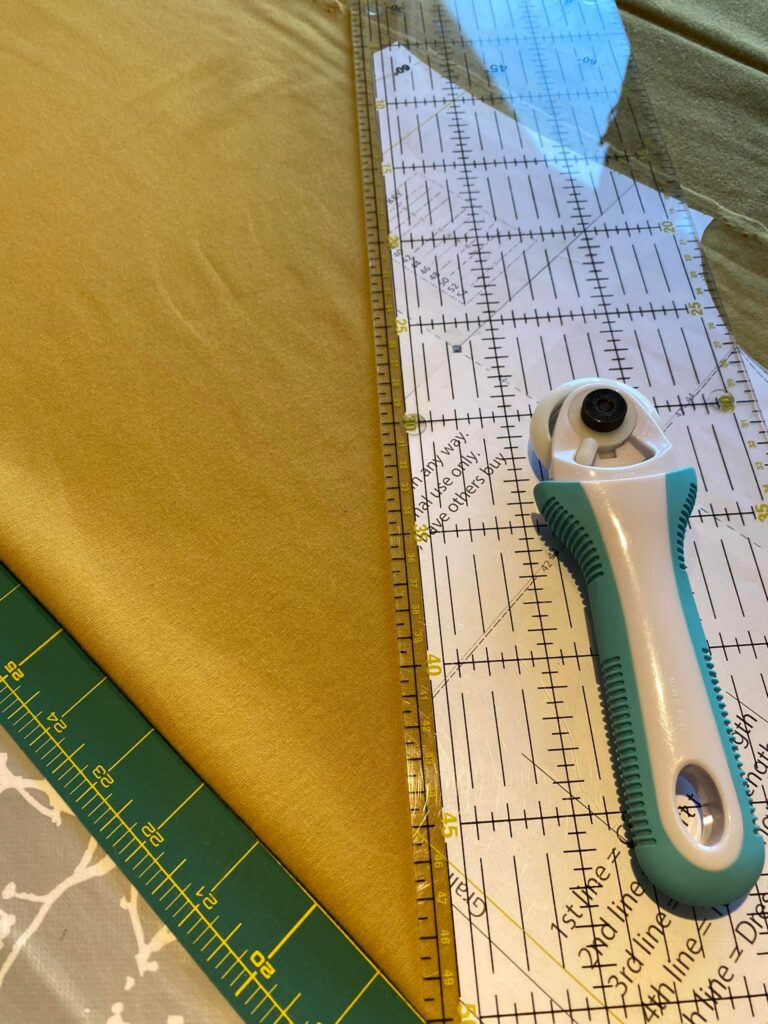
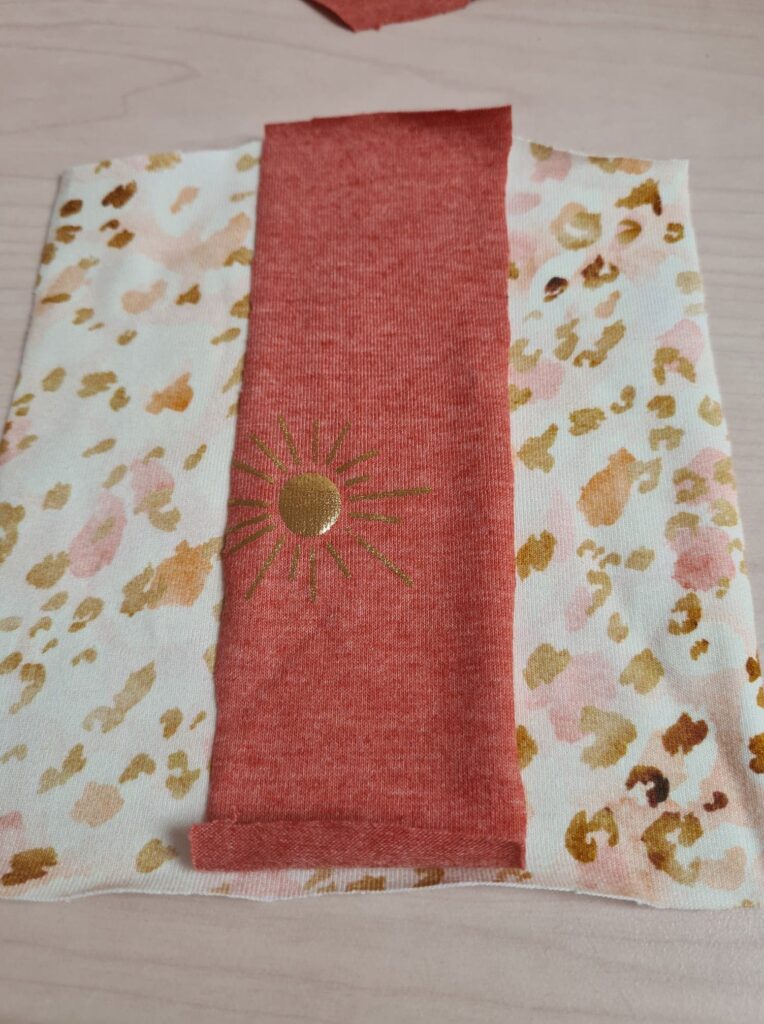
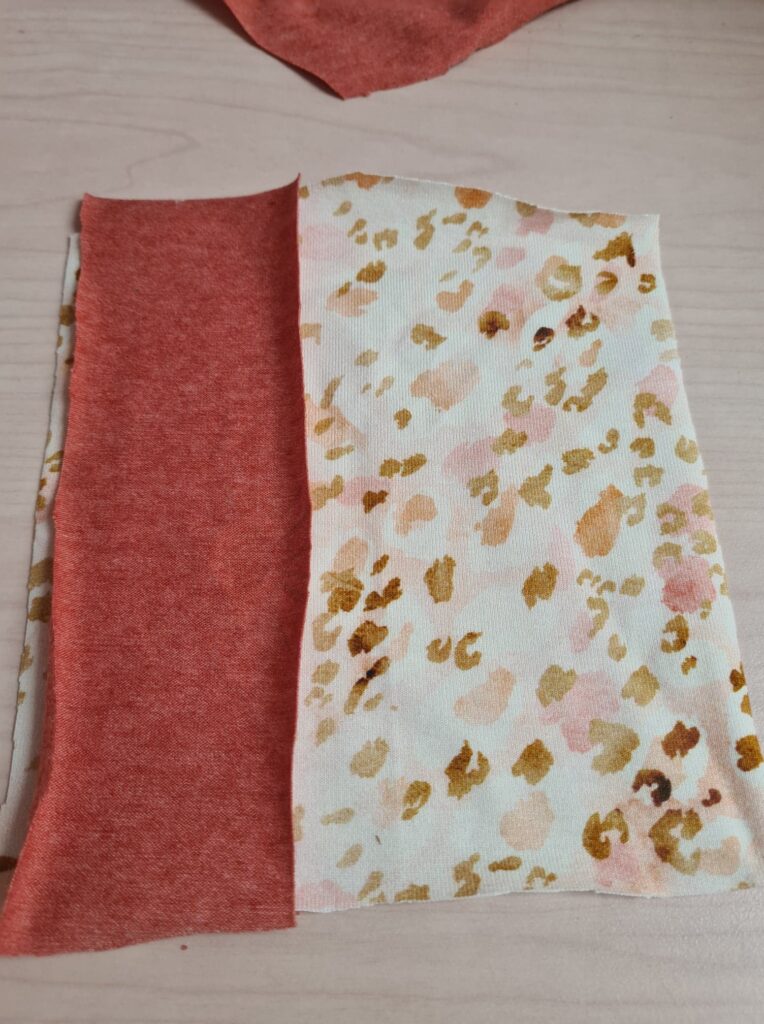
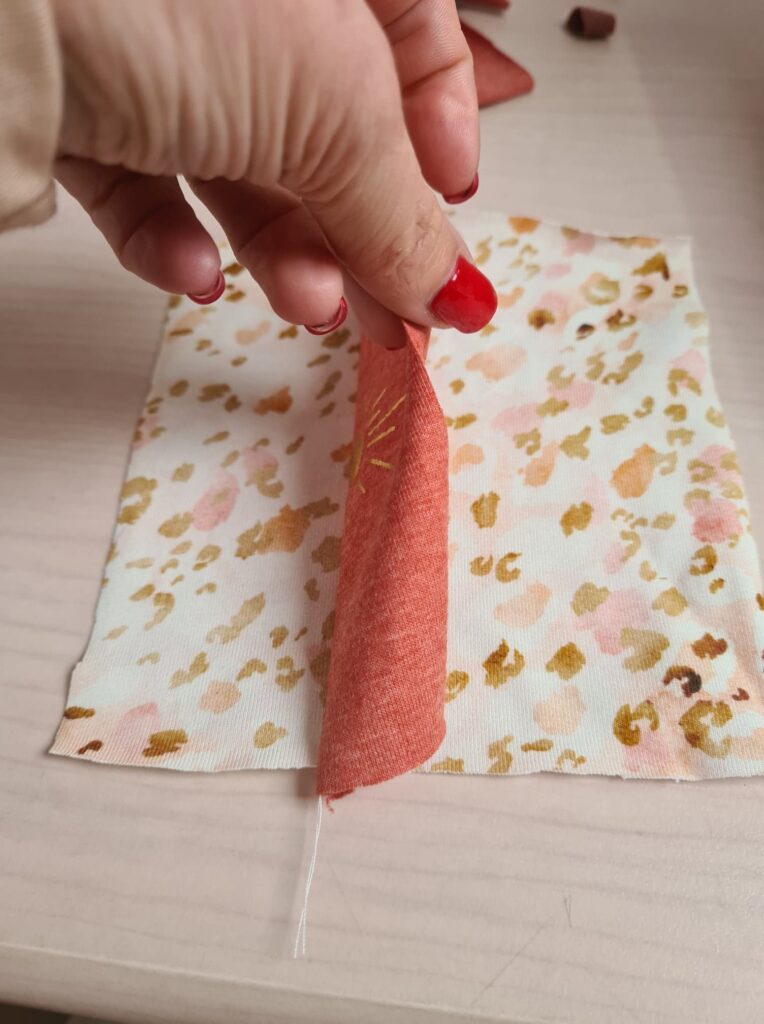
Now you’ve got three new front pieces. You can cut them out of your fabrics. It’s a perfect scrap buster!

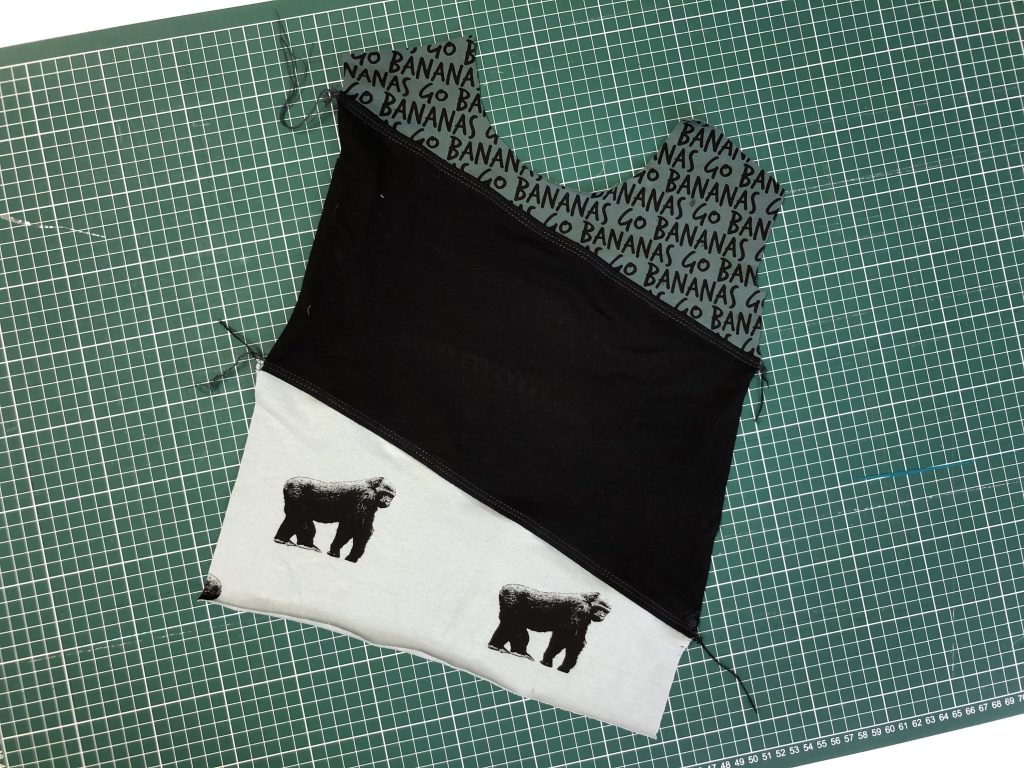
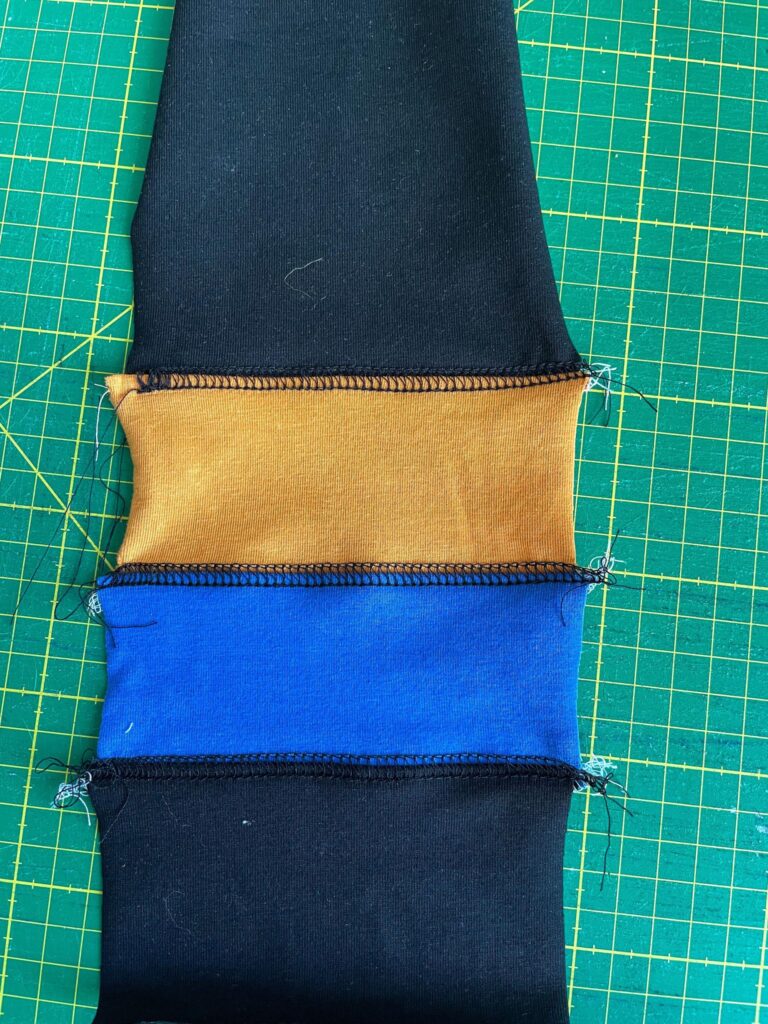
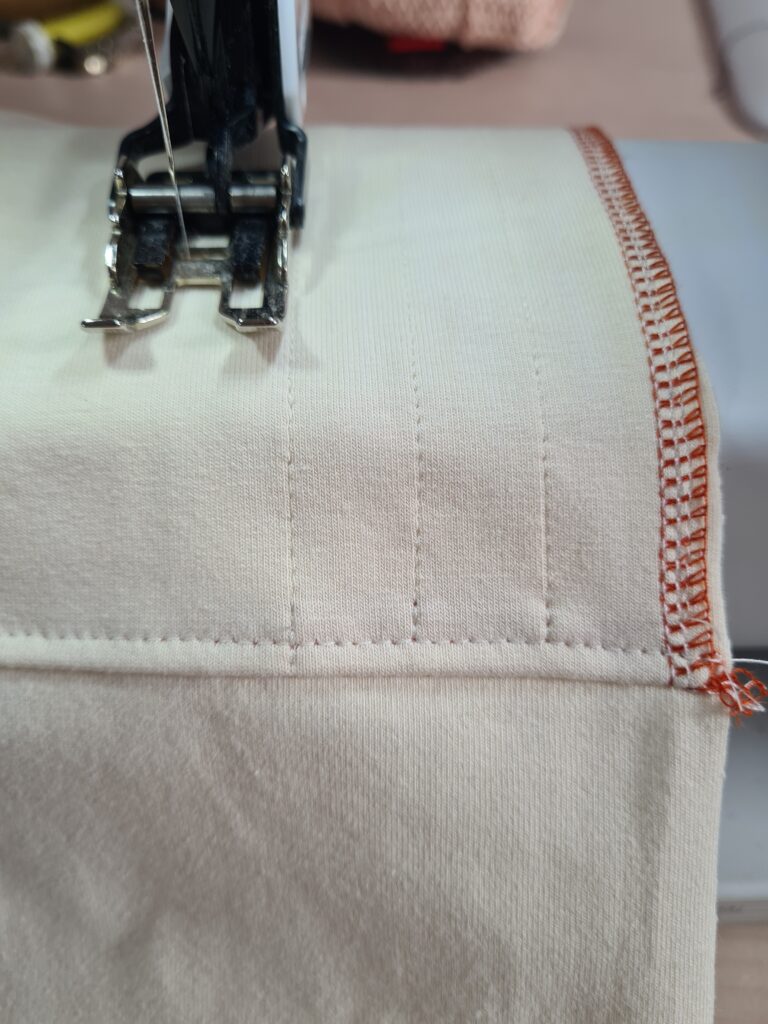
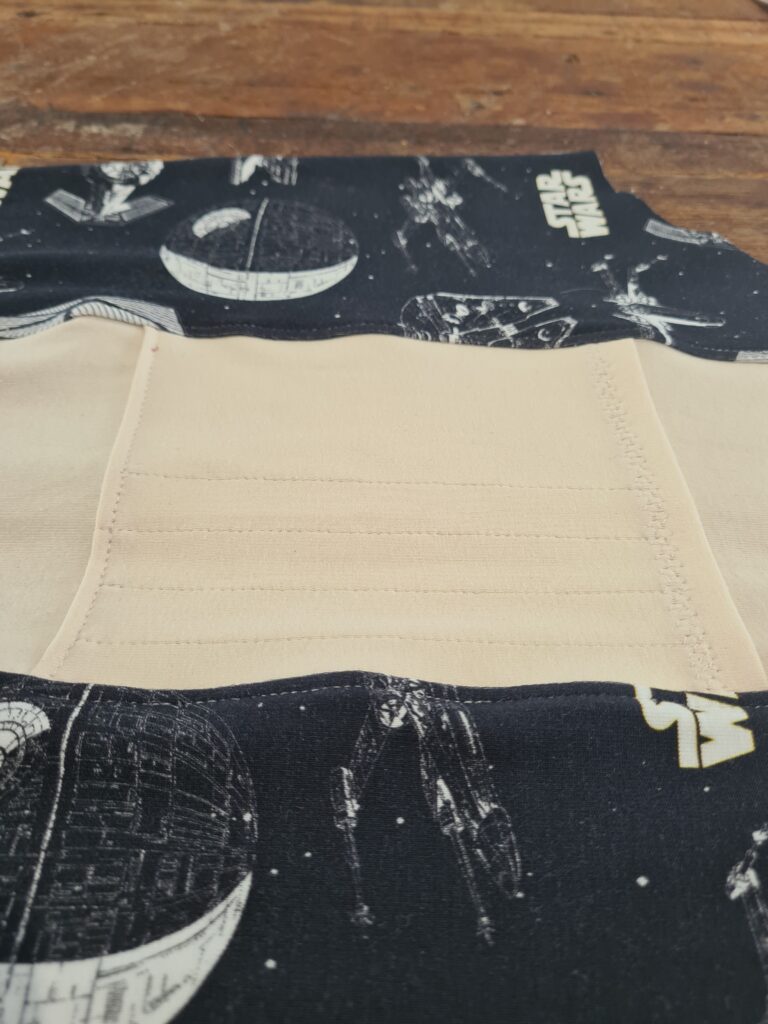
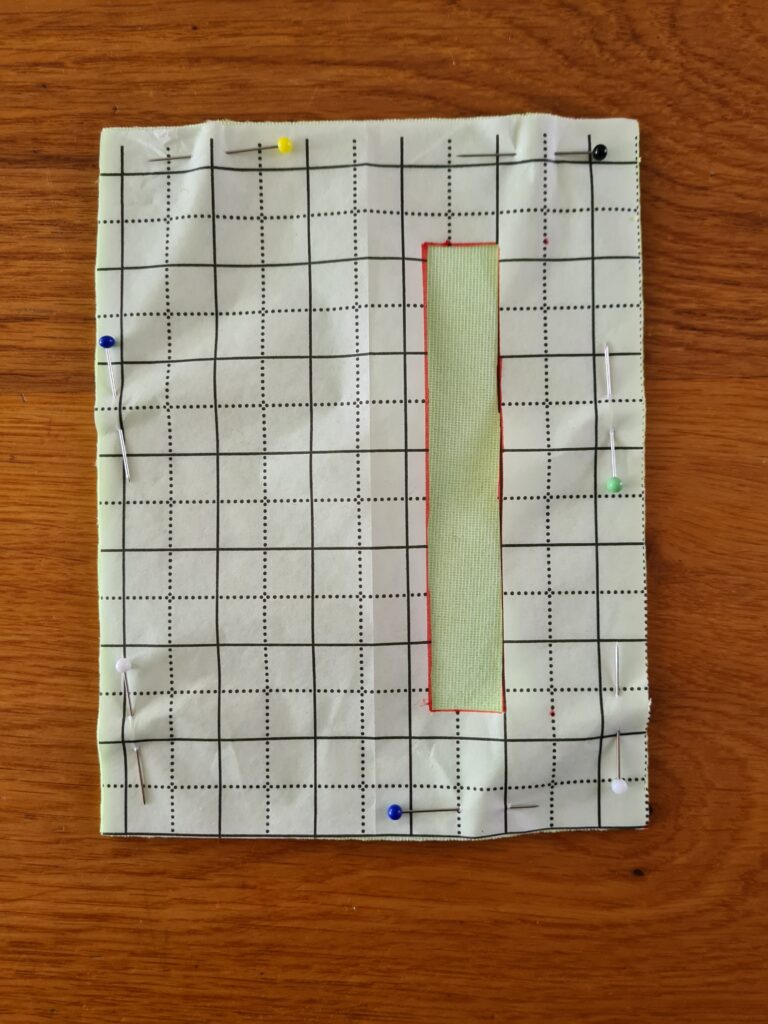
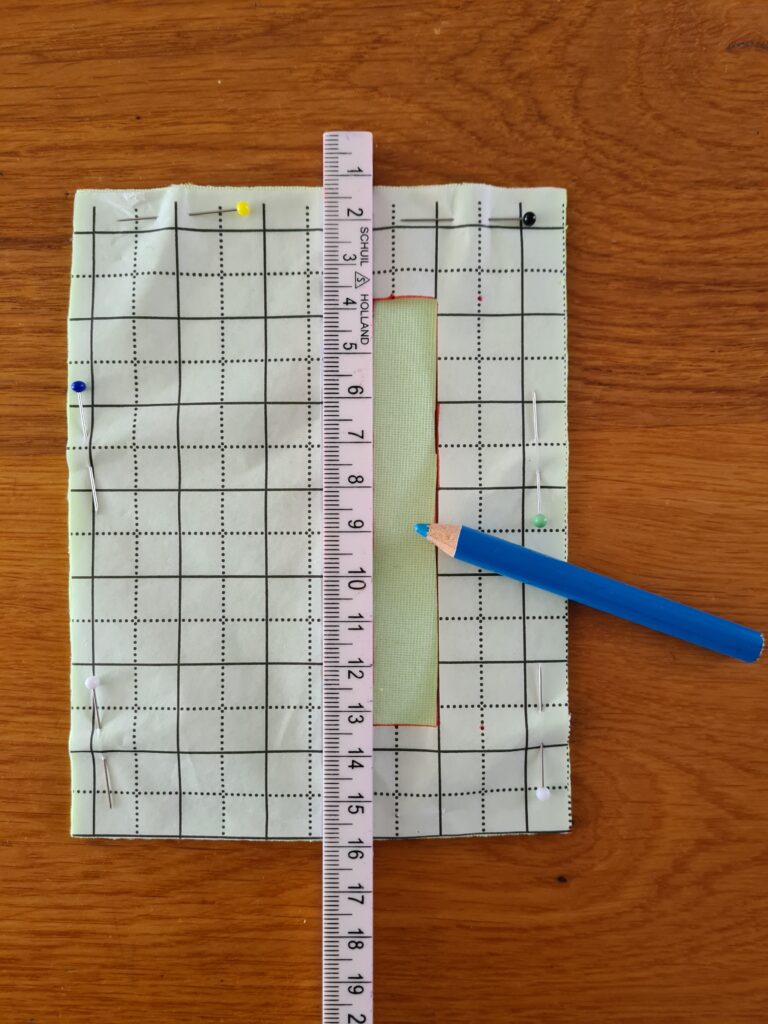
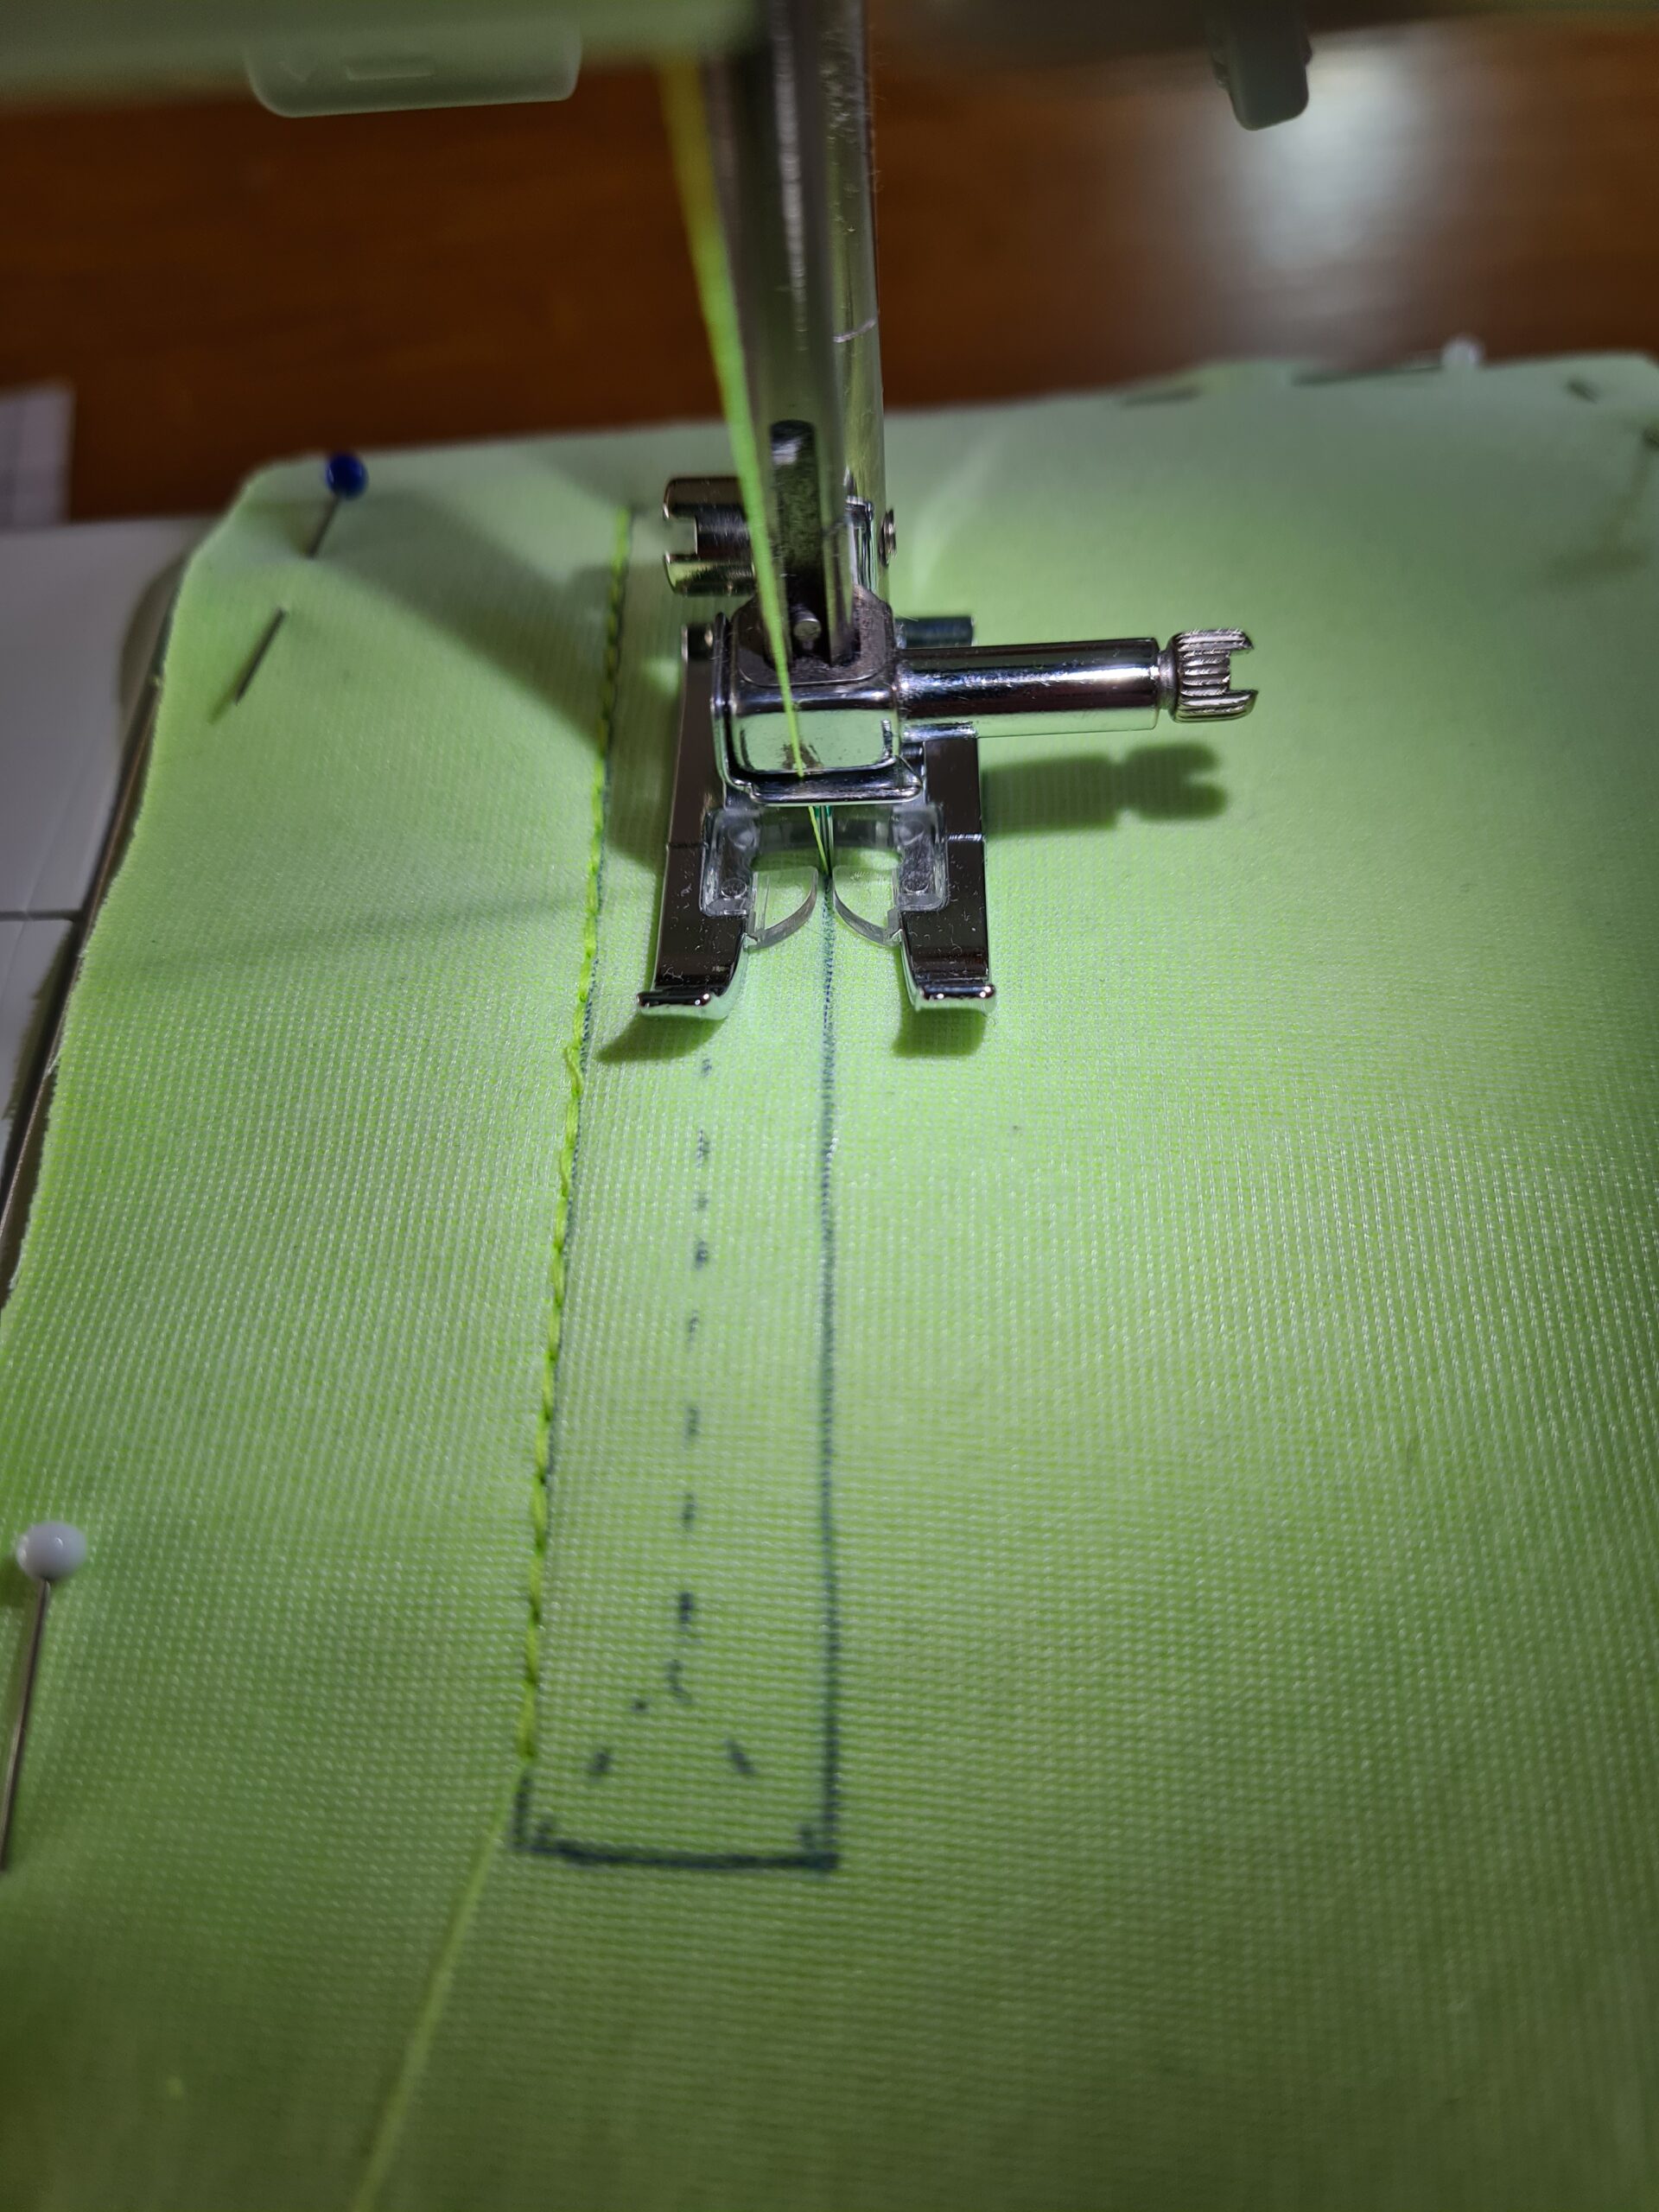
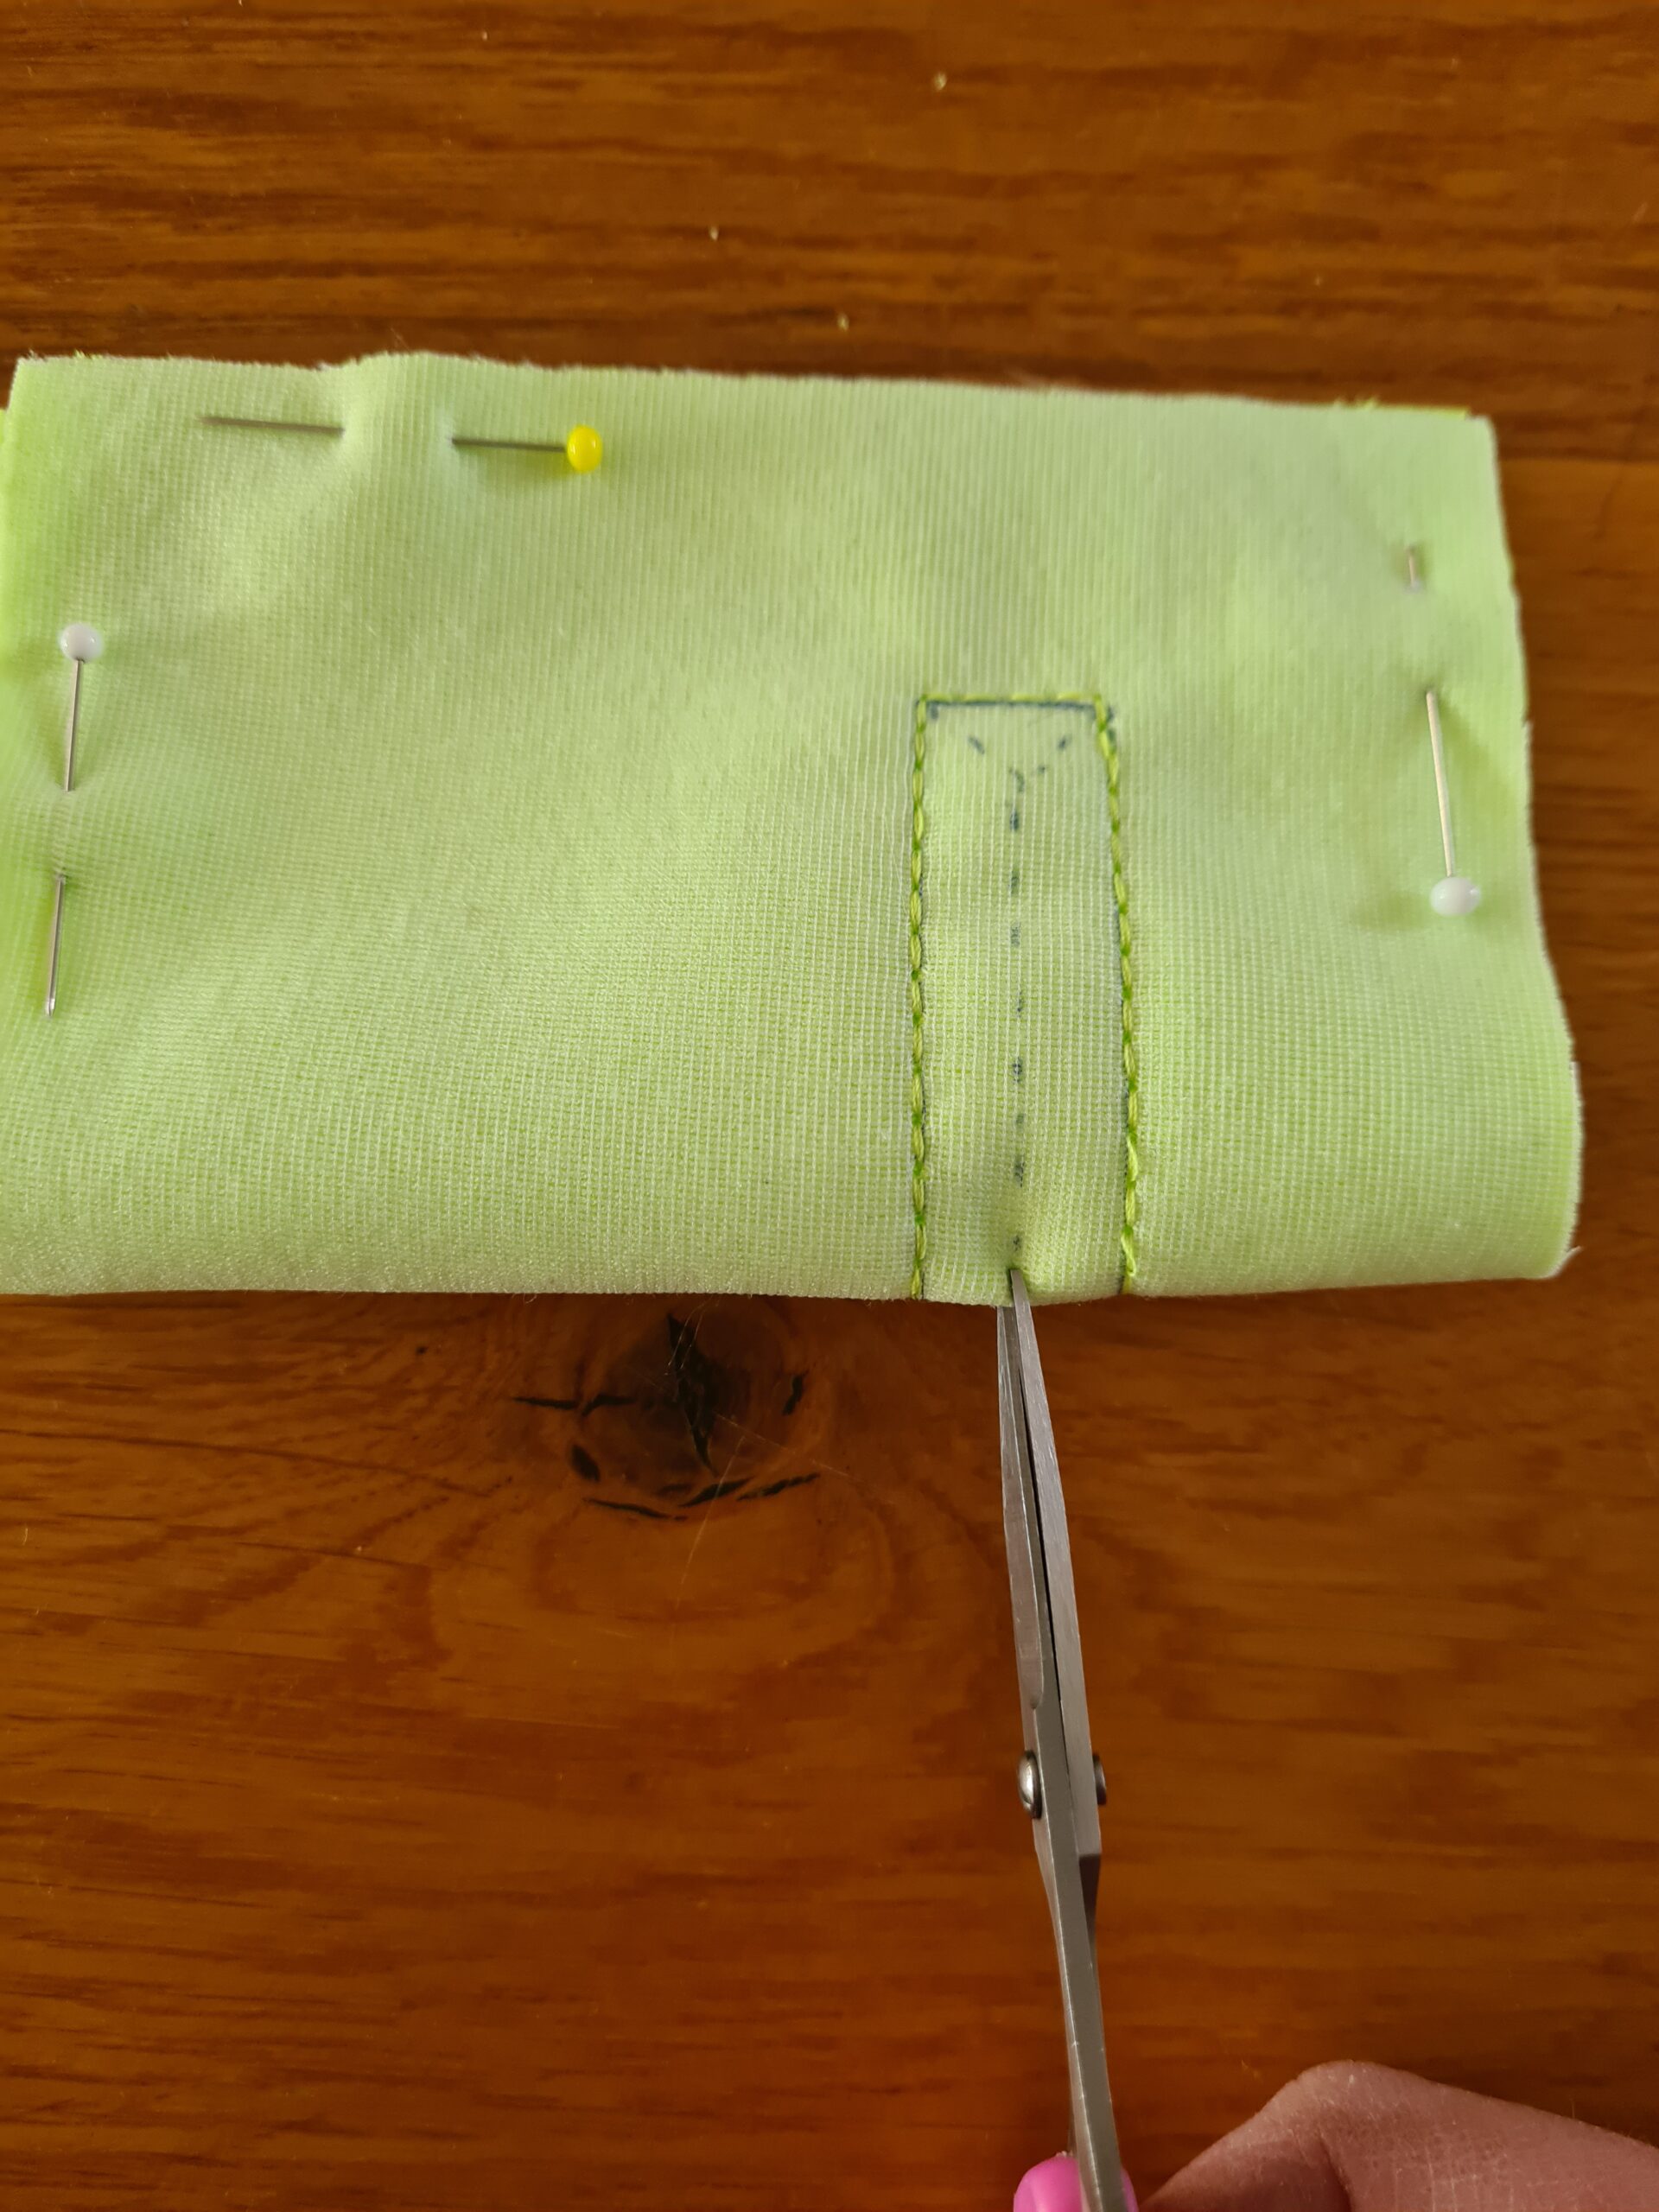
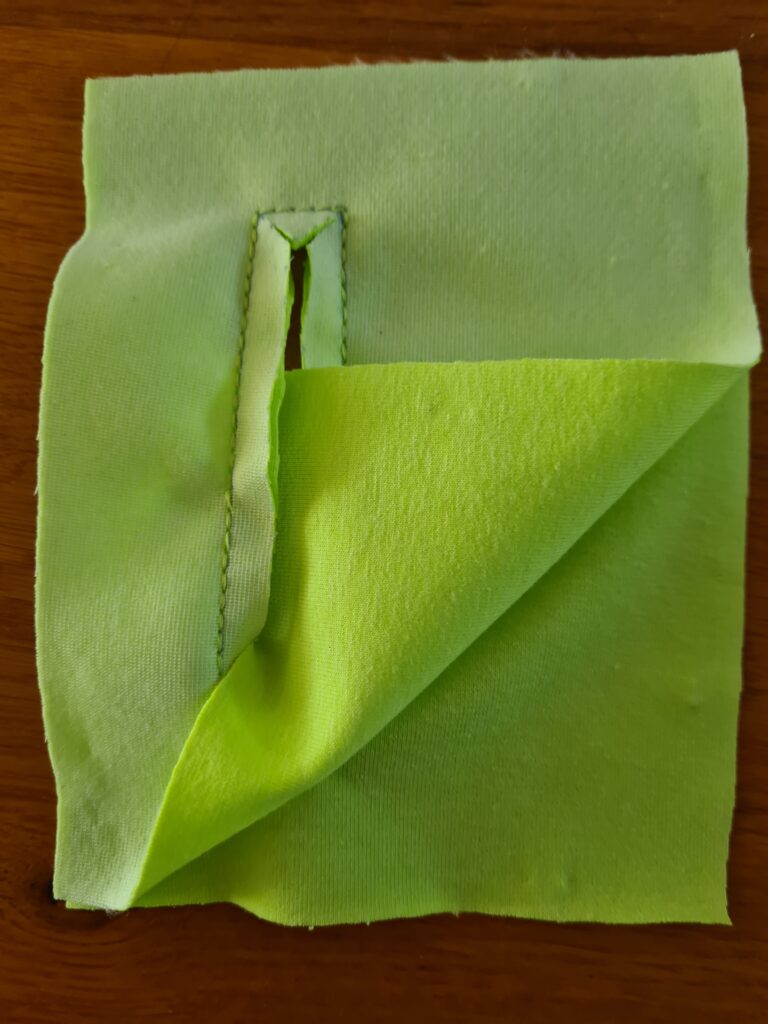
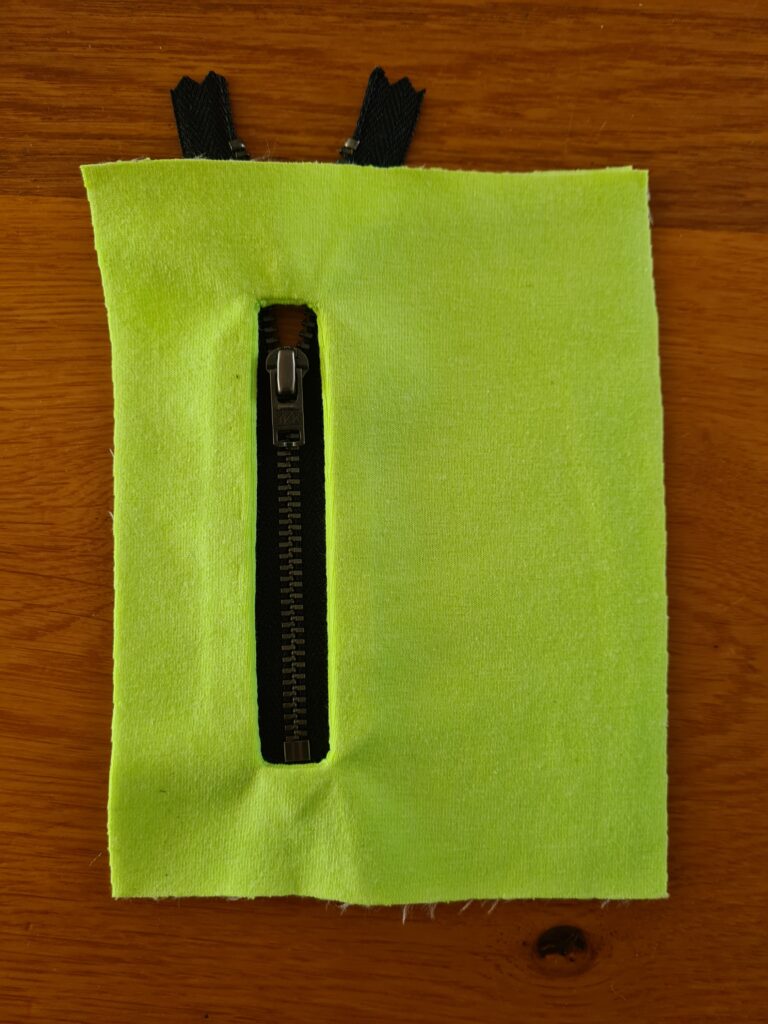
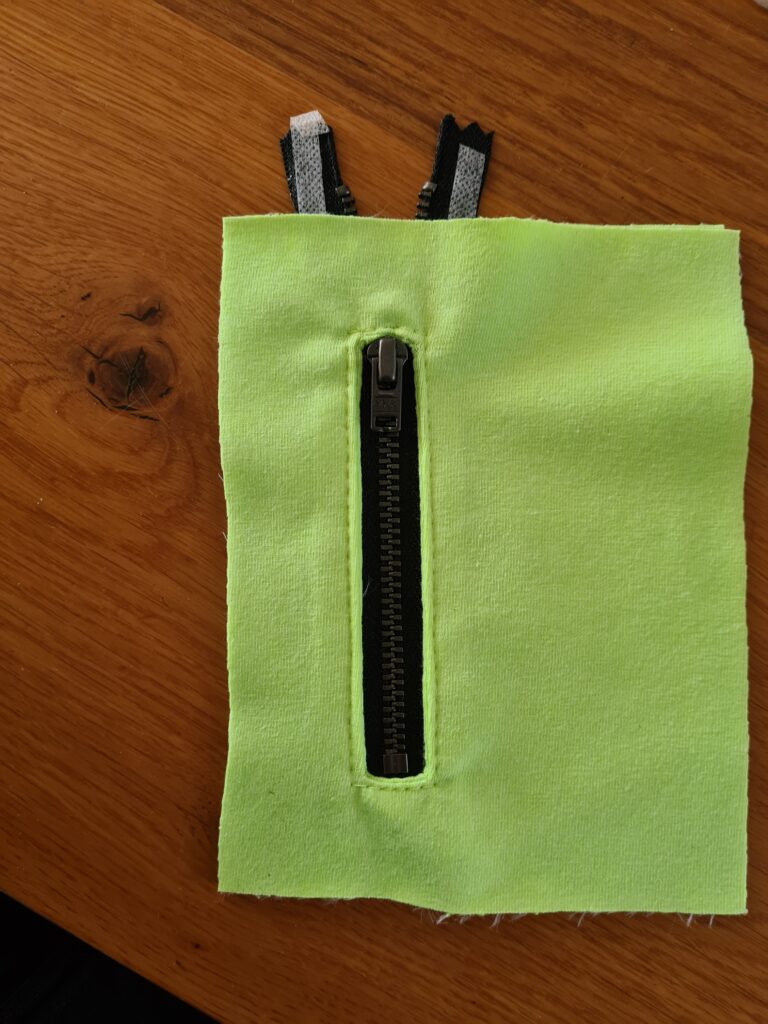
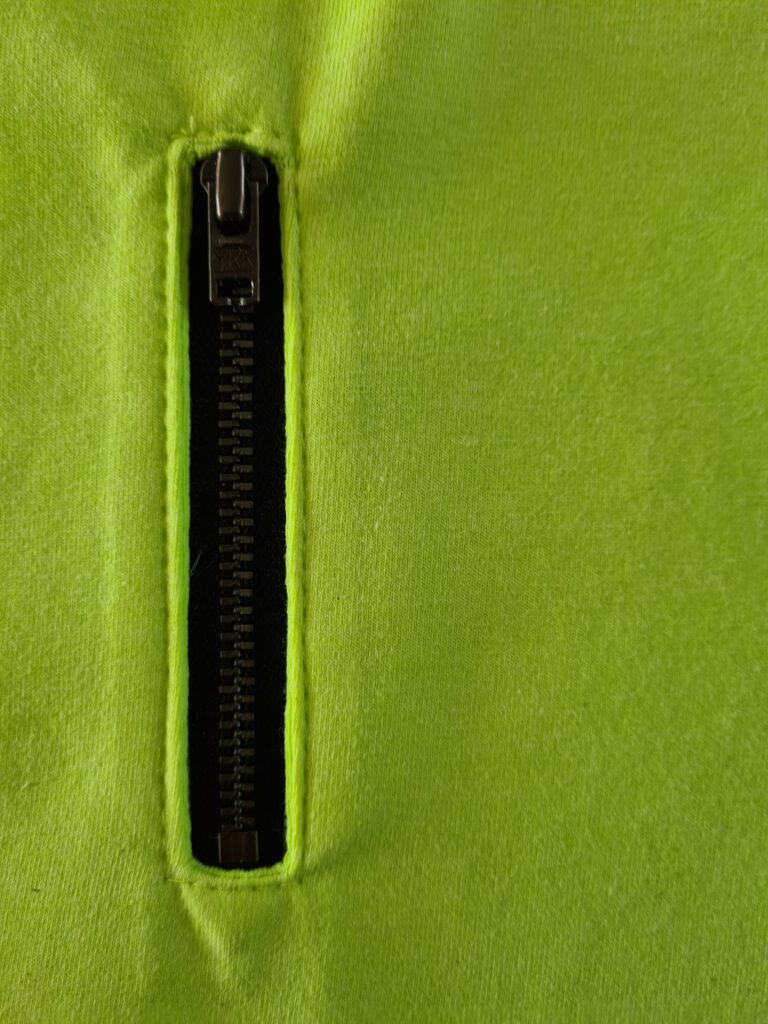
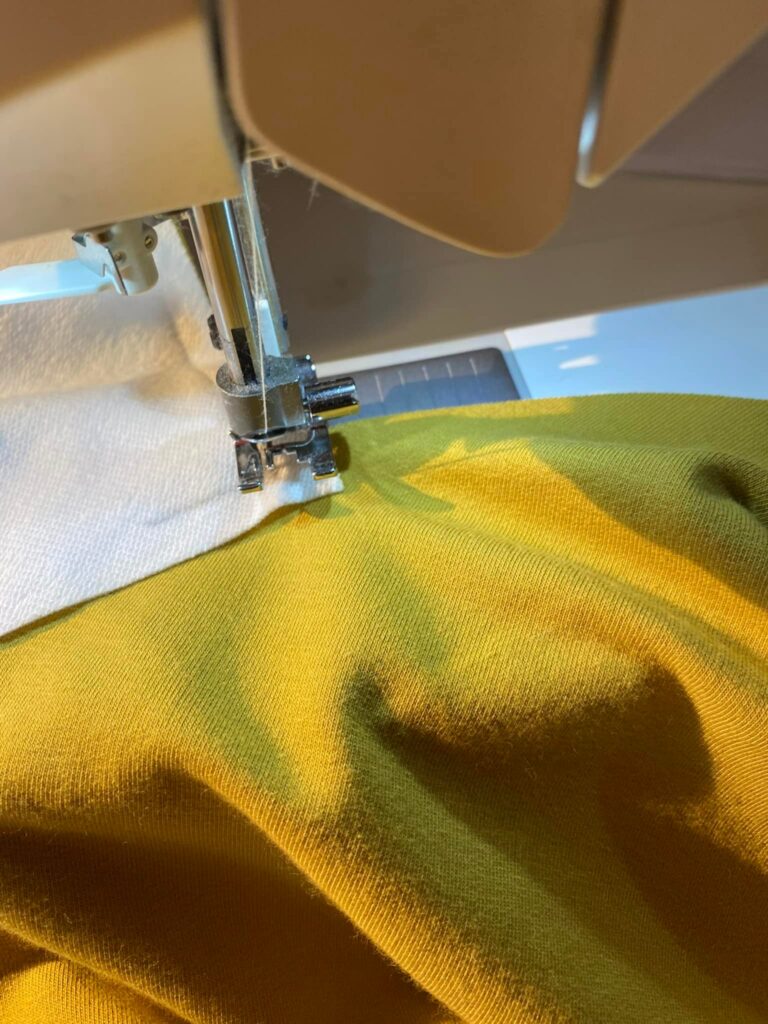
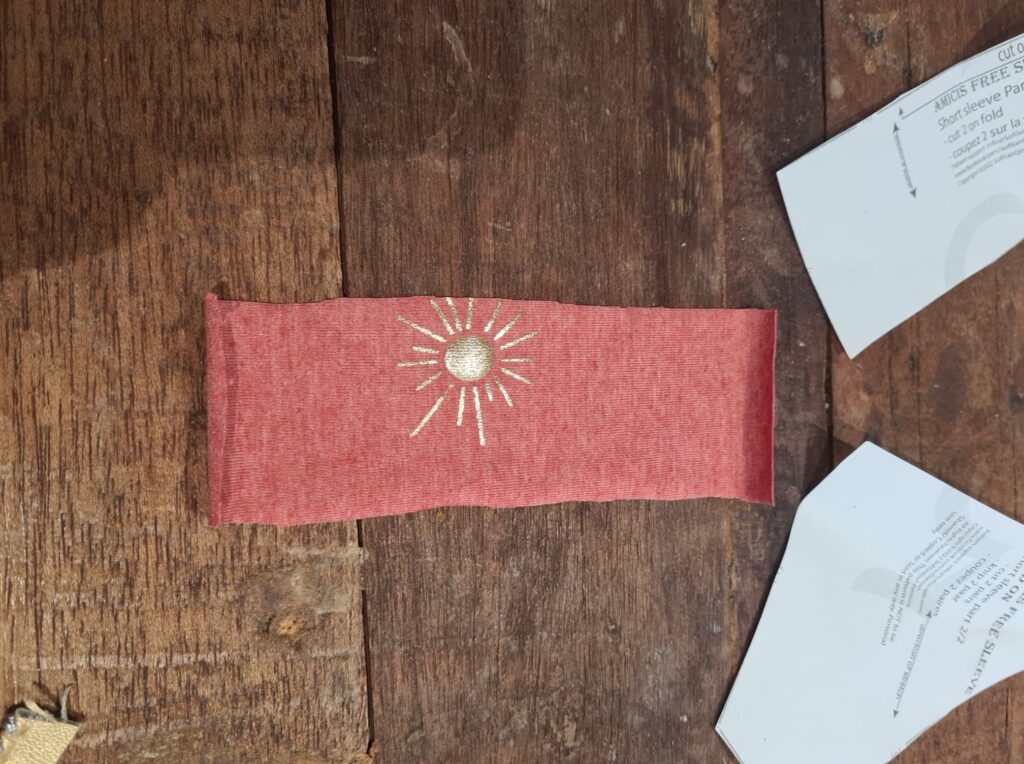
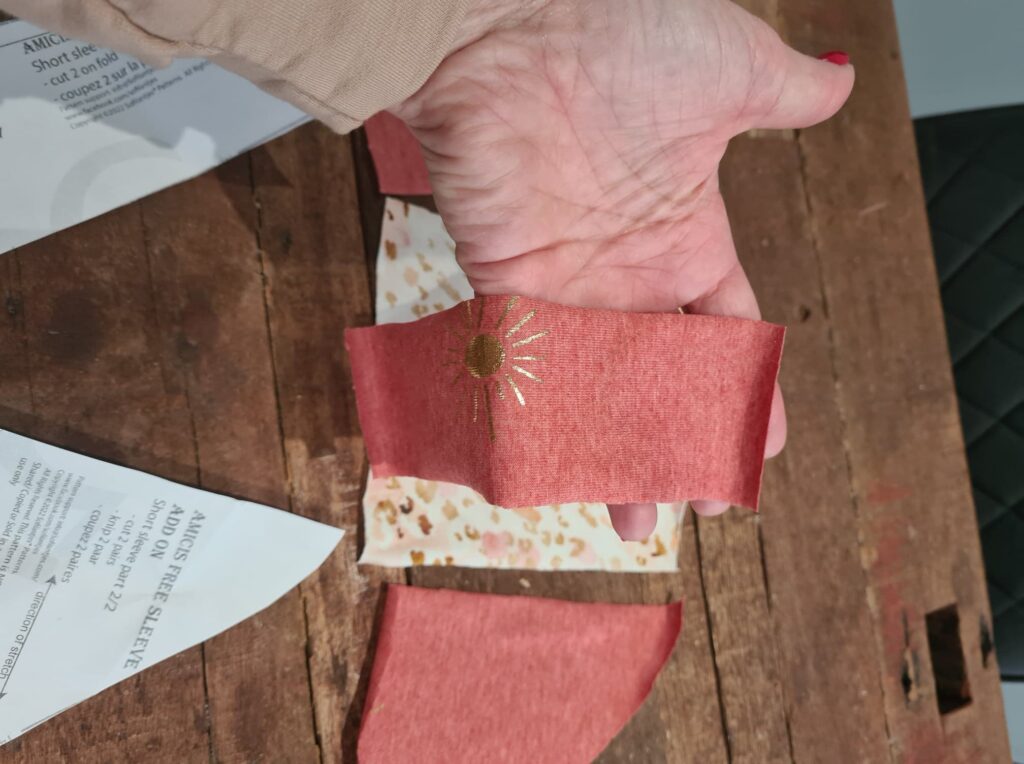
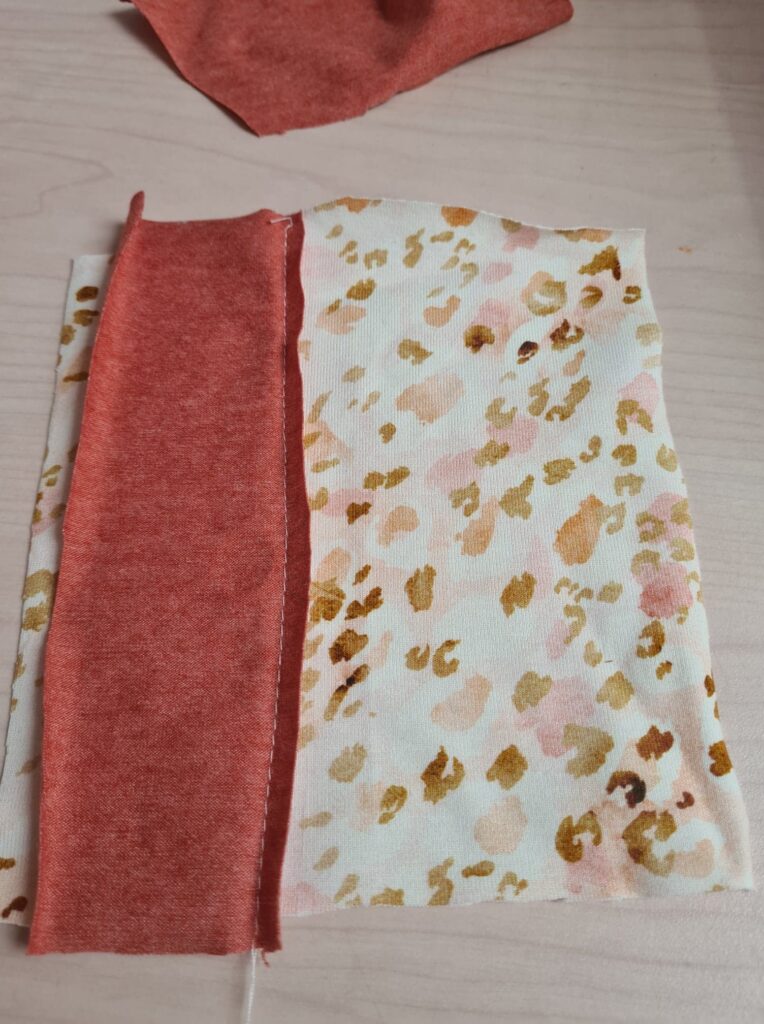
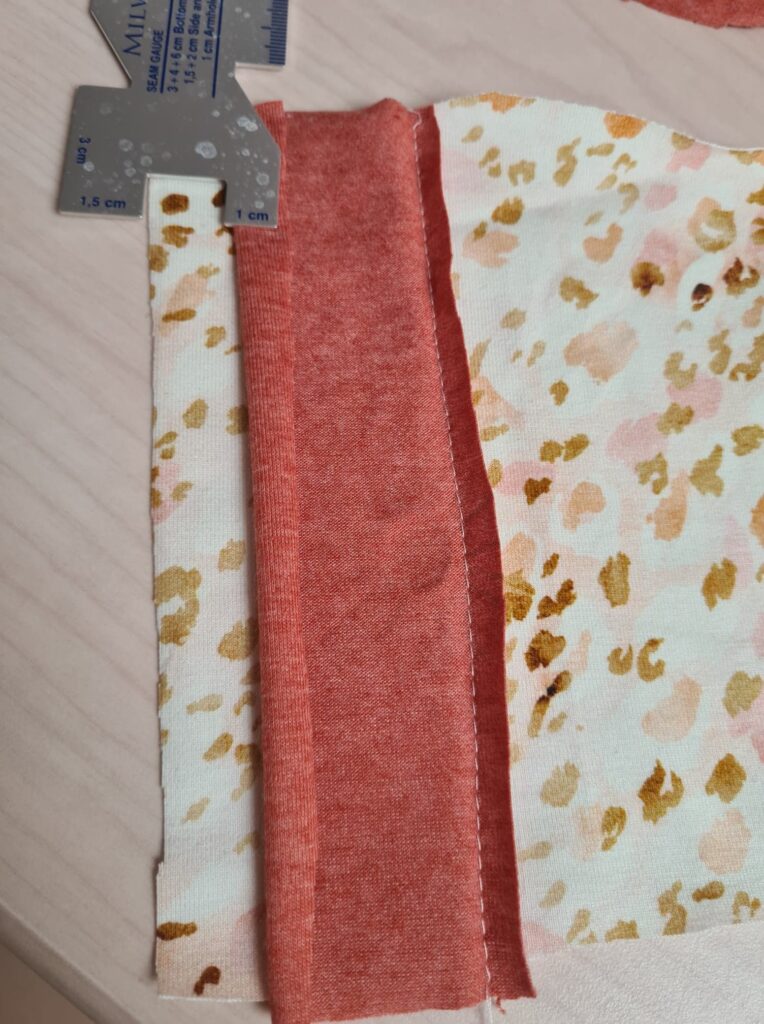
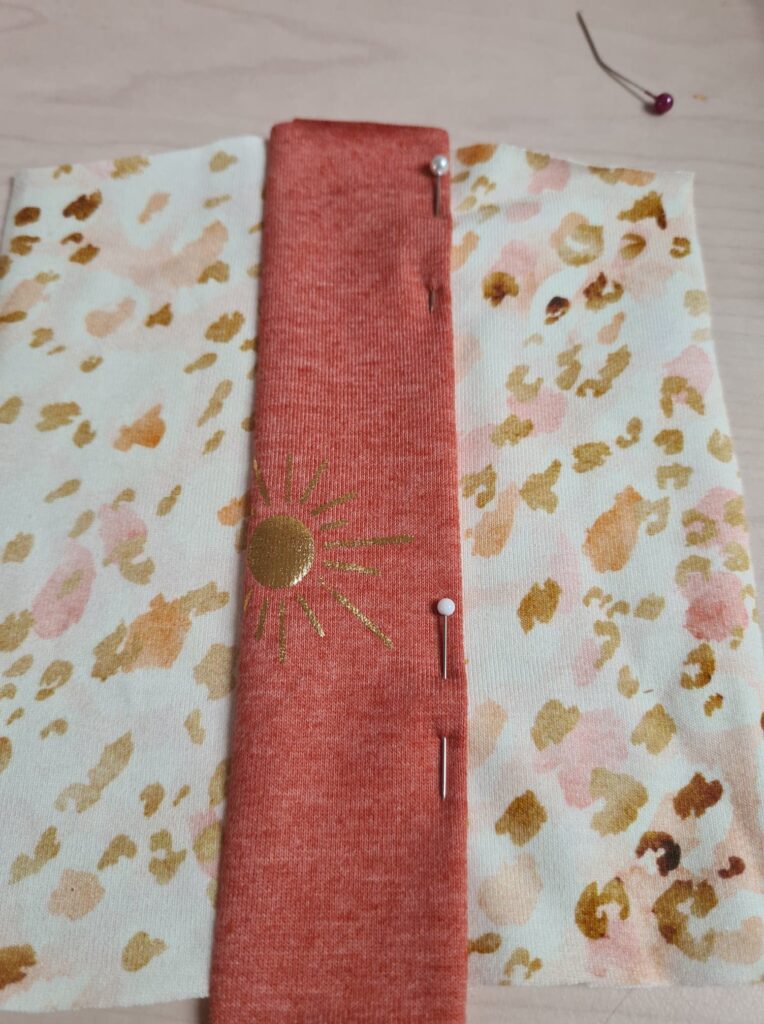
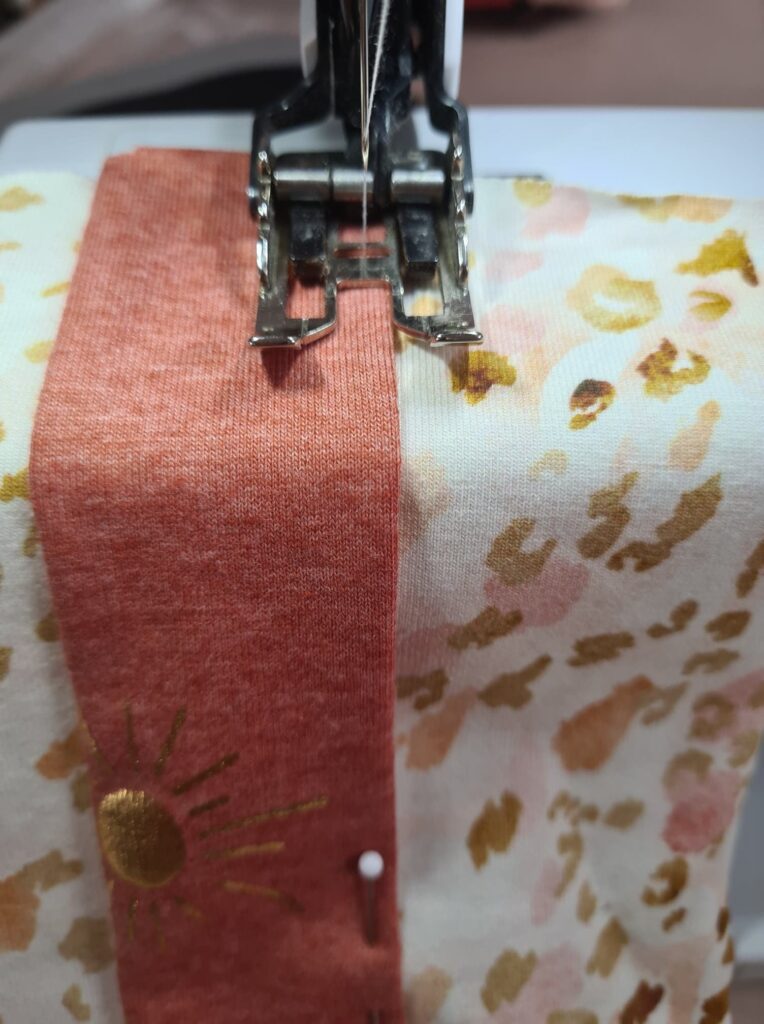
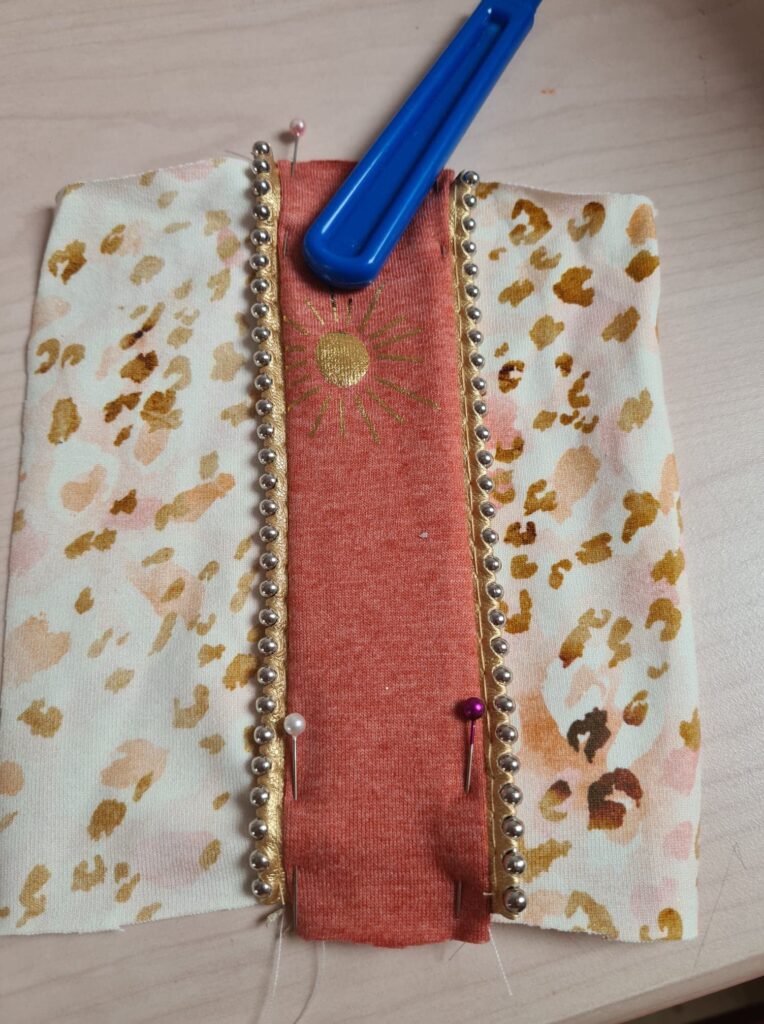
Next, we need to sew these three pieces up to make one front piece with them. First, lay your upper front piece and middle front piece right sides together and sew/serge them together using a 1cm seam allowance. Then do the same for your middle front piece and bottom front piece. Iron and topstitch the seams, and then your new front piece is complete!

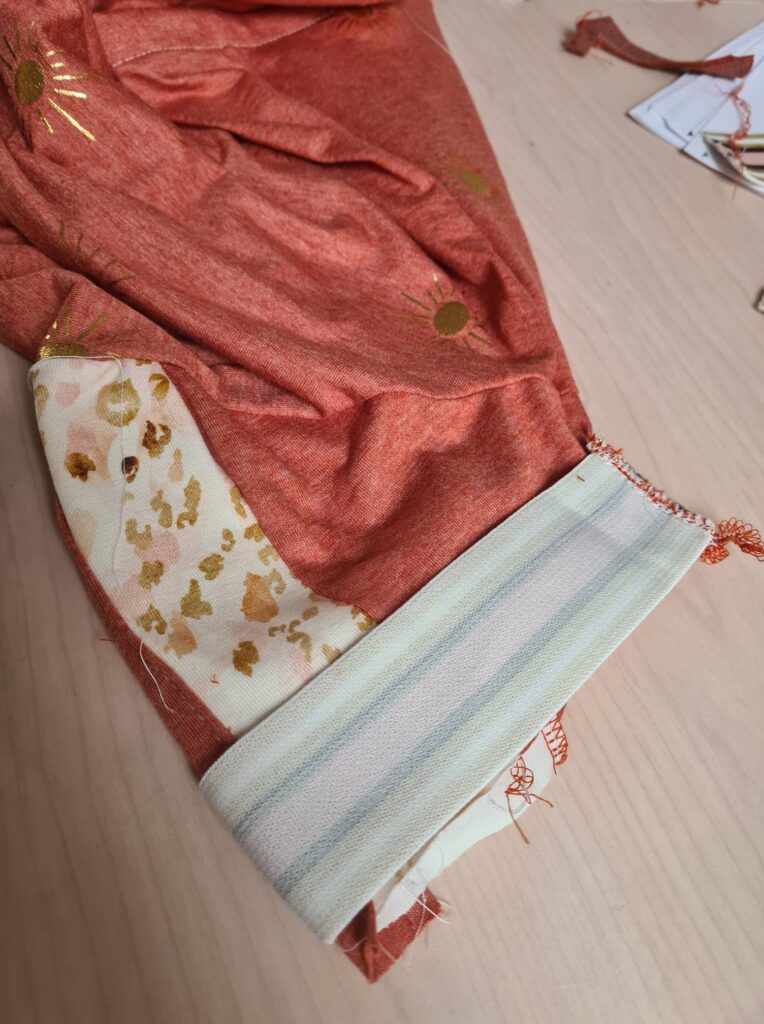
Now, let’s finish this sweater off! You can follow steps 1,2,3 and 4 from the instructions and then skip steps 5 to 12 (I’ve skipped the pockets as well). Then you follow step 13 in the instructions and skip step 14-17, which is for the B-version of the Cicero. Step 18, we need to do a little bit differently. Take your waistband and place it right sides together, and sew closed on the short side, creating a circle. Fold in half over the length of the waistband (wrong sides together) and divide it into four even pieces. Also, divide the bottom of your sweater into four even pieces. Lay your waistband right sides together with the bottom of your sweater, raw edges aligned. Line up on the 4 marked quarter points and sew the bottom and waistband together, evenly stretching the waistband as you go.

Now skip step 19 – 35 because we leave out the hood or collar and use a neckband instead. Measure the circumference of the head opening of your sweater. Take about 75% of this measurement (when using ribbing), and this length, you need to cut your neckband piece. For the height of the neckband, I took 4,5 cm. You can make this bigger or smaller according to your preferences. Sew the neckband to your sweater the same way as we did with the waistband. Now follow the instructions from step 36 until the end of the instructions to finish your sweater!

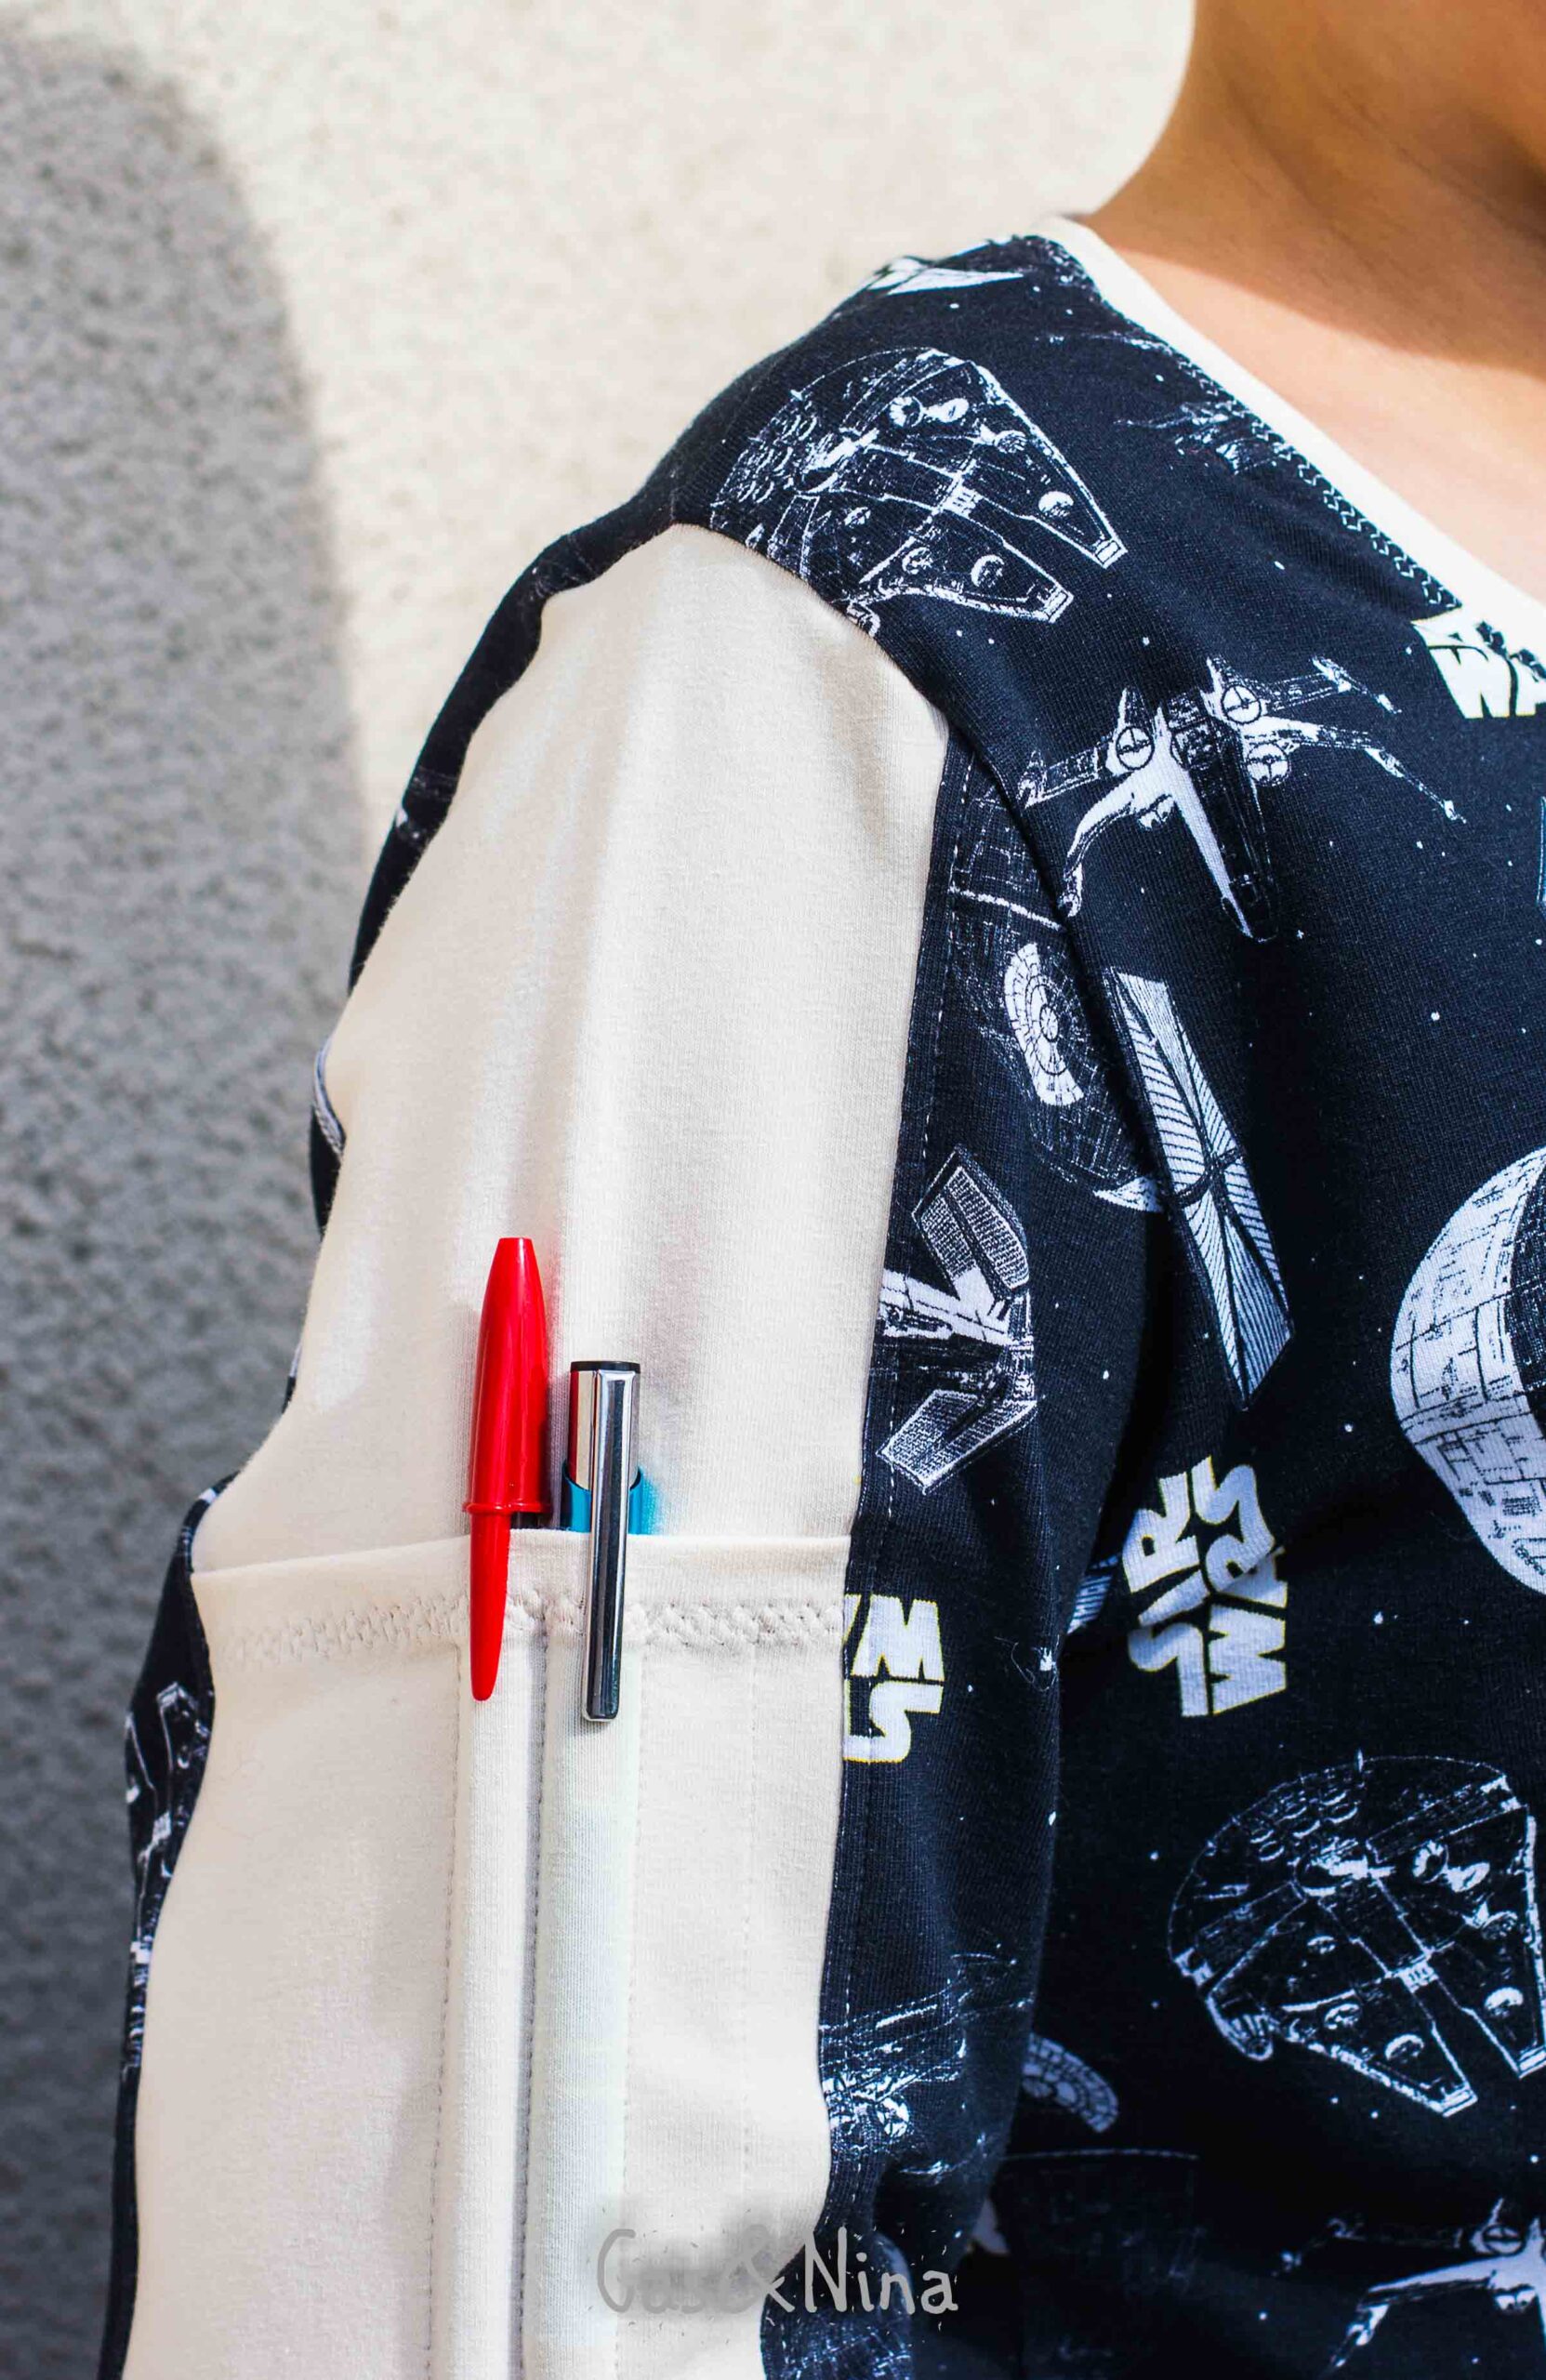
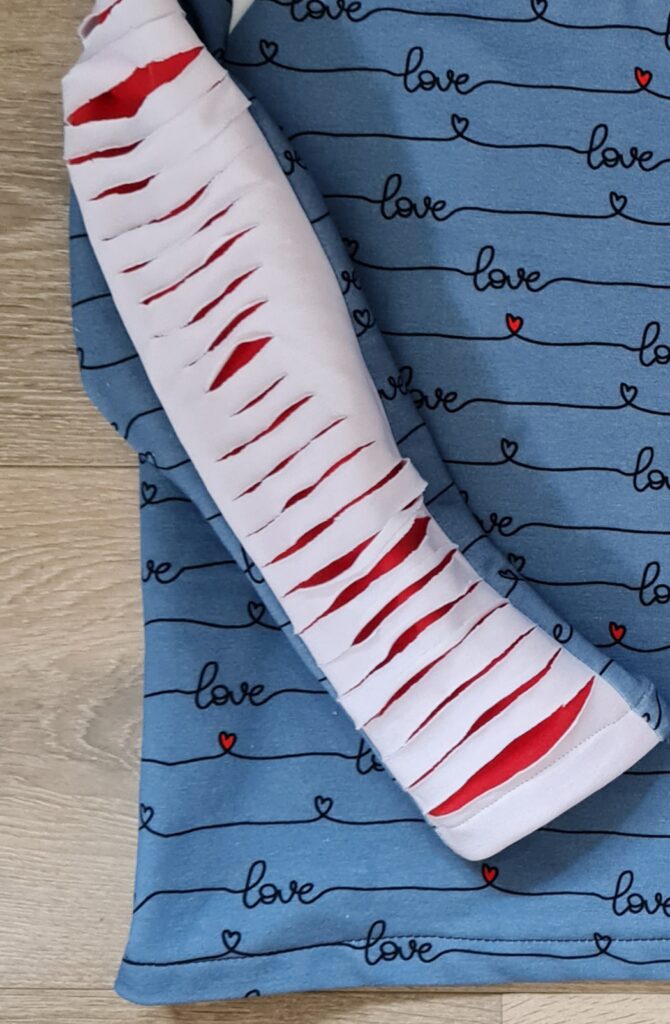
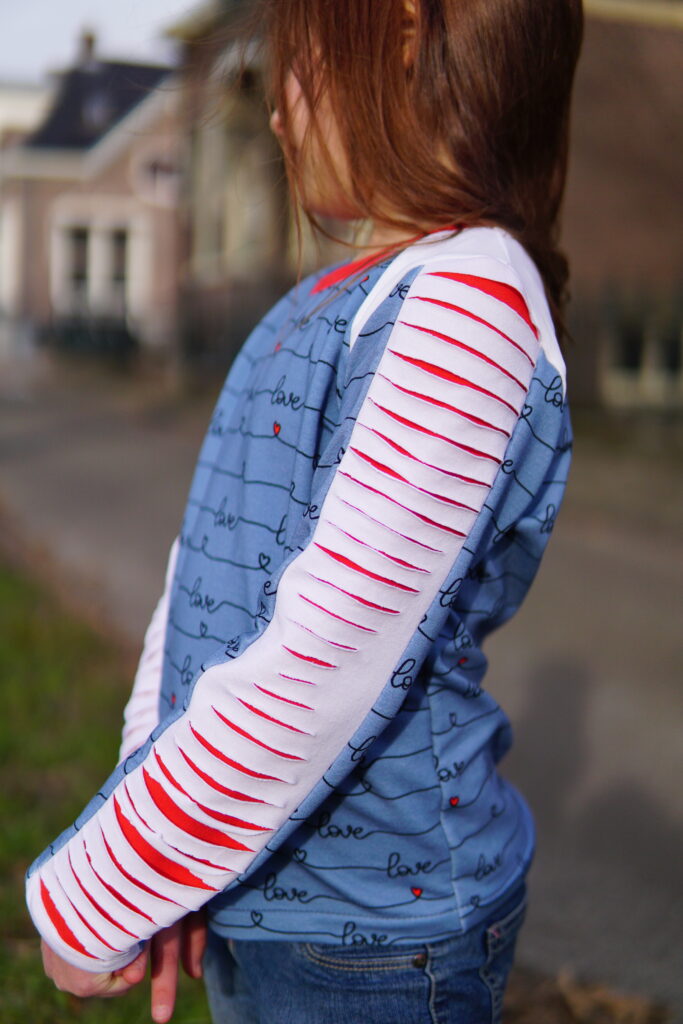
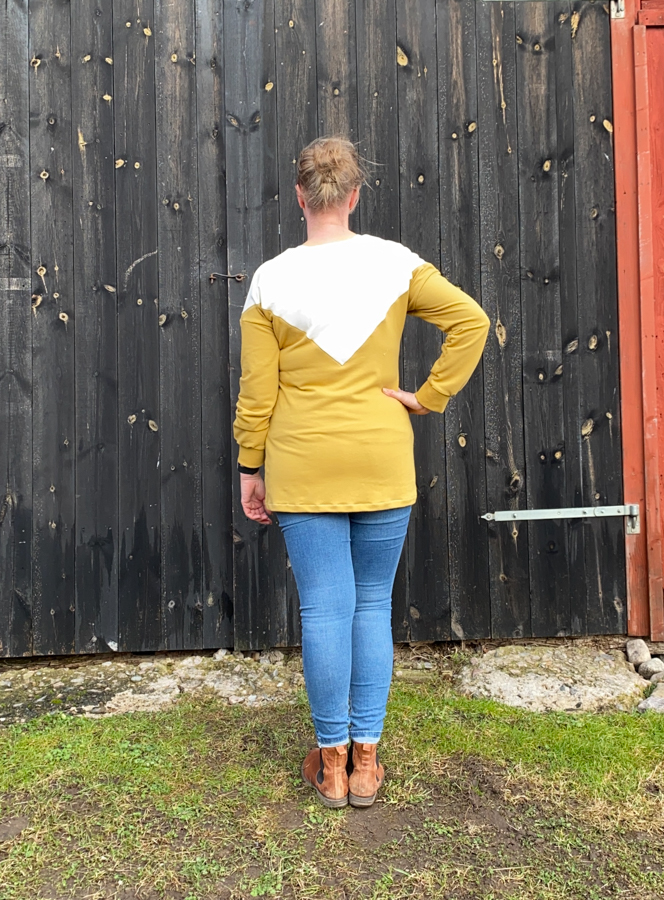
All there’s left to do is to show off your beautiful creation! I sized up one size and love the oversized look. My son is pretty happy with his new sweater too! Now you can make not only cool jackets but also cool sweaters with the same pattern! Don’t have the pattern yet? You can grab your copy.

Happy sewing!

Cindy
Blog: Miss Maakt
IG: @miss_maakt

Solis meets Vallis

Hi there, Ilse here from @sewsewilse. I’m so glad to be on the blog again and to show you my newest dress. I can say I’m really in love with it because it has all the elements I want for a dress!

First of all I matched the Solis and Vallis dress. The Solis is a cheerful summer dress and the back part is so special. Lovvve!  Normally the Solis is combined with a circle skirt or a skirt with pleats, but I liked the handkerchief hem skirt from the Vallis so much that I wanted to combine it. This was easy peasy. My bodice (regular bodice) made in size 42 and my skirt in the same size matched perfectly together.

Here you see both patterns

And the beautiful back part of my dress.

Second, of course you need a gorgeous fabric with the perfect colors, print and drape to achieve this look. I chose this Swafing Boho Blooms jersey from Senza Limits. It’s a viscose jersey in petrol and flowers. Lately I prefer to work with viscose jersey. Viscose jersey is soft natural fibre and it drapes so beautiful. And that’s what I need for a dress.

Yes, I have a sewing tip for you. The bodice is lined as you know and I sewed clear elastic on the lining part from the neckline and armopening while I was sewing the main and lining together. While I was sewing I stretched the elastic just a tad. I’m doing this so the upper part fits my body nicely and this way this part can’t stretch out. I also used clear elastic on top of my skirt for the same reason and this way it will contribute to the sustainability of the garment. The clear elastic I used has a width of 6 mm and I use it a lot. When do you use clear elastic?

It was obvious I would finish the handkerchief hem with my twin needle. It gives it such a nice finish! I used the same fabric for the whole dress, but the back piece is ideal for color blocking. You can do it and create it as you wish 🙂 And did you know you can twin with your daughter? Both patterns are available on its own or as a bundle. All patterns are available in English, Dutch, French and German. 

If you want to buy more, you can save more: If you spend €20 or more and save 10%. Use code: SAVE10  *** Do you spend €40 or more and save 20%. Use code: SAVE20  ***Do you spend €60 or more and save 30%. Use code: SAVE30

Making the SolisVallis dress was so fun to do. The bodice part from the Solis is constructed so genius! I’m sure I’ll use this pattern to sew more of these tops. Now I have two gems of dress patterns in one. I’m ready for the sun and warm weather and when it gets a bit colder I’ll wear it with a jeans jacket.

Thanks so much for these beautiful dress patterns @anne 

Greetings,

Ilse from @sewsewilse

How to Add a Modesty Panel to the Solis add-on

Did you see our newest add-on release? Isn’t it awesome?!?!?! I know and for free! Yay!

When designing this add-on we knew this dress would not work for every occasion. We also knew we would need to fight this little girl on not being able to wear her coolest summer dress. So we came up with a solution. A middle ground. A modesty panel. Here’s how you do it.

Step 1.
Sew your front bodice as written in the instructions.
(The fabric used is sold out but there are other variations still in our shop: https://www.sofilantjes.com/product-category/stof/)

Step 2.

Cut your modesty panel in a fabric of choice. I used stretch lace.

Step 3.

Sandwich the modesty panel in between the front and back bodice, right sides together.

Step 4.
Sew the side seams as written in the instructions. Finish the dress.

Done!

SALE

REGISTER FOR OUR NEWSLETTER

OR FOLLOW US