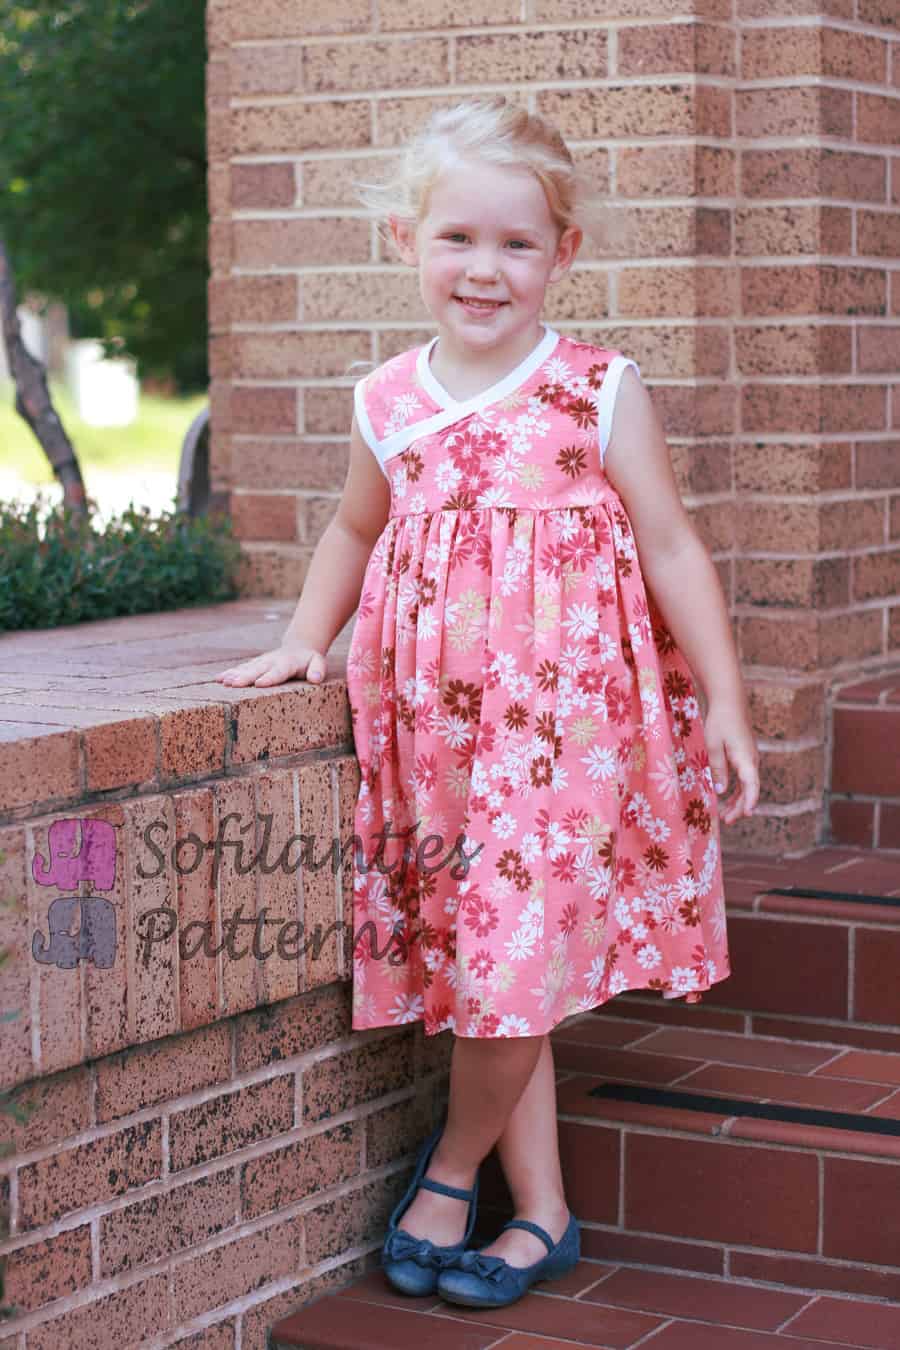
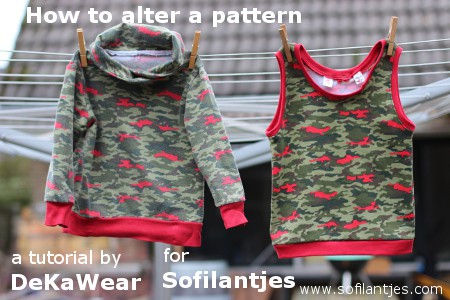
Today is our last day for the Guest Blog Tour. We hope you enjoyed it as much as we did. Our last contribution for this Guest blog tour is How to alter a pattern by Deka Wear. Mirjam shows you how she alters our very popular Omni Tempore pattern into a tank top.
Would you like to see all the Guest posts one more time? Scroll down for the links. Plus, enter the Giveaway.
Hi, I’m Mirjam from DeKaWear. I learned how to sew when I was a kid but didn’t do much with it until I had my own kids. About six years ago, when my grandmother died I inherited her sewing machine. I decided to pick up sewing again. I did not get serious until about three years ago when I started my blog and bought my own sewing machine. I have three children: two daughters, one is almost 7 years old, the youngest is 15 months old. And a son who is 4 years old.
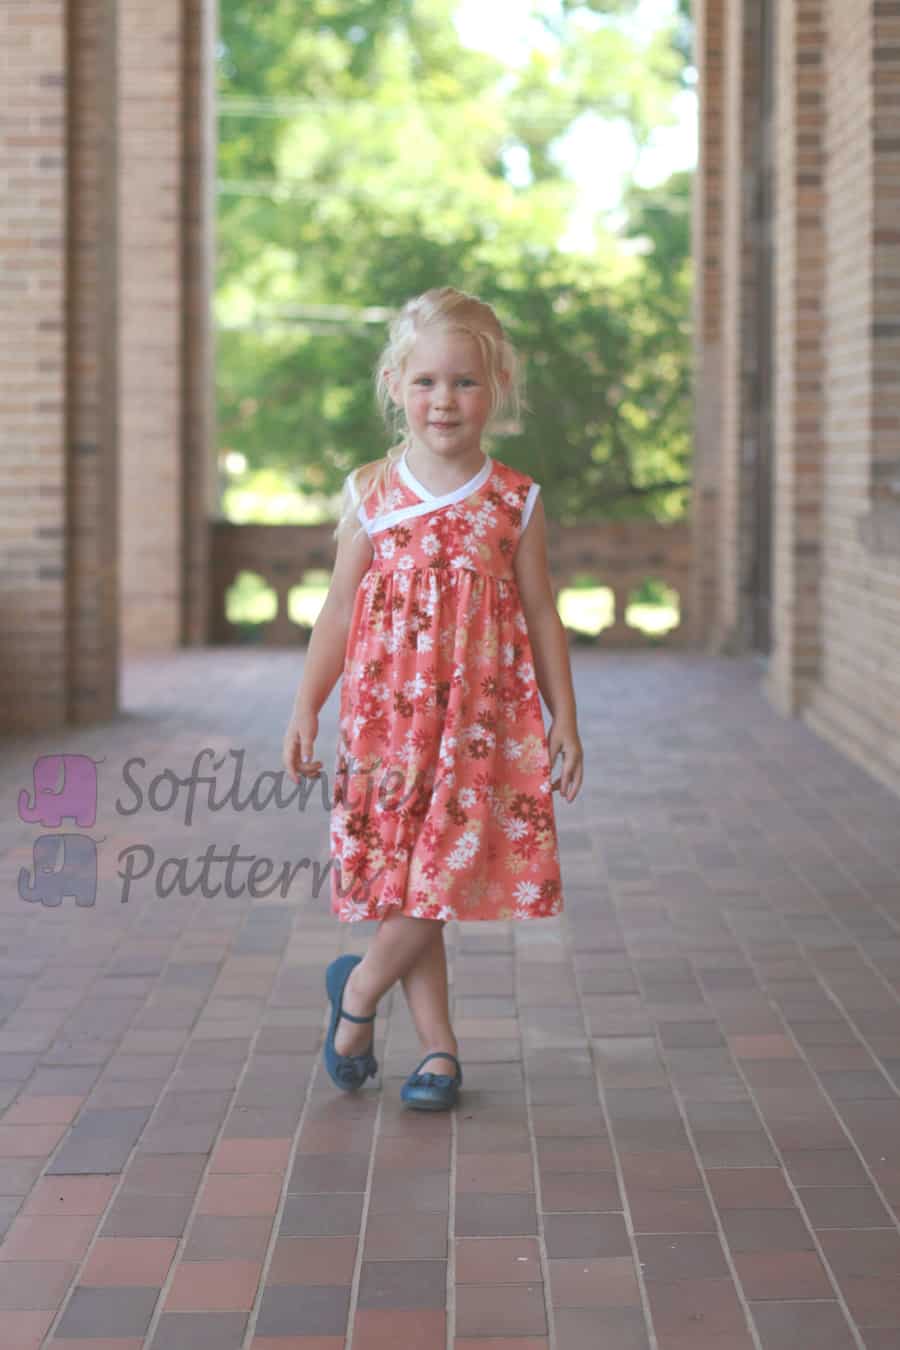
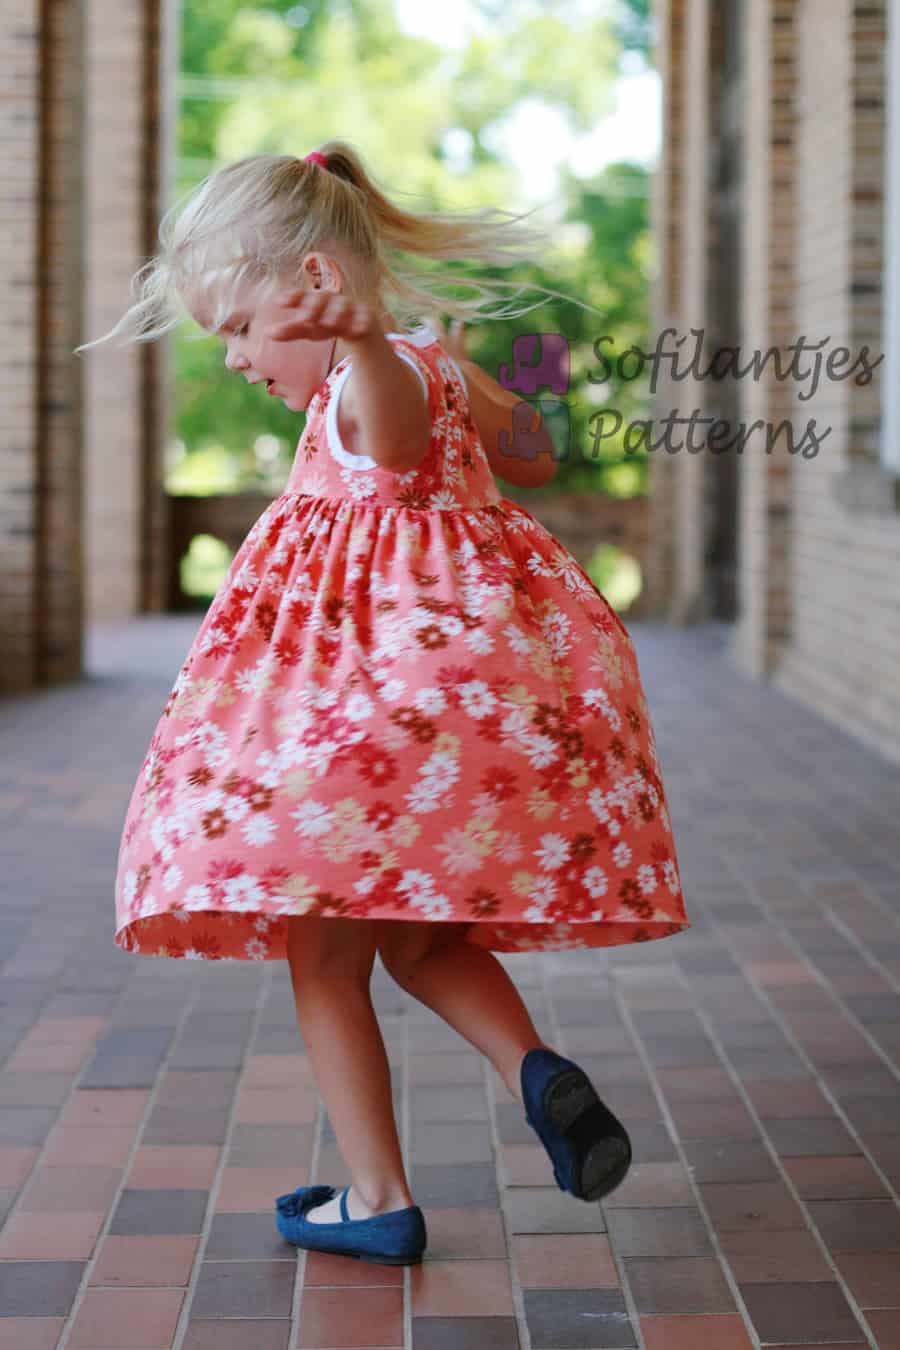
Last summer, I needed to sew a tank top for my eldest daughter, but I didn’t have a pattern. I decided to alter a sweater pattern into a tank top pattern. With summer coming up (I hope…), this trick might come in handy again.
Some things you need to consider before altering this pattern:
- Alterations you make to the shoulder line and armhole should be the same on front and back.
- Alterations you make to the middle of the neckline can be different in the front and back.
- Alterations I’ve made are my own preference.
- I’ve used a size 3 for this tutorial; actual measurements can be different in other sizes.
- Make a muslin first to check if you like these alterations or if you would use other measurements.
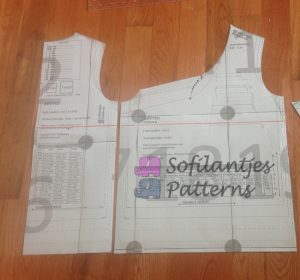
Choose a pattern you like. For this tutorial, I used the Omni Tempore. First, make the sweater as is and try it on for size. Next, determine what you’d want to change:
- The side seam at the shoulder will be taken in towards the neckline. Measure how much you want it taken in. This will be marked A in the tutorial.
- Next, determine how wide you’d the shoulder seam to be. This will be mark B in the tutorial.
- Determine if you’d like to make the armhole deeper. The difference between the original armhole depth and the new armhole depth will be marked C.
- The center neckline will be lowered in the front and back. Determine how much you would like it to drop. This will be your mark D (front center neckline) and mark E (back center neckline)
<>
Some numbers…
In my tutorial, I used these measurements:
A: 3 cm or 1 1/4 inch
B: 5 cm or 2 inch
C: 3 cm or 1 1/4 inch
D: 4 cm or 1 5/8 inch
E: 5 cm or 2 inch
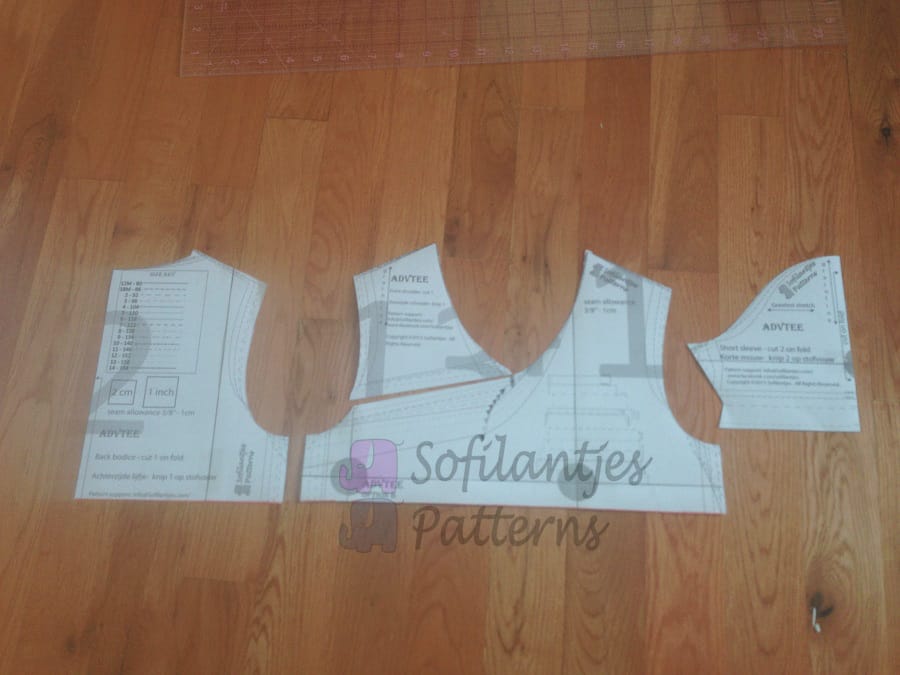
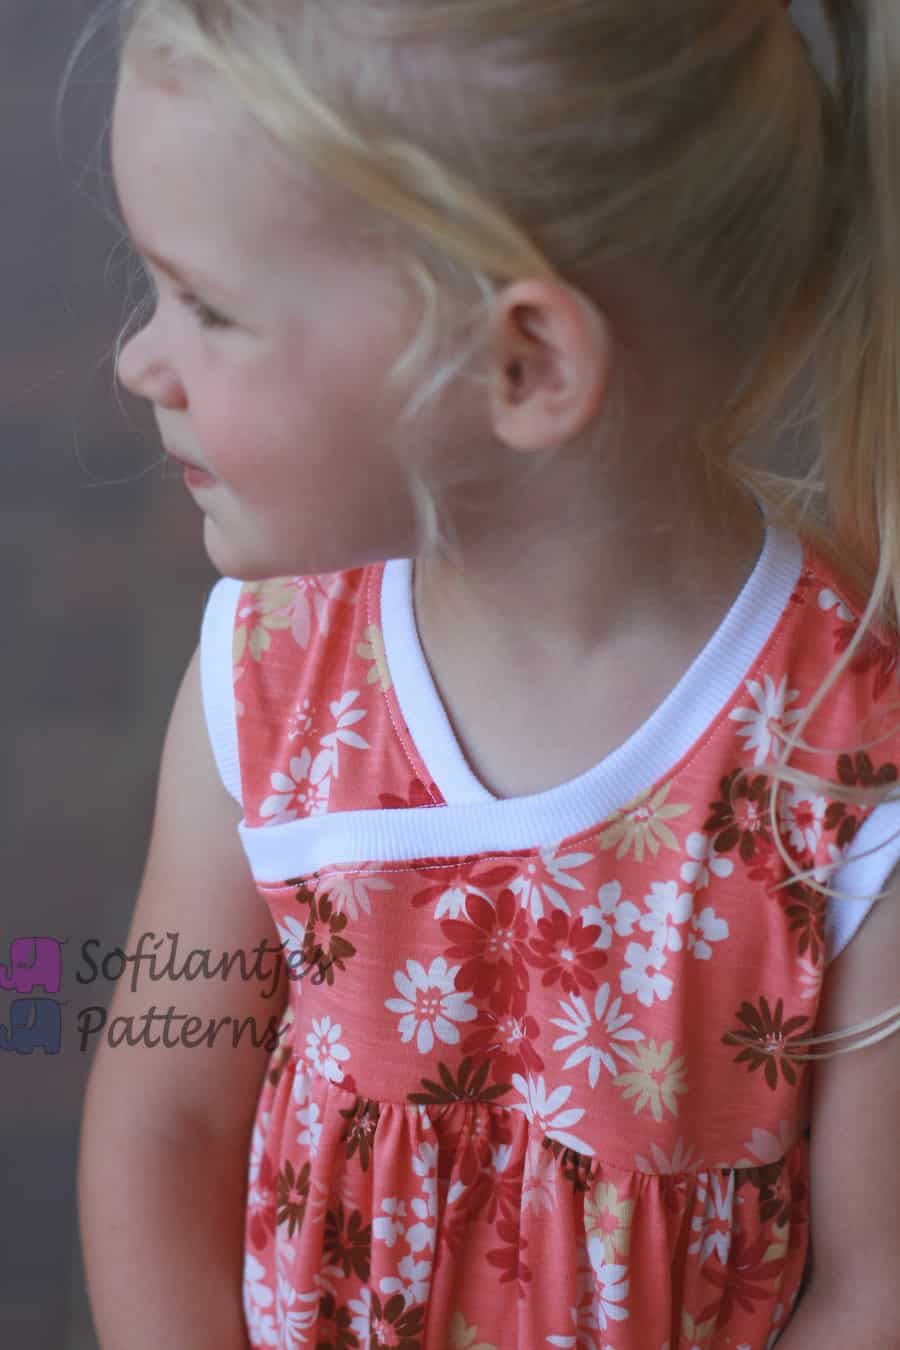
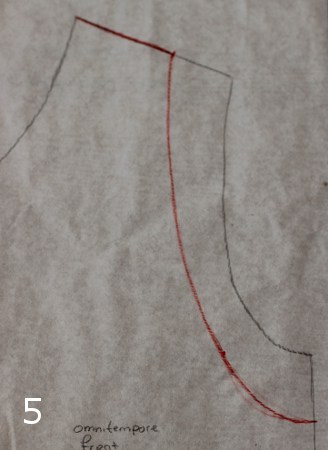
Transfer the front and back bodice parts of the pattern. (Note: You do not need the sleeves and collar parts.) If you want to finish the bottom hem with ribbing, use the instructions in the pattern.
Front bodice piece.
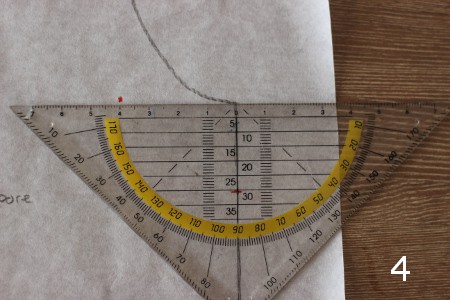
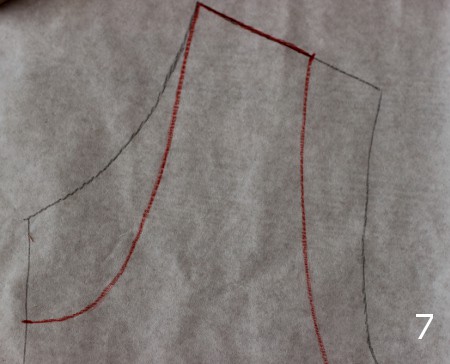
1. Draw a dot on the shoulder line, shift the distance A from the side seam to the neckline.
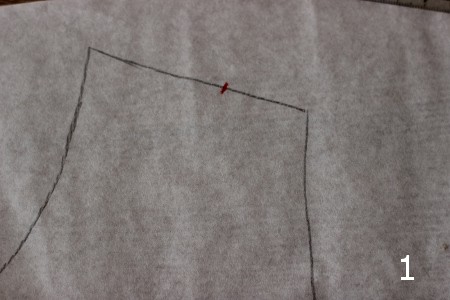
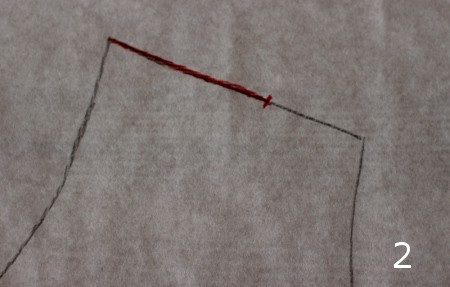
2. Draw a line with the length you’ve chosen for B from that dot (mark A) towards the neckline.
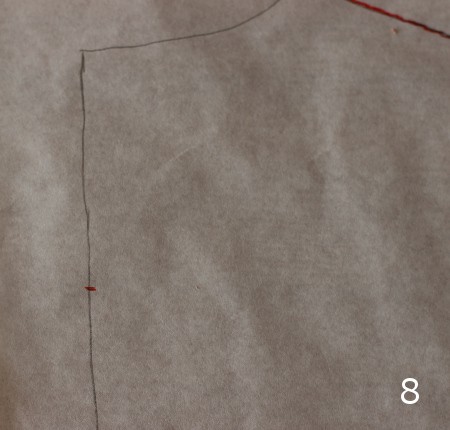
3. Draw a dot at the distance you’ve chosen for mark C under the armhole/side seam point (see picture).
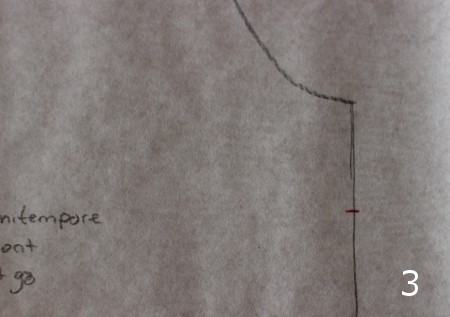
4. Draw a dot at 4 cm / 1 5/8 inch left from the original armhole/side seam point.
5. Draw the new armhole line, starting from the dot you’ve placed in step 3, following to the dot from step 4, ending at the dot from step 1. (Do not give up if this fails the first time. It takes some exercise to draw a nice armhole. At least in my case it did. If you have a French curve on hand, now is the time to use it)
6. Draw a dot at the distance you’ve chosen for D under the middle neckline point.
7. Draw the new neckline between the dot you placed in step 6 to the end of the line you made in step 2. Note: Draw the line flat at the center neckline to change the original neckline that is V-shaped.
Now you’ve made the front piece for your new tank top pattern.
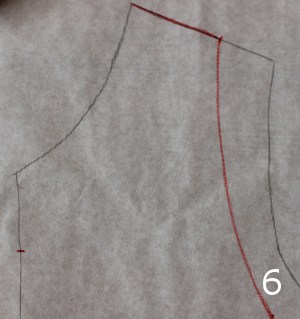
Take the back bodice piece and repeat steps 1 – 5.
8. Draw a dot at the distance you’ve chosen for mark E under the middle neckline point.
9. Draw the new neckline between the dot you placed in step 8 to the end of the line you made in step 2.
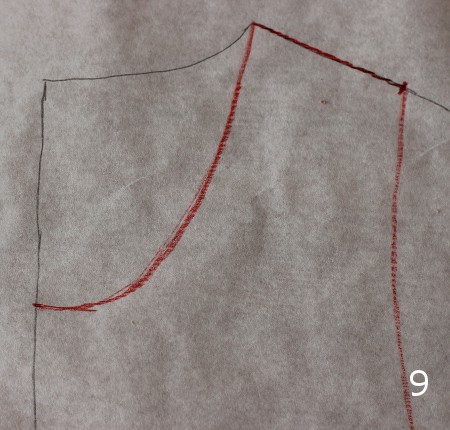
Now you’ve also made the back piece for your tank top pattern.
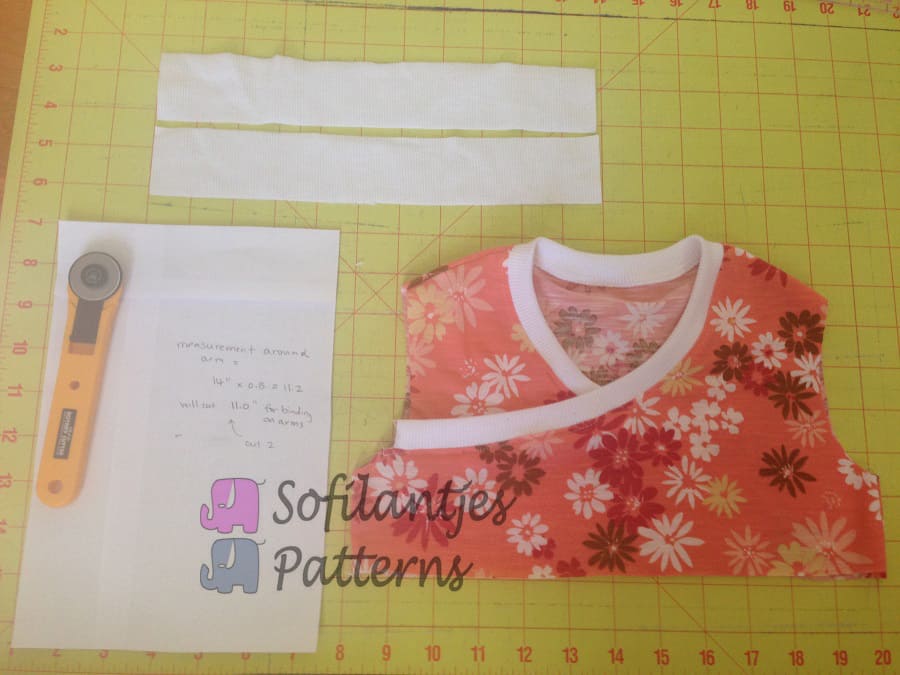
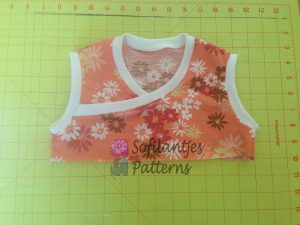
Cut out the fabric. Seam allowance is included (3/8″- 1cm). Sew the shoulder and side seams. Press the seams towards the back.
About ribbing…
To finish the armhole and neckline, we are using ribbing. The ribbing piece’s width should be between 85% and 90% of the length of the armhole or neckline. Use this formula to calculate the amount of ribbing you will need:
Height: (2*seam allowance) + (2* hem)
Width: The total length of the armhole or neckline * 0,9 (this is for 90%, for 85% choose 0,85)
In my case, the seam allowance was 1 cm or 3/8 inch. The hem also is 1 cm or 3/8 inch.
So in the formula for cm it is: (2*1) + (2*1) = 2+2 = 4
In inches the formula is: (2* 3/8) + (2 * 3/8) = 3/4 + 3/4 = 1 1/2 inch
For the armhole, measure the length of the front and back armhole and add them together. In my case, they were both 20 cm or 8 inches. So one armhole is 40 cm or 16 inches.
Put this in the formula and you get (CM): 40 * 0,9 = 36 cm.
For inches it is: 16 * 0,9 = 14 3/8 inch.
For the neckline, measure the size of the front and back neckline and add them together. If you measured from the pattern pieces, you would have to multiply this by 2. In my case it was 12 cm or 4 3/4 inch and 15,5 cm or 6 inch (on the pattern piece), so the length of the neckline in cm was (12+15,5) * 2 = 27,5 * 2 = 55 cm. Put this in the formula and you get 55 * 0,9 = 49,5 cm.
In inches it was (4 3/4 + 6) * 2 = 10 3/4 * 2 = 21 1/2 inch. In the formula you’ll get 21 1/2 * 0,9 = 19 1/2 inch.
So now you have two squares: One for the armhole and one for the neckline. In my case:
For the armhole, in cm: height: 4 cm, width: 36 cm
In inch: height: 1 1/2 inch, width: 14 3/8 inch
For the neckline, in cm: height: 4 cm, width 49,5 cm
In inch: height: 1 1/2 inch, width: 19 1/2 inch
Enough mathematics (although I love maths!), let’s sew!
Cut out the ribbing, one strip for the neckline, and one for each armhole. Total of three pieces of ribbing.
There are more ways than one to sew ribbing. I’ve chosen what I think is the quick and easy way and described it here. You could also choose to sew it on the way you sew on bias tape.
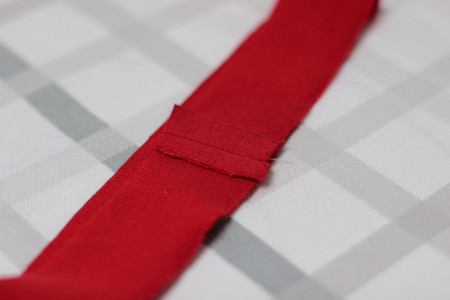
With the right sides together, sew the short ends together.
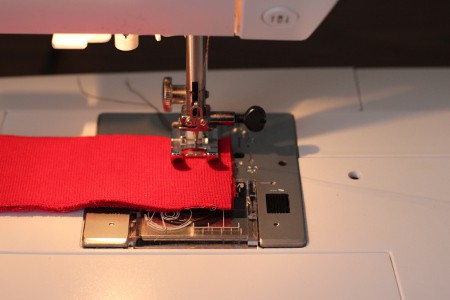
Press the seam open.
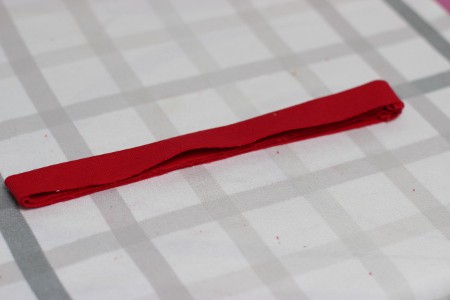
Fold the ribbing in half lengthwise, wrong sides together, and press.
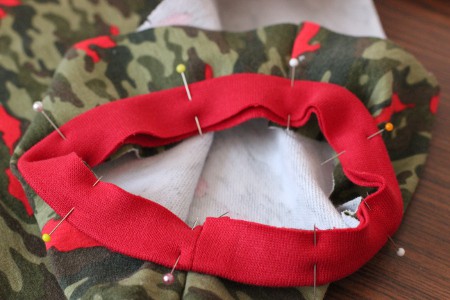
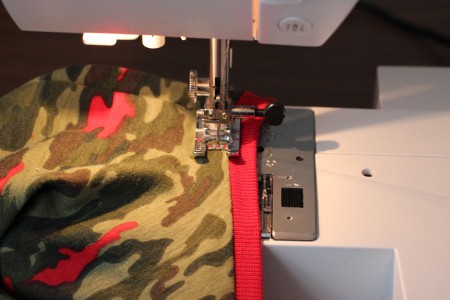
Pin the ribbing to the armhole. Placing the seam of the ribbing on the sideseam of the armhole. Stretch out the ribbing while pinning it on the fabric.
Now stitch the ribbing to the armhole, stretch the ribbing while sewing.

Repeat for the other armhole and the neckline. For the neckline, place the seam of the ribbing at the center back or the shoulder seam.
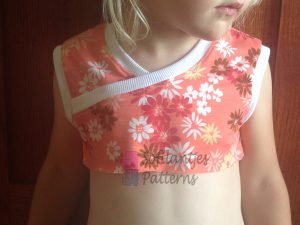
Fold the ribbing to the inside and press.
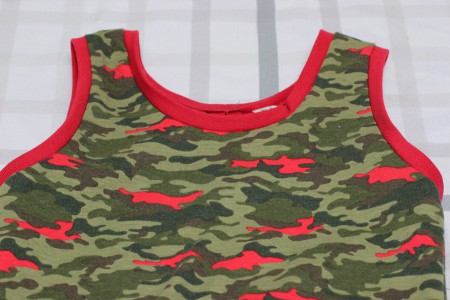
Topstitch around the armhole and neckline, using 0,5 cm or 1/8 inch seam allowance. Stretch out the fabric while sewing.
Finish the bottom hem like described in the pattern.
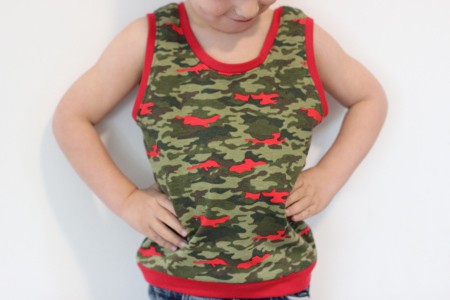
Press the top, and you’re finished!
Anne, thanks for having me!
Thanks for being part of this tour, Mirjam.
Would you like to see the other posts one more time? Here they are:
Guestpost: Skipping your understitching? Stop it!
Guestpost: The Power of Pockets
Guestpost: Slim adjustments with the ADVTee
Guestpost- Shirring: Don’t Be Scared
Guestpost: Mash It Up!
Guestpost: Sewing with Knits
Guest post: Sewing on the perfect binding
Guestpost: How to make your own bias tape
Guest Post: How to Make a French Seam
Guestpost: Sewing by hand
And today’s post Guest post: Alter a pattern


 Solis Tunique et Robe – Français + supplément gratuit$8.68 excl. tax
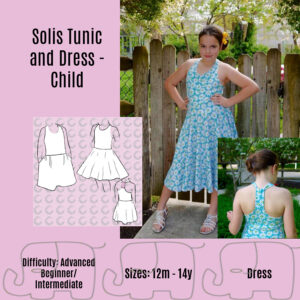 Solis Tunic and Dress – English + Free add-on$8.68 excl. tax
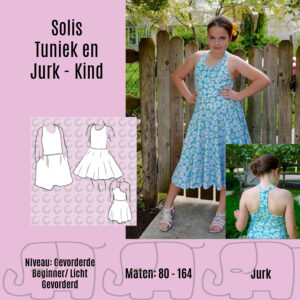 Solis Tuniek en Jurk – Nederlands + Free add-on$8.68 excl. tax