Learning Photography Week 3
Welcome back!!! We are now on Week 3 of our photography month!!! Hopefully, the past 2 weeks have been helpful and that you are taking the time to take some photos and learn more about your camera.
This week we are talking about posing people, especially kids, in photography, and some tricks to get kids to pose (not an easy feat!). While I am definitely not an expert, I do have three kids with various personalities, and have learned over the years some tricks to get some good photos especially for pattern testing!
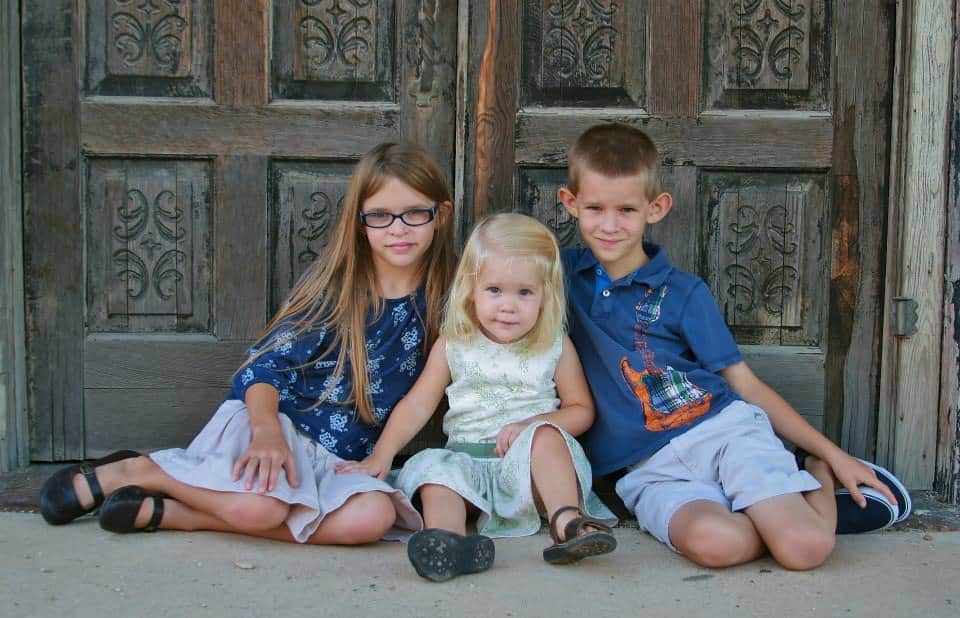
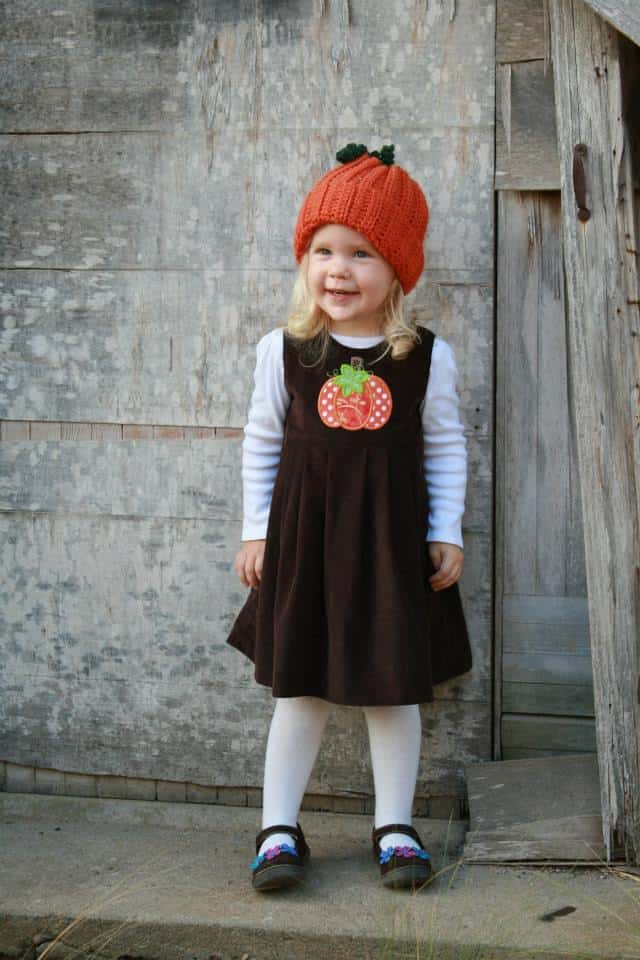
Let’s start with the kids first. I think the best tip to getting some good photos of children is being with them one on one. No other distractions. Take them to a new area, let them explore this new environment, ask them questions about what they see, all the while snapping photos. These photos seem to be the most natural. Some places that I have taken my kids are old abandoned buildings, a nature trail, field of wild flowers, a plant nursery, or even a post office. Depending on the time of day, I have found the lighting to be wonderful at these spots. Notice how I didn’t say your house or backyard, I leave this as my last resort. I find that these ‘familiar’ spots tend to be unexciting for the kids, and when I try to get them to look, smile, or pose, they just seem uninterested. Below are some photos that were taken by abandoned buildings that are in the old town we live near.
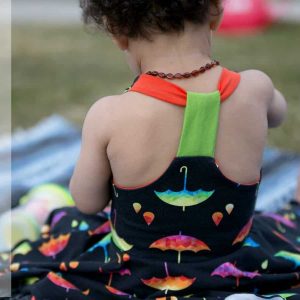
For pattern testing photos I found that the easiest way to get a natural photo is to have the child walk towards you or if you want to photograph the back of the outfit, have them walk away from you. The key is to tell them to walk slowly and just look straight ahead.
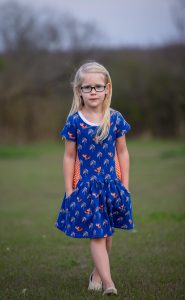

Another trick I found is to have them do something silly, tell a funny joke! Sometimes I will tell my daughter to check to see if there is anything on the bottom of her shoe.
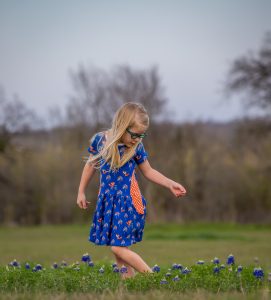
Other times I will tell my daughter, she is 5, whatever you do PLEASE DO NOT SMILE, absolutely no smiling, and she can keep a straight face for all of two seconds, then I get a natural smile from her!
Other times I will tell my kids, that I am NOT taking a picture of their face, for a sneak peek on a pattern test or to show detail on the pattern. The kids tend to have a more relax stance when they know they don’t have to look or smile smile at me!

I find that kids, and well adults too, tend to not know what to do with their hands when taking photos. If you’re photographing an outfit that has pockets, I will have the child put one hand in the pocket while the other hand is left free. For boys I find that if they place their thumbs in their pockets that it leads to a more masculine stance. If no pockets, one hand on the hip works well.
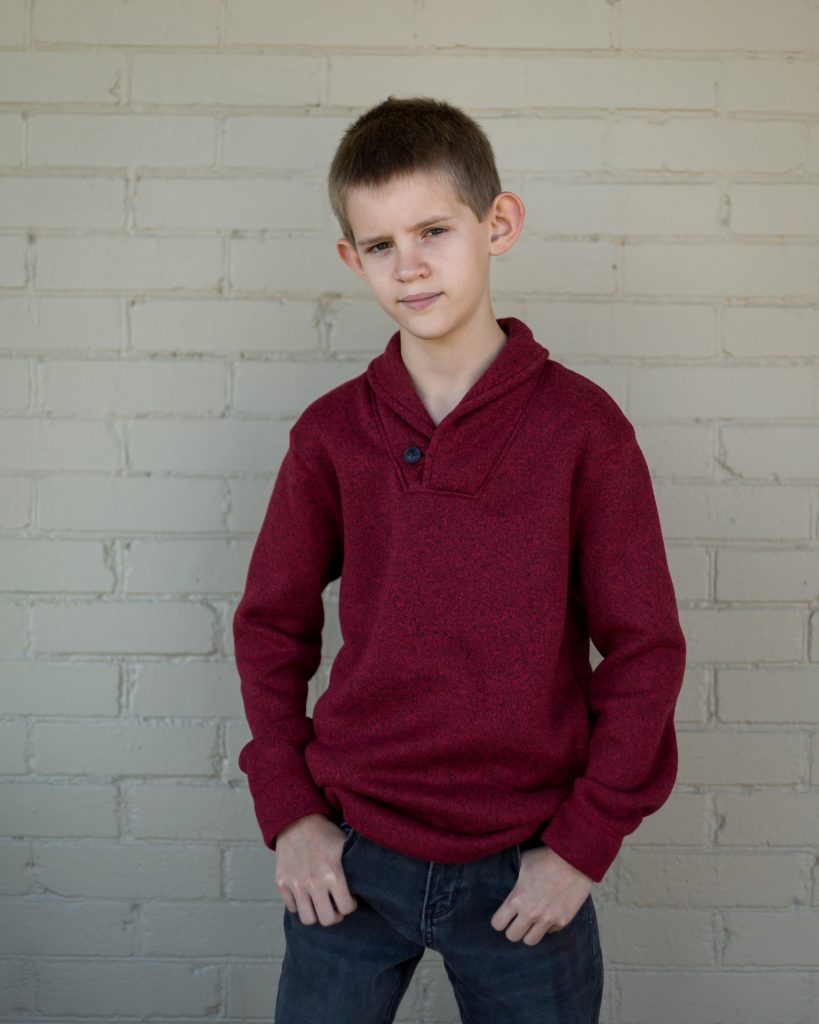
I think the main thing to take away from photographing kids is that you really can’t POSE them, you can show them what you are looking for but depending on their age, they may not listen! The best thing you can do is to get down on their level and be interested in whatever they want to talk about! When I photograph my kids I’m typically squatting or on my knees, you want the camera to be at eye level with them! Occasionally, depending on the background behind them, I break the rule of being at eye level, and I will actually bring a step ladder.
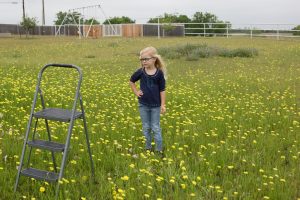

Another idea is to have them hold a prop. If you are photographing for a pattern test, make sure the prop isn’t distracting from the pattern but rather complements it. Some examples I have used in the past is a pair of sunglasses, a hat or even an umbrella.

And when all else fails…..bring candy!!!! Knowing that a lollipop is waiting for them after the photoshoot is completed, typically gets the kids attention. After many years of photographing my kids, they have learned, if they listen to what I am asking, I will only take a few photos and we can leave and go have fun.
Okay, while all the above works for ALL people, the older the child is, the easier child, they can follow directions. Just like last week, there are some basic ‘rules’ that most photographers will follow for posing subjects that are more mature. If most of these rules are followed the ending will result in a pleasing portrait.
First rule – If your subject has long hair, it’s best to have their hair over one shoulder but behind the other. If the hair is over both shoulders, it tends to look a little messy. Another option is to have the hair pulled back.
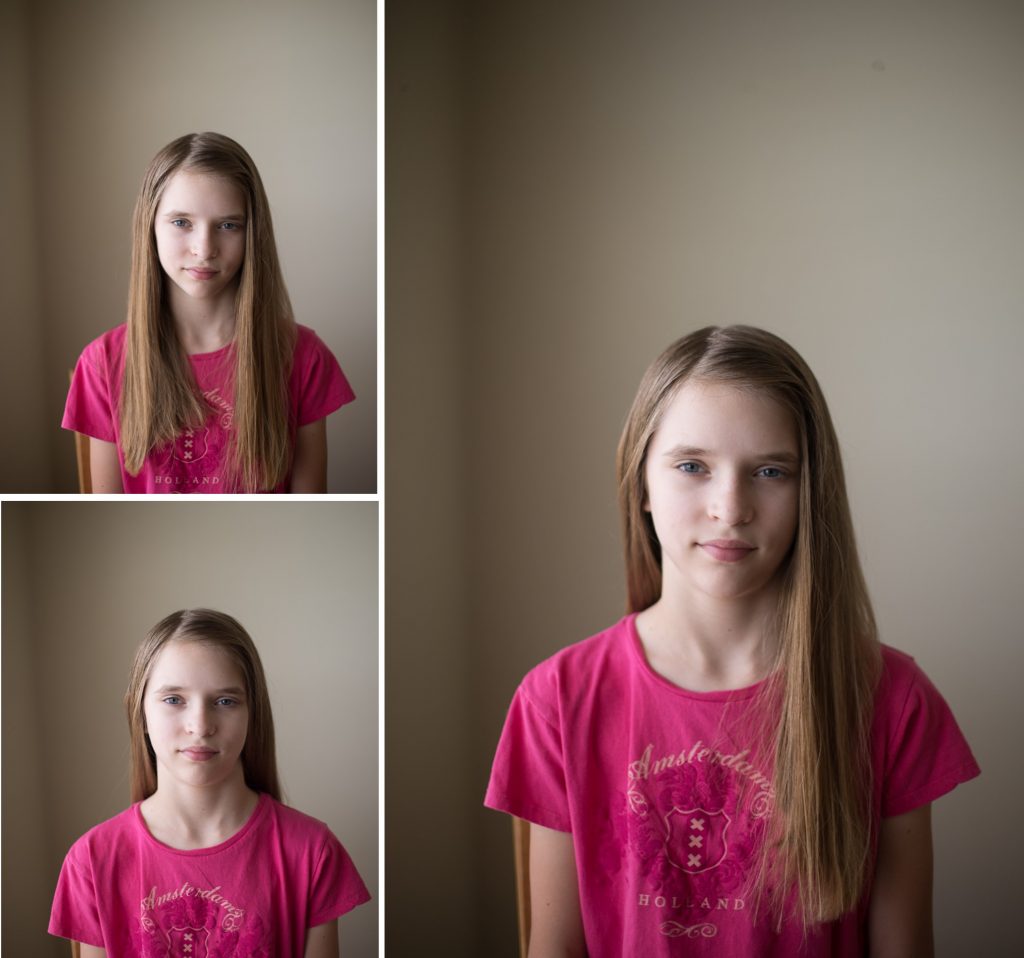
Second rule – When people stand naturally they tend to stand with their arms flat at their sides. This causes several problems. First, it makes them look awkward and uncomfortable in the photo. Secondly, their arm presses against their torso. This squishes the arm out and makes it look larger than it actually is. You can correct that by having them just lift their arm an inch or two so it is “floating” and not pressed against them. Alternatively, you can pose their hand so the arm is in a different position, such as putting their hand on the hip.
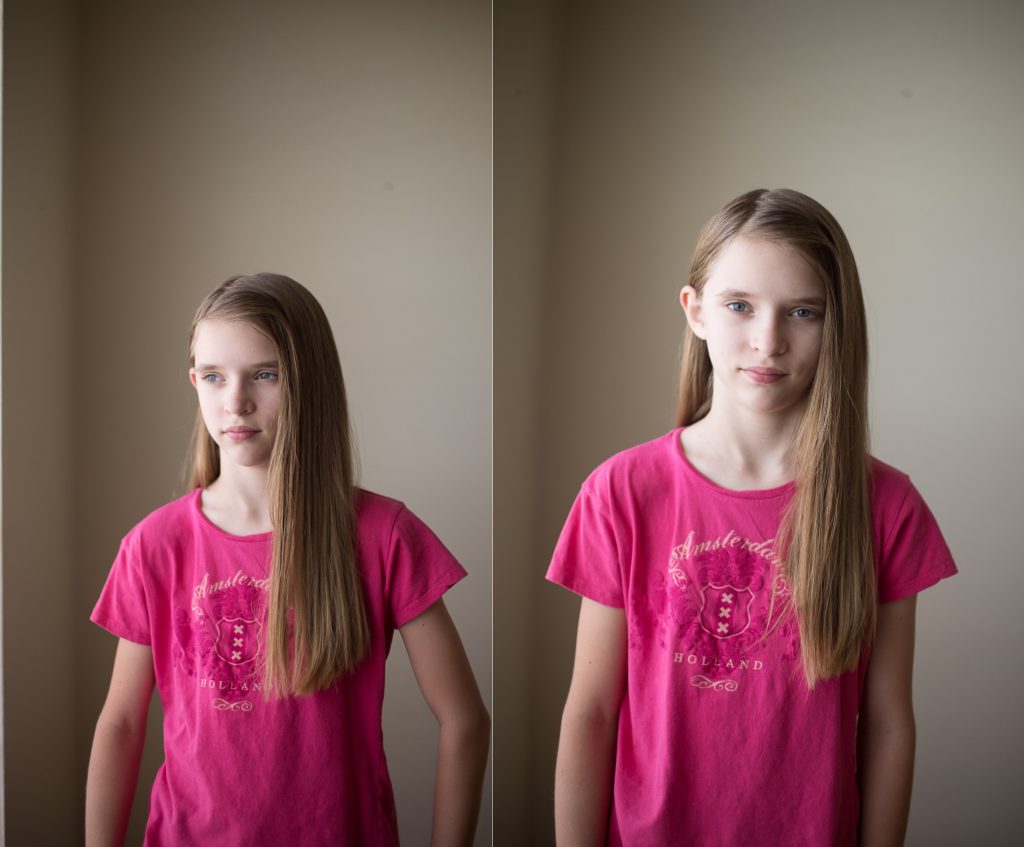
Third rule – When someone stands in their normal relaxed stance or even stands up straight to have nice posture, there is a little bit of flab right underneath their chin. No matter how skinny they are, you will see this. If you tell people to bring their chin forward, which sounds like the sensible thing to do, they will point their chin at you, which brings their face up and ends with you shooting up their nostrils. (Not attractive.) Instead, tell your model to bring their ears forward. This works well with men and women, boys and girls! Below the first picture is my daughter just standing normal, you can see the wrinkling around her jaw line. The second photo I told her to point the top of her ears towards me, I like this photo much more!
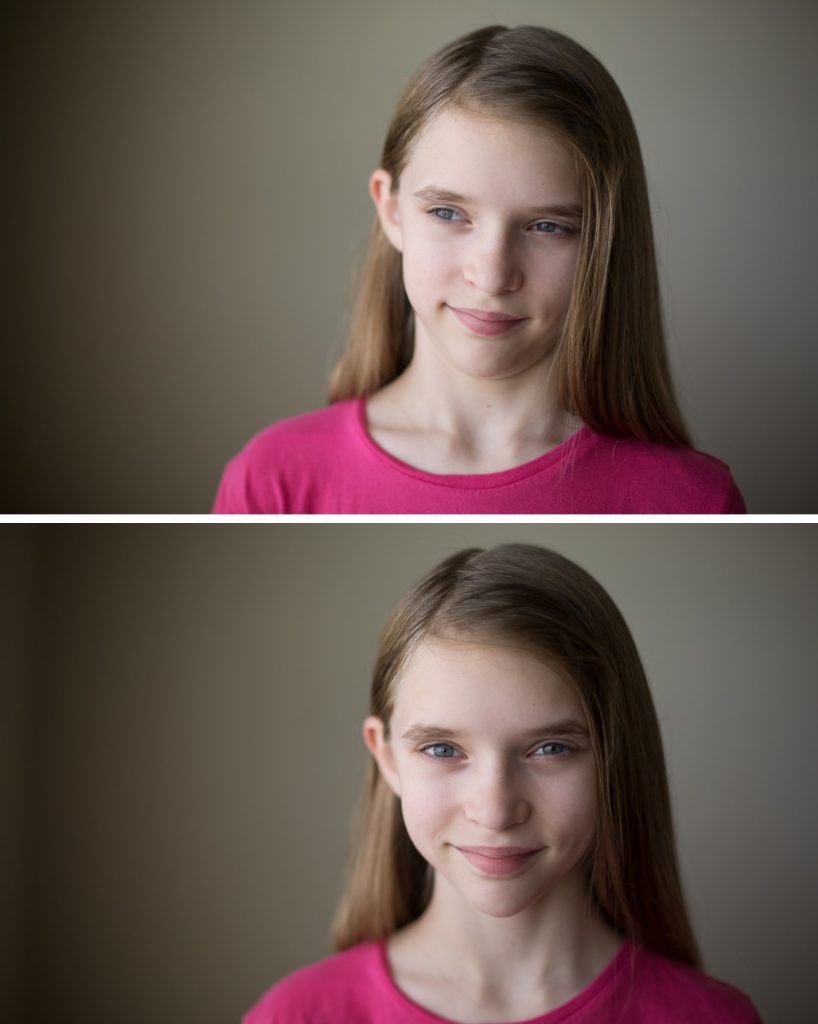
Fourth rule – Turning the shoulders is a very simple tip, but important. If your subject stares at the camera head-on, they look bigger. This can be good when shooting a football player, but it is bad when shooting beauty or portraits. By having your subject turn, they are showing a slimmer profile of themselves to the camera, and look slimmer.

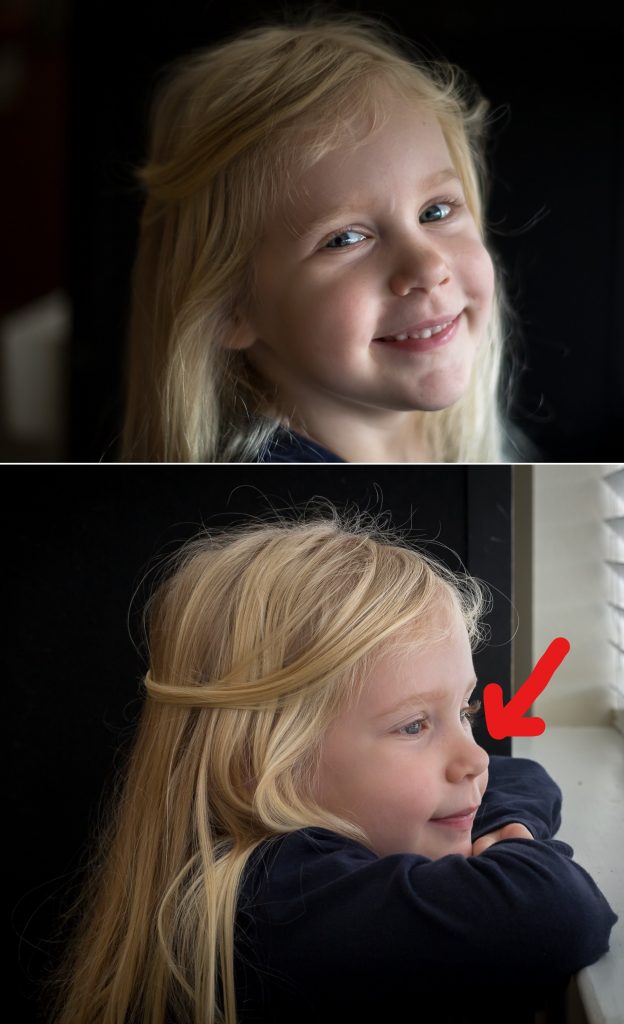
Fifth rule – You don’t want to show the white of the eyes. Often times when I take photos for pattern tests, I will tell my kids to NOT look at the camera but I do not tell them to “look over there.” Instead I give them an object behind me to focus on so you can control their eye line.

Sixth rule – The last and final rule I will talk about here is a little more complex but just as important. You don’t want the nose to break the face. What I mean by this is, when you don’t want your subject facing forward; you have them turn to the side. Assuming you don’t want a full profile where you only see one side of the face, they will be at a quarter turn with both eyes in frame. If you draw an imaginary line down the side of their face, this line is the line that cannot be crossed by their nose. If they turn too far and the nose crosses this line, it “breaks” the natural curve of the face. It creates the “Pinocchio” effect and extends the length of their nose. You can avoid this by having them turn back toward you slightly, until you can see a little bit of space between the end of their nose, and the side of their face. You don’t want to break that line or it makes them look like they have disproportionate facial features.
So this week I want you to go out and try some of these techniques! Do they work for you? Are they helpful? Did you have fun? I want you to post some of your pictures you take trying some of these methods, whether you want to try photographing a portrait of an older child using the rules above or to go out with a younger child and go explore someplace new. Remember to post your photos in the picture folder called Photography Week 3, and I will go through the photos and offer constructive criticism. Most of all, remember to have fun! See you next week, which will be our final week, and we will talk about editing our photos!!!
This site uses Akismet to reduce spam. Learn how your comment data is processed.
Buy more save more
(PDF patterns only)
- Spend €25* or more and save 10%.
Use code: SAVE10 - Spend €45* or more and save 20%.
Use code: SAVE20 - Spend €65* or more and save 30%.
Use code: SAVE30
(Sale items excluded)
* Excl. Taxes
Recent comments
- Anne on The Hibernis/Semper or Omni. what’s the difference?
- Anne on Tutorial: How to add a Tulle Skirt to the Regina
- Judy Blumert on Tutorial: How to add a Tulle Skirt to the Regina
- Heleen Dewitte on 25K Grand Giveaway!
- Nicole on 25K Grand Giveaway!
Archives
Thank you for visiting
Thank you for visiting our website. This website and all its content are copyright protected. Please ask permission before sharing any pictures or articles, especially when a child is shown in the image.




Leave a Reply