
Hey! It’s Karly and today I’m sharing how to mash the Foliis Jacket and Domi Sweat Pants into an awesome jumpsuit! My son has been begging for another jumpsuit for ages now and I couldn’t get this hack out of my mind!

I went with super simple and didn’t add pockets, but I really should have! You have so many fun options for pockets though, so this gives you an opportunity to let your imagination run wild!
So lets get started with this!
First grab the Foliis Jacket and Domi Sweat Pants patterns (links to these patterns will be posted at the end of this post).

Measure your child and using the sizing charts, print out the size that your child is in from both patterns. Print them out and put your patterns together.
Do not cut out yet though!

Measure your child’s trunk measurement with clothes on (shoulder down to their crotch and back to the shoulder). Don’t pull the measuring tape tightly.
Add seam allowance and 1/2″ to this measurement.
Divide by 2. Trunk measurement + Seam allowance + 1.2″, divide this sum by 2.
Example: Trunk measurement is 44″, seam allowance is 3/8.
So you would have 44 + 3/8 +1/2 = 44.88″.
Now divide that number by 2, and you get 22.44″.

Cut along the very top of the Domi pants so you can line up the pattern easier.
Line the Foliis front with the Domi front.
Start measurement from the top of the shoulder and have it line up with the crotch.
Either tape or pin in place to keep from sliding.
Repeat with the back piece.

The pattern pieces don’t line up perfectly, so you will need to redraw the lines to have the pattern pieces flow together.

Make sure the side and inseam lines are the same length on both front and back pieces.
To do this you can cut out one of the pieces and use it as a guide for the other piece.
Cut pattern pieces out.

Cut out all of your pieces from your fabric.
2 Front
2 Back
2 Sleeves
2 Hood
2 Arm Cuffs
2 Leg Cuffs
Zipper
2 Interfacing (1/2″ wide by length of front)

Line up the shoulder to a front and back piece and sew shoulder seam together.
Serge seam.
Repeat with the other side.

Sew arm to shoulder, then line up the side seams, right sides together and sew side seam together.
Serge seam.
Repeat with other side.

Line up the crotch seam and sew along this.
Serge and repeat with the other side.

Pull one side right side out and place it in the other side, right sides together.
Starting from the back, sew along until you get 7″-10″ from the front crotch. Backstitch.

Using a long straight stitch sew the rest of the way up. Do NOT backstitch.
If you want to serge, start from the stop point in the crotch and go towards the back.
DO NOT serge the front!!

Pull jumpsuit wrong side out.
Press front seam open.

Iron-on interfacing under the seam on either side.

Align the zipper along the front seam, making sure the zipper is face down and that the stopper is 3/8″ from the top.
Pin in place.

Using a 3/8″ seam allowance, sew along one side of the zipper.
When you get to the bottom of the zipper (or close to the stop), pivot the needle and sew across, pivot again and sew up to the top.
Make sure to backstitch at the beginning and the end!

Turn the jumpsuit right side out and unpick the seam to expose the zipper.

Sew on the hood, arm, and foot cuffs and you’re done!


Next one is definitely getting pockets!
I hope you enjoyed this tutorial!
Until next time!

-
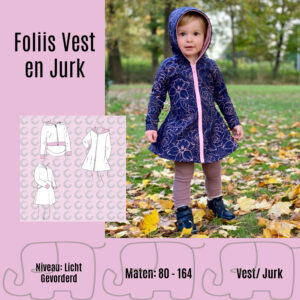 Foliis Vest en Jurk – Nederlands$8.68 excl. tax
 -
 Foliis Jacket and Dress -English$8.68 excl. tax
 -
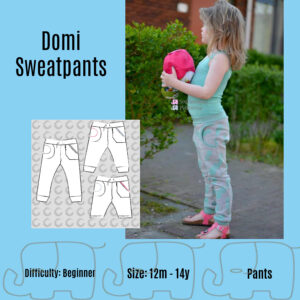 Domi Sweatpants – English$7.85 excl. tax
 -
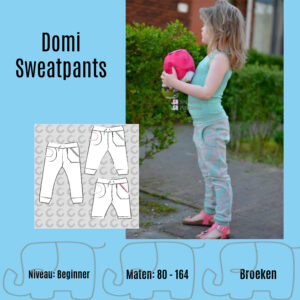 Domi Sweatpants – Nederlands$7.85 excl. tax
Buy more save more
(PDF patterns only)
- Spend €25* or more and save 10%.
Use code: SAVE10 - Spend €45* or more and save 20%.
Use code: SAVE20 - Spend €65* or more and save 30%.
Use code: SAVE30
(Sale items excluded)
* Excl. Taxes
Recent comments
Archives

Thank you for visiting
Thank you for visiting our website. This website and all its content are copyright protected. Please ask permission before sharing any pictures or articles, especially when a child is shown in the image.


Leave a Reply