Using a Projector for Sewing
Hi there! It’s my time again to bring a new blog post to you. Today I want to talk to you about something new and upcoming: using a projector for sewing! I am really happy I discovered this possibilty and today I want to show you how this would work, with the use of a Sofilantjes pattern of course!
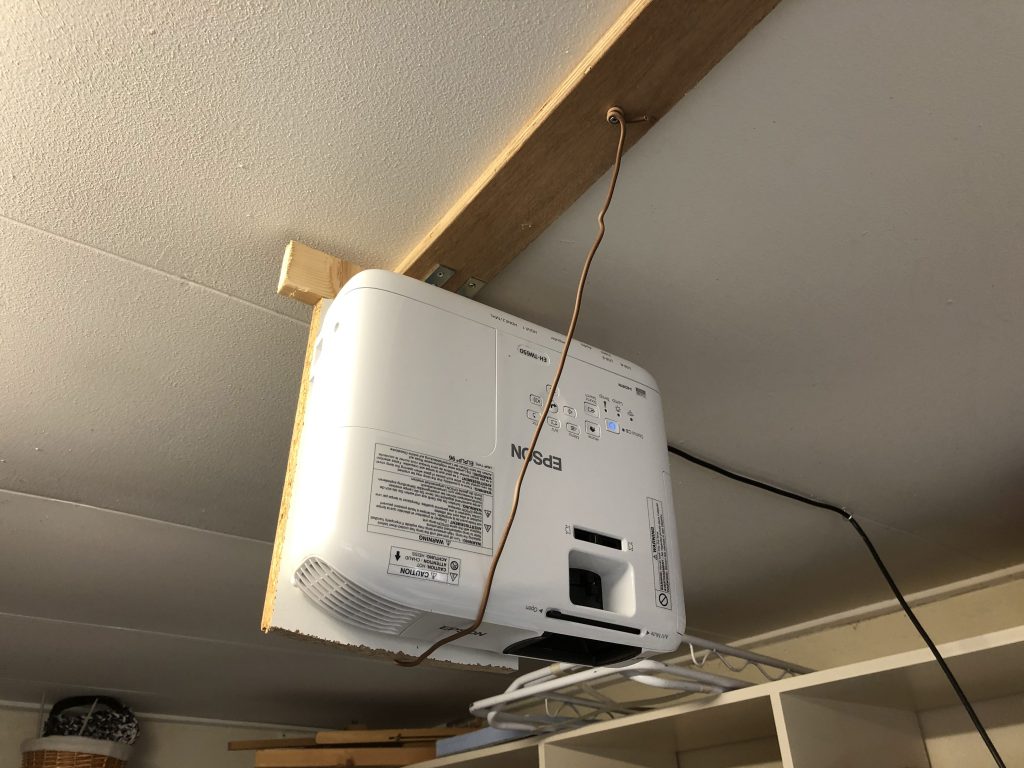
So this is my projector pictured above. I have one with a permanent setup, attached to the ceiling of my sewing room. But there are also all different kinds of projectors and setups. There are projectors you can put on the table, which can project on a large scale over a really short distance. There are also setups possible for if you need to be able to put the projector away (for instance when you are sewing on your kitchen table and don’t want a projector hanging on the ceiling over there ;)). Since I have my own sewing space, for me it works best to have my projector hanging on the ceiling. My husband made something to attach it to, but there are also all different kinds of mounts available to put your projector on.
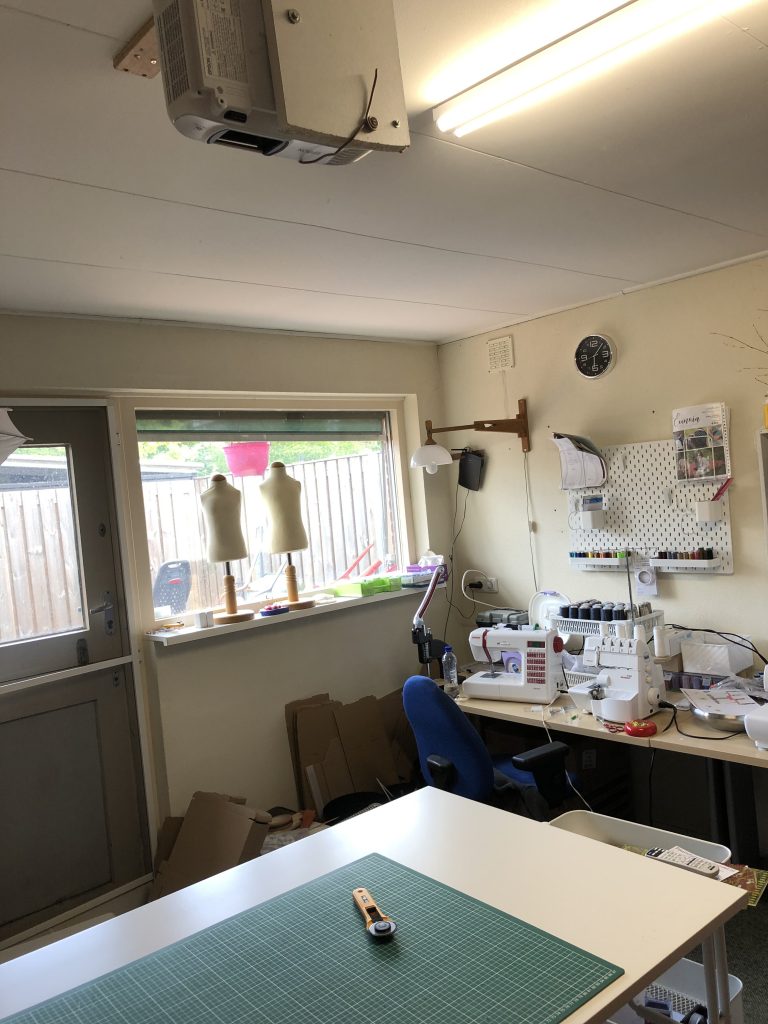
Here is another view of my projector. As you can see it hangs right above my cutting table. So what is it used for, this projector, you might wonder? A projector gives you the possibility to project your patterns directly from your computer (or in some cases tablet or mobile phones may be an option too) on to your fabric. This will save you the time and efforts of printing your pattern, taping and tracing your pattern, because there is no need for that anymore!
To me, this sounded like music to my ears. I really disliked the printing/taping/tracing part of sewing, haha. So I was so glad with this invention! All the credits to the one who came up with this!
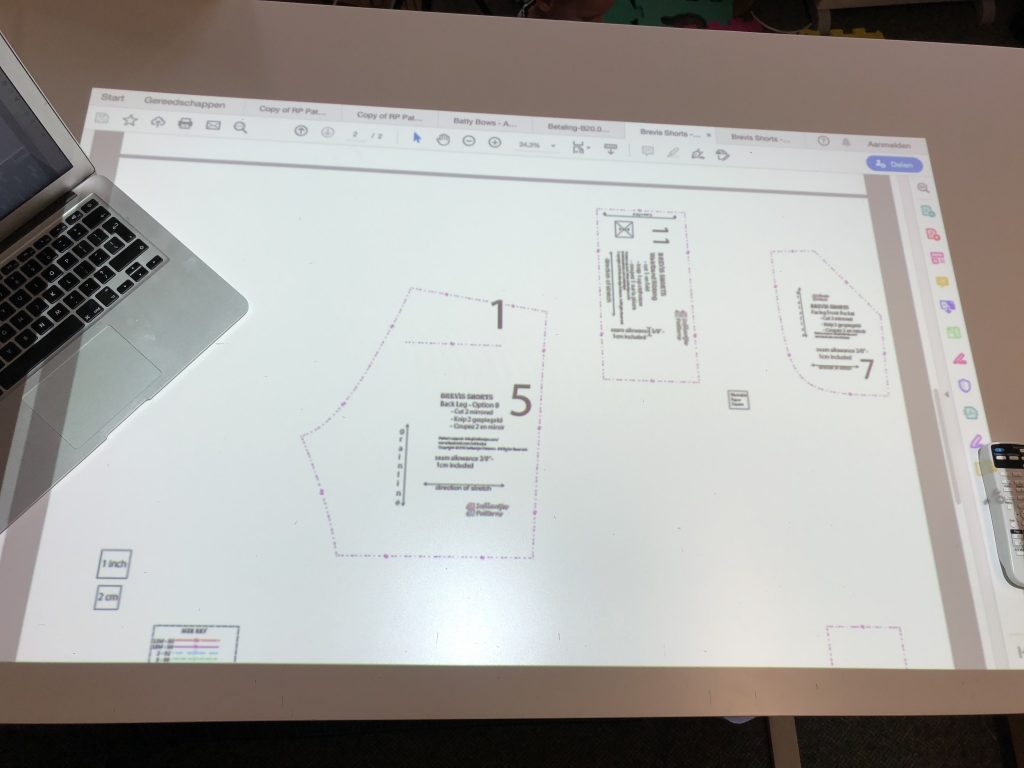
Sofilantjes recently started adapting all the A0 files into A0 files with layers. This is definitely something you might want in a pattern when using a projector, because this way you can select only the size (or sizes if you want to blend) you need and project only that size onto your fabric. In the picture above you can see a projection of the Brevis pattern on my cutting table, to give you an idea of how this looks like. You can also use a A0 file without layers, but this is definitely more convenient. Also, the new patterns are coming with even special “projector files” with is even more useful!
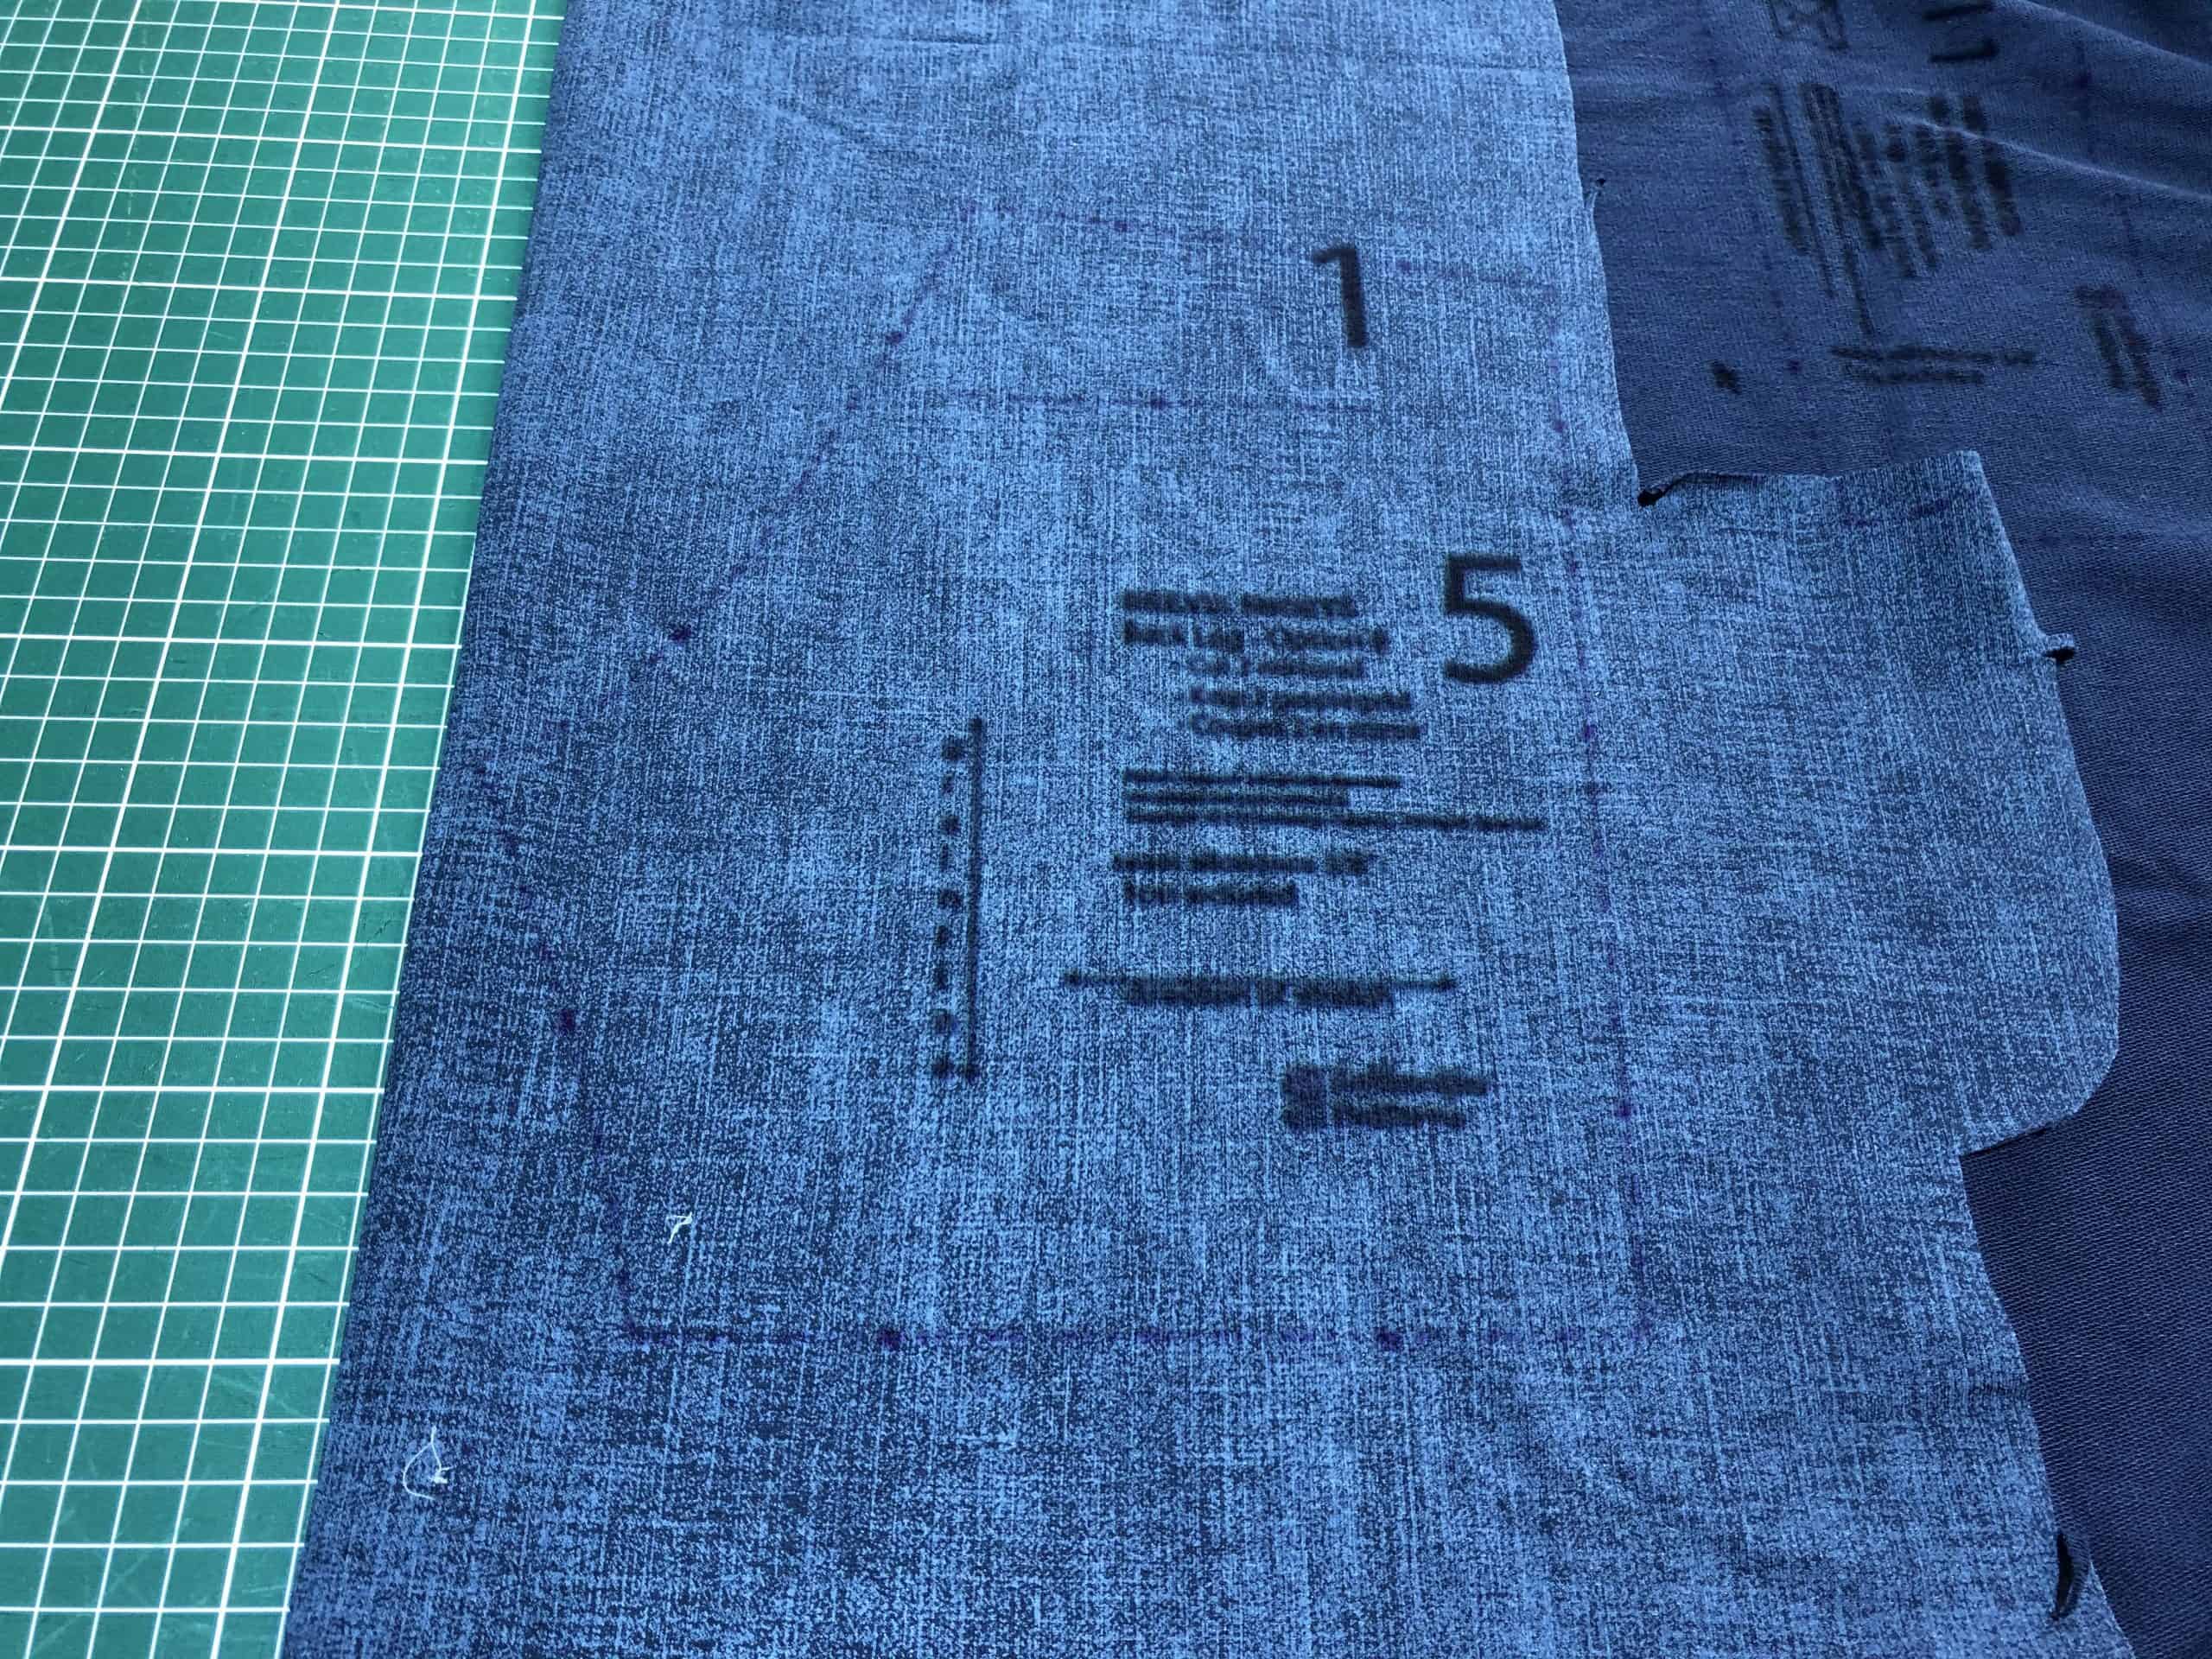
So in this picture you can see a pattern piece of the Brevis projected onto the fabric. You can see that this way you don’t need a paper pattern piece anymore.
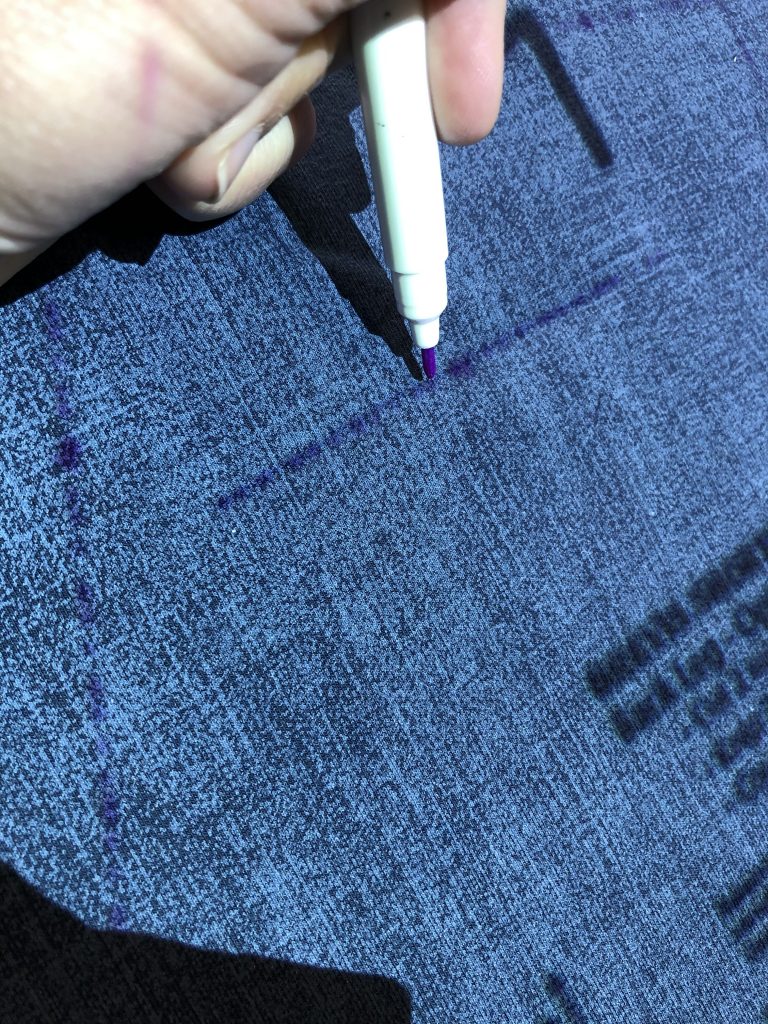
Also with a projector it’s really easy to trace all your markings. You can see very clearly where they need to go, like the marking for the back pocket as pictured above.
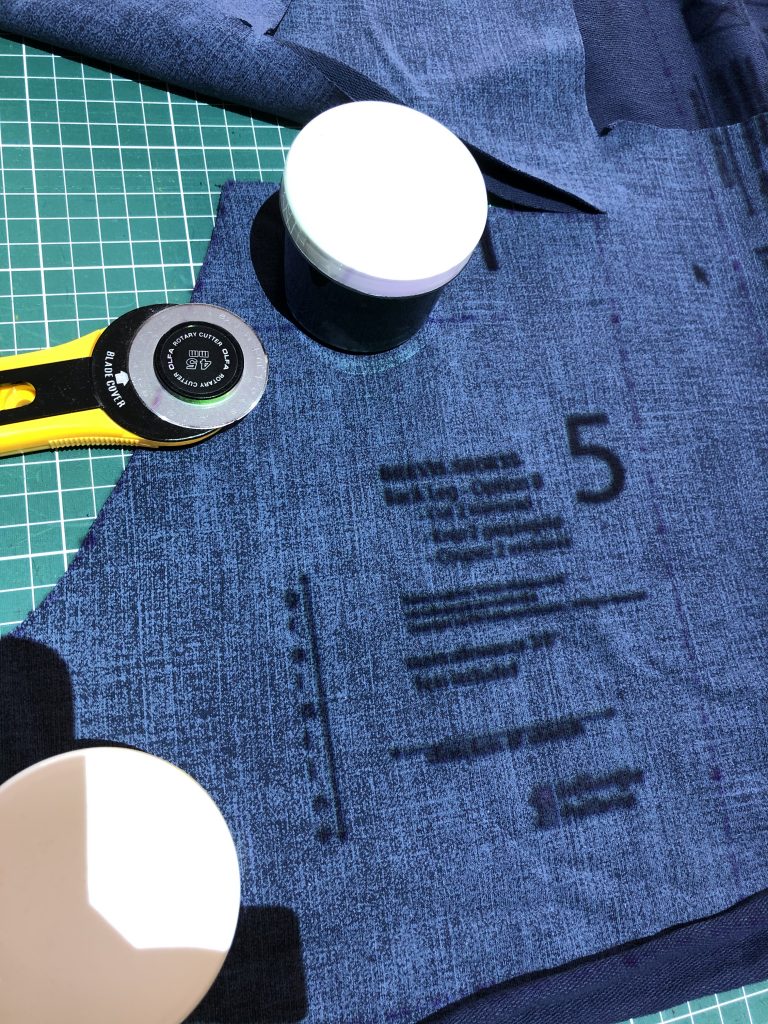
When you’ve placed your pattern piece on the right spot, all that’s left to do is to cut it out! This is most easily done with a rollerblade. You will also need a cutting mat for this. Pattern weights can be useful too, but I just use things laying around to put on my fabric to prevent it from moving. After you’ve got all your pattern pieces cut out, you can sew them together as per instructions and that’s it! Your new item is done and you did not even had to use any paper or ink on it!

Here is a picture of the Brevis I made with the help of my projector. Once again another versatile pattern with some lovely options for nice details to get creative with.
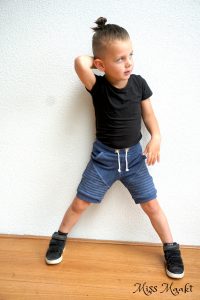
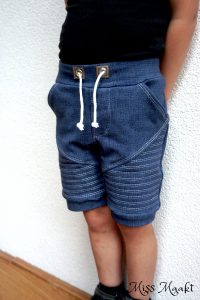
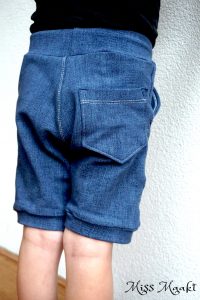
My boy is happy with them too! I’m for sure gonna make another one for his summer wardrobe! Want to make a Brevis of your own? You can get a copy of this pattern in Dutch, English, French or German (aff)!
But to finish the story about using a projector for sewing, tell me… Did you already know about using a projector for sewing? Do you use one or want to use one? I love to see your comments, and feel free to ask me any questions! You can also find a lot of answers in these two pattern groups: Projectors for sewing (international group) and Naaien met een projector/beamer (Dutch group).
I’d love to hear from you!
Happy sewing and until next time!
Cindy
“Miss Maakt“
This site uses Akismet to reduce spam. Learn how your comment data is processed.
Buy more save more
(PDF patterns only)
- Spend €25* or more and save 10%.
Use code: SAVE10 - Spend €45* or more and save 20%.
Use code: SAVE20 - Spend €65* or more and save 30%.
Use code: SAVE30
(Sale items excluded)
* Excl. Taxes
Recent comments
- Anne on The Hibernis/Semper or Omni. what’s the difference?
- Anne on Tutorial: How to add a Tulle Skirt to the Regina
- Judy Blumert on Tutorial: How to add a Tulle Skirt to the Regina
- Heleen Dewitte on 25K Grand Giveaway!
- Nicole on 25K Grand Giveaway!
Archives
Thank you for visiting
Thank you for visiting our website. This website and all its content are copyright protected. Please ask permission before sharing any pictures or articles, especially when a child is shown in the image.



Leave a Reply