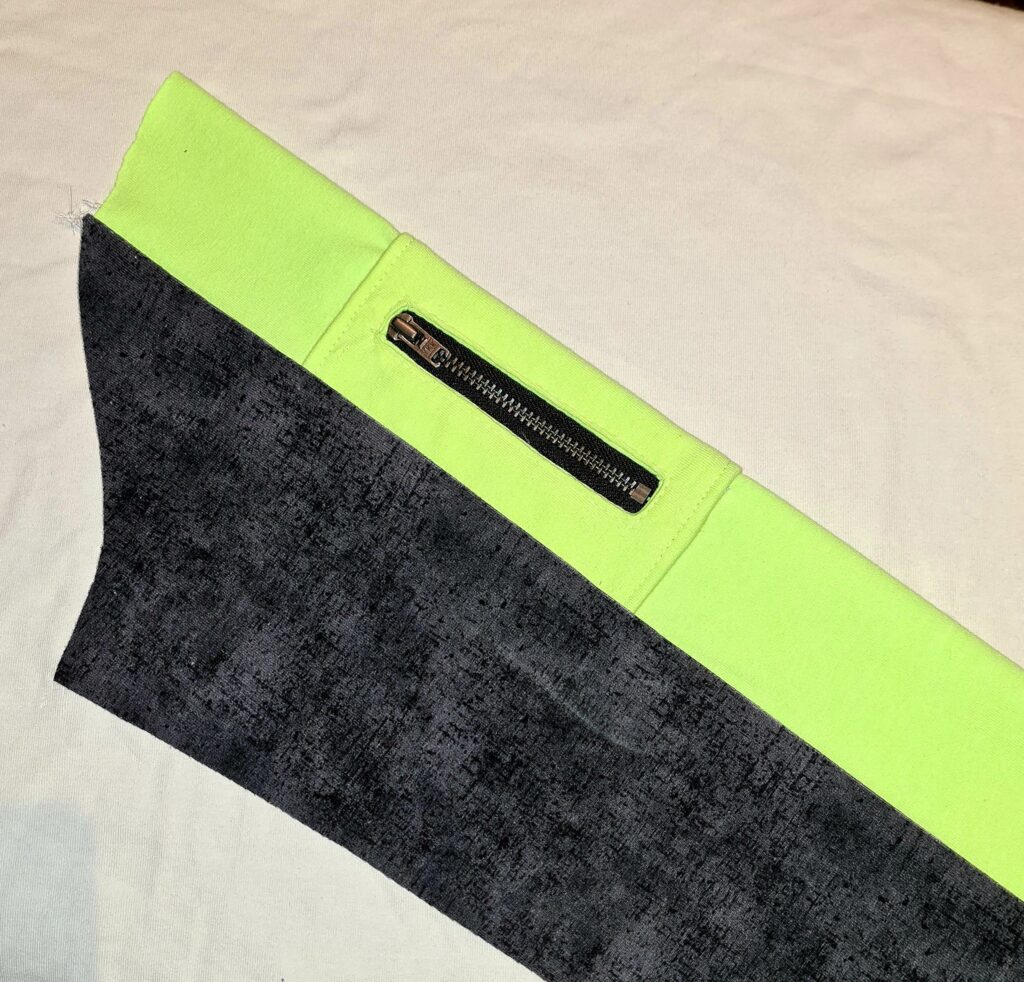
Ready for something fun? Add a pocket with a zipper to the sleeve stripe. Follow the directions below and do not forget to show us your result in our Facebook group or tag us on IG (@Sofilantjes_anne). English directions can be found beneath the photos.
This tutorial is made by Arina, go say hi over on IG and thank her by following her account.
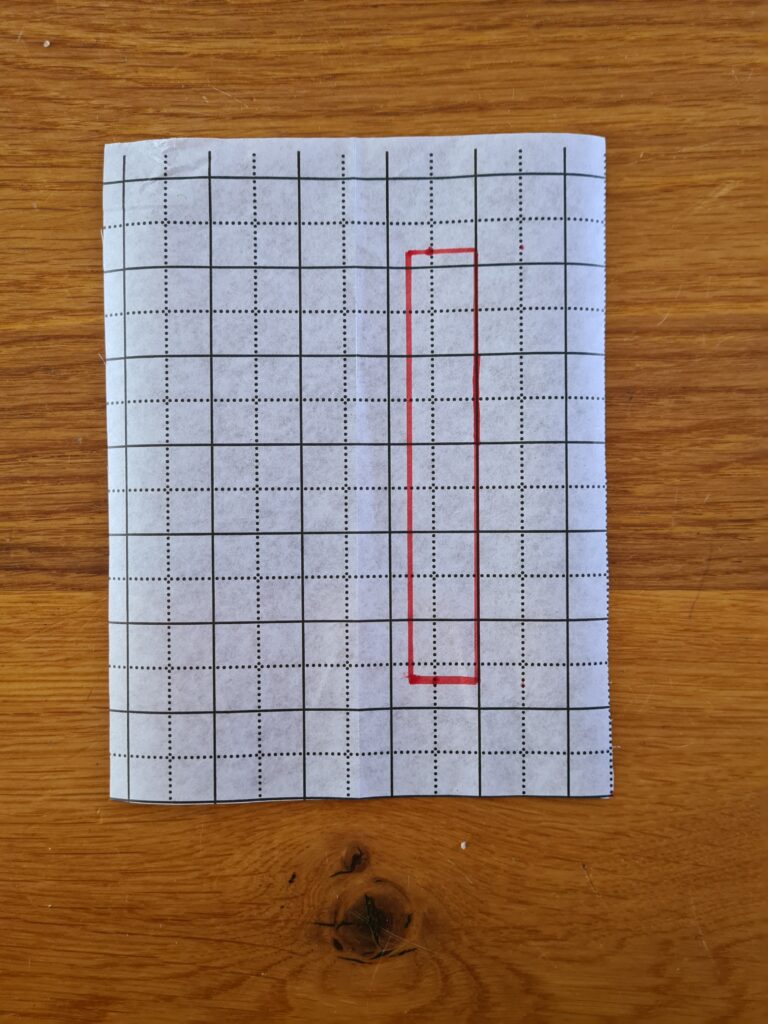


- Fold a piece of pattern paper in half, and place the pattern piece of the stripe against the fabric fold. Draw tightly along the pattern piece of the stripe. Keep 15 cm for the height. Unfold the pattern paper.
- Now you are going to draw a rectangle on the pocket. Do that 2.5 cm from the top and bottom, and keep 3 cm from the side seam, the width of the rectangle is 1.5 cm.
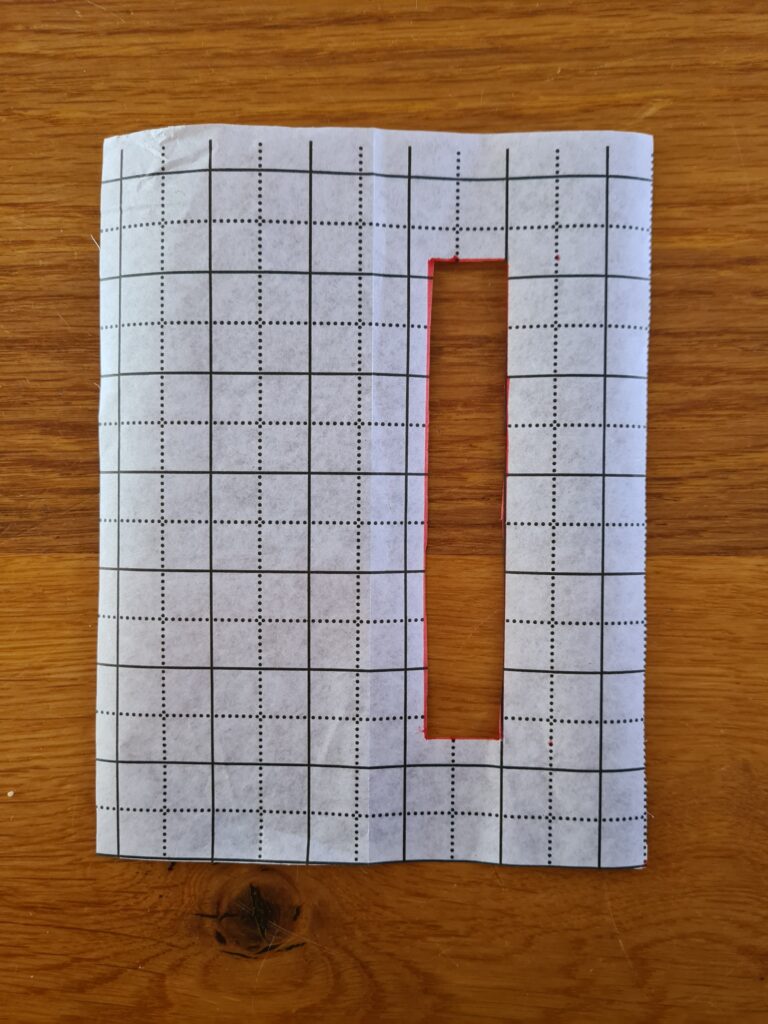
- Cut out the rectangle.
- Fold a piece of fabric in half, right sides together, and iron a piece of fleece behind it. Place the pattern piece on the fabric and cut out the outer edges.
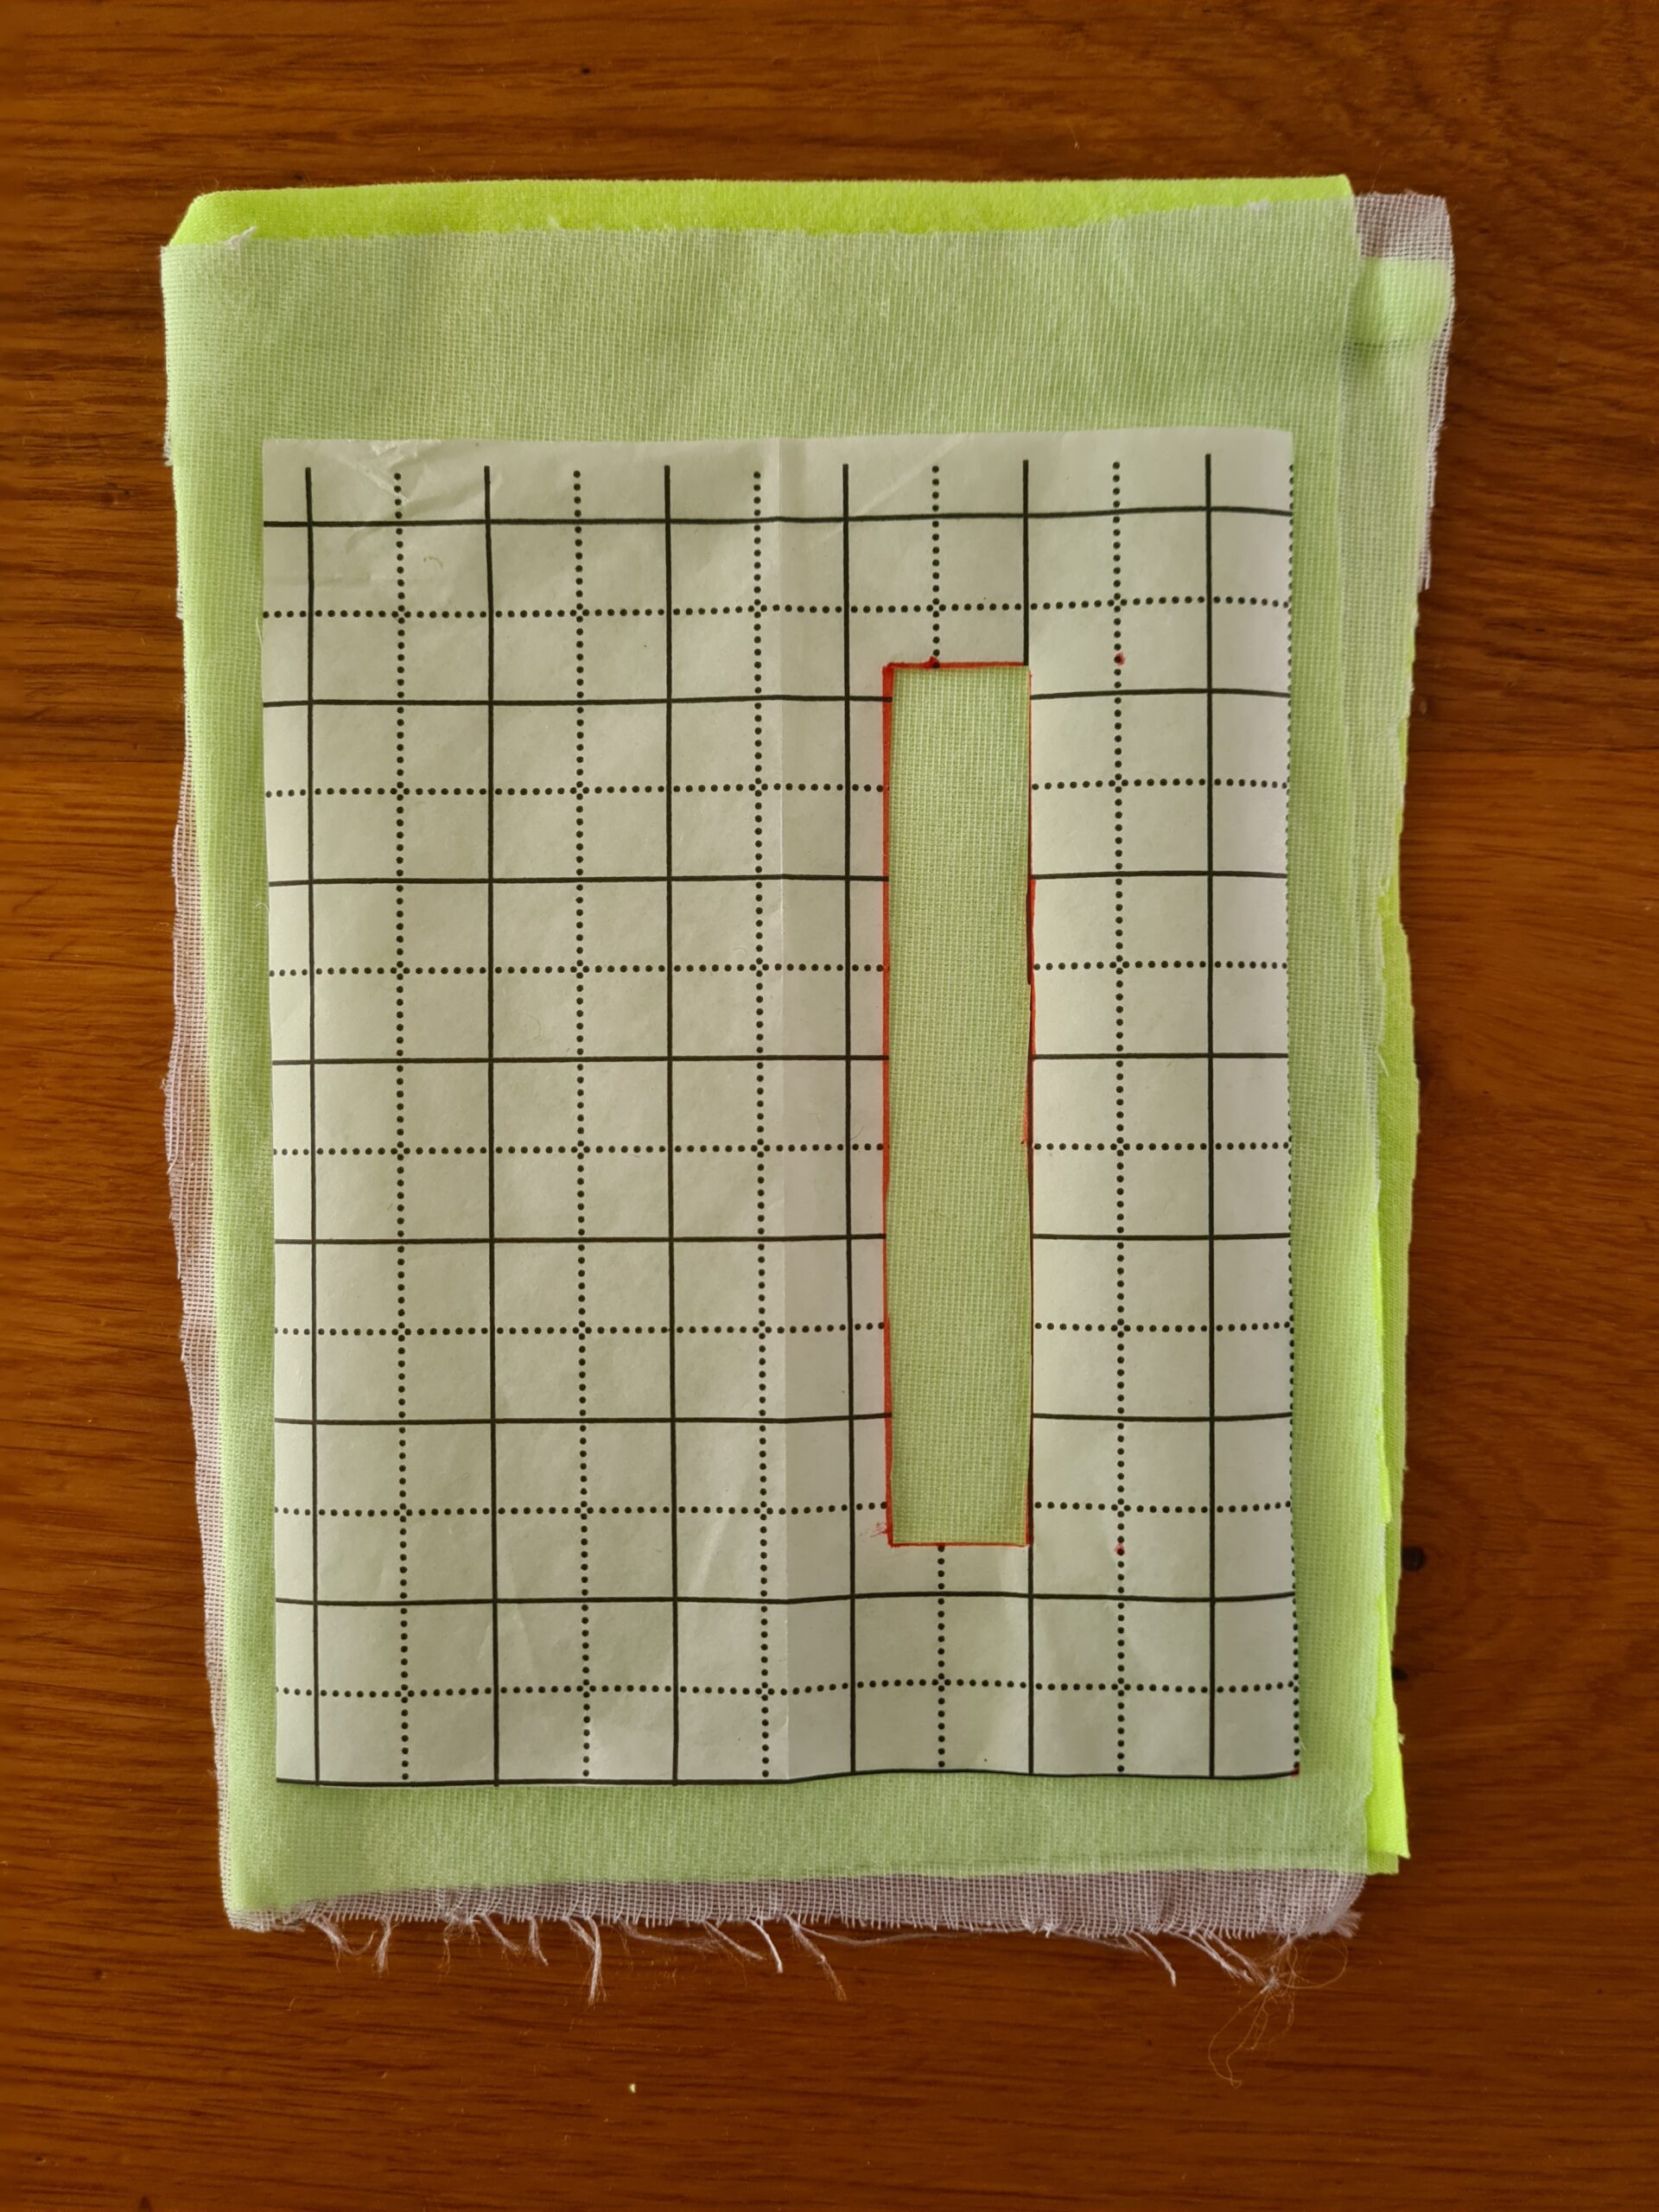
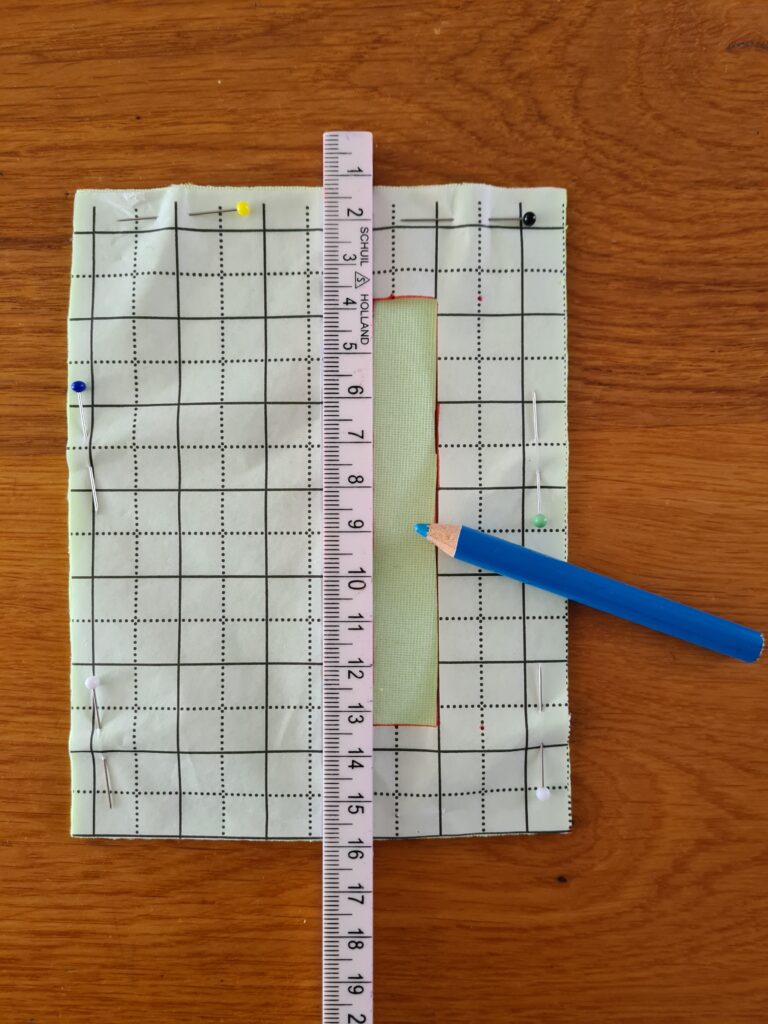
- Draw the rectangle on the fabric. It is best to use a ruler for a nice straight line.
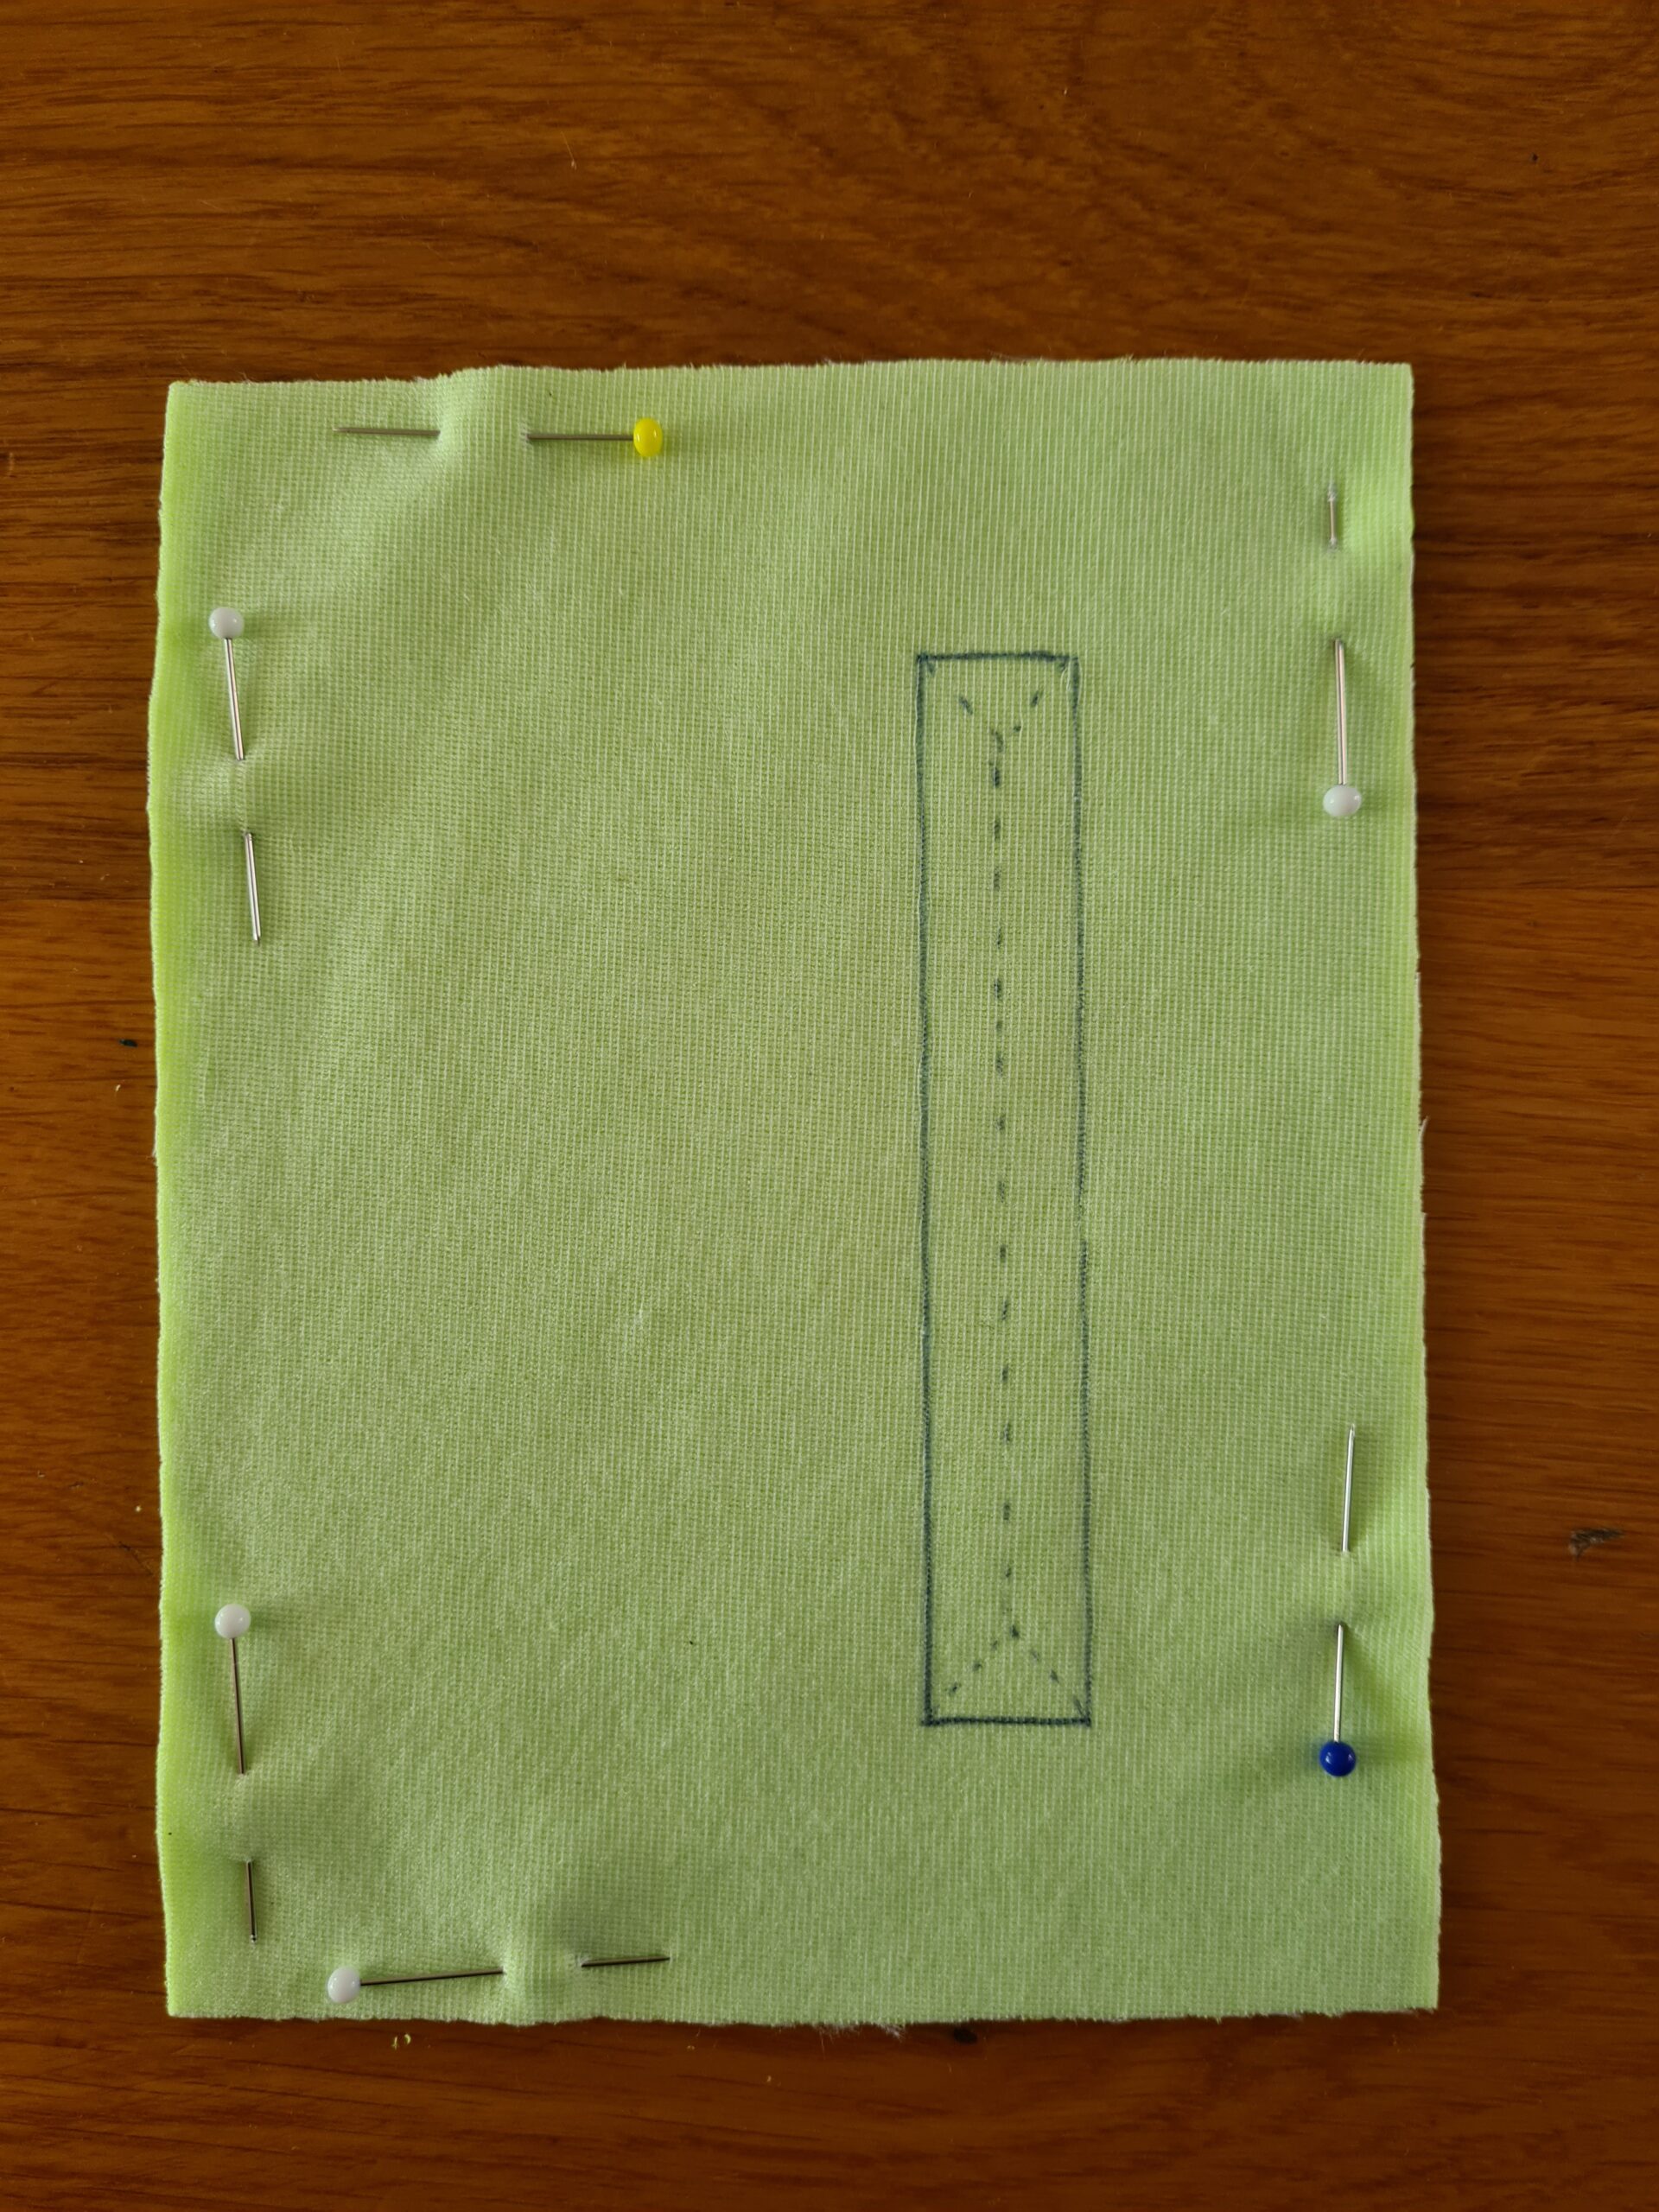
- Now remove the pattern piece from the fabric and fasten the edges to prevent sliding. Now draw a cutting line on your fabric. Stop 1 cm from the top and bottom edge and then go diagonally into the corners. (Dotted line is cutting line)
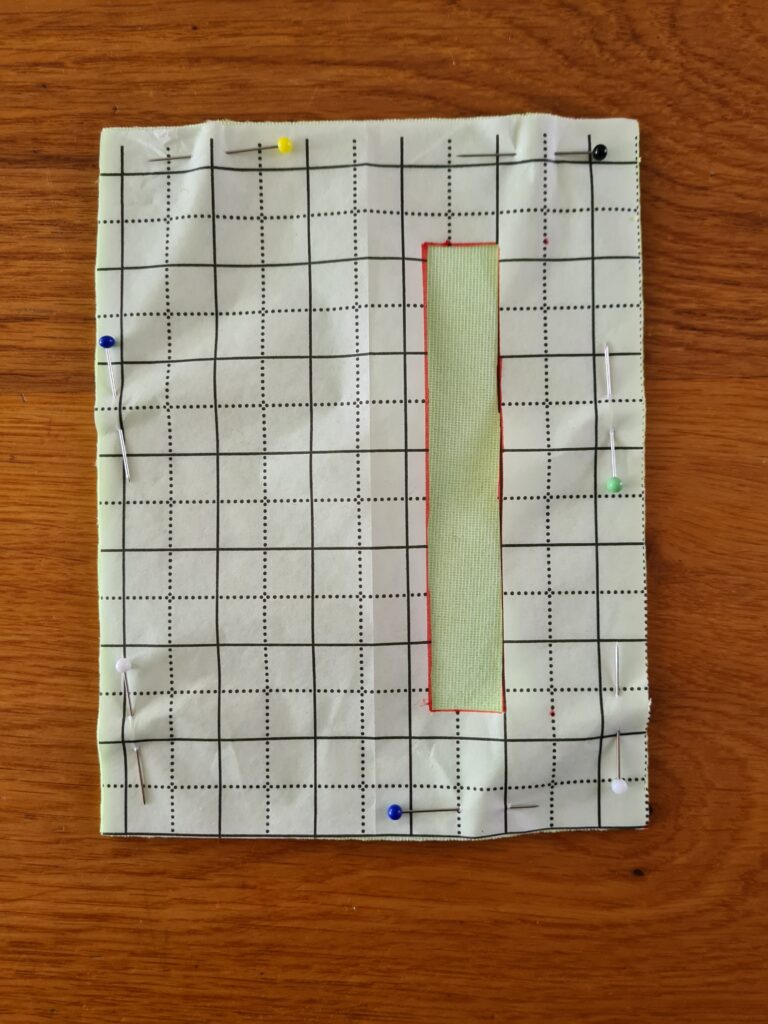
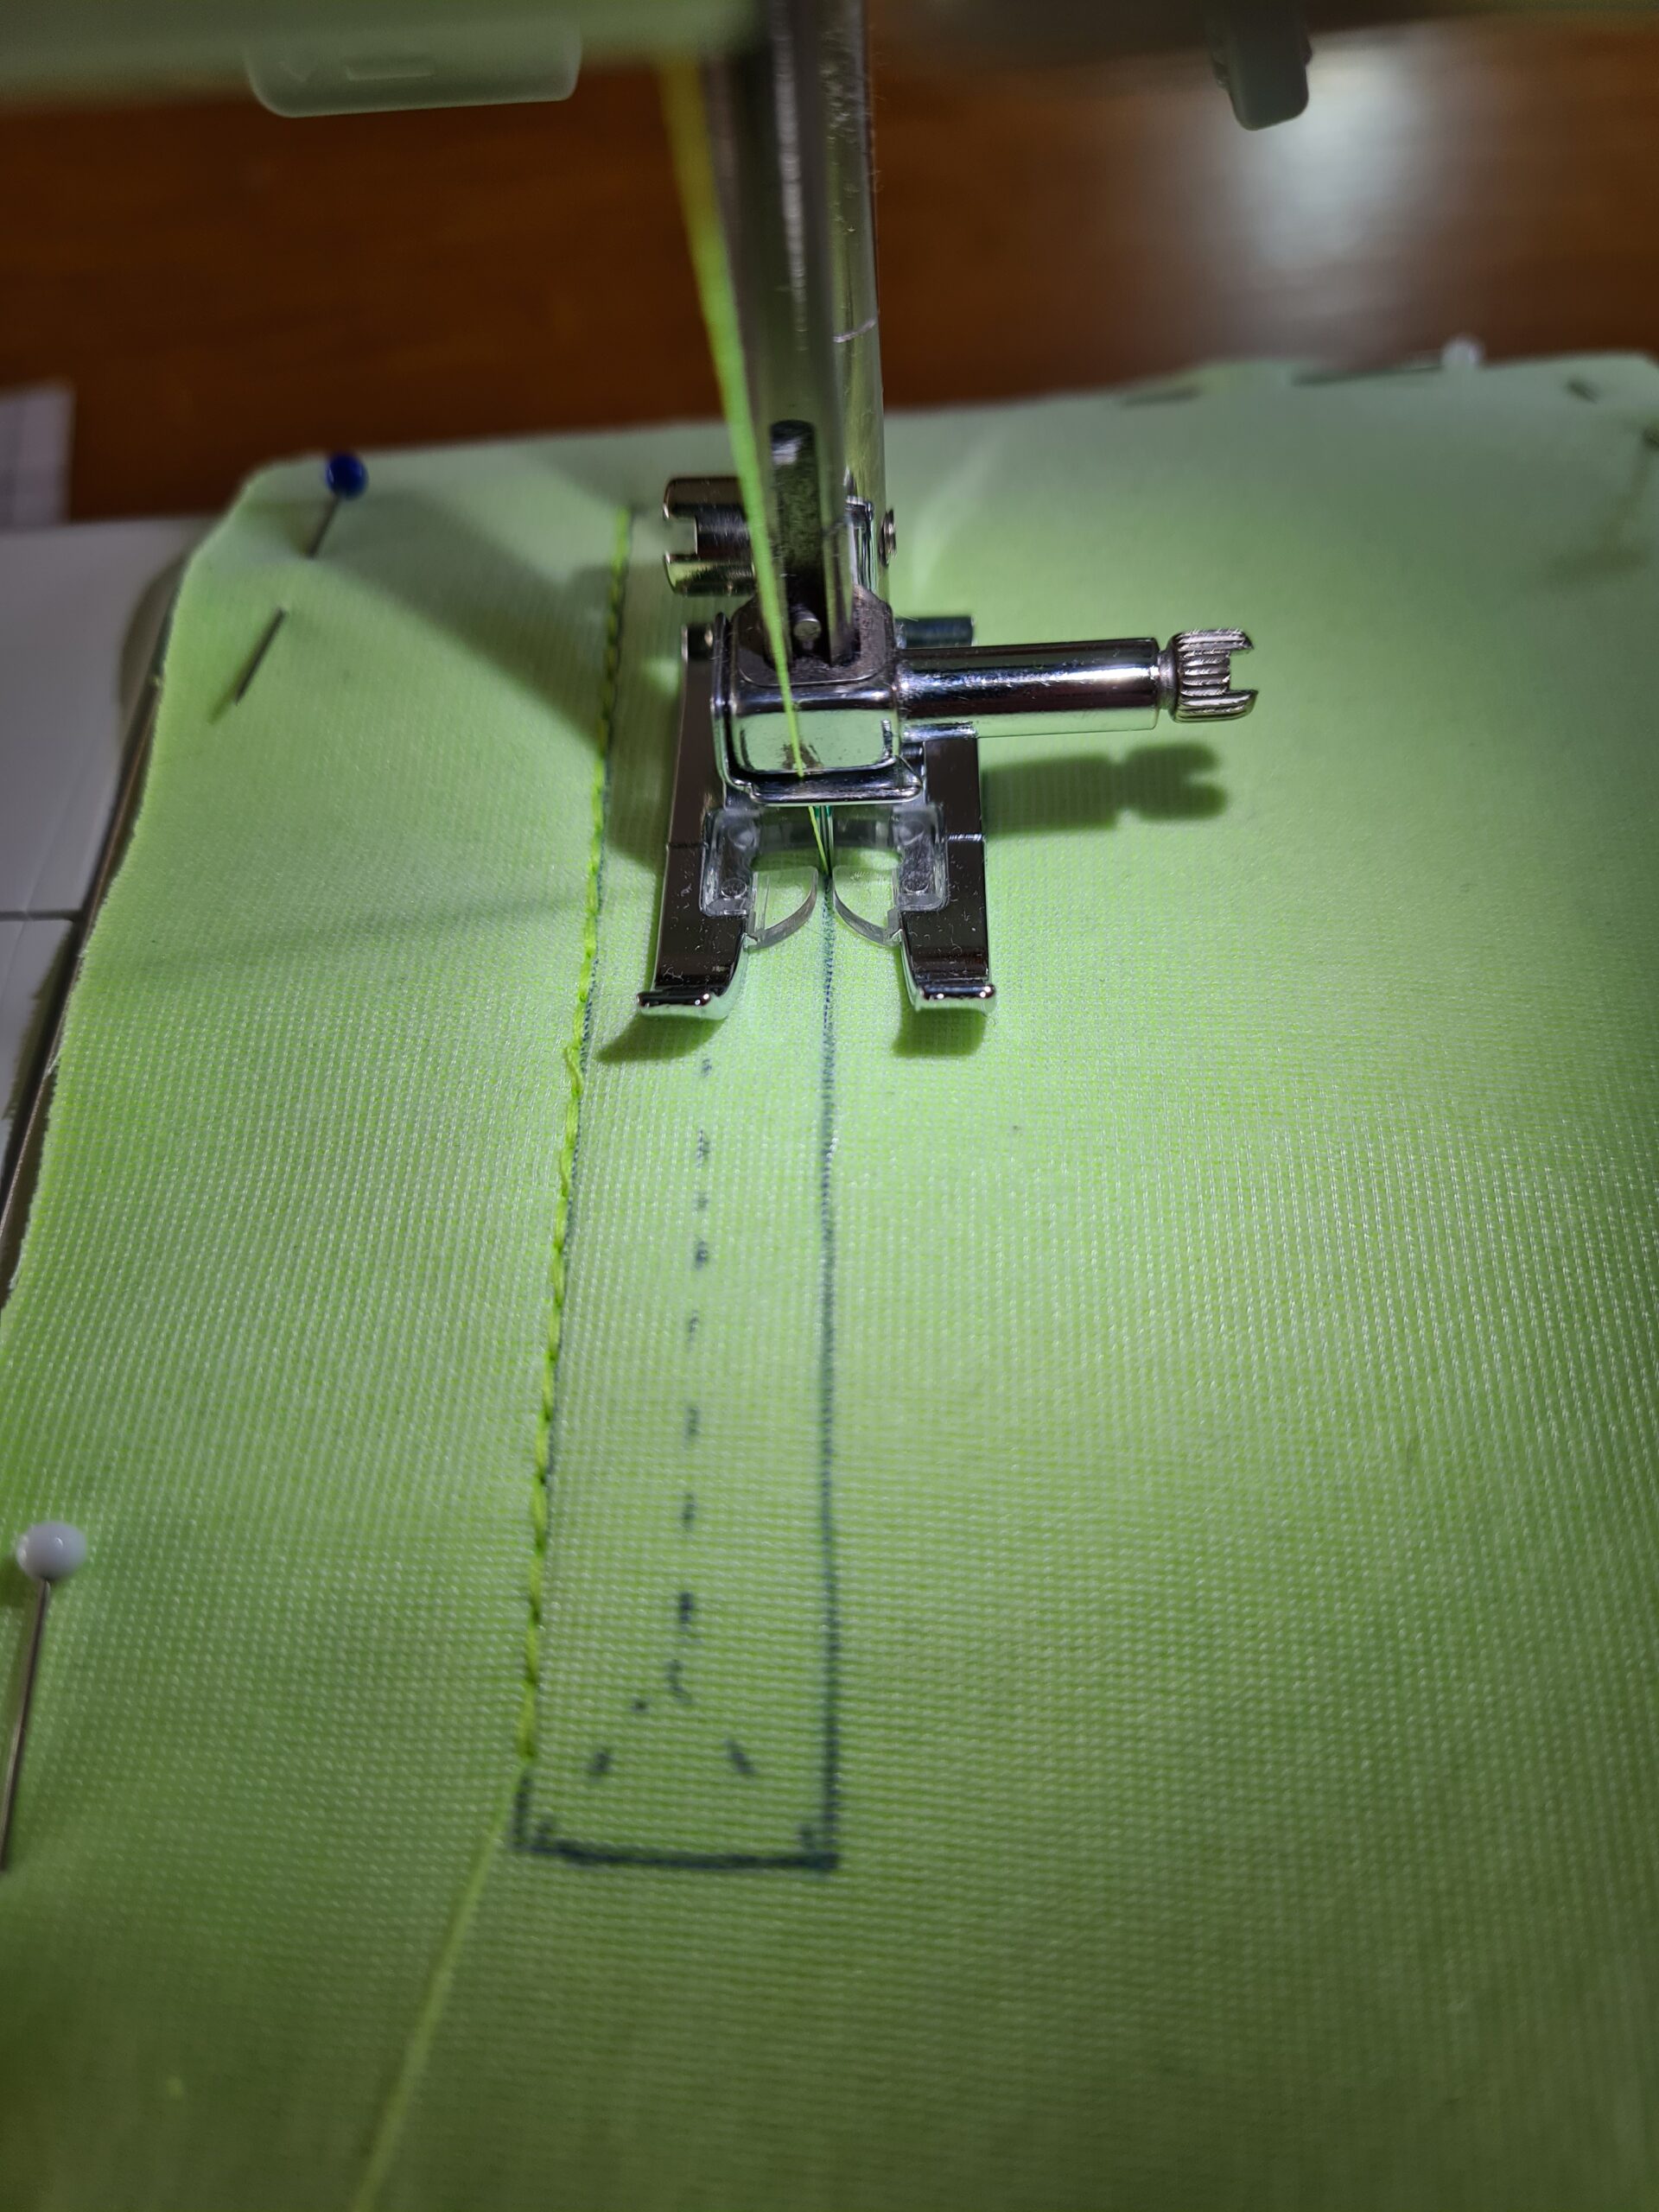
- Sew the outer edges of the rectangle.
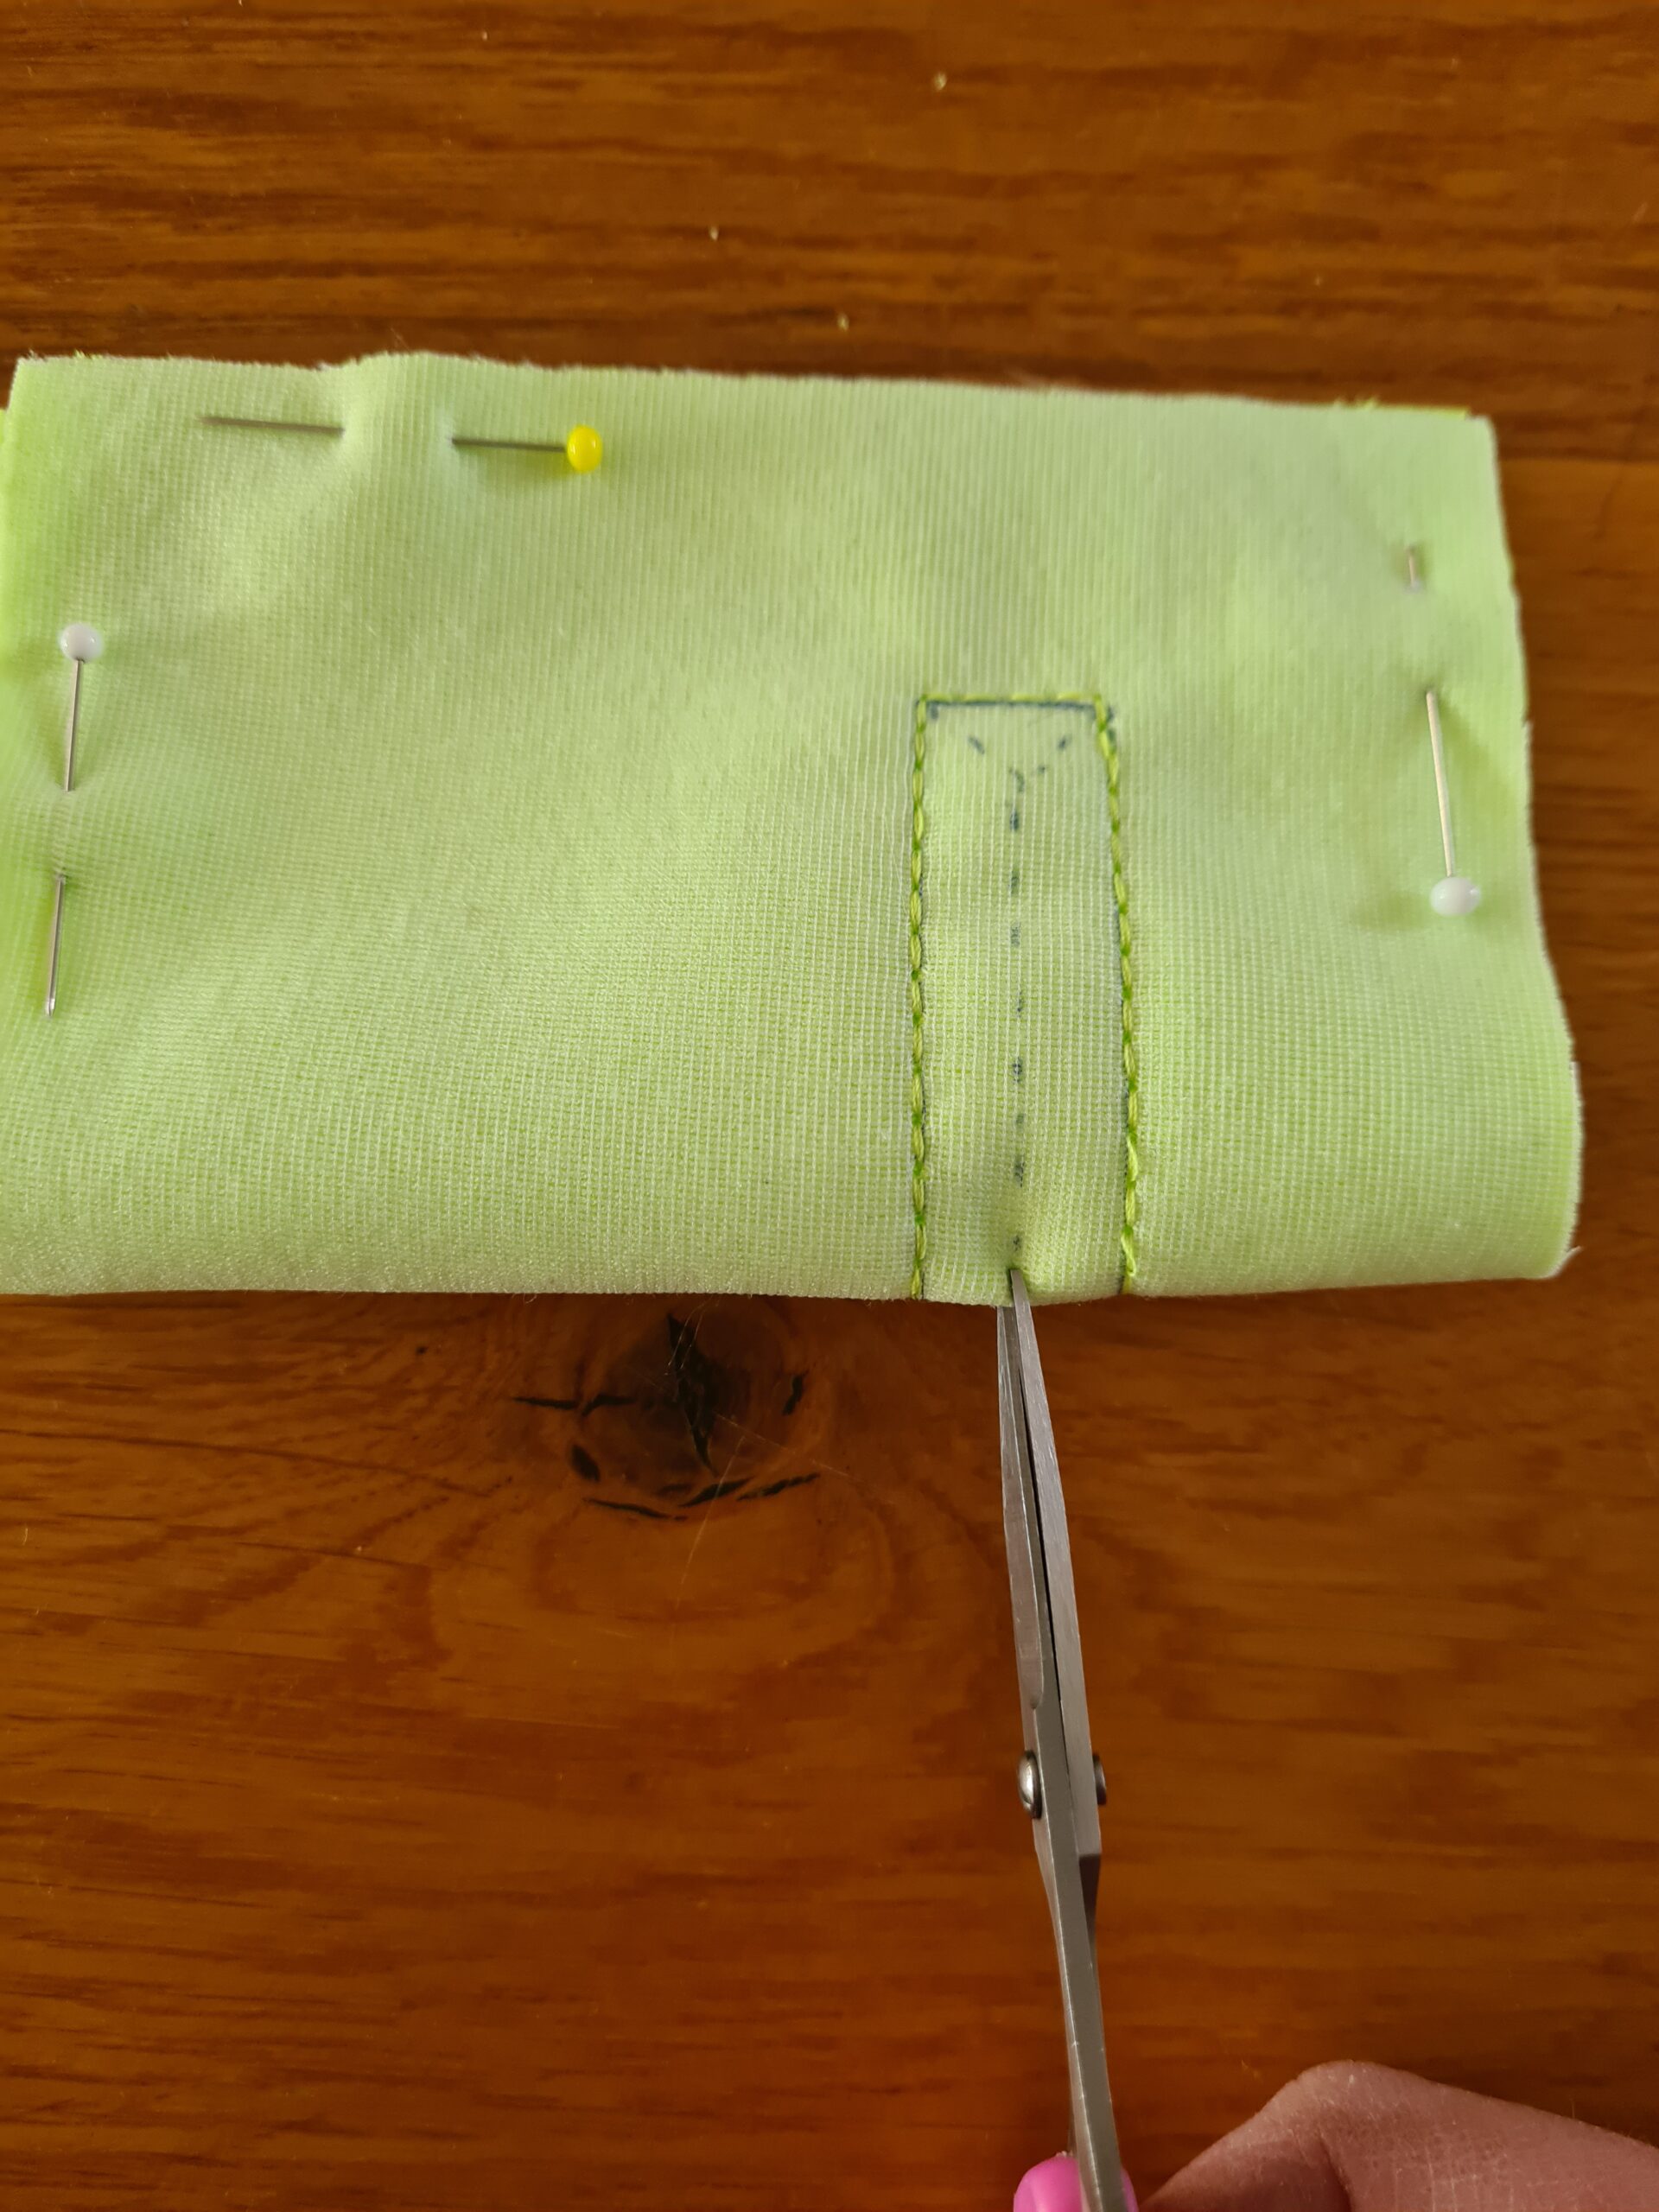
- Fold your bag in half and make a small cut on the cutting line. Make sure that the bag is neatly straight so that you cut on the cutting line on both sides.
- Cut exactly on your dotted line. Then you get this result.
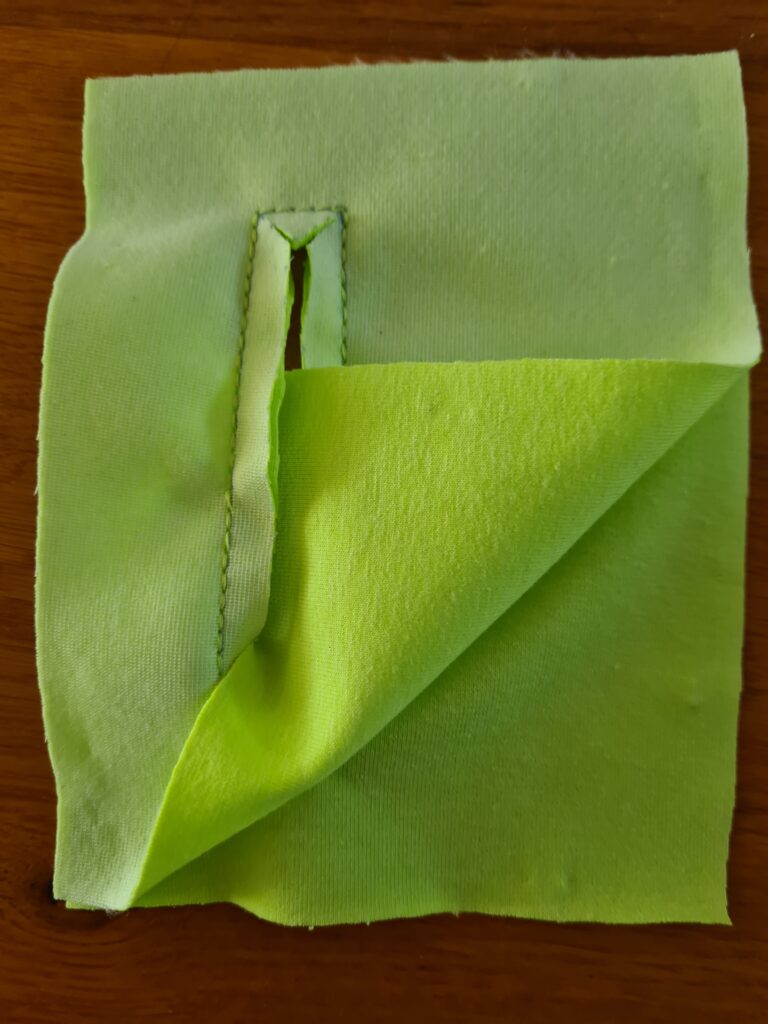
- Now fold the top layer of the bag through the rectangle to the other side, so that it looks just like in photo 11.
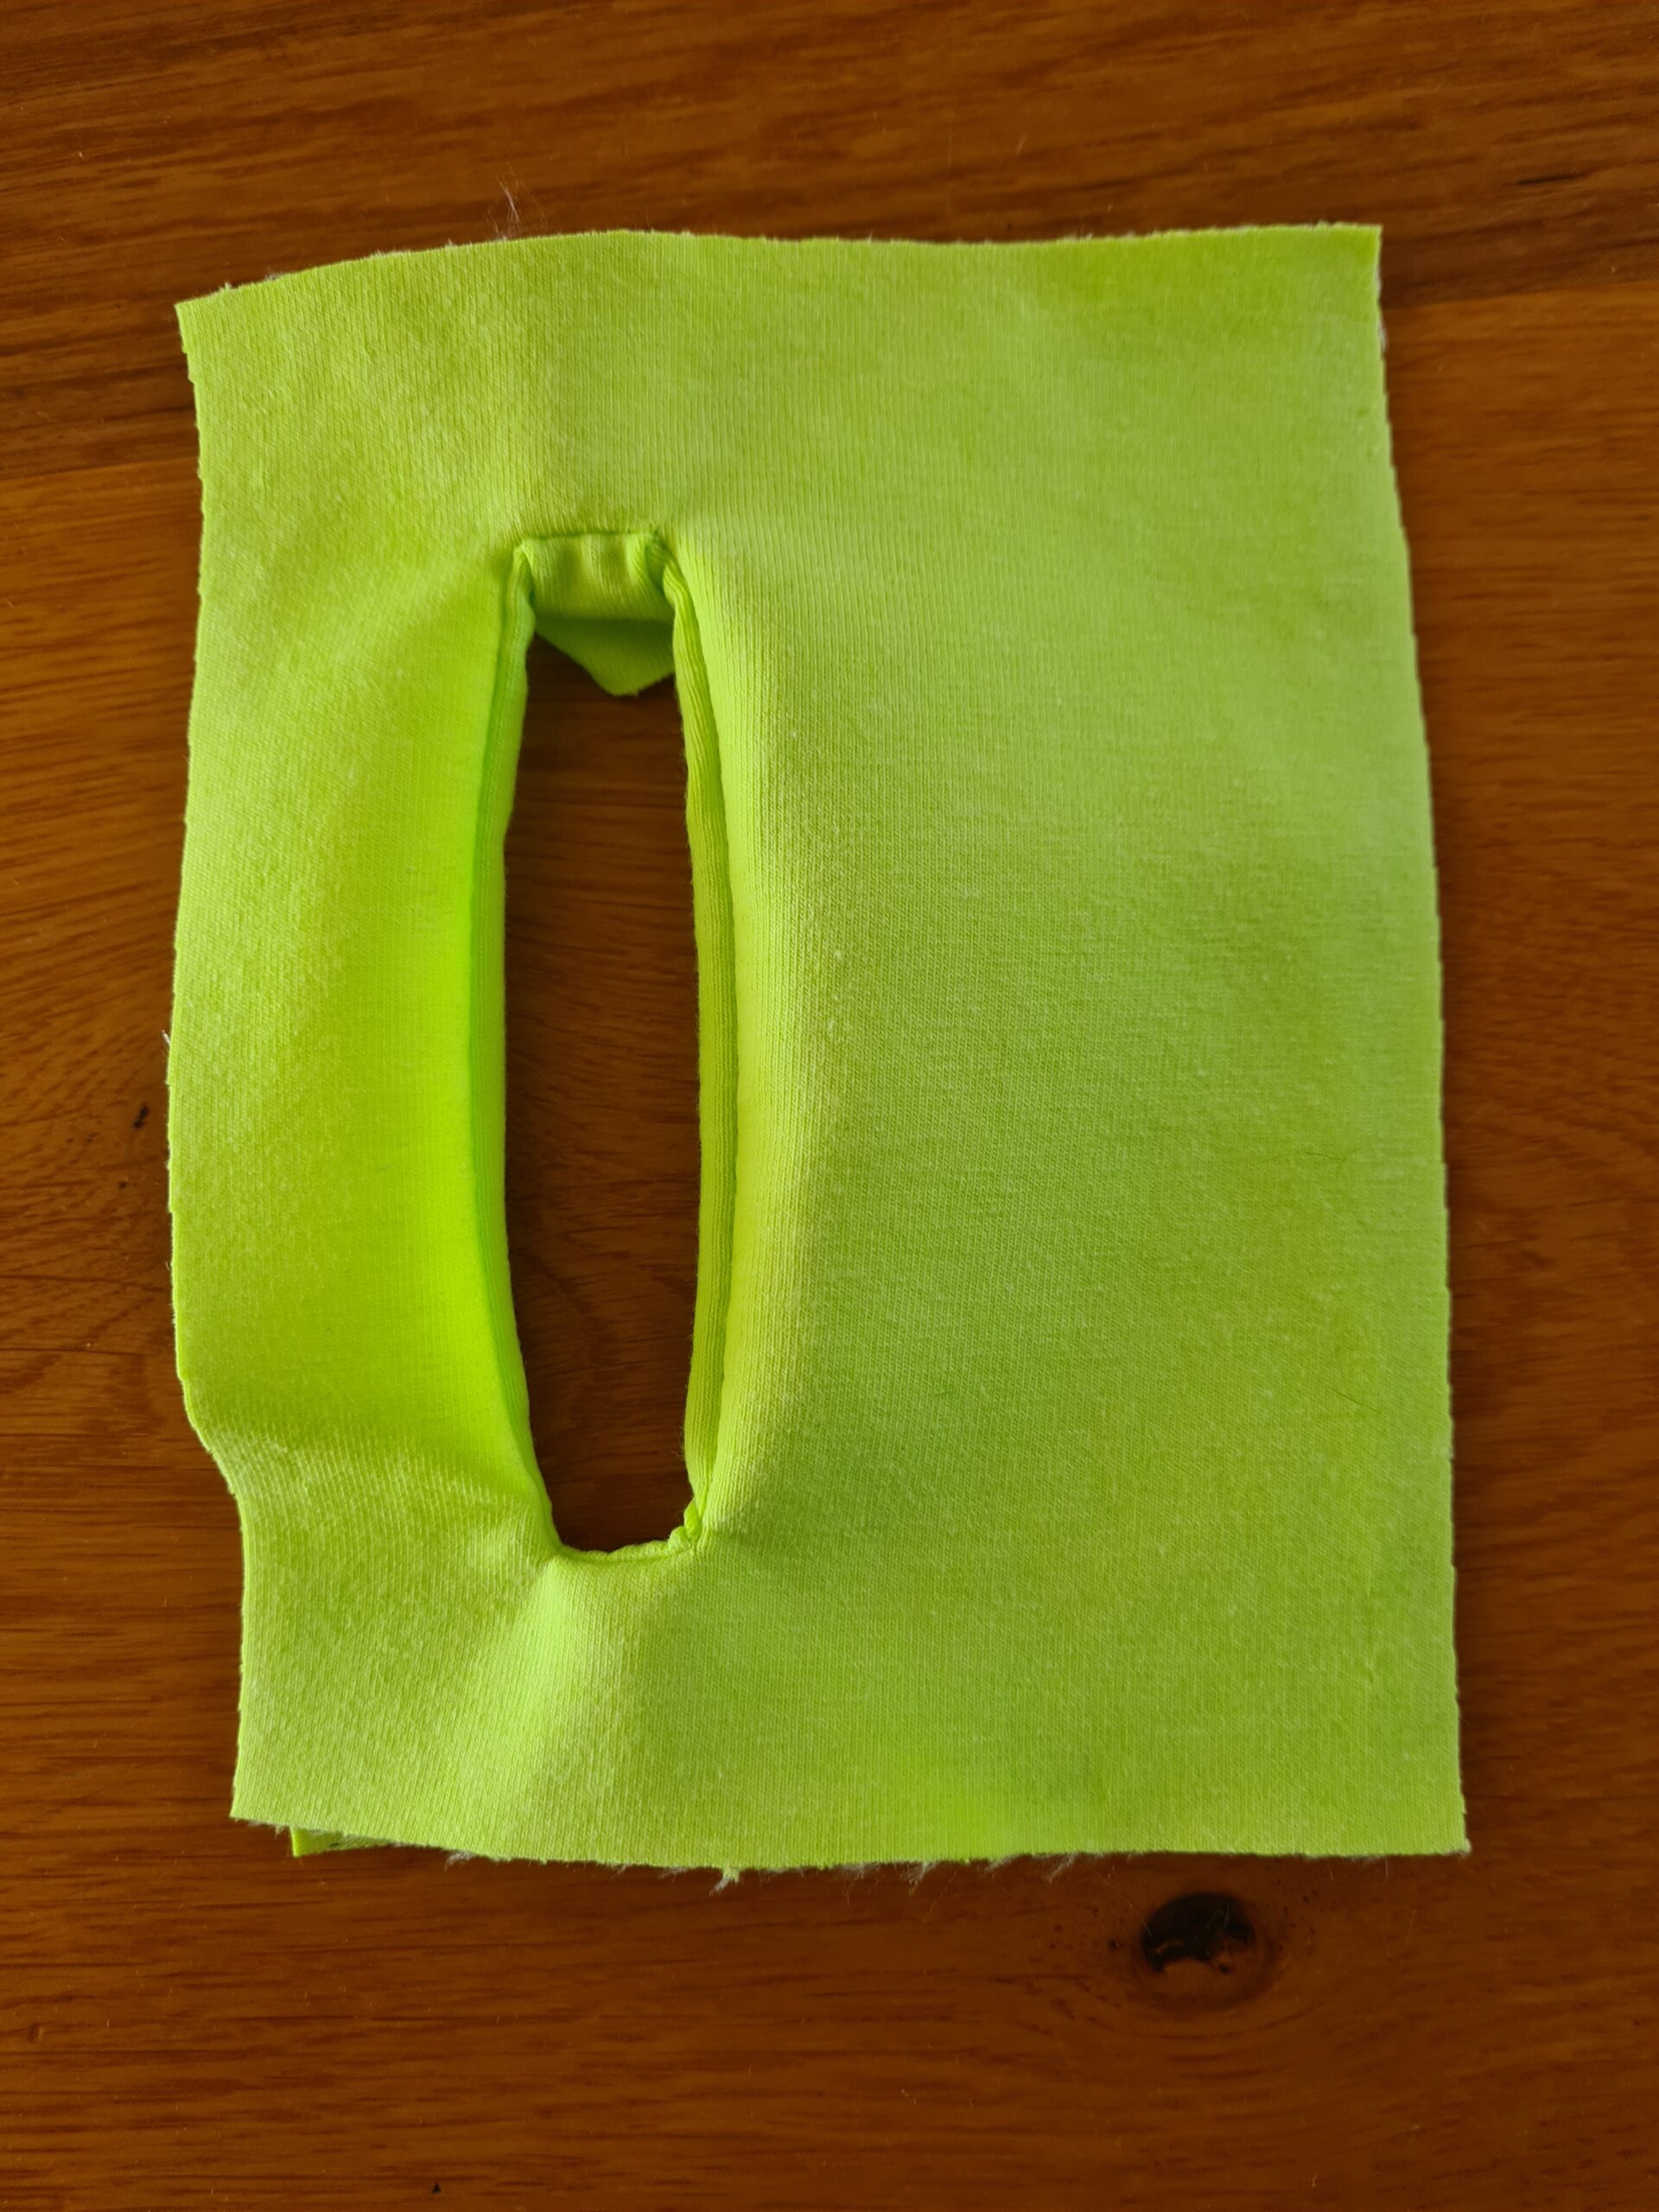
- Turn right sides out.
- Iron nicely flat.
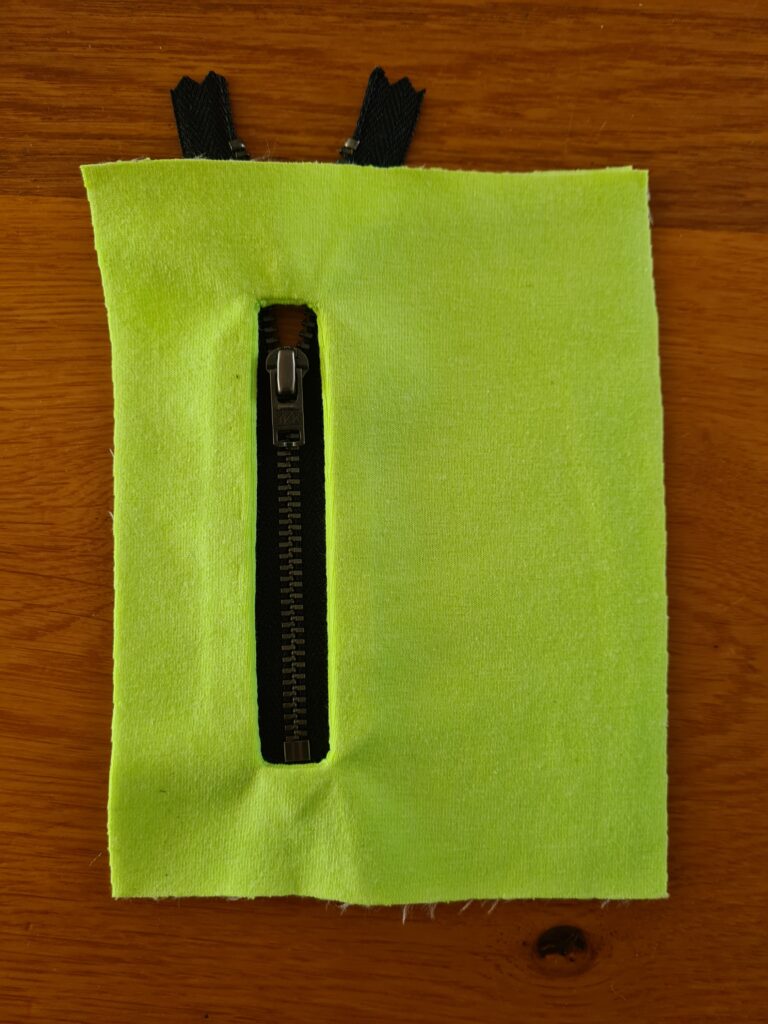
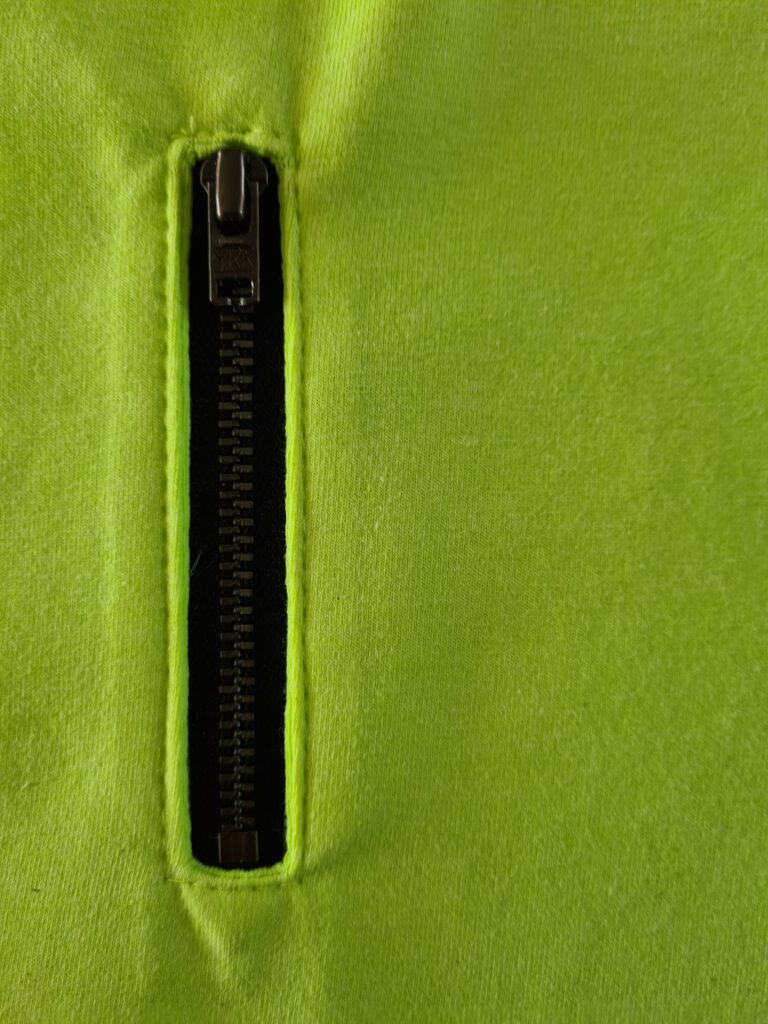
- Now place your zipper under the rectangle, and possibly secure with pins or wonder tape.
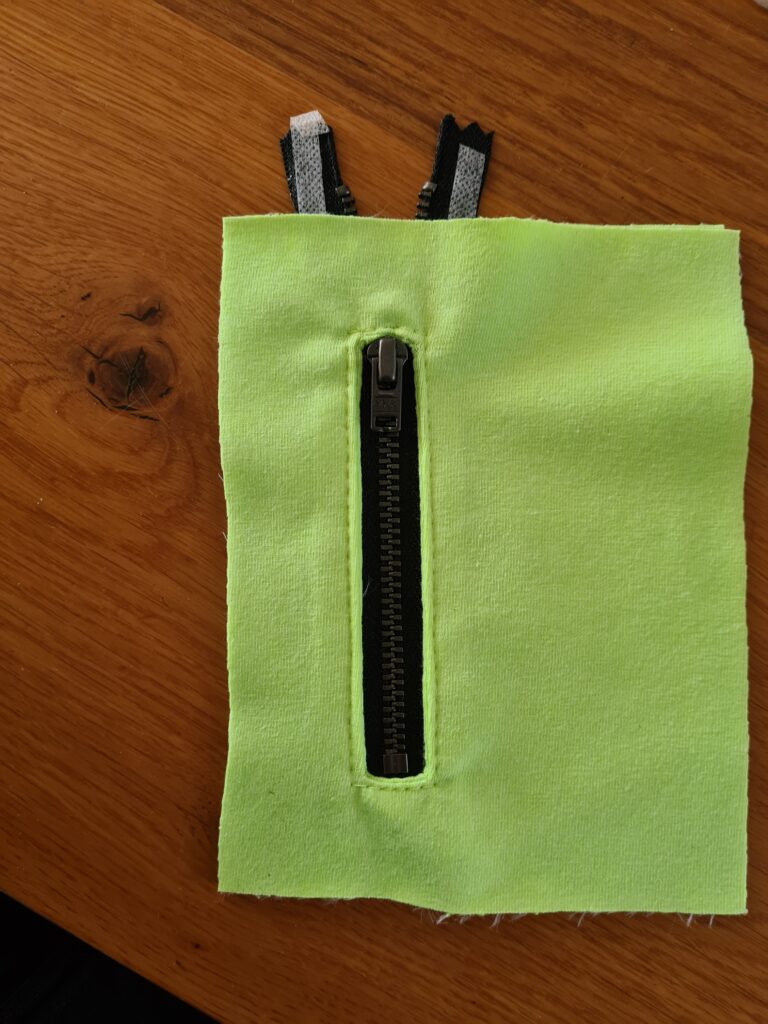
- Sew the zipper 0.5 cm from the side of the rectangle. Go back and forth over the stitching at the top and bottom.
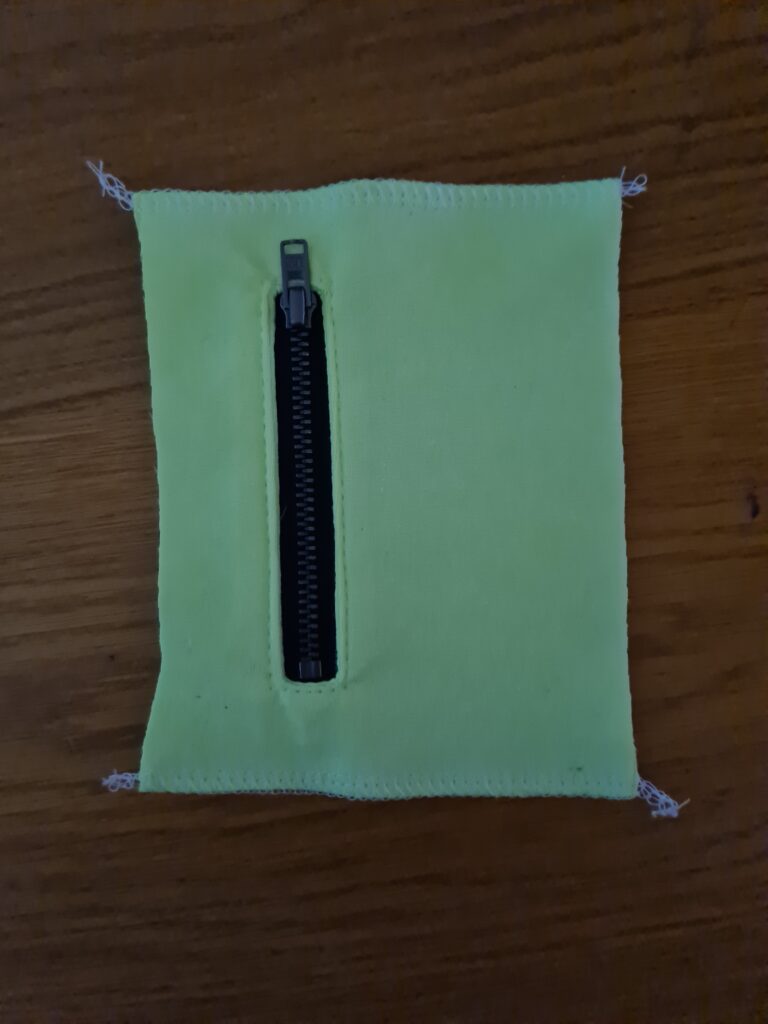
- Cut the rest of the zipper.
- Lock or zigzag the top and bottom of the bag, fold the top and bottom 1 cm and iron.
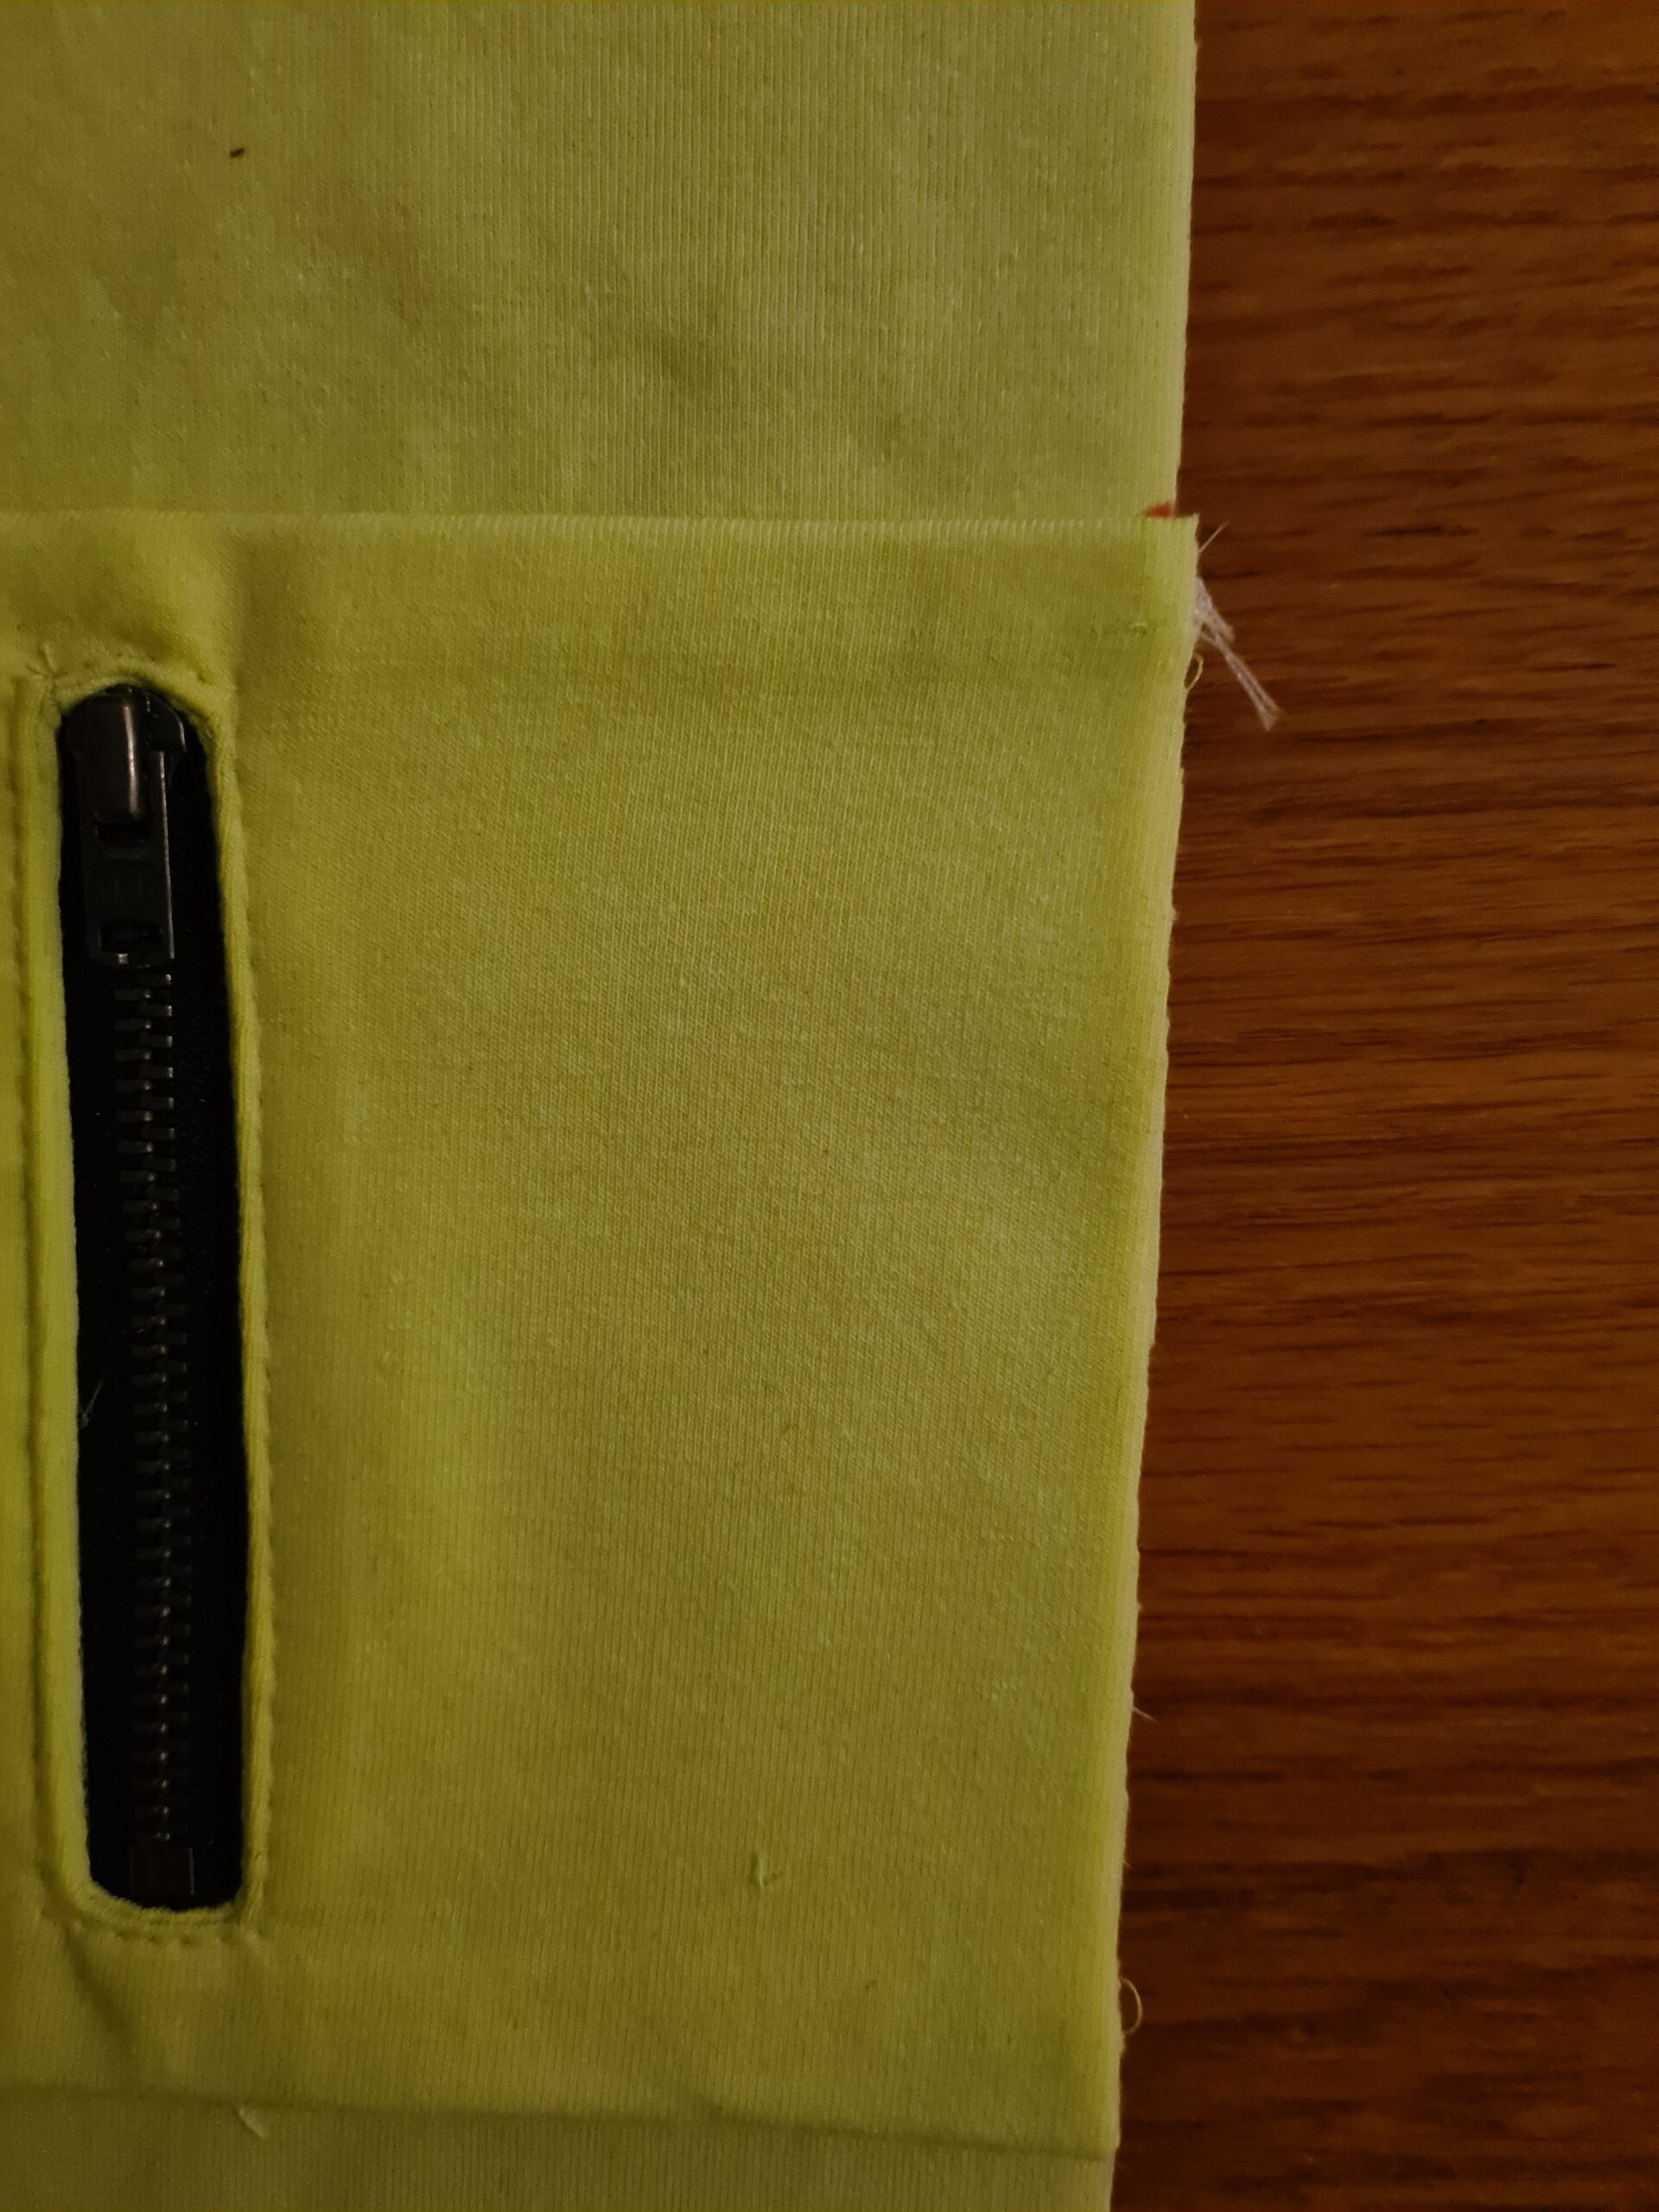
- On the stripe, mark the point where you want the bag to start. Do this on both sides of the stripe. It is best to measure this on your child. Place the stripe on his or her arm and measure how high you want the bag to be.
- Topstitch the top and bottom of the bag that you just turned up at 0.7 cm from the edge.
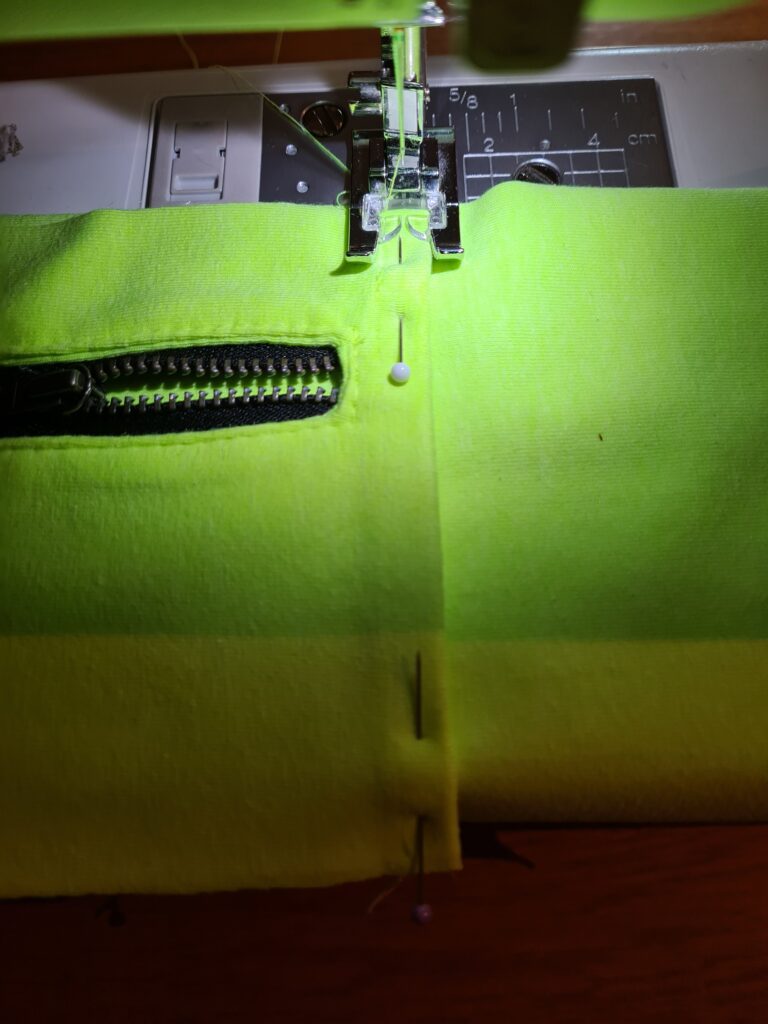
- Assemble the sleeve as shown on the original pattern.
-
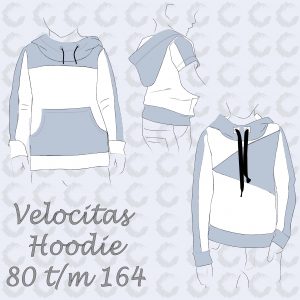 Velocitas Hoodie – Nederlands$8.68 excl. tax
 -
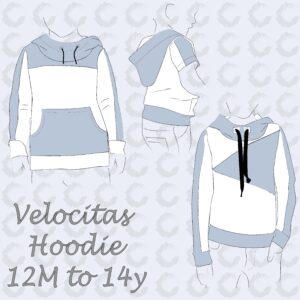 Velocitas Hoodie – English$8.68 excl. tax
 -
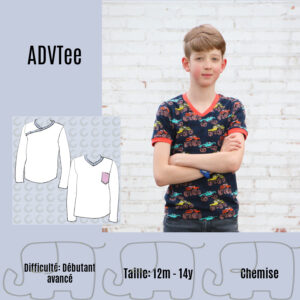 ADVTee – Français + supplément gratuit$7.85 excl. tax
 -
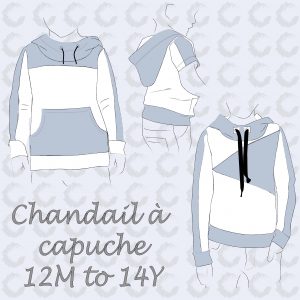 Chandail à Capuche Velocitas – Français$8.68 excl. tax
 -
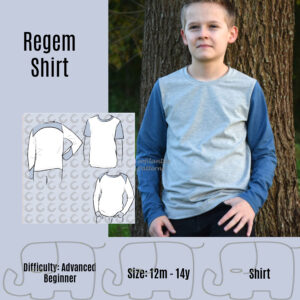 Regem Shirt + Free add-on – English$8.68 excl. tax
 -
 Regem Shirt + Gratis add-on – Nederlands$8.68 excl. tax
 -
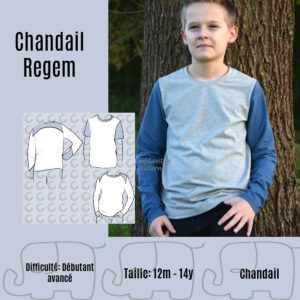 Chandail Regem + supplément gratuit – Français$8.68 excl. tax
 -
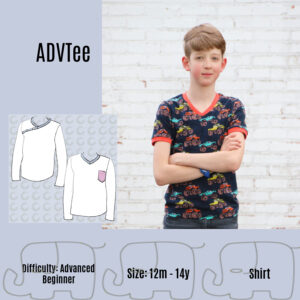 ADVTee – English + Free add-on$7.85 excl. tax
 -
ADVTee – Nederlands + Gratis add-on$7.85 excl. tax
Buy more save more
(PDF patterns only)
- Spend €25* or more and save 10%.
Use code: SAVE10 - Spend €45* or more and save 20%.
Use code: SAVE20 - Spend €65* or more and save 30%.
Use code: SAVE30
(Sale items excluded)
* Excl. Taxes
Recent comments
Archives

Thank you for visiting
Thank you for visiting our website. This website and all its content are copyright protected. Please ask permission before sharing any pictures or articles, especially when a child is shown in the image.


Leave a Reply