NEW PRODUCTS
-
 Somnium Sweater - English
$8.68 excl. tax
Somnium Sweater - English
$8.68 excl. tax
-
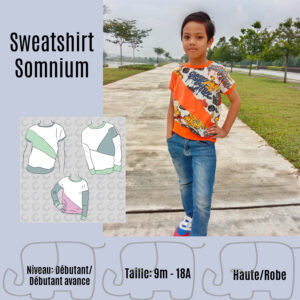 Sweatshirt Somnium - Français
$8.68 excl. tax
Sweatshirt Somnium - Français
$8.68 excl. tax
-
 Somnium Sweater - Nederlands
$8.68 excl. tax
Somnium Sweater - Nederlands
$8.68 excl. tax
-
 Adamas Jacket - English
$8.68 excl. tax
Adamas Jacket - English
$8.68 excl. tax
-
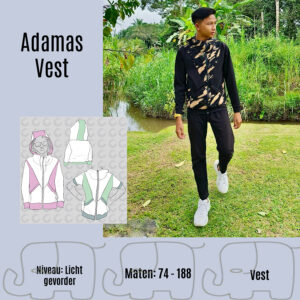 Adamas Vest - Nederlands
$8.68 excl. tax
Adamas Vest - Nederlands
$8.68 excl. tax
SALE
-
 Omni Tempore Volwassen en Kind Bundel- Nederlands
$15.30 excl. tax
Omni Tempore Volwassen en Kind Bundel- Nederlands
$15.30 excl. tax
-
 Vallis Volwassen en Kind Bundel - Nederlands
$17.00 excl. tax
Vallis Volwassen en Kind Bundel - Nederlands
$17.00 excl. tax
-
 Otium Volwassen en Kind Bundel - Nederlands
$15.30 excl. tax
Otium Volwassen en Kind Bundel - Nederlands
$15.30 excl. tax
-
 Solis Tuniek en Jurk plus Aura Bolero BUNDEL - Nederlands
$13.00 excl. tax
Solis Tuniek en Jurk plus Aura Bolero BUNDEL - Nederlands
$13.00 excl. tax
-
 Festum and Aura Bundel - Nederlands
$12.00 excl. tax
Festum and Aura Bundel - Nederlands
$12.00 excl. tax