Guestblog: A Regular Hem to a Circle Skirt
In our Sofilantjes Sew & Show Facebook group we often see questions about hemming a circle skirt.
In this blogpost one of our Admins, Patricia from Wondermirakel – MoonStar, will explain some sewing techniques you can use for hemming a circle skirt.
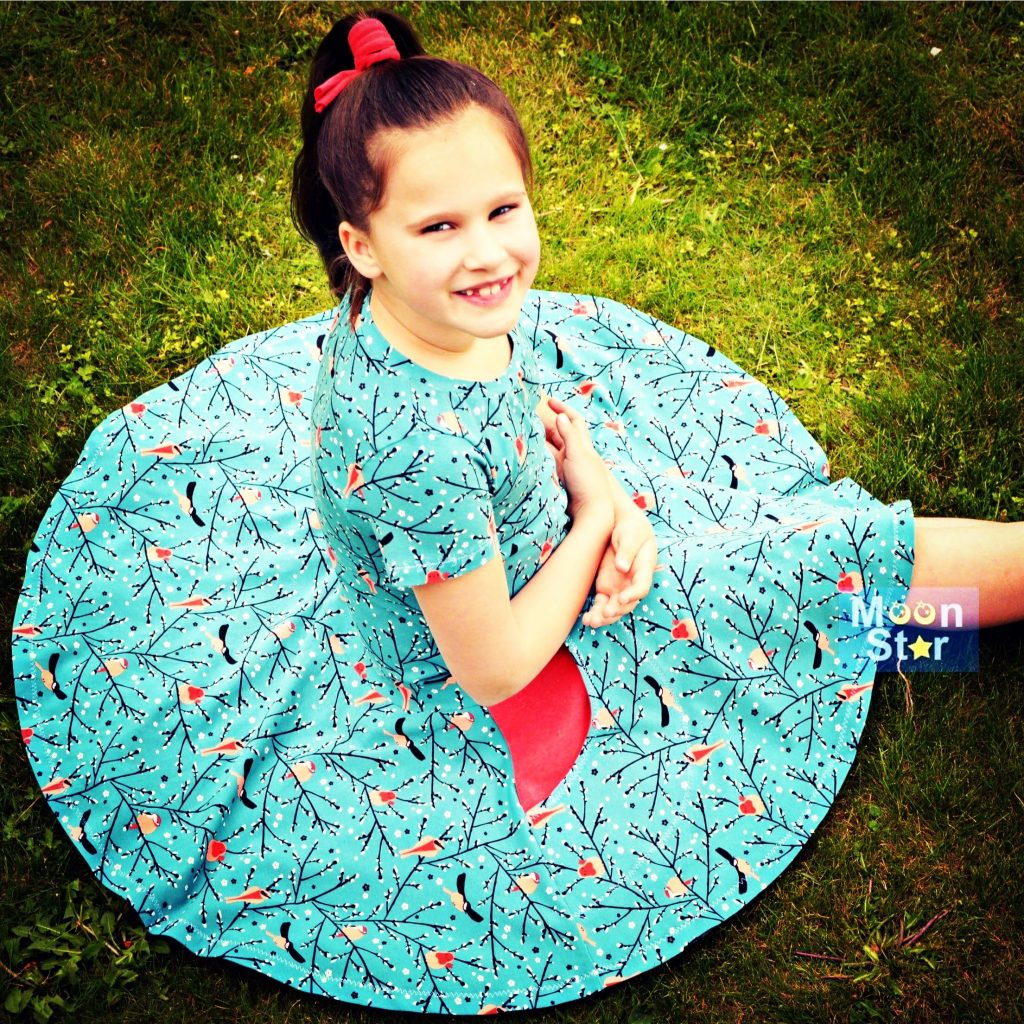
Hemming a circle skirt can be done in several ways: bias binding, a rolled hem, a regular hem… Today I will explain how to do a regular hem with a very easy trick.
You might need to go search for your sewing machine/serger manual so you can look up how to adjust the (differential feed) tension. Other than that, it’s easy peasy.
I had this gorgeous fabric that was telling me it wanted to be a Foras Dress with a circle skirt. My 9-year-old needed new spring/summer dresses and this pattern suits her so well. The perfect moment to make a blogpost!
Een cirkelrok omzomen kan op verschillende manieren: biais bandje, een rolzoom, gewone zoom… Vandaag leg ik uit hoe je met een eenvoudig trucje een gewone zoom kan maken. Je kan best even je handleiding voor je naaimachine/overlockmachine erbij halen zodat je kan opzoeken hoe je de spanning of differentieel moet aanpassen. Voor de rest is het een koud kunstje.
Ik had een stofje liggen dat me vertelde dat het een Foras jurk met cirkelrok wilde worden. Mijn 9-jarige dochter had nieuwe lente/zomer jurken nodig en dit patroon staat haar zo mooi. Het perfecte moment om een blogpost te maken!
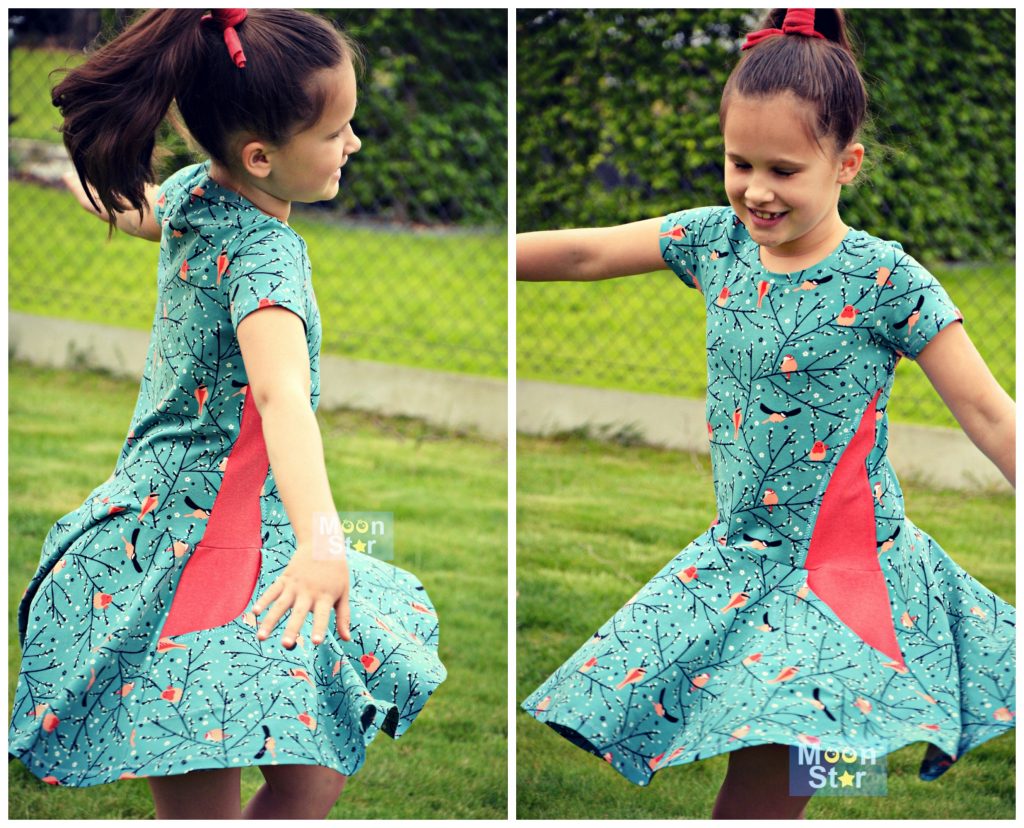
Sew your dress following the instructions. Some will tell you, you need to hang the dress on a hanger for a while or even to wash and dry it first before you start hemming it. Alas, I’m too lazy and impatient for that, so I hem the dresses immediately.
Naai de jurk volgens de instructies. Sommigen zullen je vertellen dat je de jurk met cirkelrok eerst moet uithangen op een kaptstok of zelfs eerst moet wassen en drogen voor je de rok gaat omzomen. Helaas, ik ben te lui en te ongeduldig, dus ik stort me steeds meteen op het omzomen
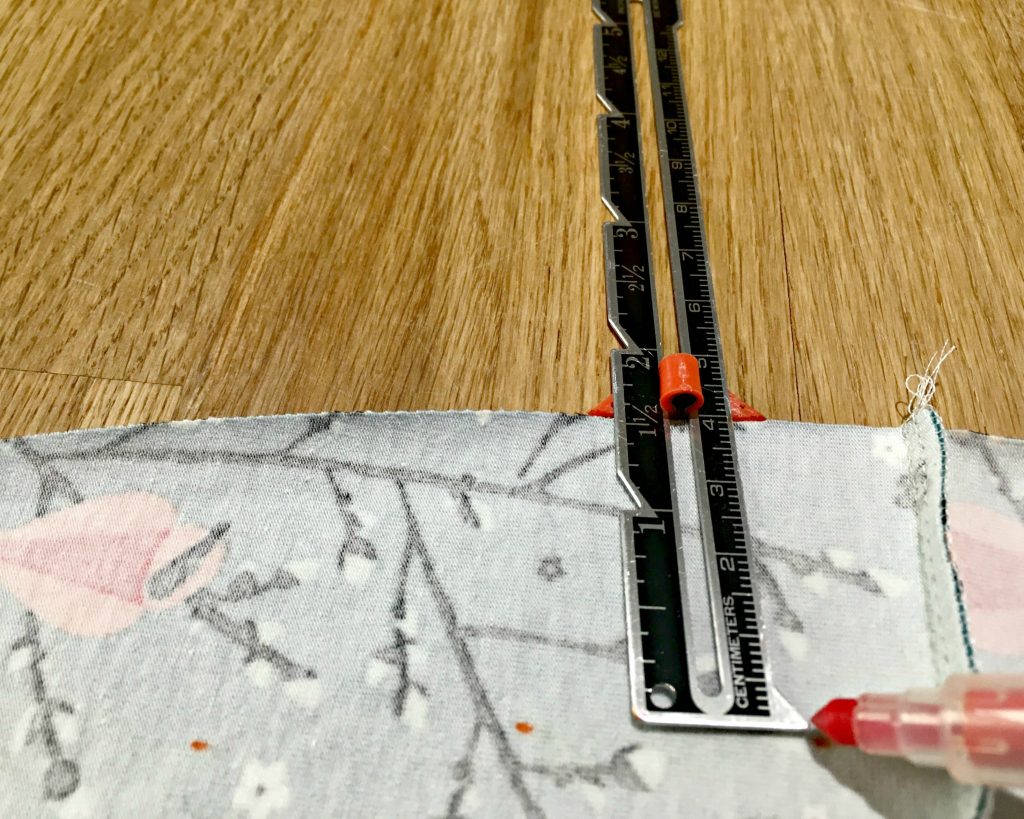
First trick I want to share with you is the way I put markings on my fabric: I use kids markers that are washable. If you’re not sure if they’re washable, try it on some scrap fabric. I use kids markers from a certain Swedish store…
I mark the line to where I should fold my hem; that’s twice the hemming allowance of the skirt. And I mark it all the way around. Use whatever tool that’s easiest for you to put the marking.
Het eerste trucje dat ik met jullie wil delen is de manier waarop ik mijn markeringen op mijn stof zet: ik gebruik uitwasbare kinderstiften. Als je niet zeker bent dat ze uitwasbaar zijn, probeer het dan eerst even op een restje stof. Zelf gebruik ik kinderstiften van een zekere Zweedse winkelketen…
Ik markeer de lijn tot waar ik de zoom moet omplooien; dat is twee keer de zoomtoelage van de rok. En ik markeer die helemaal rondom. Gebruik het hulpmiddel dat voor jou het makkelijkst is om te meten en markeren.
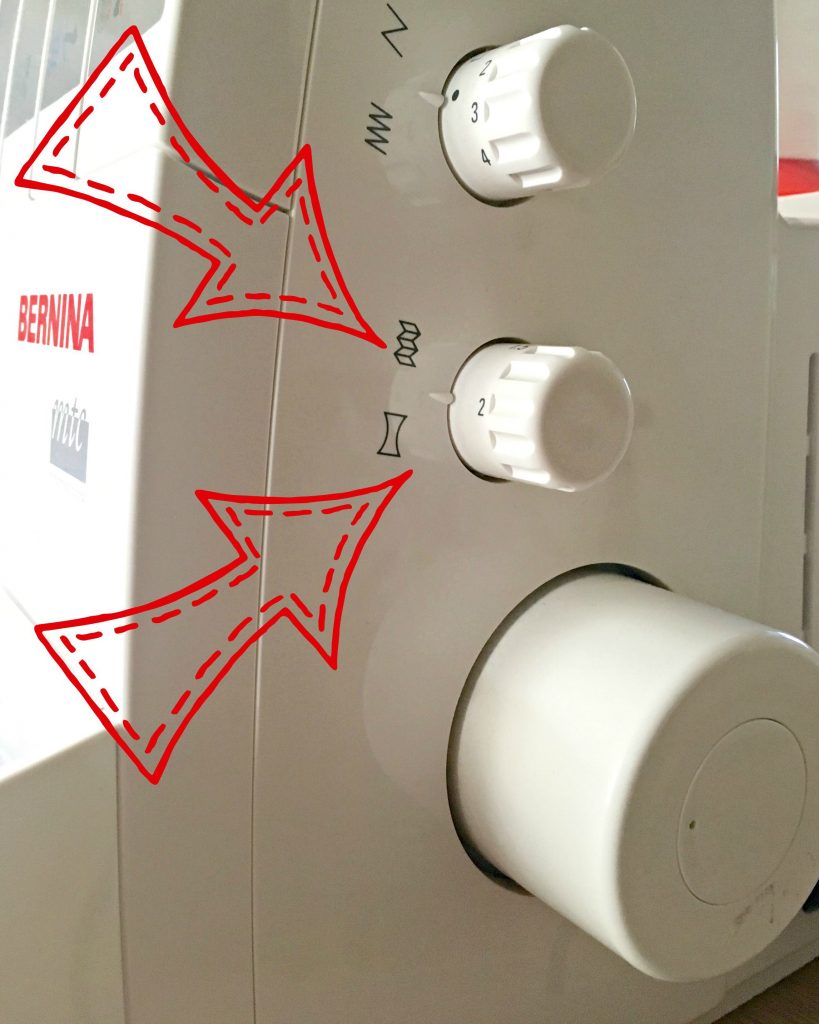
Next step is to set the differential feed on your serger to a higher tension or your sewing machine to a high tension and sew with a zigzag stitch.
I have a Bernina serger and my manual tells me to set the differential to 2, as shown in the photo.
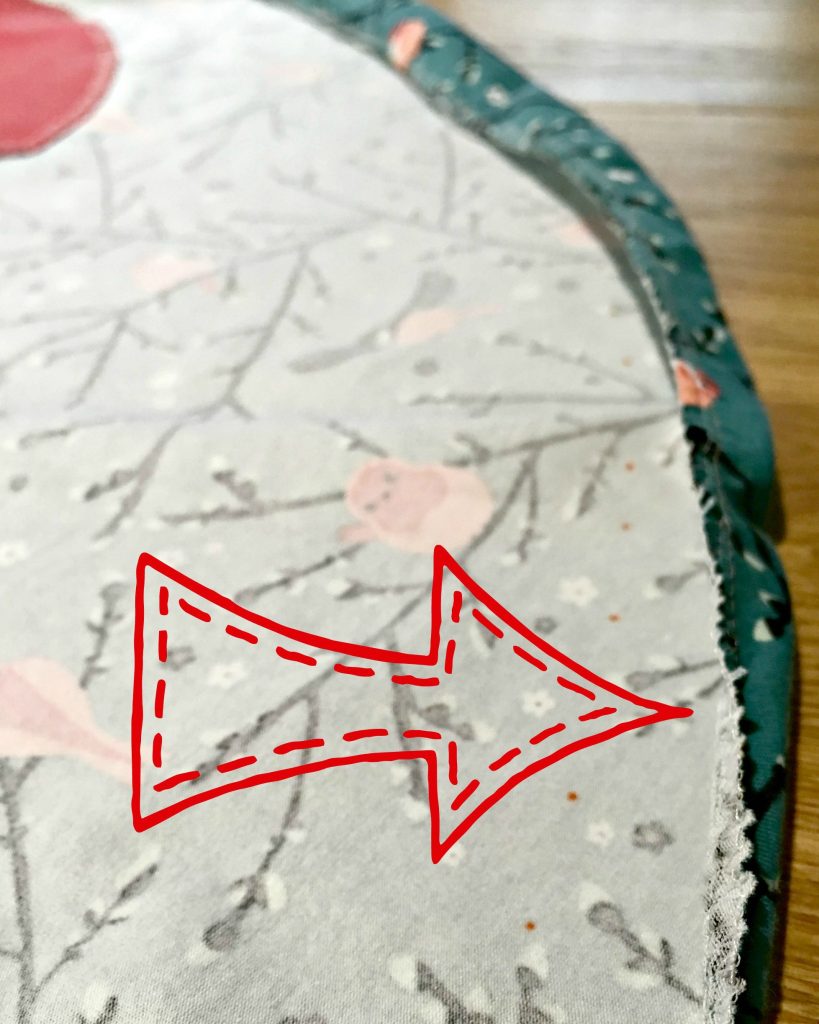
Now finish the raw edge with your serger (do not cut any fabric off with the serger blade) or your sewing machine set to a zig-zag stitch. The fabric will gather slightly and this is exactly what we want because it will make it easier to fold under in the next step.
De volgende stap is om de spanning van je differentieel transport te verhogen of de draadspanning van je naaimachine en dan met een zigzagsteek te naaien.
Ik heb een overlockmachine van Bernina en mijn handleiding vertelt me dat ik het differentieel transport op 2 moet zetten, zoals je op de foto kan zien.
Werk nu de onafgewerkte rand af met je overlock (zonder stof af te snijden) of met je naaimachine met een zigzagsteek. De stof zal lichtjes gerimpeld worden en dat is nu exact wat we willen om in de volgende stap de zoom om te vouwen.
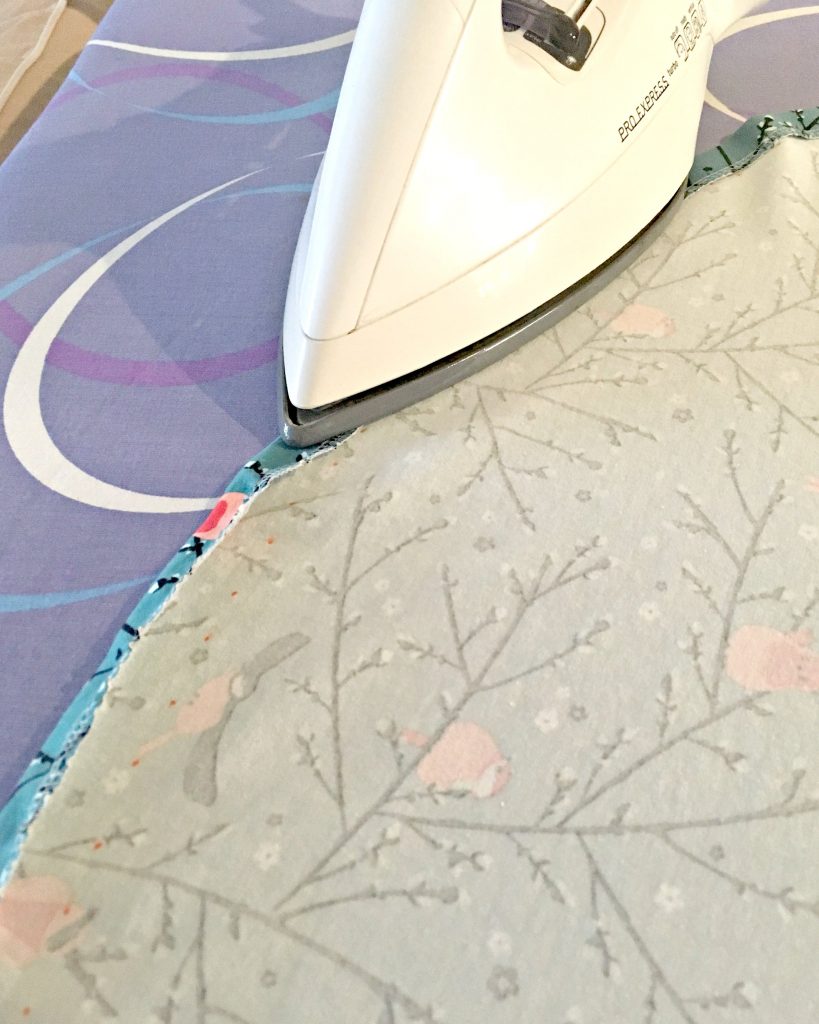
In this third step you will fold and press the finished edge. The markings you made in the first step will tell you exactly to where you need to fold the fabric. Because the fabric is curled to the inside a bit, it’s quite easy to fold and press it.
In deze derde stap ga je de zoom omvouwen en strijken. De markeringen die je in de eerste stap hebt gemaakt zullen je vertellen tot waar je de zoom precies moet omvouwen. Omdat je stof nu lichtjes naar binnen krult is het redelijk makkelijk om te vouwen en strijken.
Now your skirt is ready for hemming, but I have another tip for you! To make sure the hem stays in place, pin the hem all the way around. The more experienced seamstress might not need this step, but if you are a bit of a perfectionist like me, pinning the hem will give you a much better result in the end.
After sewing it with a twin needle or a decorative stitch give the skirt another press and you’re ready to show your pretty twirling dress!
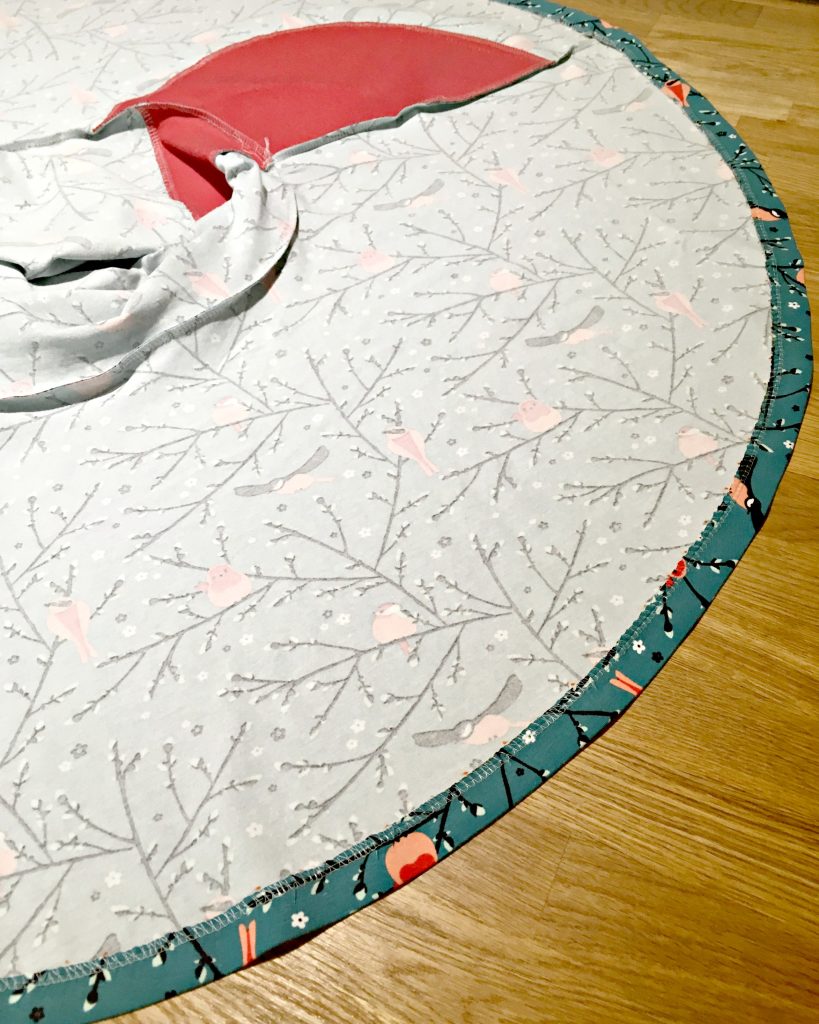
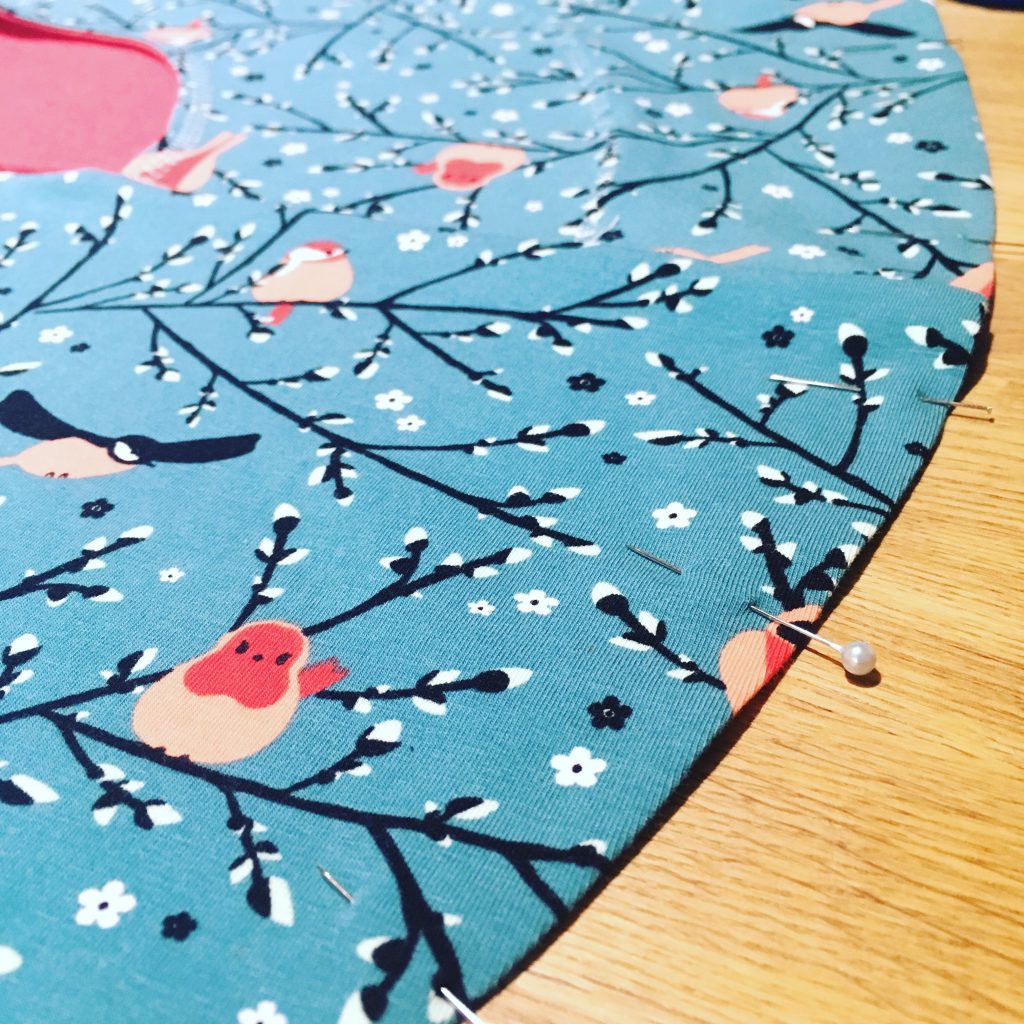
De rok is nu klaar om de zoom te naaien. Maar ik heb nog een kleine tip voor je! Om zeker te zijn dat de zoom netjes op z’n plaats blijft, speld helemaal rondom de zoom vast. De wat meer ervaren naaister zal deze stap misschien niet nodig hebben, maar als je een beetje perfectionistisch aangelegd bent zoals ik zal het spelden je een veel mooier resultaat geven wanneer je klaar bent.
Wanneer je klaar bent met naaien met een tweelingnaald of decoratieve steek strijk je de rok nog een keer. Nu ben je helemaal klaar om je mooie rok aan iedereen te laten zien!

This site uses Akismet to reduce spam. Learn how your comment data is processed.
Buy more save more
(PDF patterns only)
- Spend €25* or more and save 10%.
Use code: SAVE10 - Spend €45* or more and save 20%.
Use code: SAVE20 - Spend €65* or more and save 30%.
Use code: SAVE30
(Sale items excluded)
* Excl. Taxes
Recent comments
- Anne on The Hibernis/Semper or Omni. what’s the difference?
- Anne on Tutorial: How to add a Tulle Skirt to the Regina
- Judy Blumert on Tutorial: How to add a Tulle Skirt to the Regina
- Heleen Dewitte on 25K Grand Giveaway!
- Nicole on 25K Grand Giveaway!
Archives
Thank you for visiting
Thank you for visiting our website. This website and all its content are copyright protected. Please ask permission before sharing any pictures or articles, especially when a child is shown in the image.






Leave a Reply