Last month this pattern was released. My 10 year old is just over the moon with her Optimum dresses. It is a lined dress, but it can be very easily hacked into a single layer dress, or as many of the testers of the dress called it: the Optimum Racerback Light.
In this blogpost you can read how easy it is to make this unlined version.
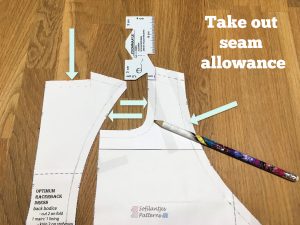
Start by taking off the seam allowance on the neck and arms, both front and back. These are the places where you will put binding later on.
Now sew the back together and the shoulders. Then fold open the bodice.

You need a long piece of ribbing. This ribbing needs to be 4cm wide.
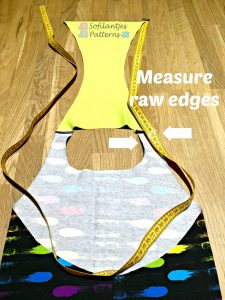
The length of the binding is 80% of the total length. This means you first need to measure the total length of the raw edges of the bodice.
You might need to sew together 2 pieces of ribbing.
In the example I made, I sewed 2 pieces of 61 cm together.
The total length of the sides of the bodice was 150 cm.
To calculate 80% of this length, you multiply by 0.8; 150 x 0.8 = 120.
My ribbing was not 120 cm wide, so I cut 2x 60cm + 1 cm on each piece for the seam.
My binding was 120 cm long and 4 cm wide.
Then the binding needs to be folded over the whole length; press it so the fold will stay better when you are sewing it onto the bodice.
The next thing to do is pin and sew the binding to the bodice.
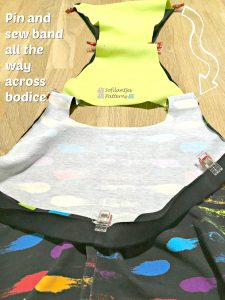
In this example I sewed the side band first. Since there was a seam in the middle, it was easy to pin the middle of the binding to the back seam of the bodice. I also marked the quarter point; the middle between the middle and the beginning, on both bodice and binding. This way it’s easier to attach the binding evenly over the whole bodice.
Like with regular binding: stretch the band to fit the bodice, but do not stretch the main fabric.
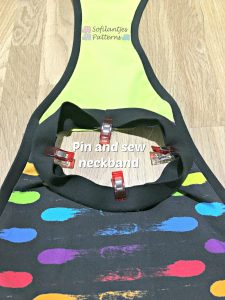
Repeat for the neckband.
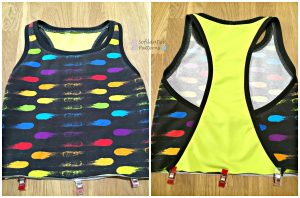
Give the bodice a good and steamy press and it should look something like this:
To make sure you have a nice clean look: topstitch the bands.
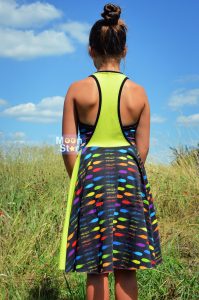
You’re all set to attach the skirt!
Your girl will be so happy with this Optimum Racerback Light!
-
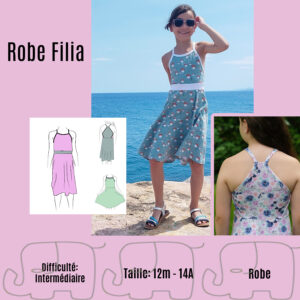
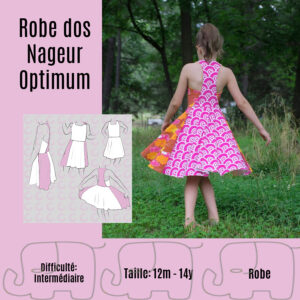 Robe dos Nageur Optimum – French$8.68 excl. tax
 -
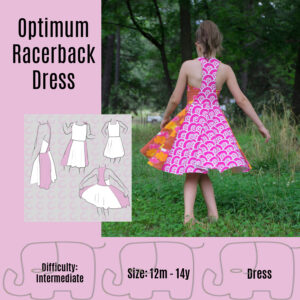 Optimum Racerback Dress – English$8.68 excl. tax
 -
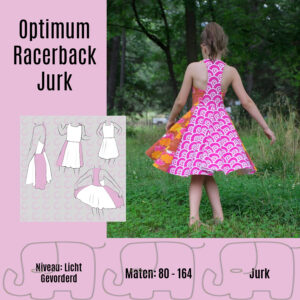 Optimum Racerback Jurk – Nederlands$8.68 excl. tax
Buy more save more
(PDF patterns only)
- Spend €25* or more and save 10%.
Use code: SAVE10 - Spend €45* or more and save 20%.
Use code: SAVE20 - Spend €65* or more and save 30%.
Use code: SAVE30
(Sale items excluded)
* Excl. Taxes
Recent comments
Archives

Thank you for visiting
Thank you for visiting our website. This website and all its content are copyright protected. Please ask permission before sharing any pictures or articles, especially when a child is shown in the image.


Leave a Reply