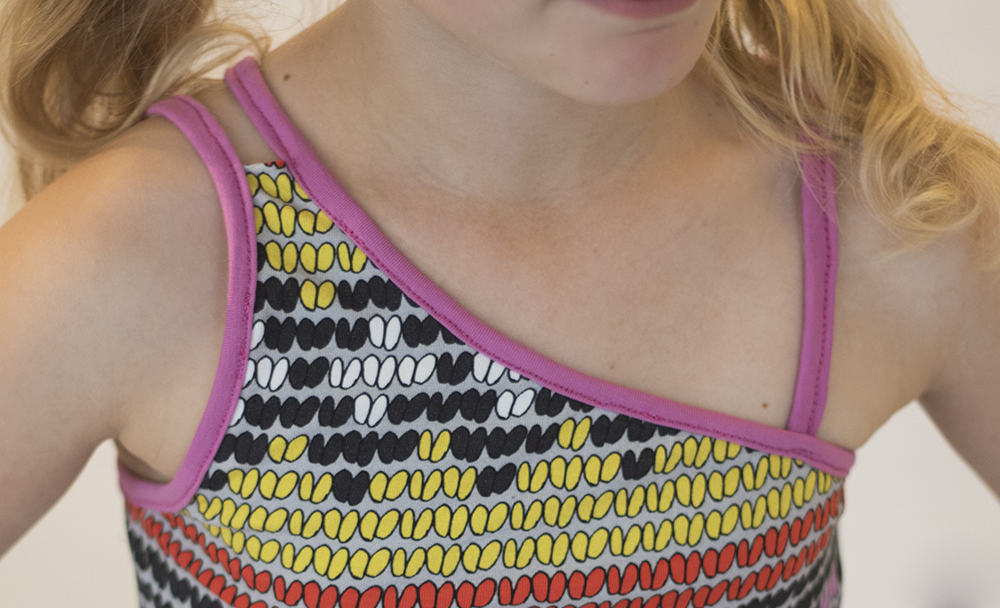
Today, I will show you how to slightly hack the Montis bodice to get view A on the back (three straps) and to have single layer of fabric. I read in the Sofilantjes group that some kids sweat in two layers of fabric, so the Montis option B is perfect for those (single layered), but with this hack they can also wear option A. You need elastic bias for this hack, you can either buy it, or make your own (what I did). If you make your own, you cut a 4 centimeter wide, long strip of good quality jersey. For this post I assume that you know how to sew on a home made jersey bias (if you do not check the instructions on your Iridis pattern).
Vandaag laat ik zien hoe je de Montis een beetje kan hacken zodat je versie A kan maken (drie bandjes op de rug) en het lijfje 1 laagje stof is. Optie B van de Montis heeft altijd maar 1 laagje stof en met deze hack kan je dat ook voor versie A doen, voor het geval dat je dochter relatief veel zweet in twee laagjes. Voor de hack heb je elastische bias nodig, die kan je kopen, maar ook zelf maken van een strip tricot van 4 centimeter breed. Ik ga ervan uit dat je al vaker bias hebt genaaid en dus weet hoe dat moet. Eventueel kan je het Iridis patroon naslaan op hoe je bias behoort te naaien.
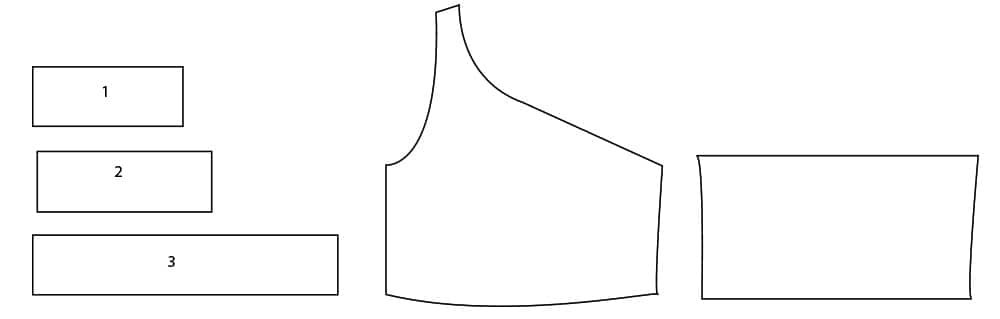
For this hack you need to cut a bodice on the option A line (the inner line) and you need strap1, 2 and 3 for length references (so do not cut them from fabric, just the paper pieces).
Voor deze hack knip je een lijfje op de optie A lijn (binnenste lijn) en je hebt patroondelen 1, 2 en 3 nodig voor hun lengte (je hoeft ze dus niet meteen in stof te knippen, het gaat om de papieren delen).
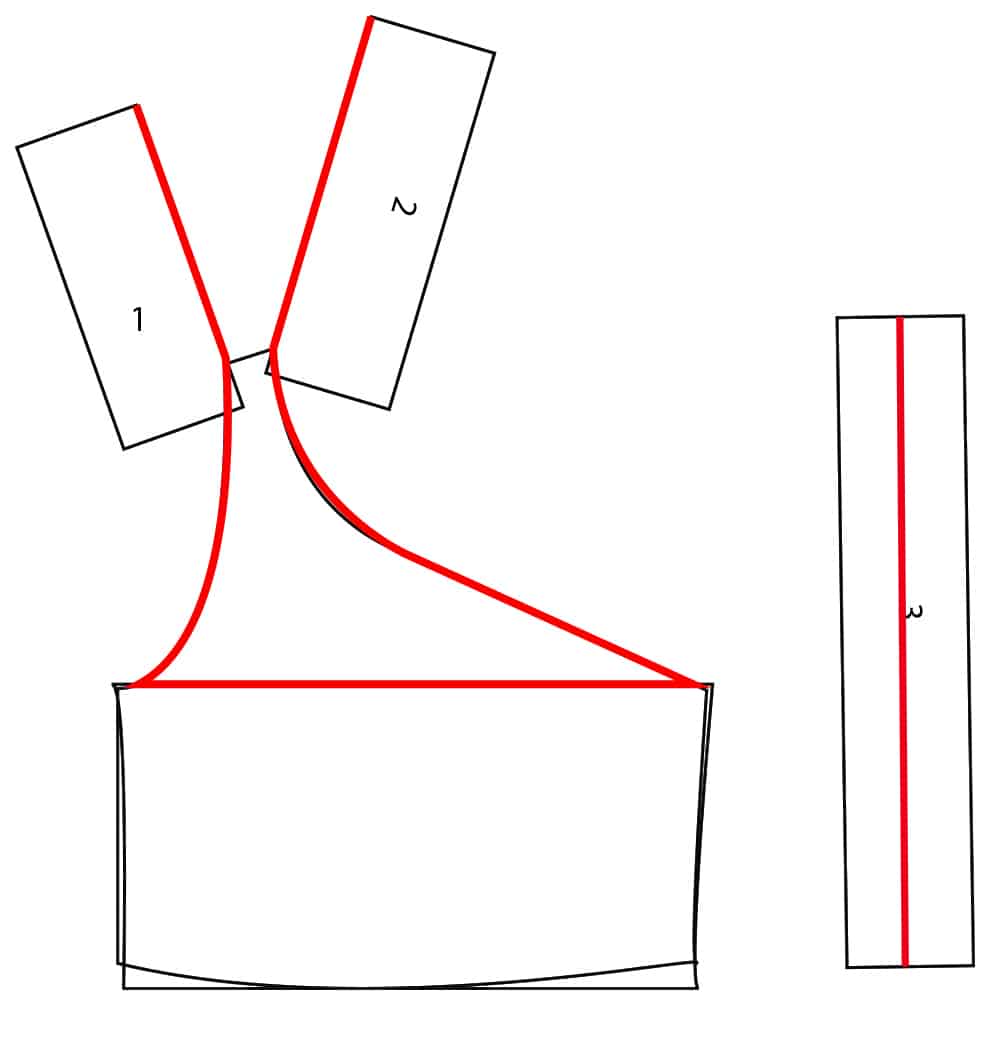
Measure, based on your pattern pieces how much bias you will approximately need. You can either use a flexible measuring tape or a piece of wool. You will need to follow the entire top line of the bodice plus strap one and strap two. You should slightly stretch the bias while sewing it on, I therefore strongly advice to only use this hack if you have a model on which you can finalize the last step of determining strap length. You can subtract seam allowance, but it is not crucial because you will make it fit your model anyway. Cut a separate piece of bias for strap 3.
Bepaal aan de hand van je patroondelen de lengte van de benodigde bias. Je kan een flexibel meetlint gebruiken, maar ook een touwtje. De lengte die je nodig hebt is dus de lengte van bandje 1 en 2 en de volledige bovenkant van het topje. Terwijl je de bias naait trek je er een beetje aan, je kan dus niet exact bepalen hoeveel je nodig hebt. Voor deze hack heb je dus een model nodig om de bandjes aan het einde op vast te stellen. Je kan de naadwaarde van de patroondelen afhalen, maar dat is niet zo belangrijk, omdat je aan het einde toch je model nodig hebt. Knip daarnaast nog een stuk bias op de lengte van bandje 3.
Now mark the length of strap 1 on your long strip of bias. Fold over one centimeter of the top of the bodice to the back. Sew the front bodice to the back bodice by closing the sides.
Markeer op de lange strip de lengte van bandje 1. Vouw de schouder op de voorkant van het lijfje een centimeter om naar achteren. Naai de zijkanten van het lijfje (voor en achterkant) aan elkaar vast.

Sew the bias (good side on good side) to your bodice from the mark that you made in the previous step (with the one centimeter folded under), slightly strength the strip while sewing (yes I know that is vague, but after sewing some bias you will just know how much you have to pull). Sew along the entire top line of the bodice, all along the back and to the other side of the shoulder where your started. The entire top of the bodice should now be sewn.
Naai nu de bias (met goede kant op goede kant van de stof) aan het lijfje vast vanaf het merkteken dat je net maakte (en met de centimeter omgevouwen). Trek een kleine beetje aan de strip terwijl je naait (ja dat klinkt vaag, maar je moet een beetje ervaring krijgen in het naaien van tricot bias, dan weet je hoeveel je moet trekken). Naai helemaal rond het lijfje tot je weer bij de schouder aankomt. Het hele bovenkant van het lijfje moet dus de bias ertegen aan hebben.

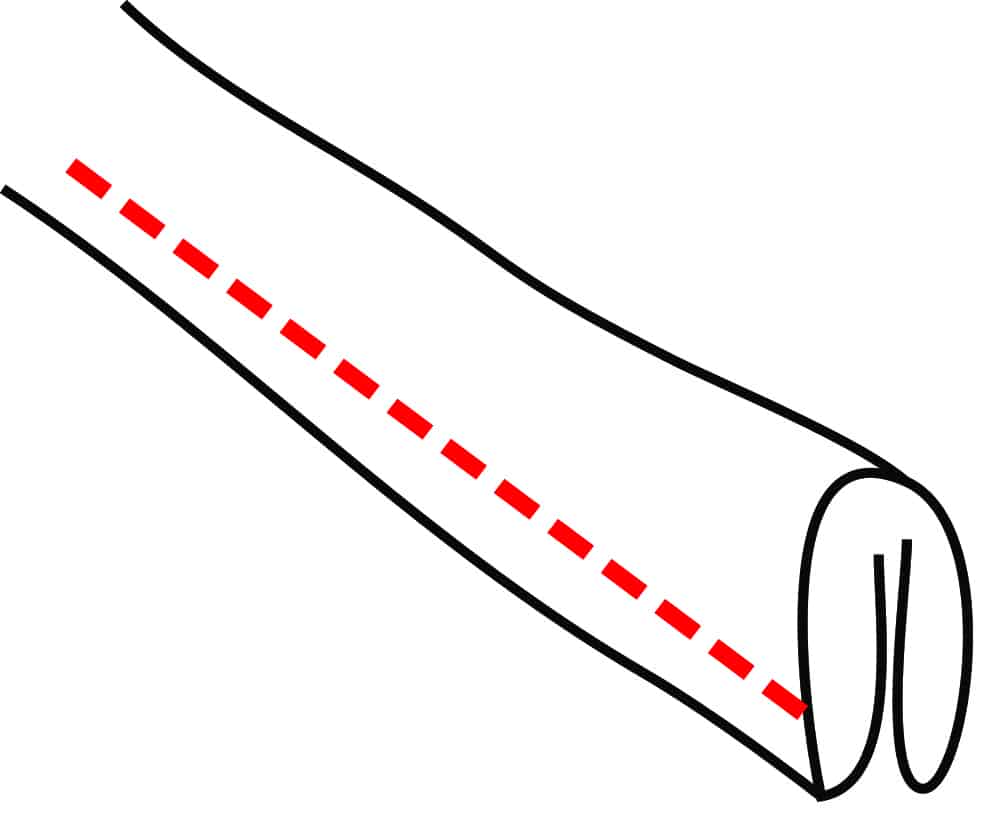
Take your strip three and fold it into a finished bias (so four layers of fabric and sew it closed. Use clips to put strap three in place (use the dots of the pattern piece). Now fold the entire bias from the dress like you did in for strap three. Where the bias is sewn on the dress, the dress is a fifth layer in between the bias. Now close the entire the bias strip, including the pieces hanging down from the bodice (they will form strap one and two). While you finish the bias you also sew strap three to the dress.
Neem het stukje bias voor bandje drie en naai het dicht. Doe dat op de gebruikelijk bias manier, dus vier lagen stof op elkaar gevouwen. Spelt het bandje op de juiste plaats aan de jurk (gebruik de stipjes op de patroondelen). Vouw nu de bias die aan de jurk zit op dezelfde wijze als bandje drie. Van begin tot einde, dus ook die stukken die eraan hangen. Die stukken worden namelijk bandje één en twee. Waar de bias op de jurk zit is de bias dus vijf lagen dik. Naai nu de bias helemaal dicht van begin tot einde, daarbij naai je ook meteen bandje drie van aan de jurk.
Put the unfinished dress on your model. Now determine the length of strap one and two (the straps hanging from your dress) either mark the optimal length or cut them to the right length. Keep in mind that you need at least one centimeter extra length to fixate it to the dress on the back. Sew once over the previously made seam (only there where the straps should be fixated) to fixate strap one and two to the dress. Continue with the skirt.
Laat je model de onafgewerkte jurk aantrekken en bepaal zo de lengte van bandje één en twee. Je kan de bandjes markeren of al afknippen, houd er wel rekening mee dat je de bandjes vast zet door nogmaals over het eerdere stiksel van de bias heen te gaan. De bandjes hebben dus iets meer dan een centimeter extra lengte nodig dan waar ze onder de lijn van het lijfje verdwijnen. Naai dus nog eenmaal over het eerdere stiksel(daar waar de bandjes vast moeten) om de bandjes vast te zetten. Ga vervolgens verder met het vastzetten van de rok.
-
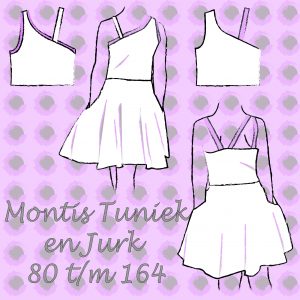 Montis Tuniek en Jurk – Nederlands$7.85 excl. tax
 -
 Montis Tunic and Dress – English$7.85 excl. tax
 -
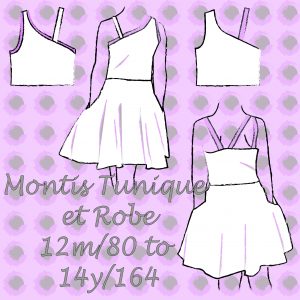 Montis Tunique et Robe – Français$7.85 excl. tax
Buy more save more
(PDF patterns only)
- Spend €25* or more and save 10%.
Use code: SAVE10 - Spend €45* or more and save 20%.
Use code: SAVE20 - Spend €65* or more and save 30%.
Use code: SAVE30
(Sale items excluded)
* Excl. Taxes
Recent comments
Archives

Thank you for visiting
Thank you for visiting our website. This website and all its content are copyright protected. Please ask permission before sharing any pictures or articles, especially when a child is shown in the image.


Leave a Reply