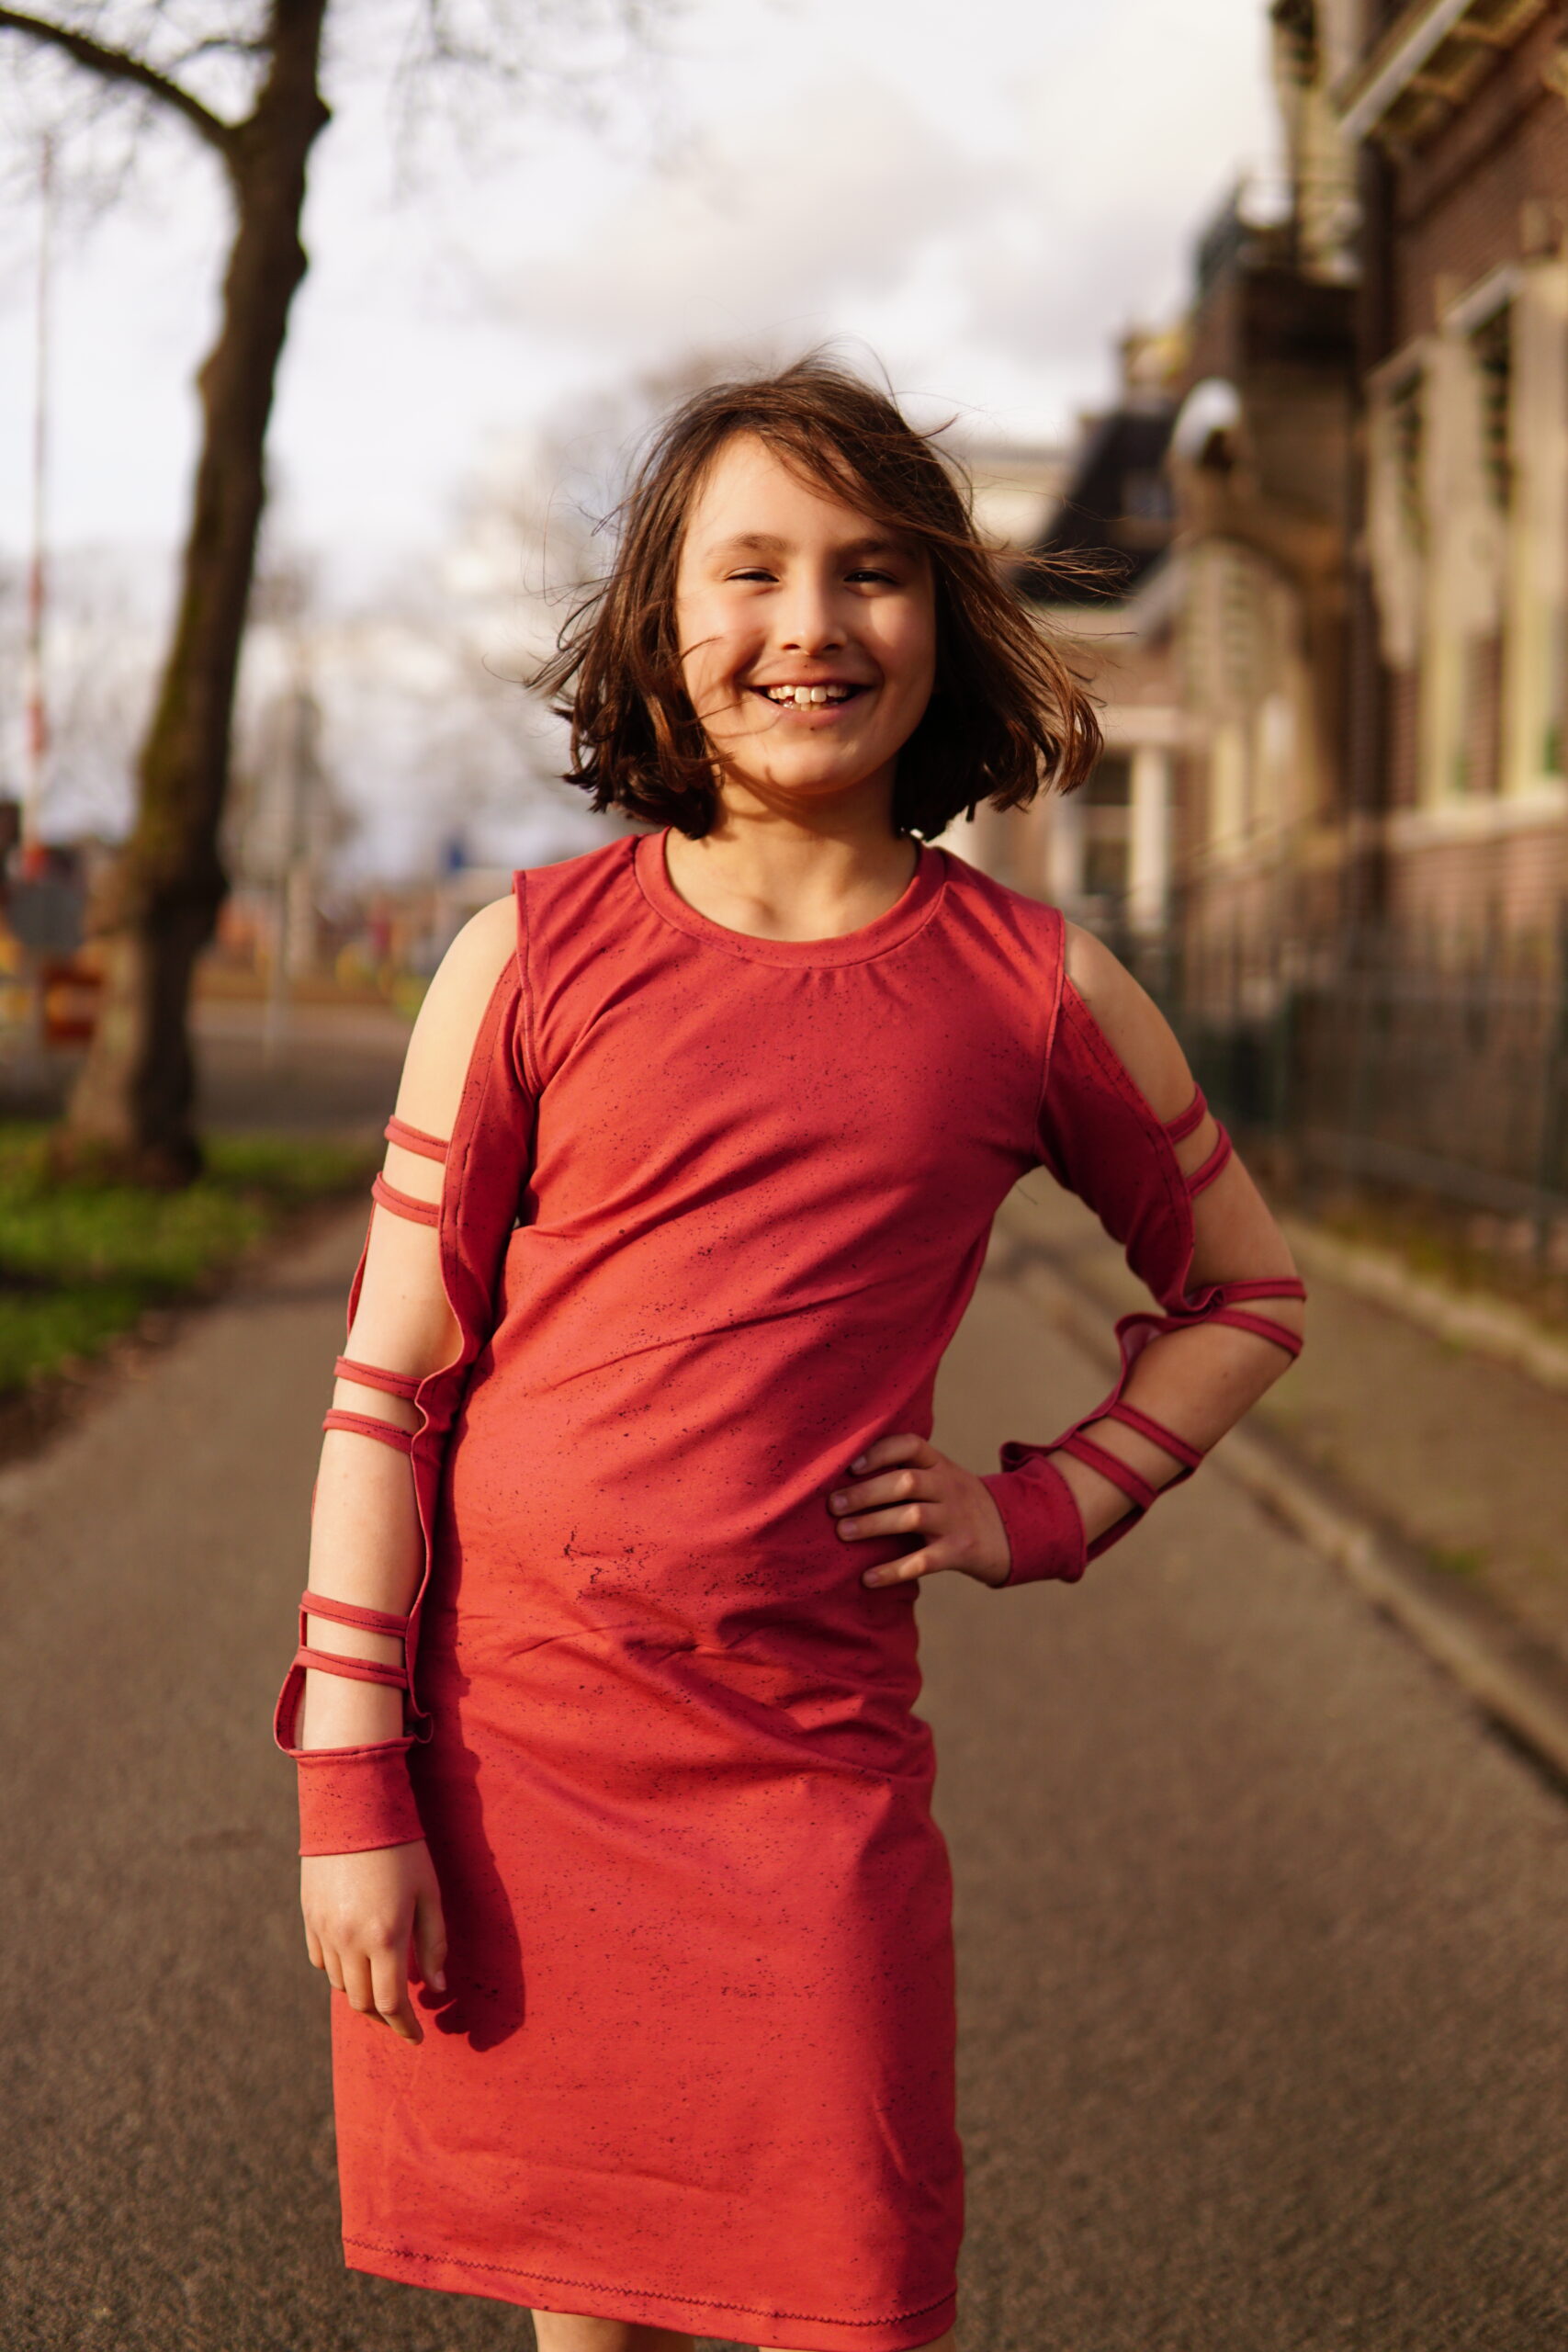
Ready for more boldness? Create a teen proof dress using the tutorial today. She will thank you. Follow the directions below and do not forget to show us your result in our Facebook group or tag us on IG (@Sofilantjes_anne).
This tutorial is made by Marieke, go say hi over on IG and thank her by following her account.
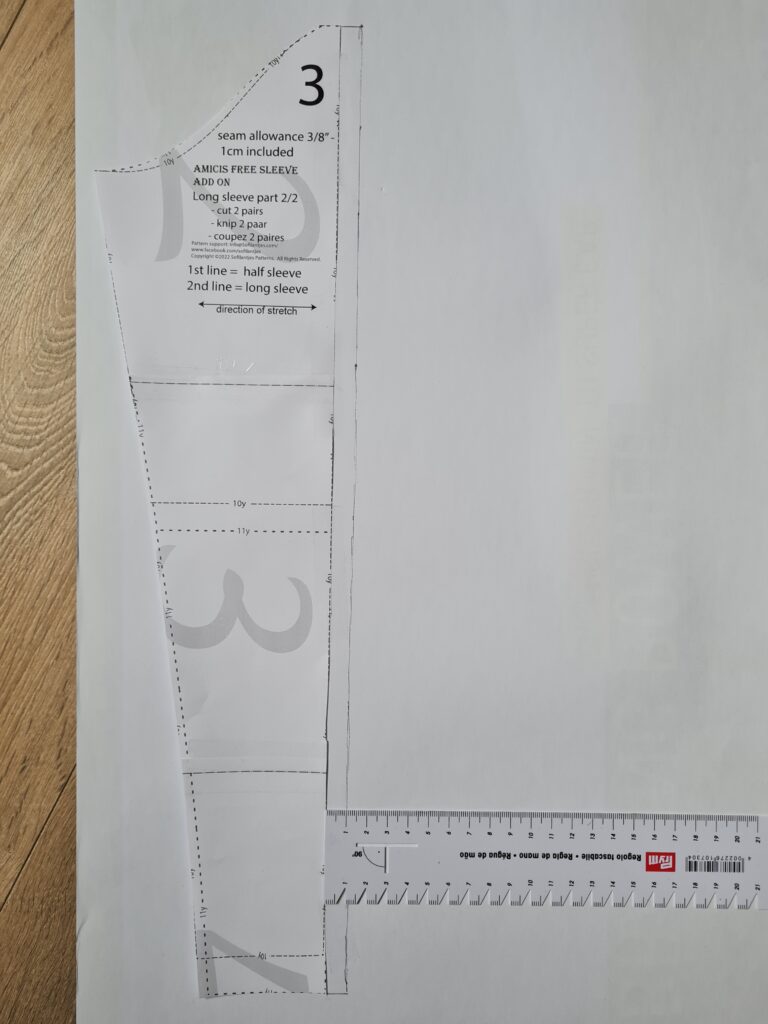
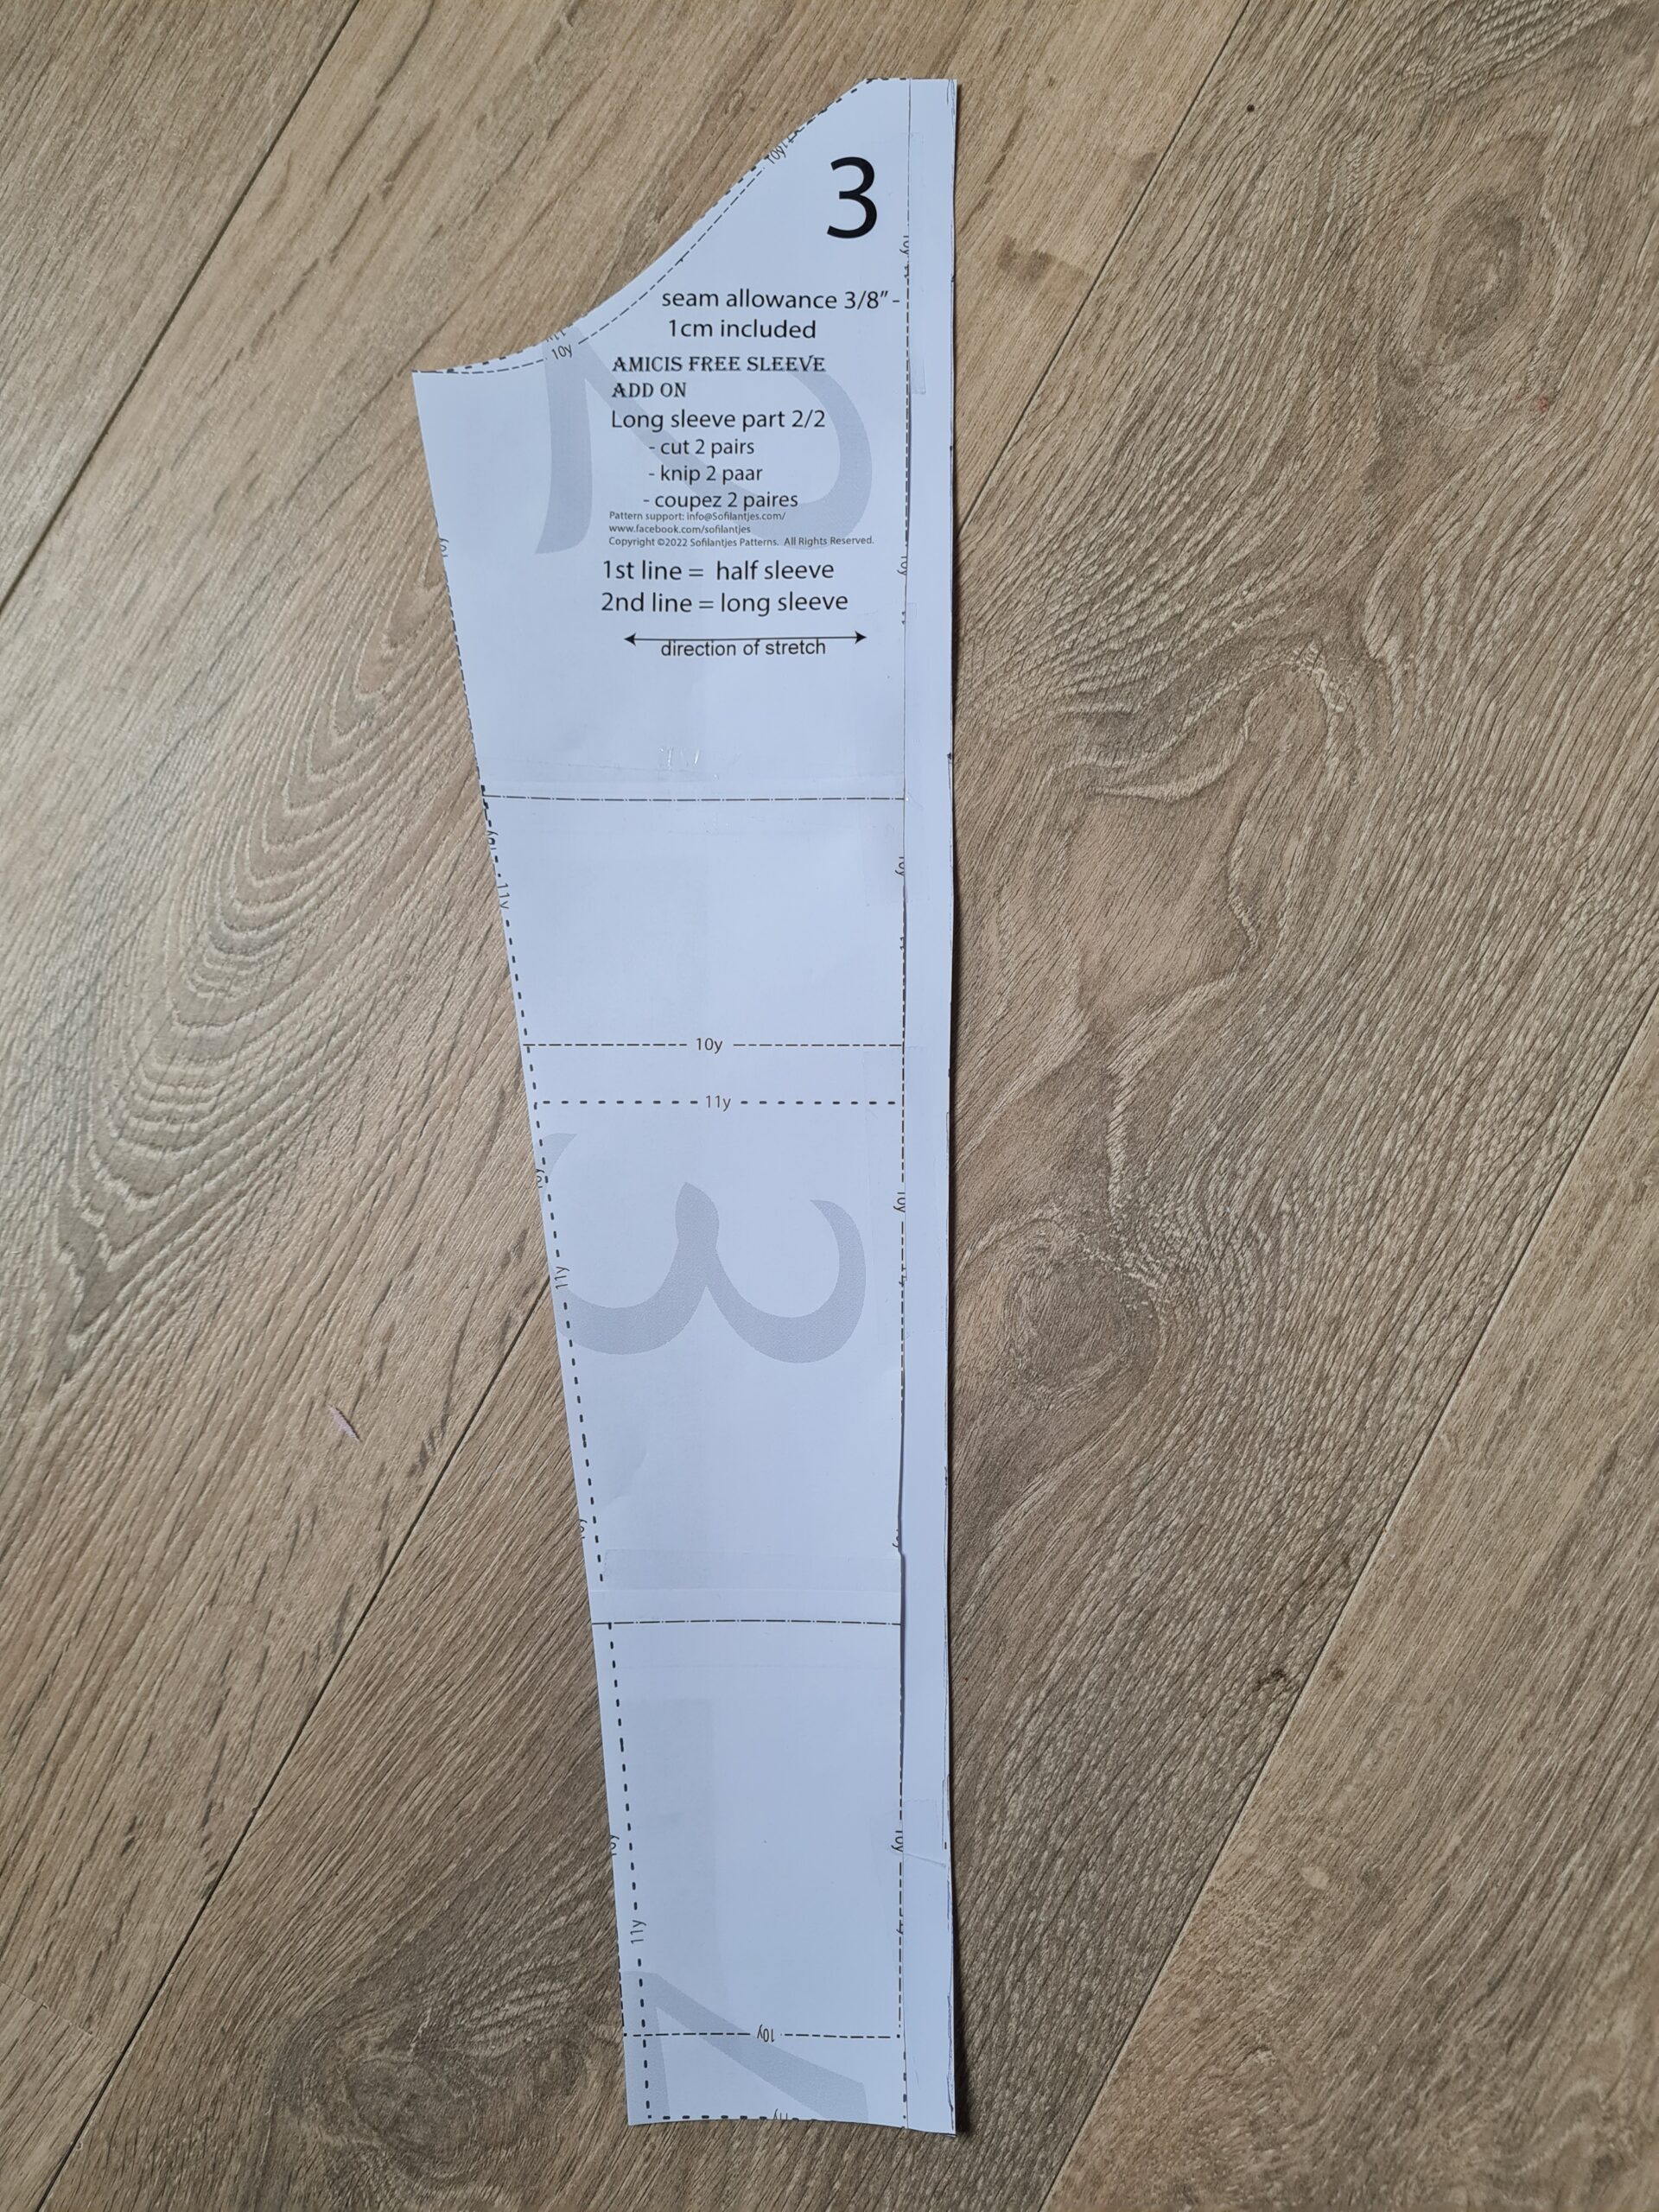
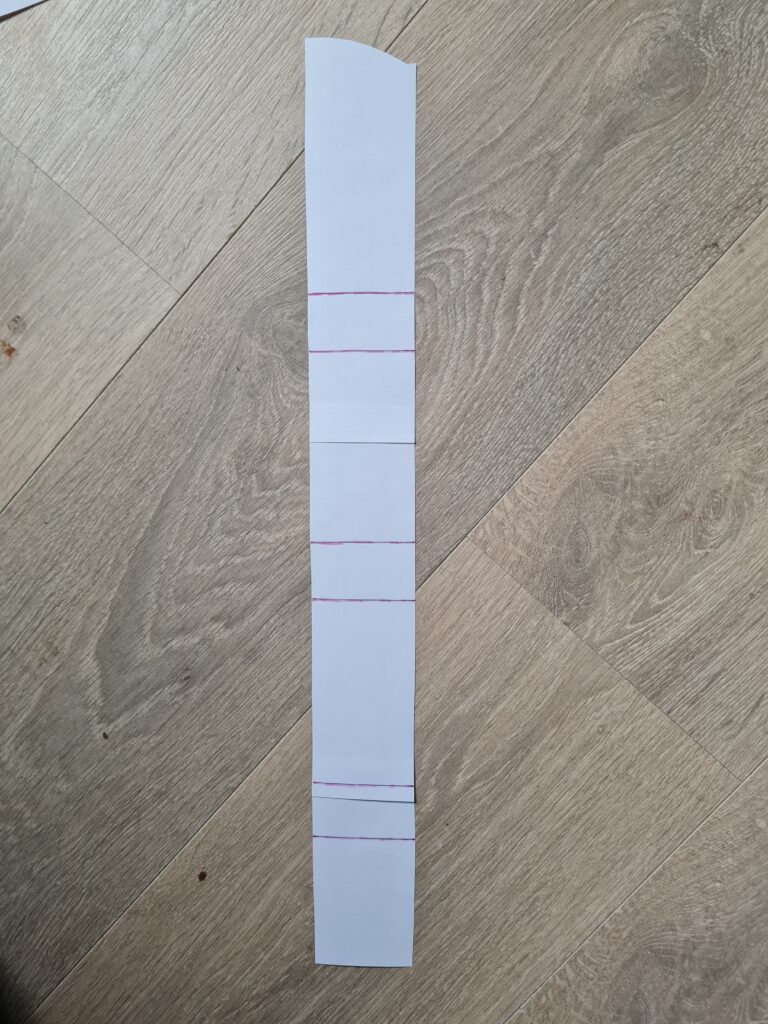
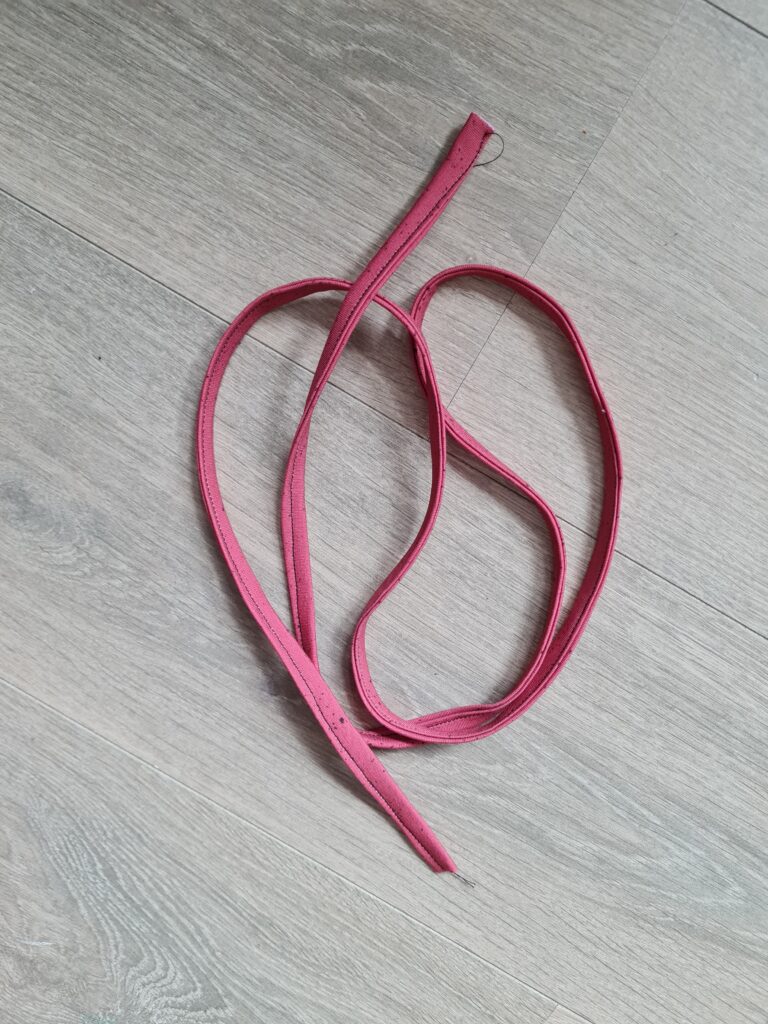
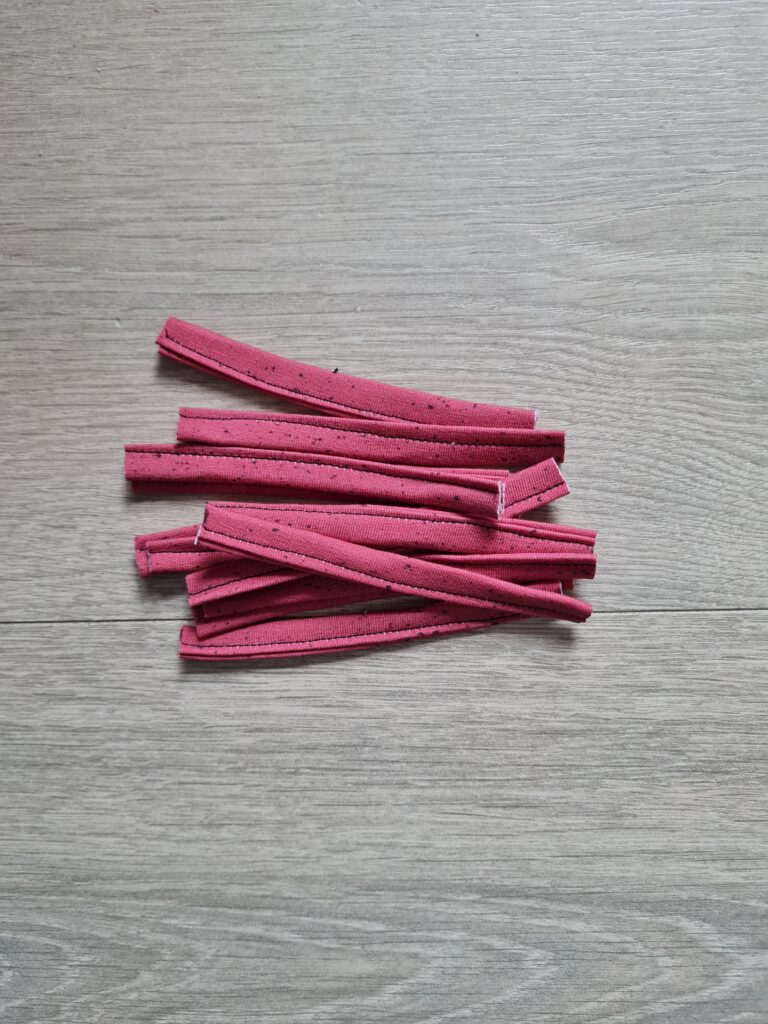
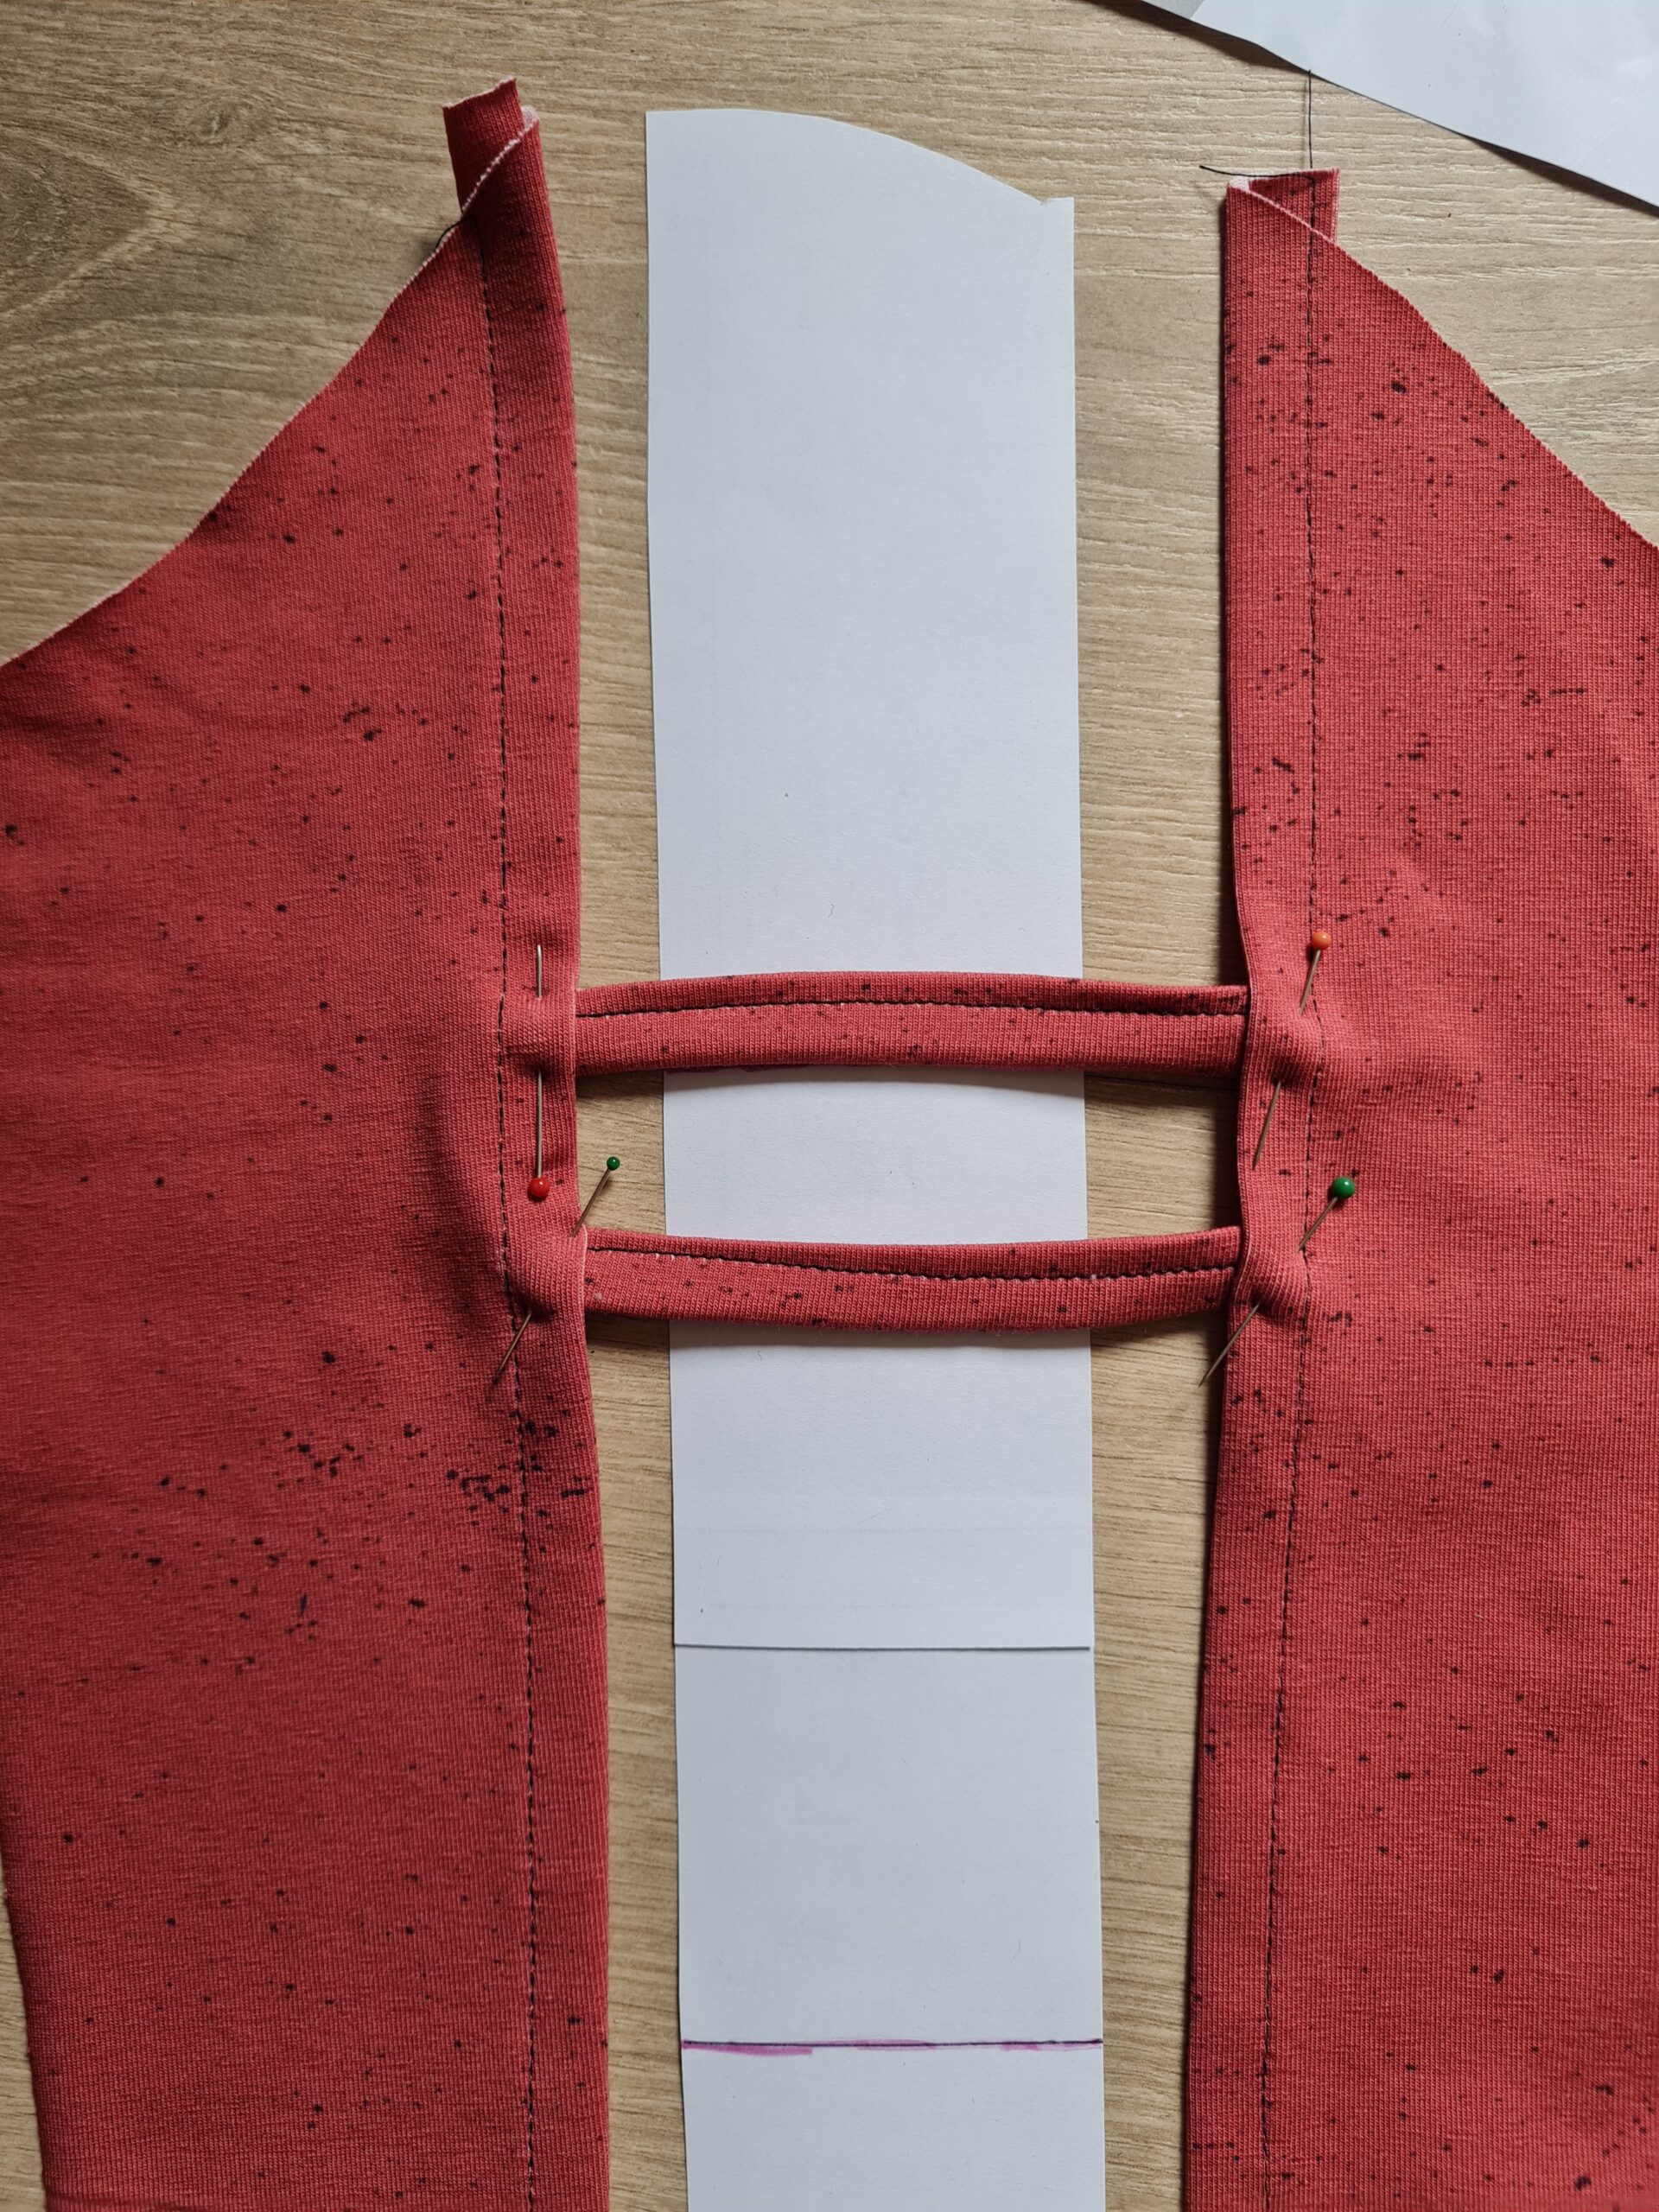
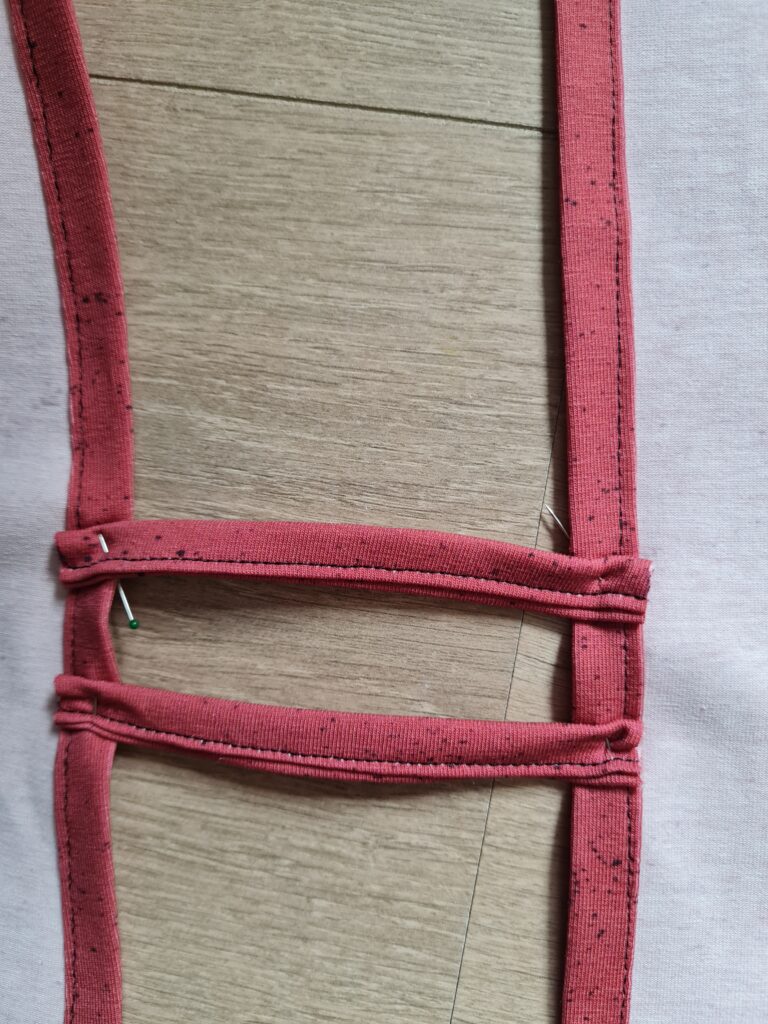
You can use your stripe pattern piece for deciding where to add the binding straps- but this isn’t fixed. Just use it as a guide- I do that here on my example. But you can add as many straps on any place you want. You just have to measure the stripe once, double the amount since it is cut on fold and make as many binding straps you want and place them where you like to place them.
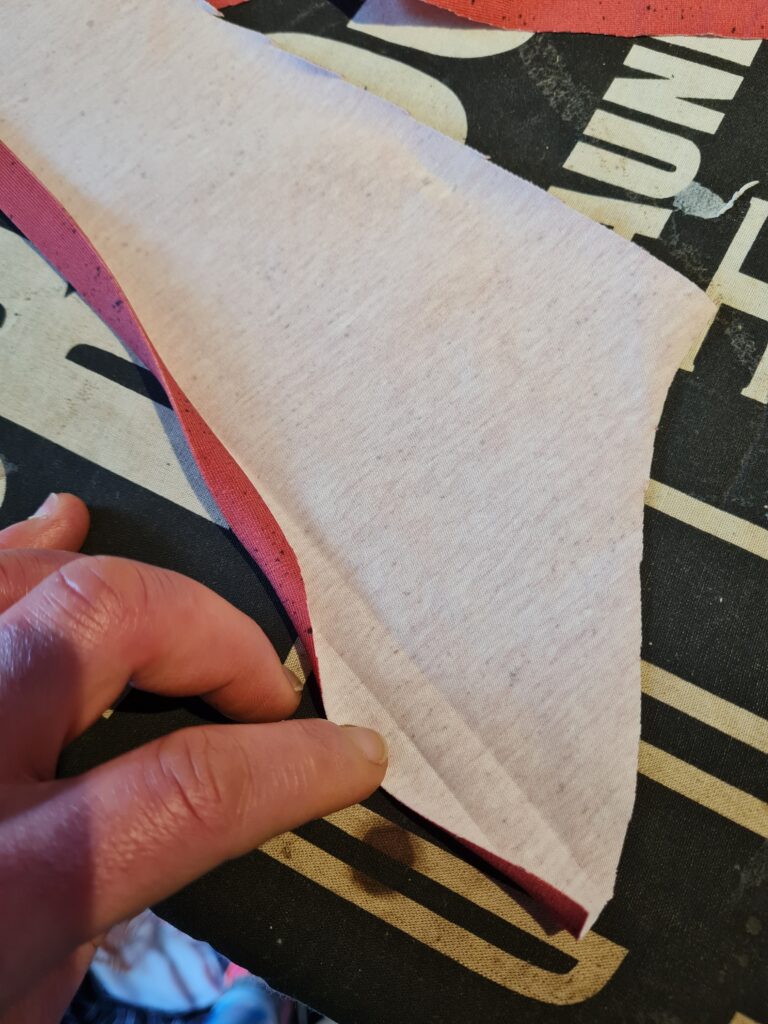
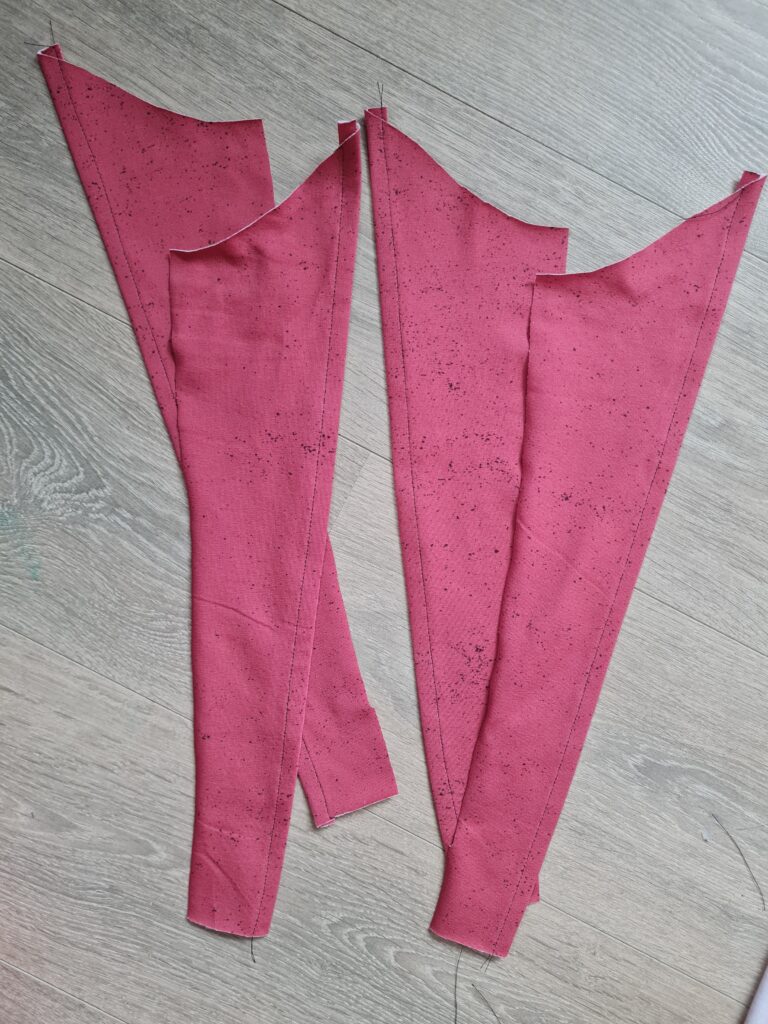
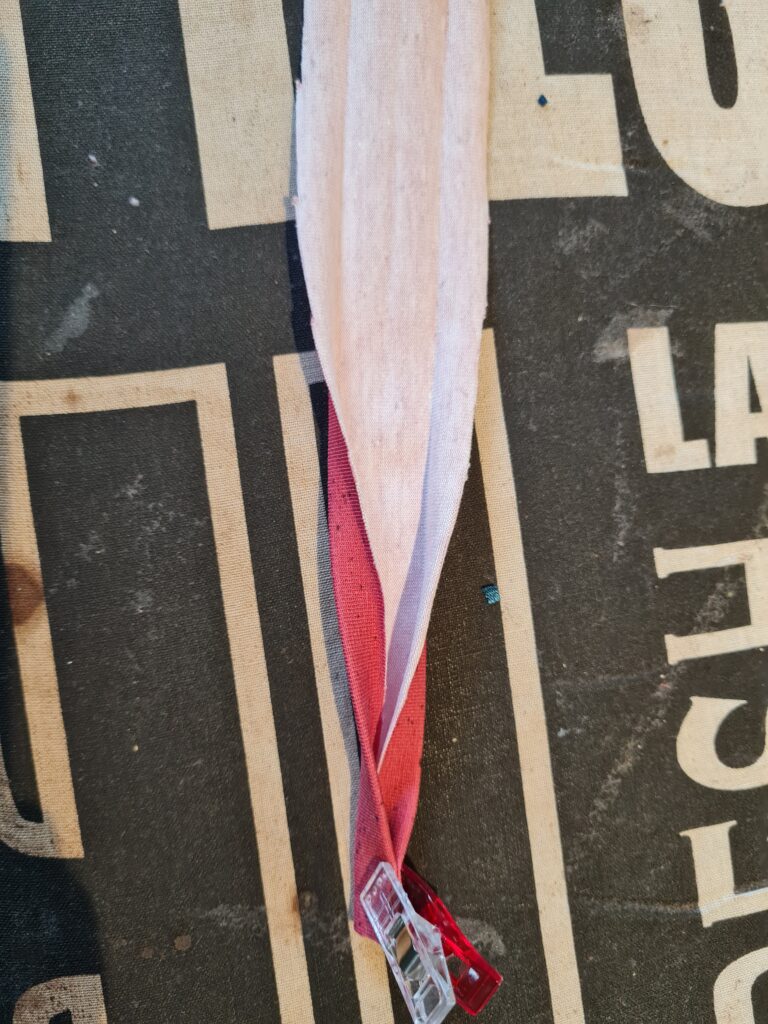
I take my stripe as an example and mine is measuring 5,5cm on fold. This means the total width of my strip is 11 cm. I would like to add 6 binding straps per sleeve and that means I need 12 in total. 12 straps x 11 cm = 132 cm
(You can also cut per sleeve and cut 2 binding straps. For me this means 2x 66 cm per strap.


-
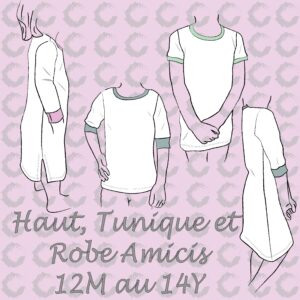 Haut, Tunique, et Robe Amicis – Français + supplément gratuit$8.68 excl. tax
 -
 Amicis Top, Tunic, And Dress(es) – English + Free add-on$8.68 excl. tax
 -
 Amicis Top, Tuniek en Jurk(en) – Nederlands + Gratis add-on$8.68 excl. tax
Buy more save more
(PDF patterns only)
- Spend €25* or more and save 10%.
Use code: SAVE10 - Spend €45* or more and save 20%.
Use code: SAVE20 - Spend €65* or more and save 30%.
Use code: SAVE30
(Sale items excluded)
* Excl. Taxes
Recent comments
Archives

Thank you for visiting
Thank you for visiting our website. This website and all its content are copyright protected. Please ask permission before sharing any pictures or articles, especially when a child is shown in the image.


Leave a Reply