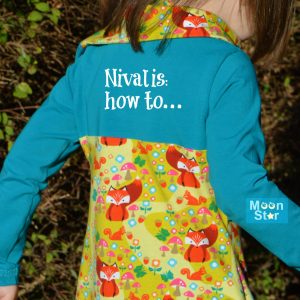
Nivalis: how to… part 3
Guest post by MoonStar
This week I’ve been treating you with photo-tutorials on the Nivalis Dress & Tunic.
So far I’ve explained how to hem the bottom and how to sew the colorblock option.
Today we will take a closer look on the collar.
I’ve seen questions about making the collar as well as questions on how to attach the collar. So today I will try to explain both these steps.
How to make and attach the collar
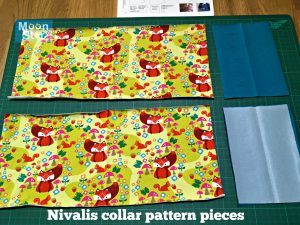
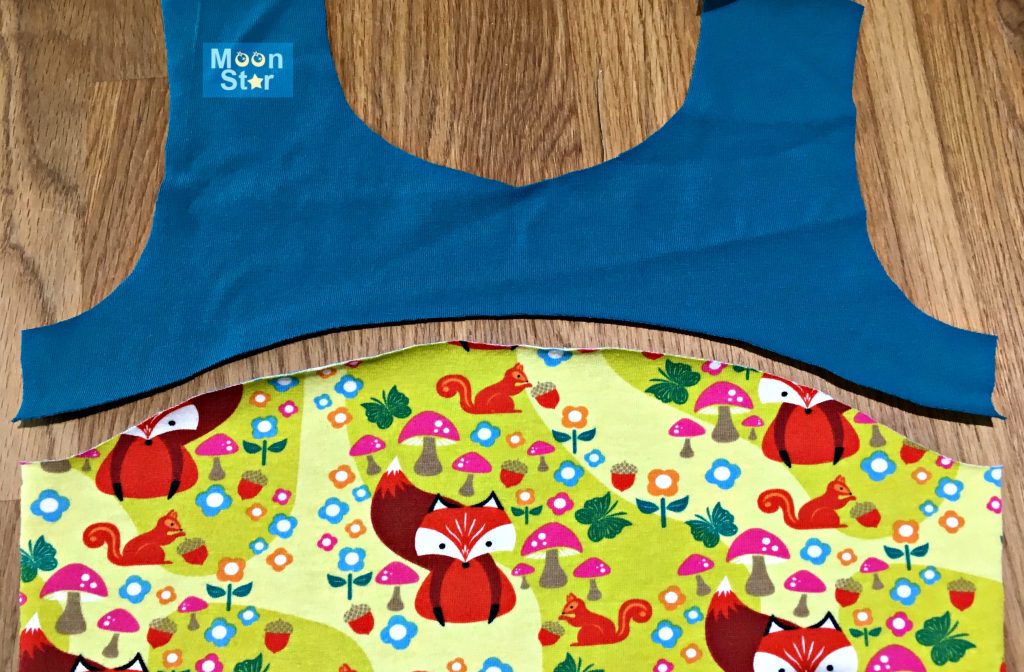
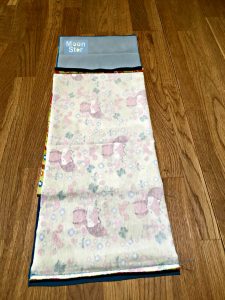
This photo shows you the pattern pieces needed for the collar.
As you can see I already ironed the interfacing to the small pattern pieces. I also folded these pieces in half and pressed them. This will help you once you’ve sewn the 4 pieces together.

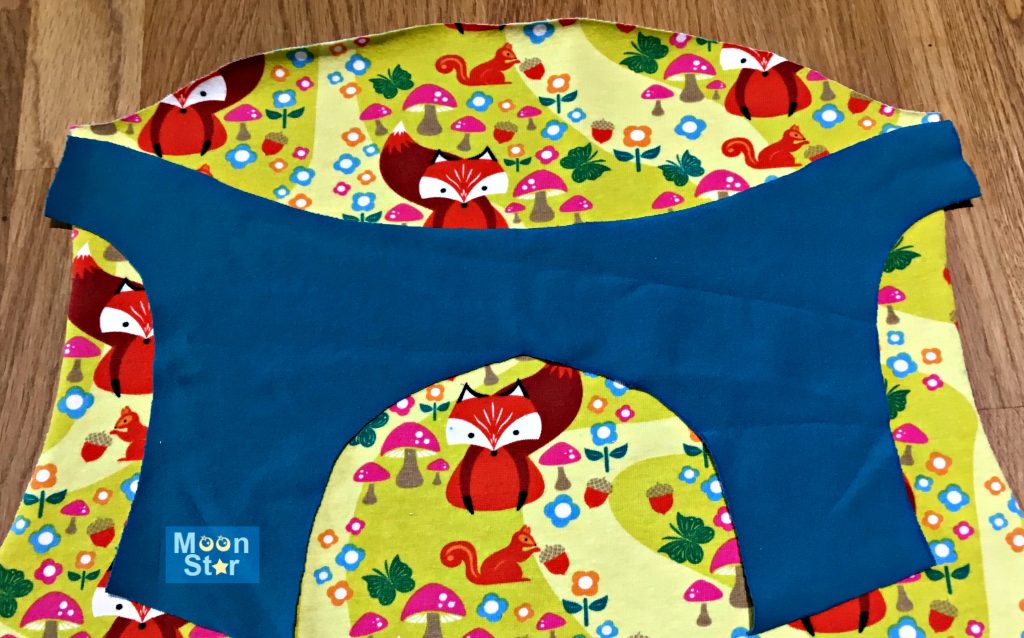
Next thing to do is sew those 4 pieces together…
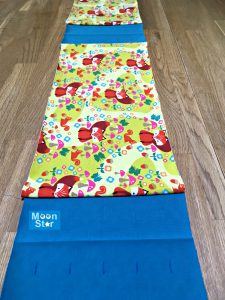
4 collar pieces are one long piece of fabric now…
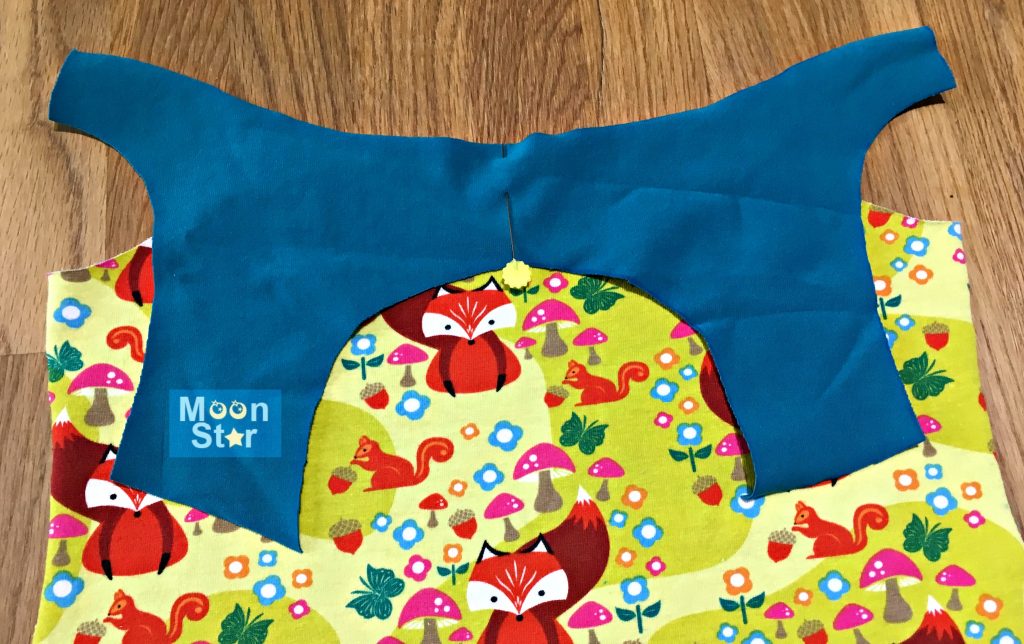
Fold the long piece in half (right sides together) and sew the both ends together. You create a “circle”…
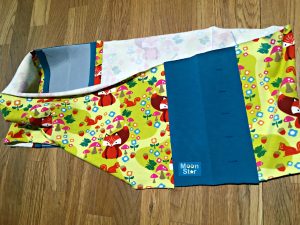
which should look something like this…
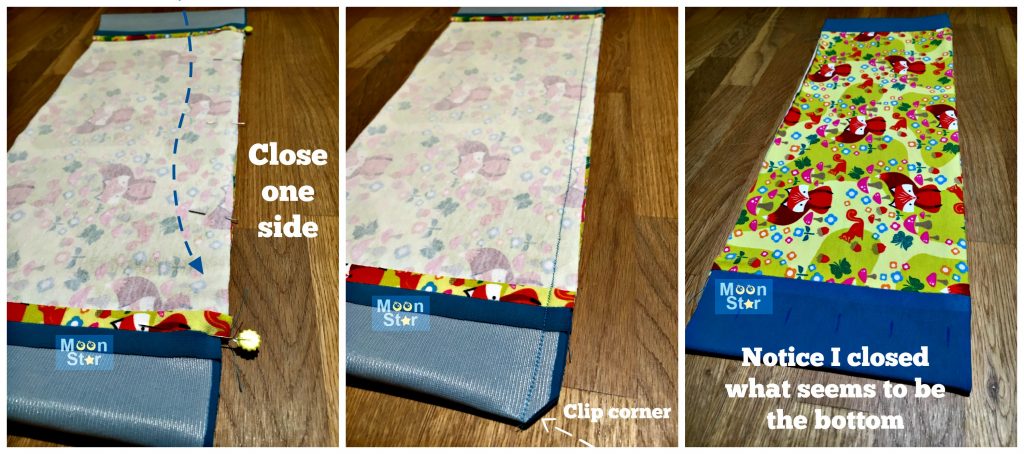
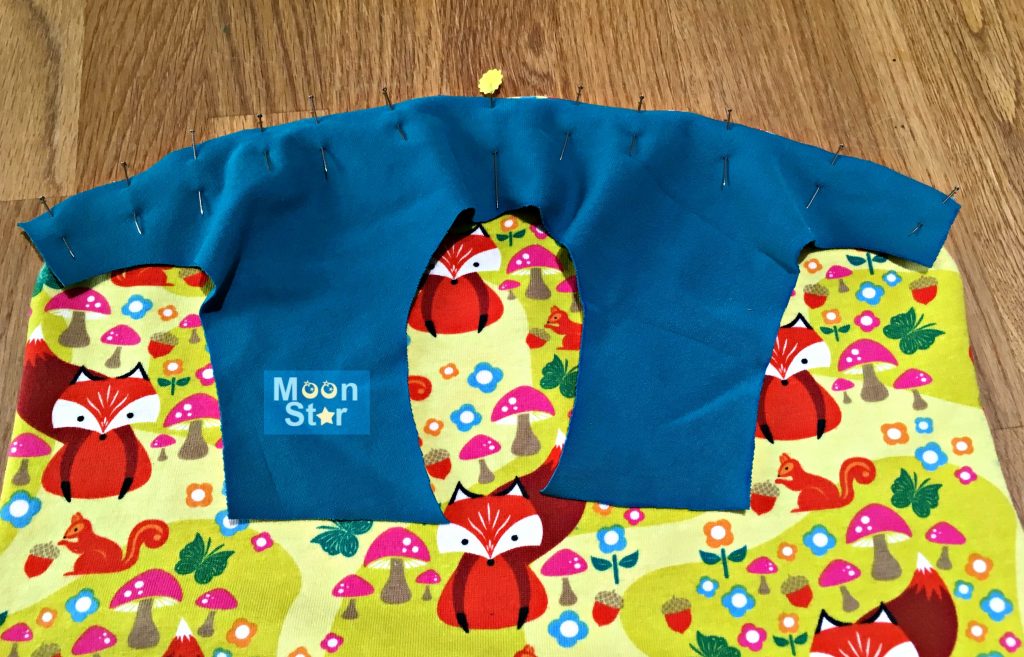
You close one of the sides. When working with a print like I did here, you will close the part that looks like the bottom. Otherwise your print will be upside down after you attach it.
We are now ready for the next step: attaching the collar to the dress.
If you want to sew buttonholes, do it before you attach the collar. And don’t be afraid about the buttonholes! Personally I like the look of the buttonholes best on this pattern. But I know not everybody shares that opinion…
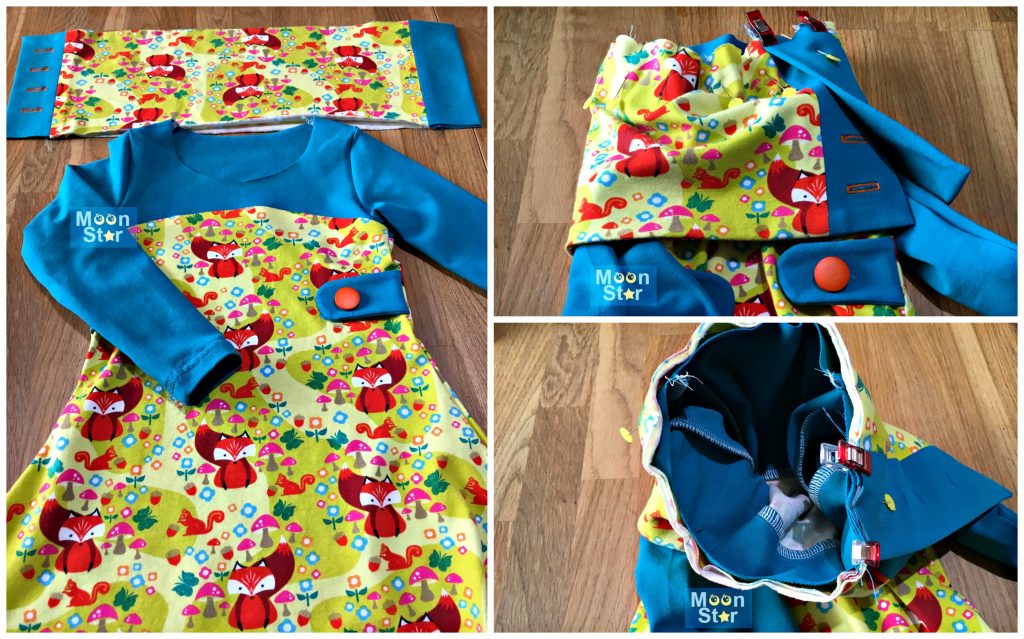
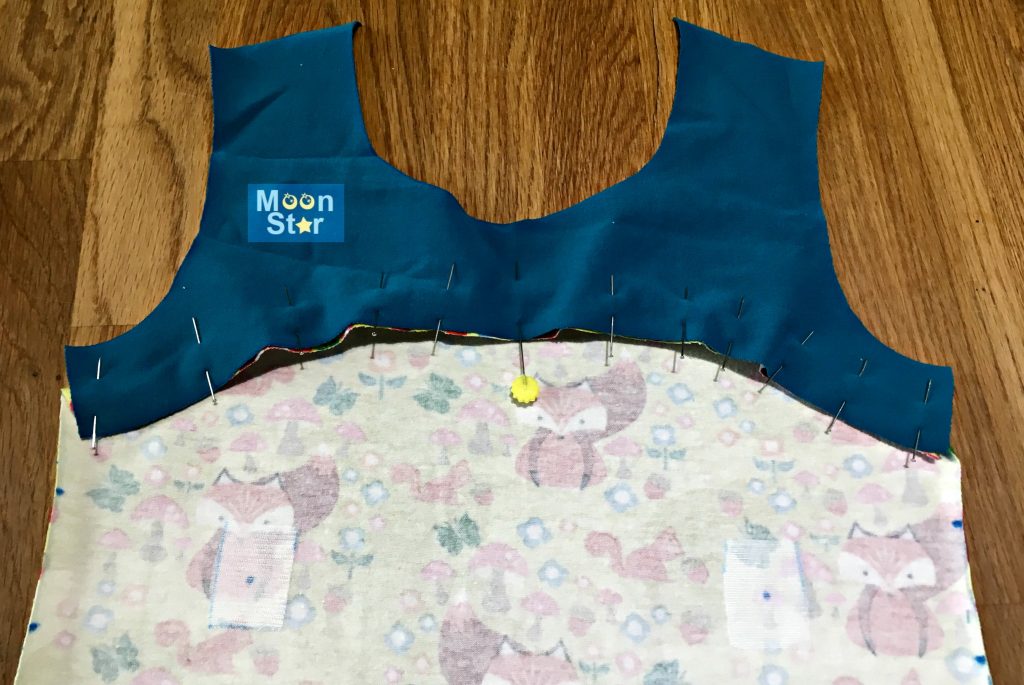
Don’t forget to use the markings on the pattern pieces to place the collar on the dress. You should “wrap” the collar around the dress.
The photo on the left might be confusing… the collar is upside down on how it should be attached. It’s to show you on which side you should have the buttonholes.
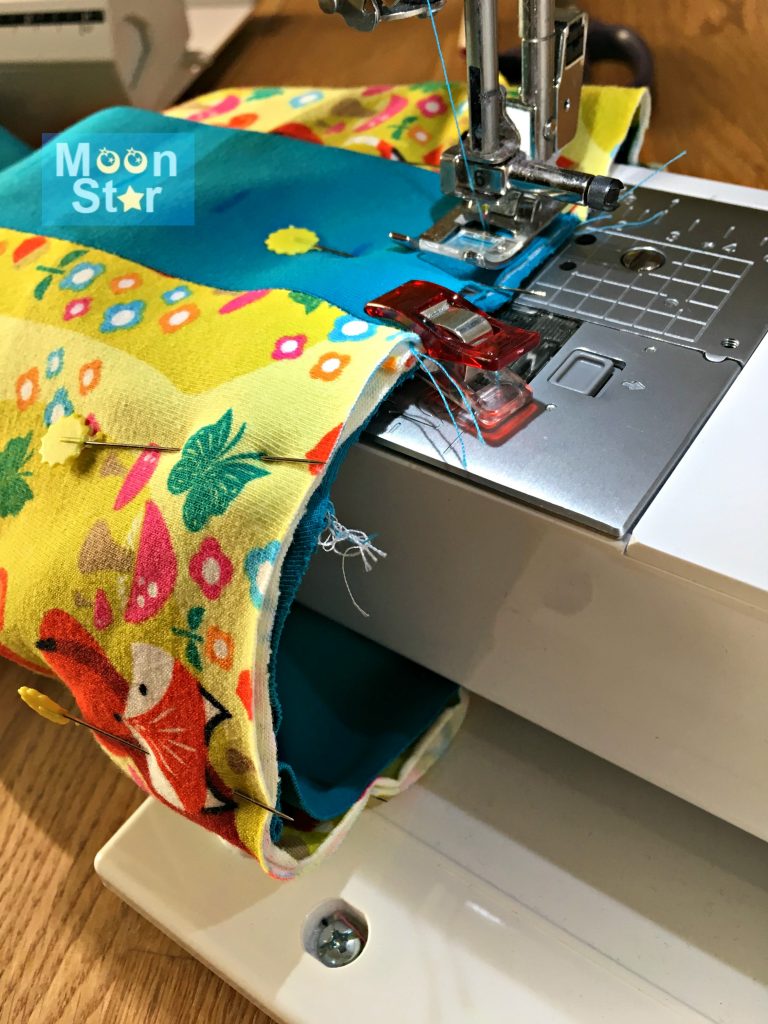
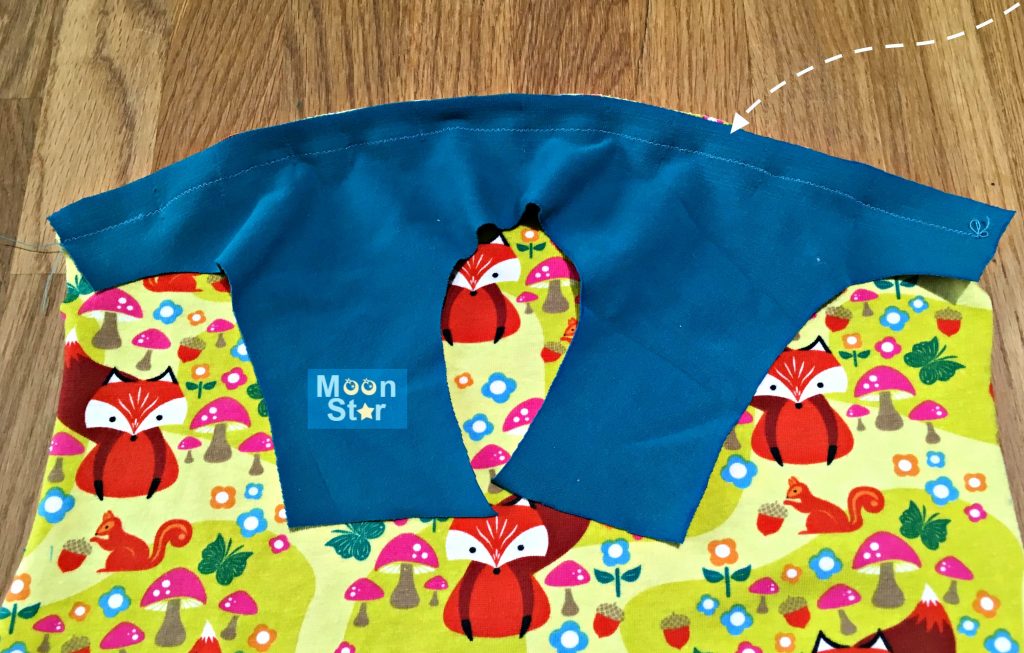
With the collar pinned in place, sew on your regular machine, or when you’re more confident you could skip this step and go straight to your serger.
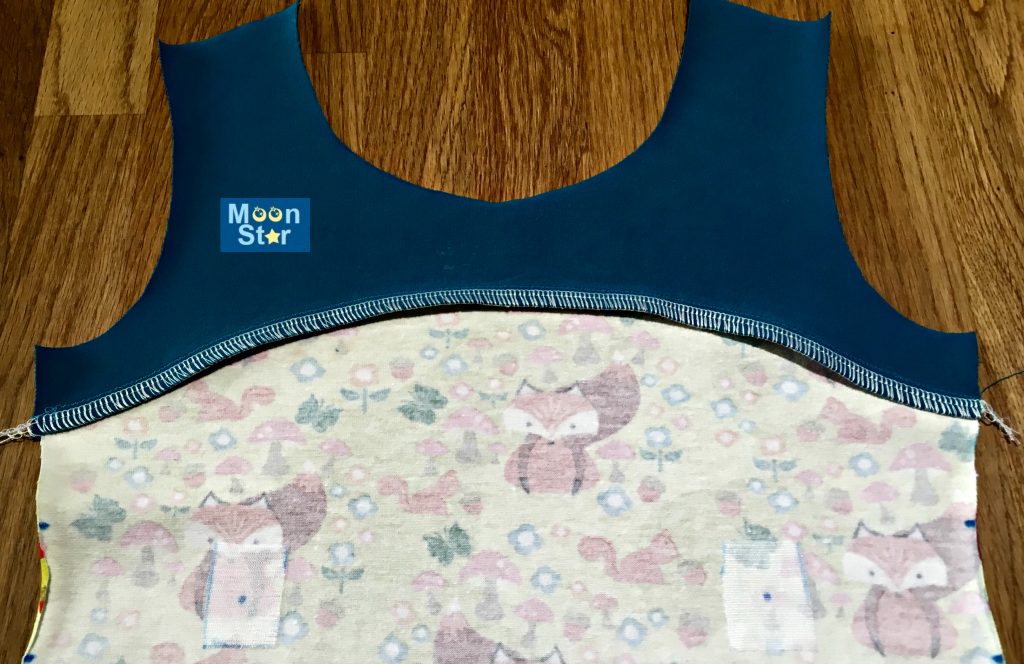
After sewing with a stretch stitch you can now finish the raw edges with a serger or with a zigzag stitch or a overlock stitch on a regular machine.
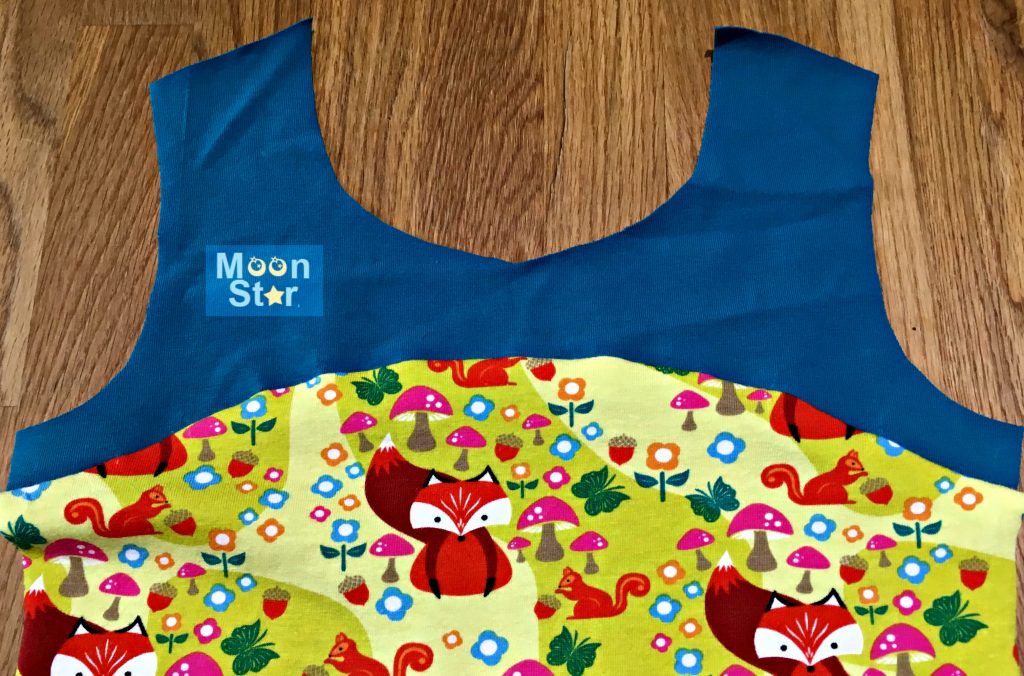
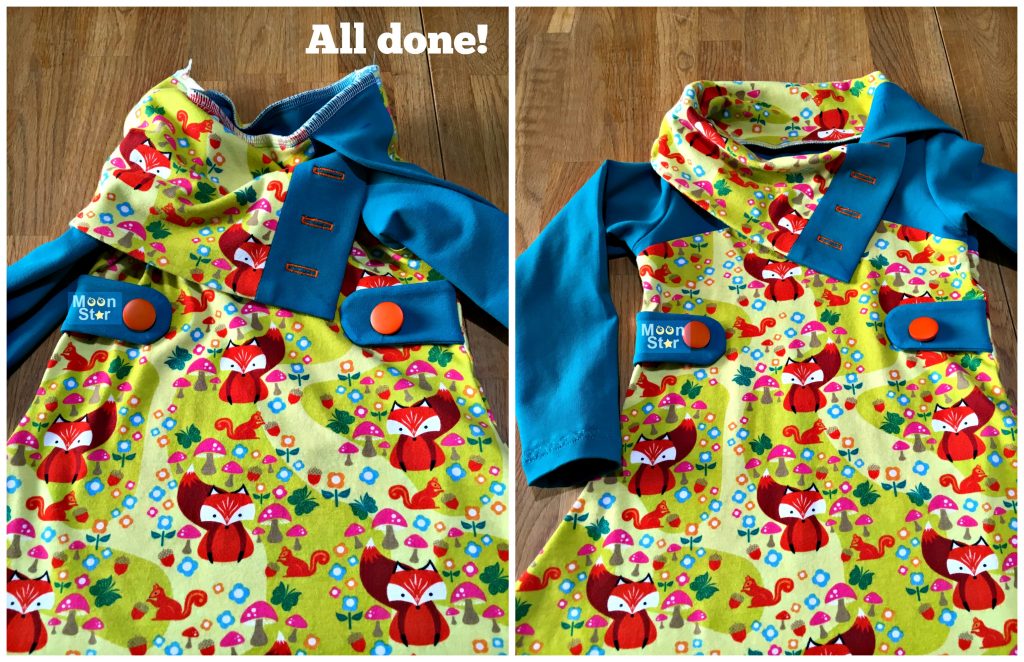
Give it another good press and you’re all done!
Oh, sorry, you need to attach your buttons first. About the buttons, they are supposed to be decorative. But I attached the first button on the other side so it is actually functional. As you can see in the picture below, it’s not noticeable.
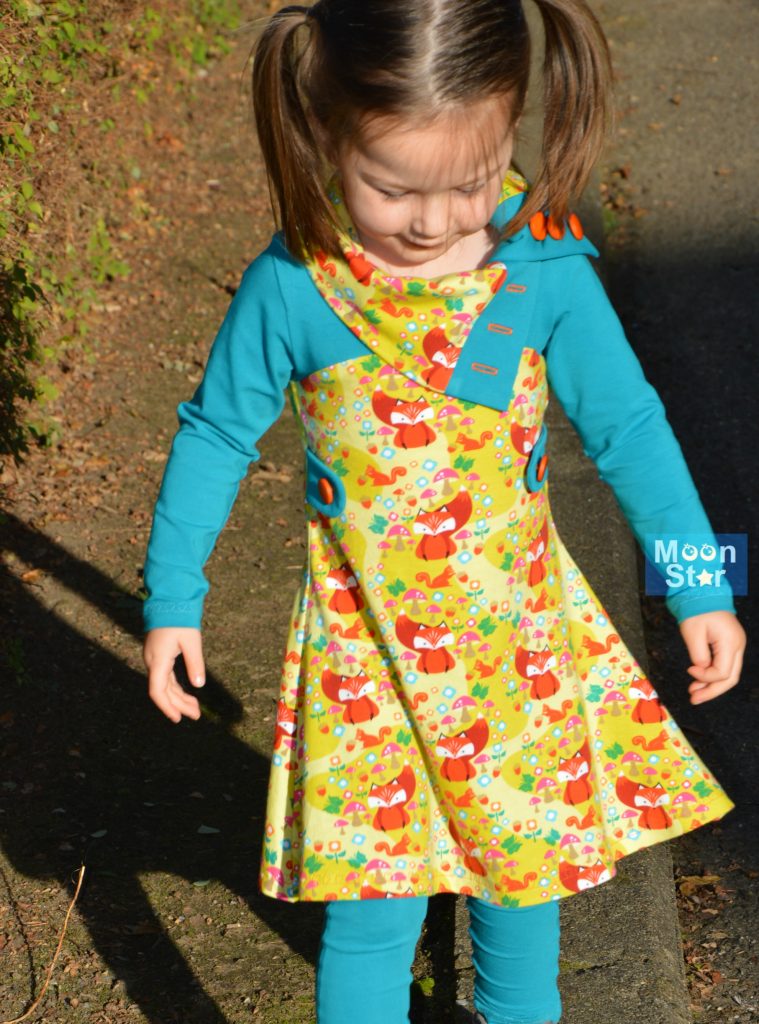
Time to show off your creation!!!
Hope you all enjoyed these past three days reading about the Nivalis Dress & Tunic.
What pattern would you like to read more about in a next series?
-
 Nivalis Tunique et Robe – Français$8.68 excl. tax
 -
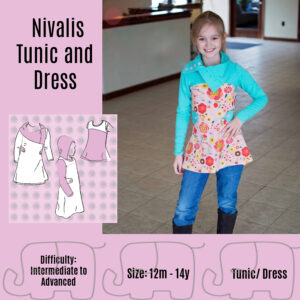 Nivalis Tunic and Dress – English$8.68 excl. tax
 -
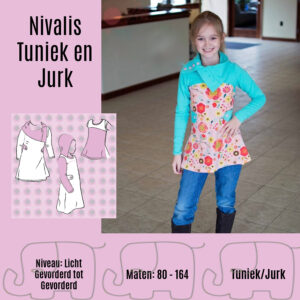 Nivalis Tuniek en Jurk – Nederlands$8.68 excl. tax