I hope that this past week you had a chance to play around with various settings on your camera that we talked about previously. If you have any questions, feel free to tag me in the Facebook Sew and Show group, and I will do my best to help answer any questions you have.
So now we are into Week 2 of our photography month. This week I thought it would be best to talk a little bit about some rules of composition when you take a photo. I also thought we should learn a little bit about lighting and various backgrounds. Before we start, I should mention that all that we are talking about today includes digital cameras and phone cameras.
First though, let’s talk about composition! The first rule of composition is the rule of thirds! This one I almost ALWAYS follow (although rules are meant to be broken, I rarely break this one.)! On the inside of my view finder (or on the screen on the back) on my camera I have a grid made of lines. If your camera doesn’t have the grid lines you can imagine your screen in nine even blocks (3×3). Knowing where these lines are makes it easy to line up your most important elements either on the lines or at a point where the lines intercept. This method works great on landscapes and with portraits for people.
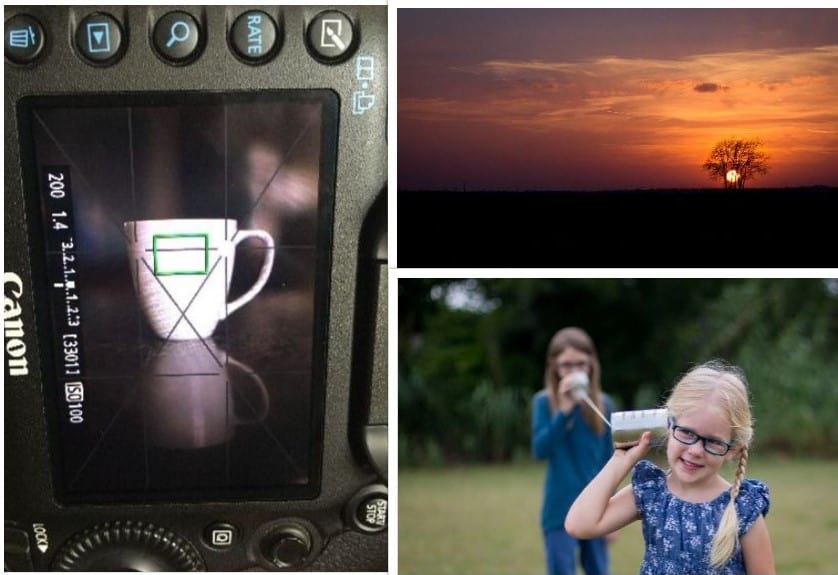
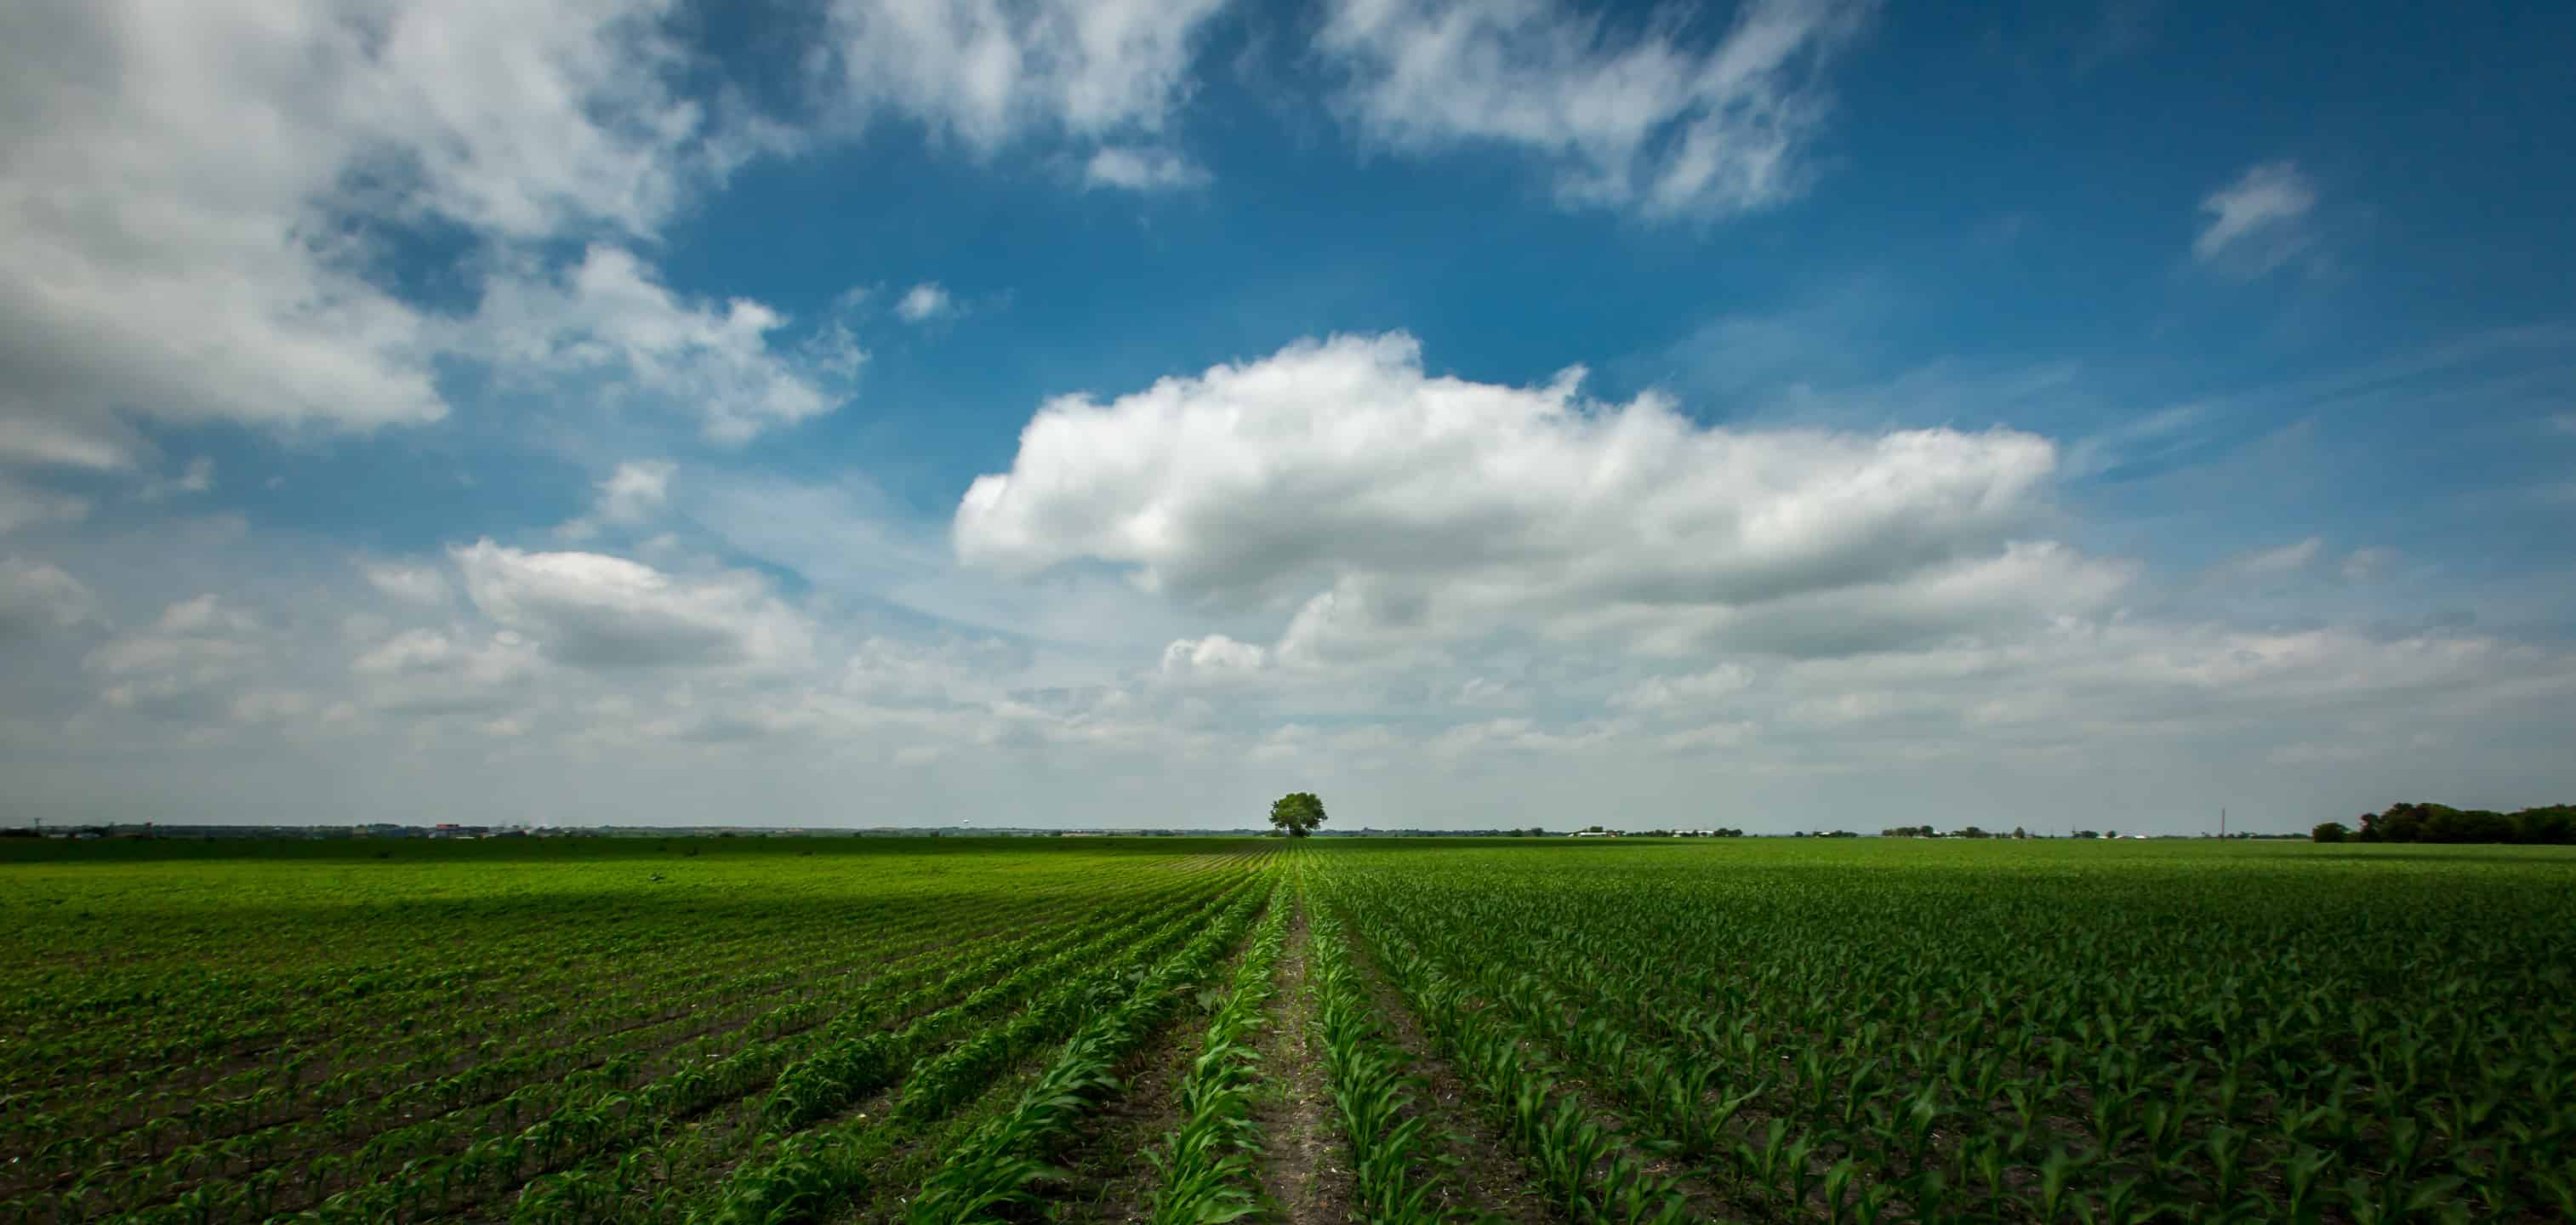
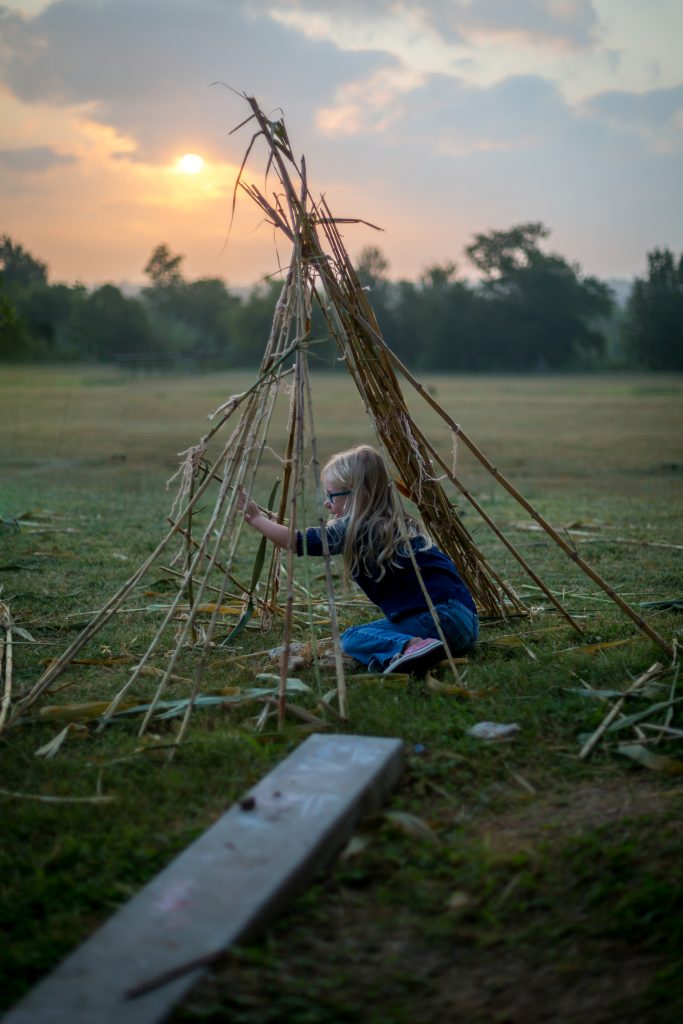
Leading lines is another popular photography technique. Our eyes are unconsciously drawn along lines in an image. You can position various objects along the line or have your main focus be at the end of your line that your eye will settle on, like the corn field picture I took here.
Creating Depth in your photos is a popular technique with landscapes. Having fore-, middle- and background detail will add depth to your image as well as draw the eye through the picture. Compositional elements that complement each other, for example with color, work well but do be careful with the size of objects you use and how you place them as you don’t want the shot to be thrown off balance.
The next technique is to fill the frame. If your subject is in danger of being lost because of a busy background, it may be best to crop or shoot the photo where your subject fills up most of the photo.
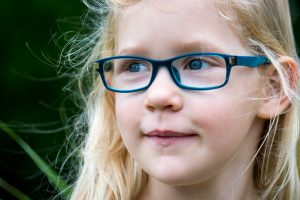
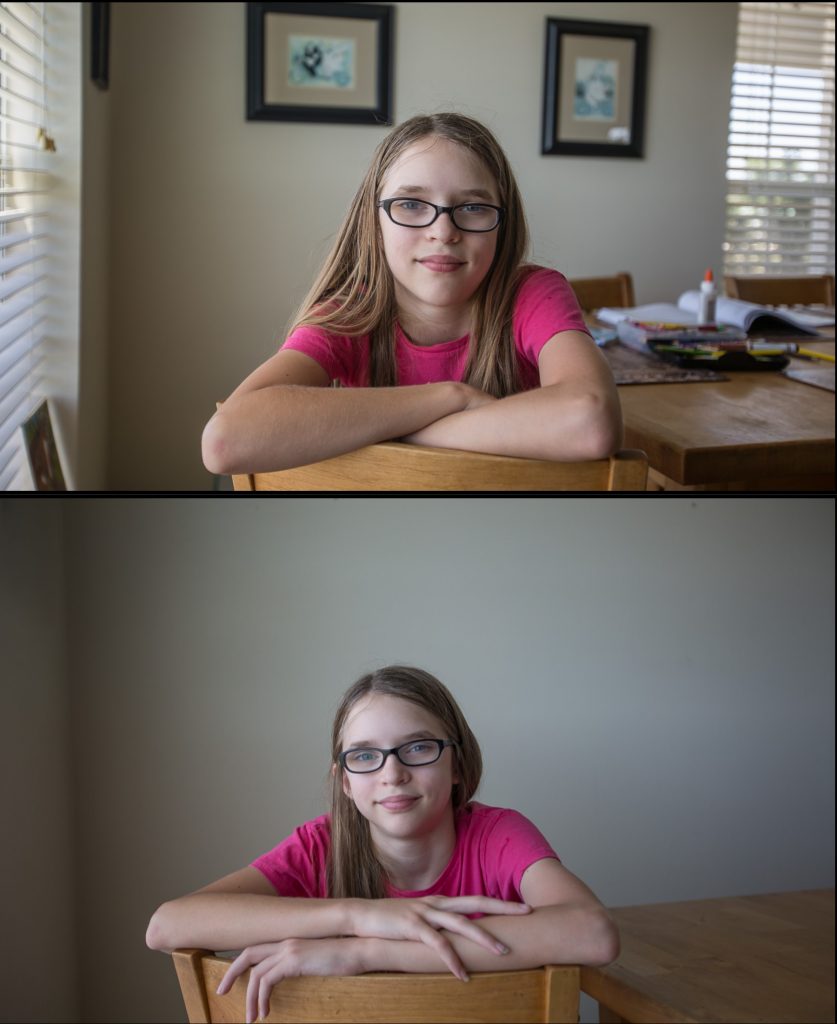
Watch the background, this step is so important. Sometimes we are so focused on getting our children to sit still, or pose, or look at the camera, that we forget what is BEHIND our subjects. Unsightly objects, overexposed or particularly bright areas and blocks/dots of bright color will all pull the eye from what it’s meant to be focusing on, so take a good look at your background before you take your shot and if possible, find a background that’s not so obtrusive. If you’re working on portraits make sure there’s no unwanted items sticking out of your subject’s head and unless it adds to the shot, throw the background out of focus. To do this, select a wider aperture (a lower f/stop) if working with a digital camera or select the Portrait Mode on a compact camera or cellphone to tell it you want to work with a wider aperture. If you need to shoot indoors, make sure that objects behind the subject aren’t too busy. I’m a mom, who homeschools all three kids, so we have laundry, books, papers all over the tables! I will simply push all the ‘clutter’ out of the way, pose my child, take the photo, then push all the stuff back! HAHA You can see in the picture below, I angled my camera so that I didn’t have any of the windows in my shot, I also took the pictures off the wall and moved all the papers and clutter off to the side, out of view.
The first photo below I was focused on lighting and camera settings and getting my daughter to look, that I failed to see the telephone pole directly behind her head, this is BAD!

The next photo I rotated her body 180 degrees, and had her step off our front porch, and, as you can see, the background is much more pleasing. (Please excuse the extremely windy day we had while I tried to take these example photos.)

ARTIFICIAL VS. NATURAL LIGHT
Natural light refers to sunlight/daylight, while artificial light refers to all kinds of light sources, including fluorescent lights, electric lights, flash, and so on. I will discuss the differences between these types of light sources below, but I will let you know that I almost exclusively shoot in natural light. It is so important to note, that if you shoot primarily with a cellphone, that natural light outside will produce the best photo. The suggestions for time of day and weather also apply to cellphone pictures.
Natural light
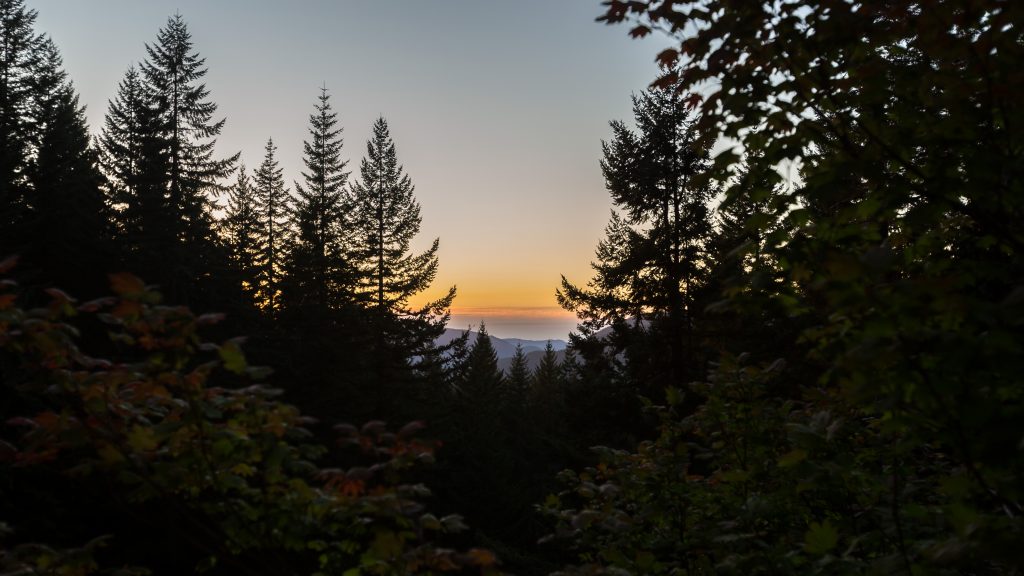
Natural light is less controllable, and it varies greatly depending on numerous conditions such as time of day, season, weather, and geographical location. To its credit, it does not require any equipment other than anything that you may choose to use as a diffuser, reflector, etc. The choice between using natural or artificial light is obviously more relevant for portrait or still life photography than it is for landscape or wildlife photography, where your choice is limited to natural light. The photo below was taken on a cloudy morning at sunrise.
These are some factors that affect natural light:
- Weather For example, a cloudy day generates soft light and is usually preferred in photography. I get excited about cloudy days, because I just love the soft diffused light you get (and the non-squinting eyes from the kids!). By contrast, sunny lighting conditions yield harder, brighter light with shadows that are more defined. However, this just scratches the surface. Cloud cover is almost never even, and this leads to varying patterns and intensity in light. Various weather conditions, such as storms and fog, also alter the intensity and color of light. This can create shots that vary from being totally unusable to exceptional images with spectacular effects.
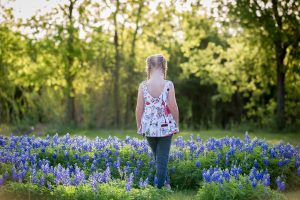
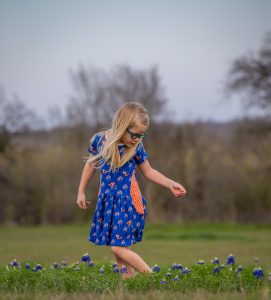
- Time of day You can usually get softer lighting conditions early or late in the day. This light is generally warmer, producing images with less contrast compared to when the sun is high up in the sky. Sunrise and sunset are often considered ideal times for photography, particularly for landscapes and portraits. This time of day is referred to as the golden hour. If you do a quick google search you can find a calculator that will determine exactly how long and when your golden hour times are in relation to where you live. I always check the golden hour website before planning a shot because during this time of day, the lighting conditions change rapidly, both in terms of intensity and color, and allow for shooting images that are far more varied, often within the space of minutes. Shadows also change in shape and darkness, as the sun sets or rises, becoming longer and lighter as the sun sets and vice versa. Both of the pictures taken below were shot during the ‘golden hour’ although the first one was taken at sunrise and the second one was right before sunset.
Artificial Light
The challenges of using natural light are quite similar to those faced when shooting in artificial light. You must still understand how various light sources act upon a subject and how to produce the desired effect. Different sources of light can produce soft or hard light when shooting in a studio, but in this case, the photographer has direct control over elements such as hardness, distance, intensity, and angle. Furthermore, artificial light from different sources yields different color heat signatures. For instance, halogen bulbs are colder and produce a light that is blue in color, while tungsten bulbs, being hotter, produce light with a reddish hue. I have a few speedlights that can either attach to my camera or I can put on a stand with an umbrella or a diffuser. One trick with speedlights to help diffuse the strong flash is to place a white plastic grocery bag over the flash. Another trick is to point the flash up at the ceiling in your house to bounce the flash. This results in a softer lighting. I found that the key to artificial lighting is to practice. You need to find a willing subject to sit still or you can use a still object like a piece of fruit or a stuffed animal. The photo before was taken with an off camera flash (OCF) and the light of candle, also used Lightroom to edit this photo a bit, which I will go into during week 4. 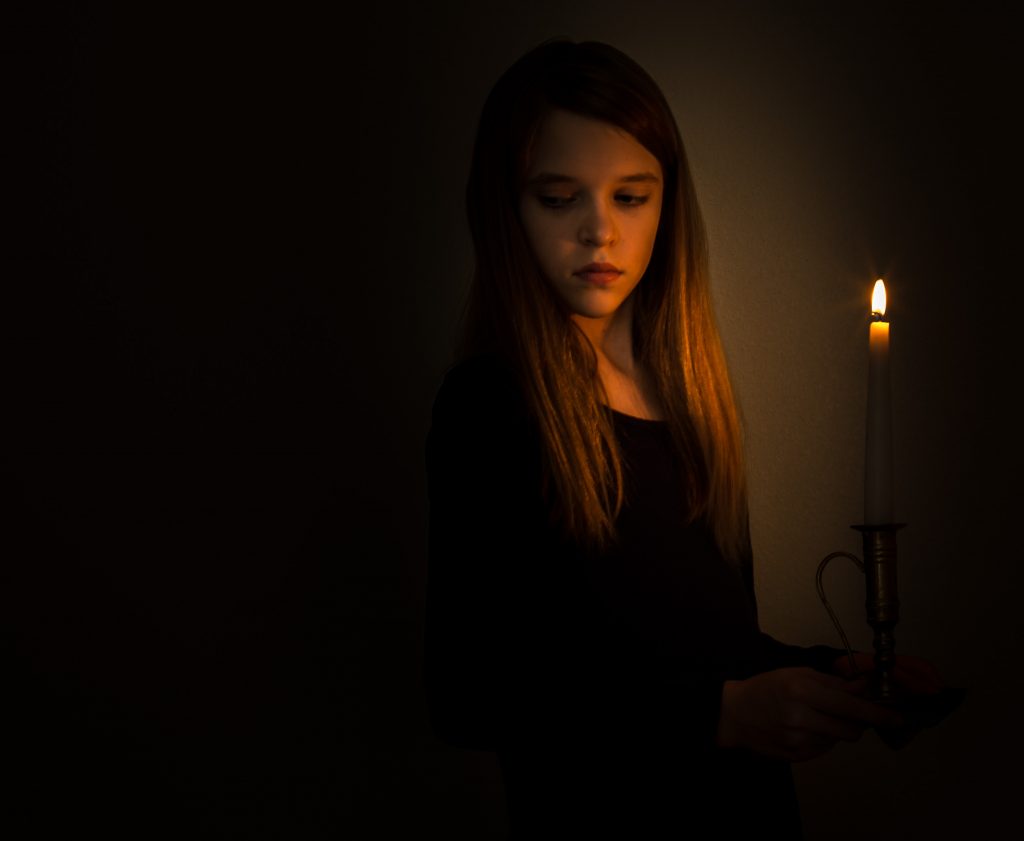
When it comes down to controlling and manipulating light, there are many options within photography, whether you’re dealing with artificial, natural, soft, or hard light. It comes down to understanding how images are affected by different lighting conditions, setting up the desired lighting environment, adjusting your camera settings, and post-processing your picture in programs such as Gimp (a free program to download), Lightroom, or Photoshop.
So that is what we all need to work on this week. Get your camera out, shoot some pictures with various backgrounds, and in different lights using different rules from photography. Post your photos in the Sofilantjes Sew and Show Group in the folder Photography Week 2, I will try my best to go and give constructive criticism and feedback. Hope to see you next week where we will be talking about Posing and some tricks to taking photos of kids!
Buy more save more
(PDF patterns only)
- Spend €25* or more and save 10%.
Use code: SAVE10 - Spend €45* or more and save 20%.
Use code: SAVE20 - Spend €65* or more and save 30%.
Use code: SAVE30
(Sale items excluded)
* Excl. Taxes
Recent comments
Archives

Thank you for visiting
Thank you for visiting our website. This website and all its content are copyright protected. Please ask permission before sharing any pictures or articles, especially when a child is shown in the image.


Leave a Reply