These days, stand-up collars are all the rage again! You can get cute garments everywhere with ruffled edges along the neckline and also straight ruffles (turtleneck).
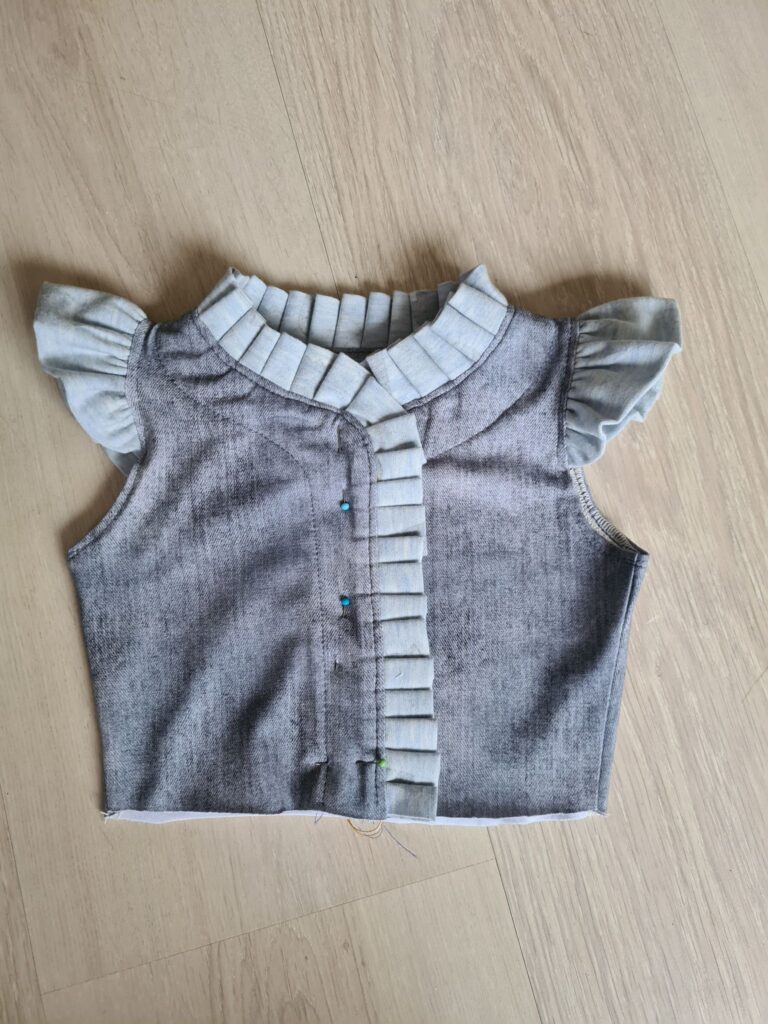
So Maaike thought it would be a super cute addition to the Paradisum Dress because it was a test she first made it in the smallest size: Size 74.
Below she will explain how she did it. Have a look and do not forget to thank her for this great tutorial by following her IG account.
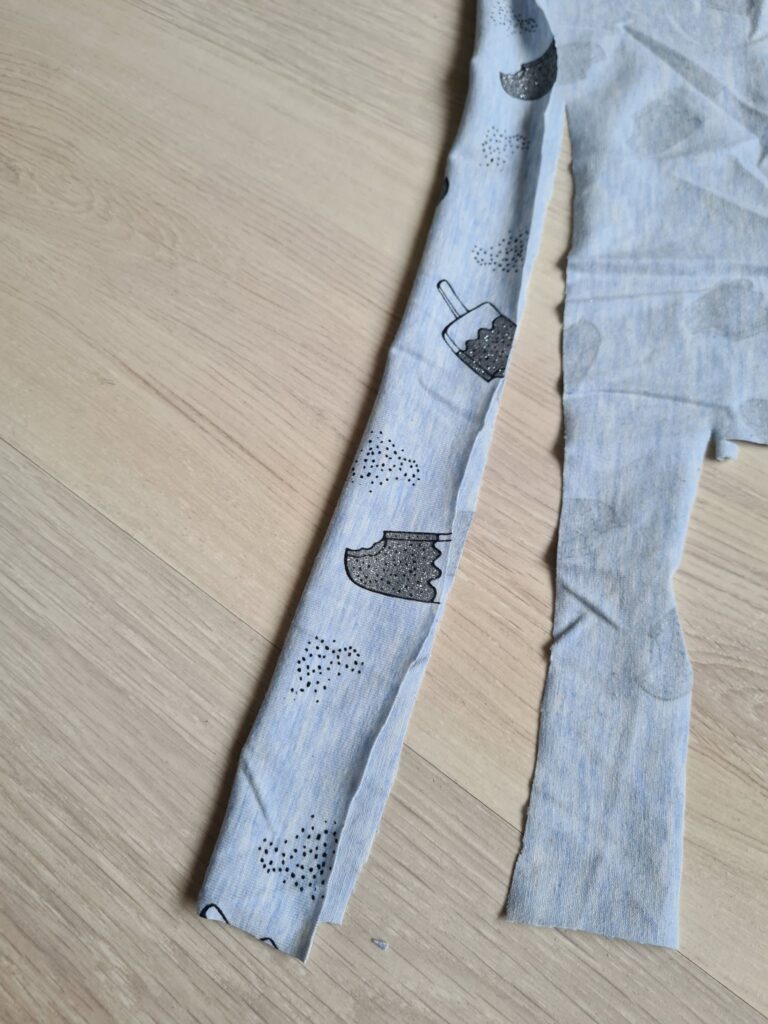
STEP 1
Cut a long strip of fabric (or several long strips that you attach together, depending on the size dress you are making).
Fold the strip in half and press it nice, smooth and tight. This will give you a nice finished edge right away. If you are using a single strip, you will need to finish the outer edge with a nice trim.
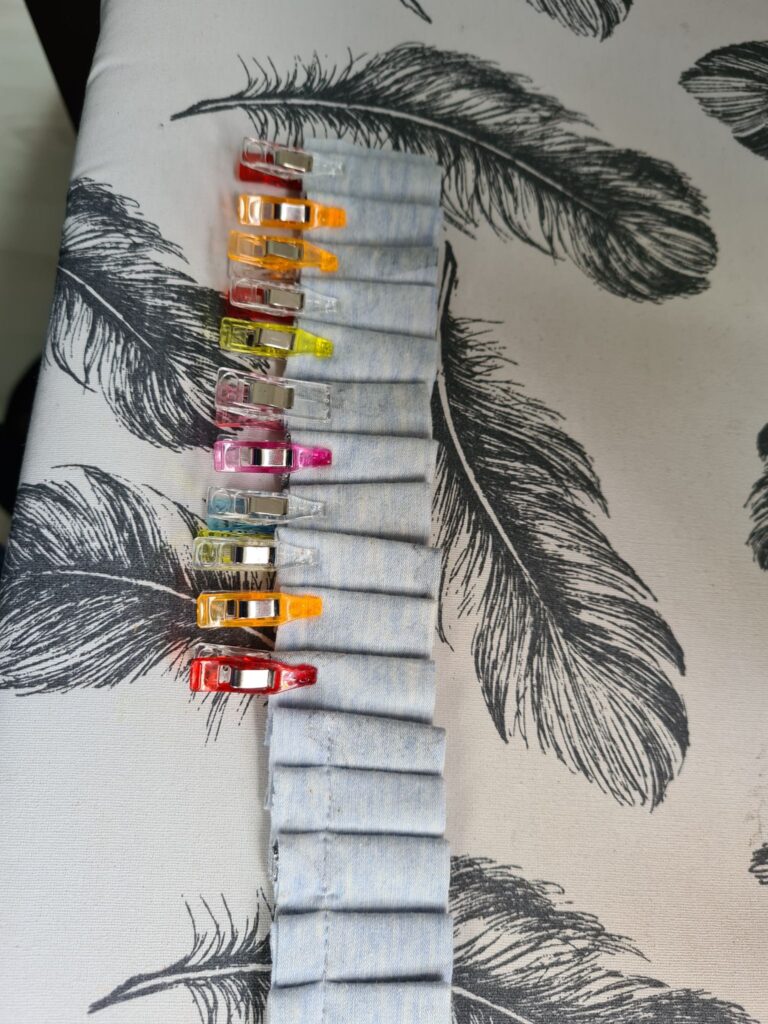
STEP 2
Fold nice even pleats and secure them with clips or pins.

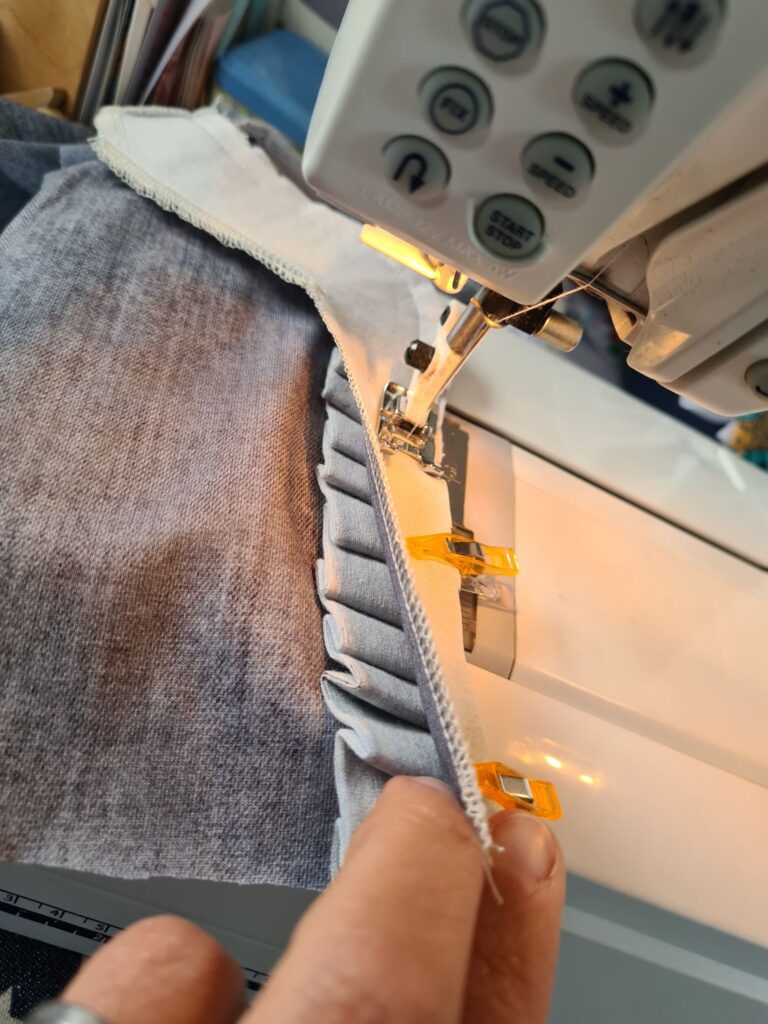
STEP 3
Next, sew along the clips so that you secure the pleats.
During this step, you can also choose to use a gathering wire instead of pleats.
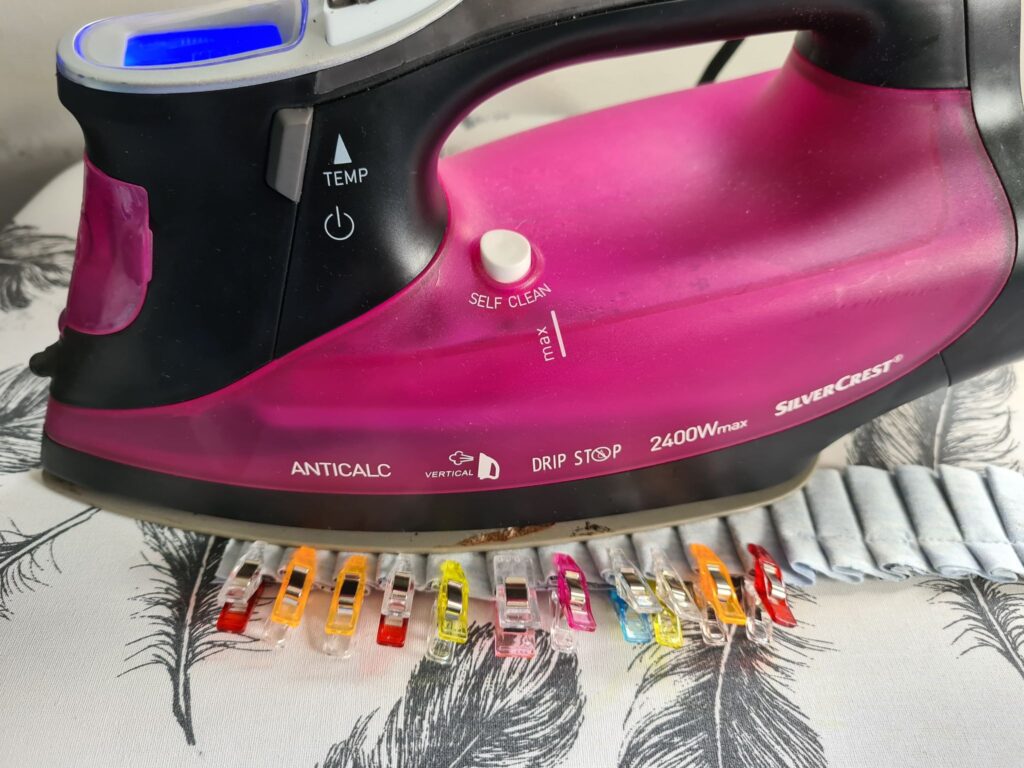
Step 4
Iron/steam the pleats nice and tight.
Step 5
Next place the strip between the facing and the dress (right sides together) and sew the pieces together according to the pattern description.
Continue to follow the pattern description.
Looking to add the ruffle at the armhole. Check out this tutorial.
-
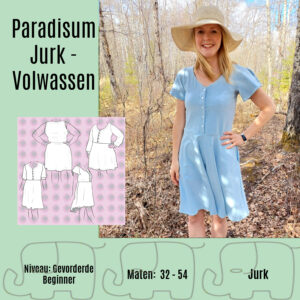 Paradisum Jurk Volwassen – Nederlands$11.98 excl. tax
 -
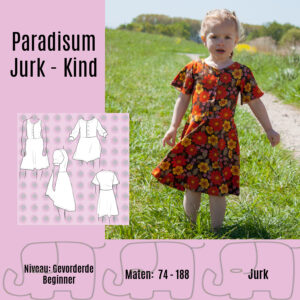 Paradisum Jurk Kind – Nederlands$8.68 excl. tax
 -
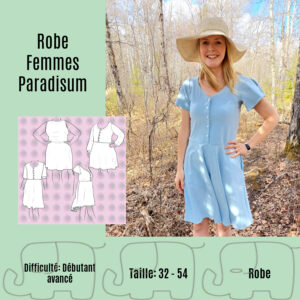 Robe Femmes Paradisum – Français$11.98 excl. tax
 -
 Paradisum Dress Adult – English$11.98 excl. tax
 -
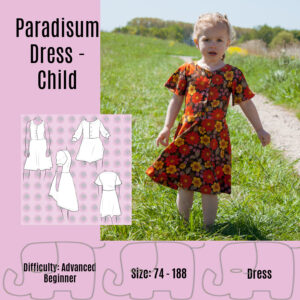 Paradisum Dress Child – English$8.68 excl. tax
 -
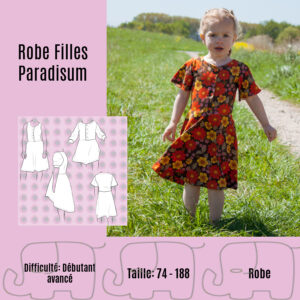 Robe Filles Paradisum – Français$8.68 excl. tax
Buy more save more
(PDF patterns only)
- Spend €25* or more and save 10%.
Use code: SAVE10 - Spend €45* or more and save 20%.
Use code: SAVE20 - Spend €65* or more and save 30%.
Use code: SAVE30
(Sale items excluded)
* Excl. Taxes
Recent comments
Archives

Thank you for visiting
Thank you for visiting our website. This website and all its content are copyright protected. Please ask permission before sharing any pictures or articles, especially when a child is shown in the image.


Leave a Reply