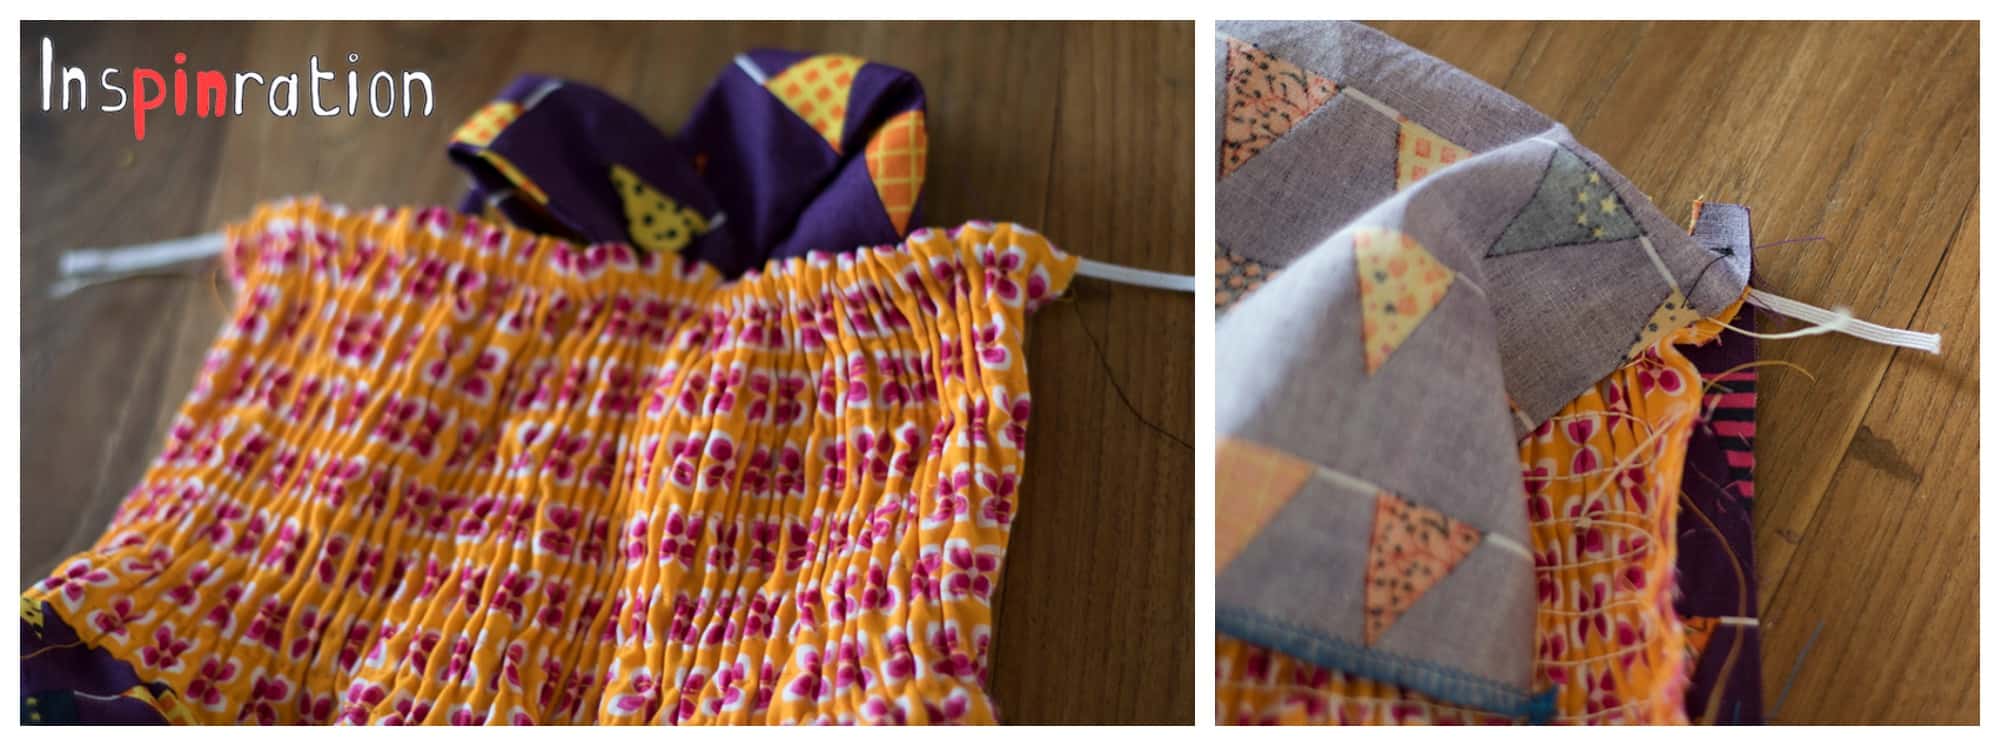
Due to the “Summer of Sofilantjes” event in the Sofilantjes Sew and Show Facebook group, I decided to finally turn the circle skirt idea for the Brueram into a free add-on. I noticed that many people seem to fear the smocking of the back of the Brueram, so when I sewed a circle add-on dress, I also made some process pictures of the smocking. I hope I can convince a few of you that this is totally doable. The end result looks super complicated, but the process is just sewing straight lines (with elastic thread in the bobbin). You can find the free circle skirt add-on in your downloads next to the other Brueram files (after you have bought them). Attach the circle skirt the same way as the maxi skirt. The only difference is that the circle skirt should fit onto the bodice without gathering, so you can skip steps 15 and 16. I made several pictures that mostly visualize step 20 (the actual smocking) of the instructions.
In de Sofilantjes Sew and Show groep organiseren we nu de Summer of Sofilantjes. Elke week staat er en ander patroon in de schijnwerpers. Ik ben deze week aan de beurt en greep deze kans aan om dan eindelijk eens die cirkelrok voor de Brueram uit te tekenen. Terwijl ik een nieuwe versie naaide nam ik ook enkele foto’s van het smokwerk. I hoorde namelijk van verscheidene mensen dat zij dat smokken maar eng vinden. Ik hoop dat mijn foto’s wat mensen over de streep kunnen trekken. Het eindresultaat ziet er erg indrukwekkend uit, maar je hoeft alleen maar rechte lijnen te naaien (met elastisch draad in het onderspoeltje). De gratis cirkelrok kan je vinden onder de bestanden van de Brueram (nadat je hem aangekocht hebt). Je naait de cirkelrok op dezelfde wijze als de maxi rok, je hoeft alleen niet de stof te rimpelen. Je kan stap 15 en 16 dus gewoon overslaan, de cirkelrok zou er zonder rimpelen aan moeten passen. Ik maakte dus enkele foto’s die voornamelijk onder stap 20 (het smocken) vallen.
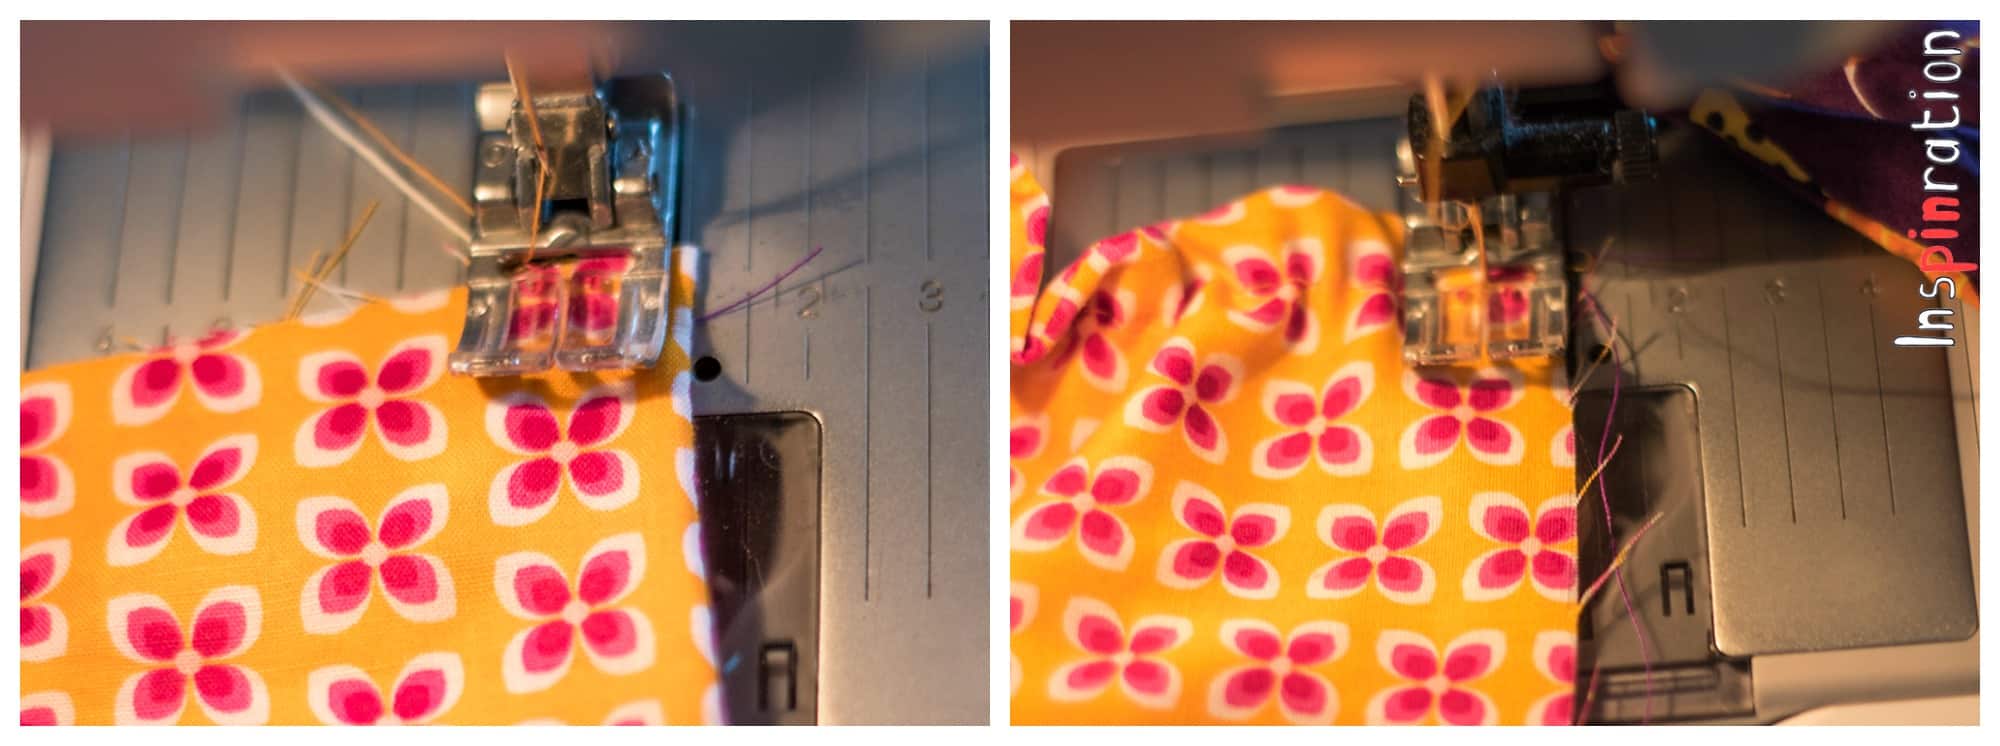
Step 1: Before you start, you make sure you pull out a few centimeter from the elastic bobbin thread, you need to have a few centimeter starting tail. Select a long ( I use 6mm ) straight stitch. Start at the side of the bodice, such that you foot is in the direction as the top of the bodice. The instructions ask you to start very close to the top. I start 1 centimeter from the top because I put an extra elastic in the first row, if you follow the instructions of the pattern, start a little closer to the side.
Step 2: Stop when you reach the end of your first row. Leave the needle down and turn your fabric at a 90 degree angle and stitch down. I stitch down two stitches, which is a little over one centimeter in my case. Again leave in the needle while you turn the fabric 90 degrees such that you can sew a row paralel to the one at the top of the bodice.
Stap 1: Voordat je start moet je ervoor zorgen dat je een paar centimeter elastiek onderdraad uit de machine hangt. Beetje trekken aan de onderdraad na het ophalen dus. Kies voor een lange rechte steek, ik gebruik zelf 6 mm. Begin zo dat de zijkant van de voet van de machine parallel is met de bovenkant van het lijfje. Ikzelf begin op 1 centimeter van de bovenkant omdat ik nog elastiek door de bovenste rij rijg. Als je volgens de instructies naait begin je dichter naar de bovenkant.
Stap 2: Stop aan het einde van rij, laat de naald benden en draai de stof 90 graden. Naai vervolgens een klein stukje naar benden. In mijn geval is dat 2 steken wat iets meer dan 1 centimeter is. Laat vervolgens de naald weer naar benden en draai weer 90 graden. Naai nu een tweede rij parallel aan de top van het lijfje.
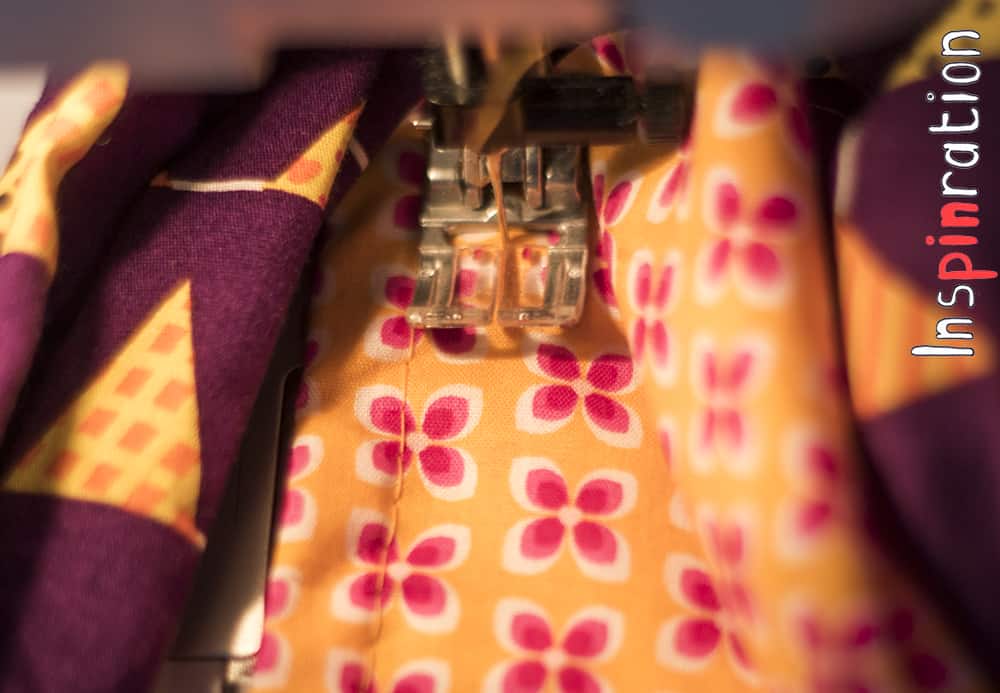
Step 3: As in the instructions, I like to use my previous stitching line as a reference point. If you use a fabric with a small repeated print, like in these pictures, you can also use the print as a refrence. Now stitch the entire row and turn again like in the previous step. Keep repeating this.
Stap 3: Zoals in de instructies houd ik ook het vorige stiksel aan als referentiepunt. Zo naai je makkelijk een rechte lijn ernaast. Als je een stof met een klein printje gebruikt, zoals in de foto’s kan je ook de print gebruiken als referentiepunt.
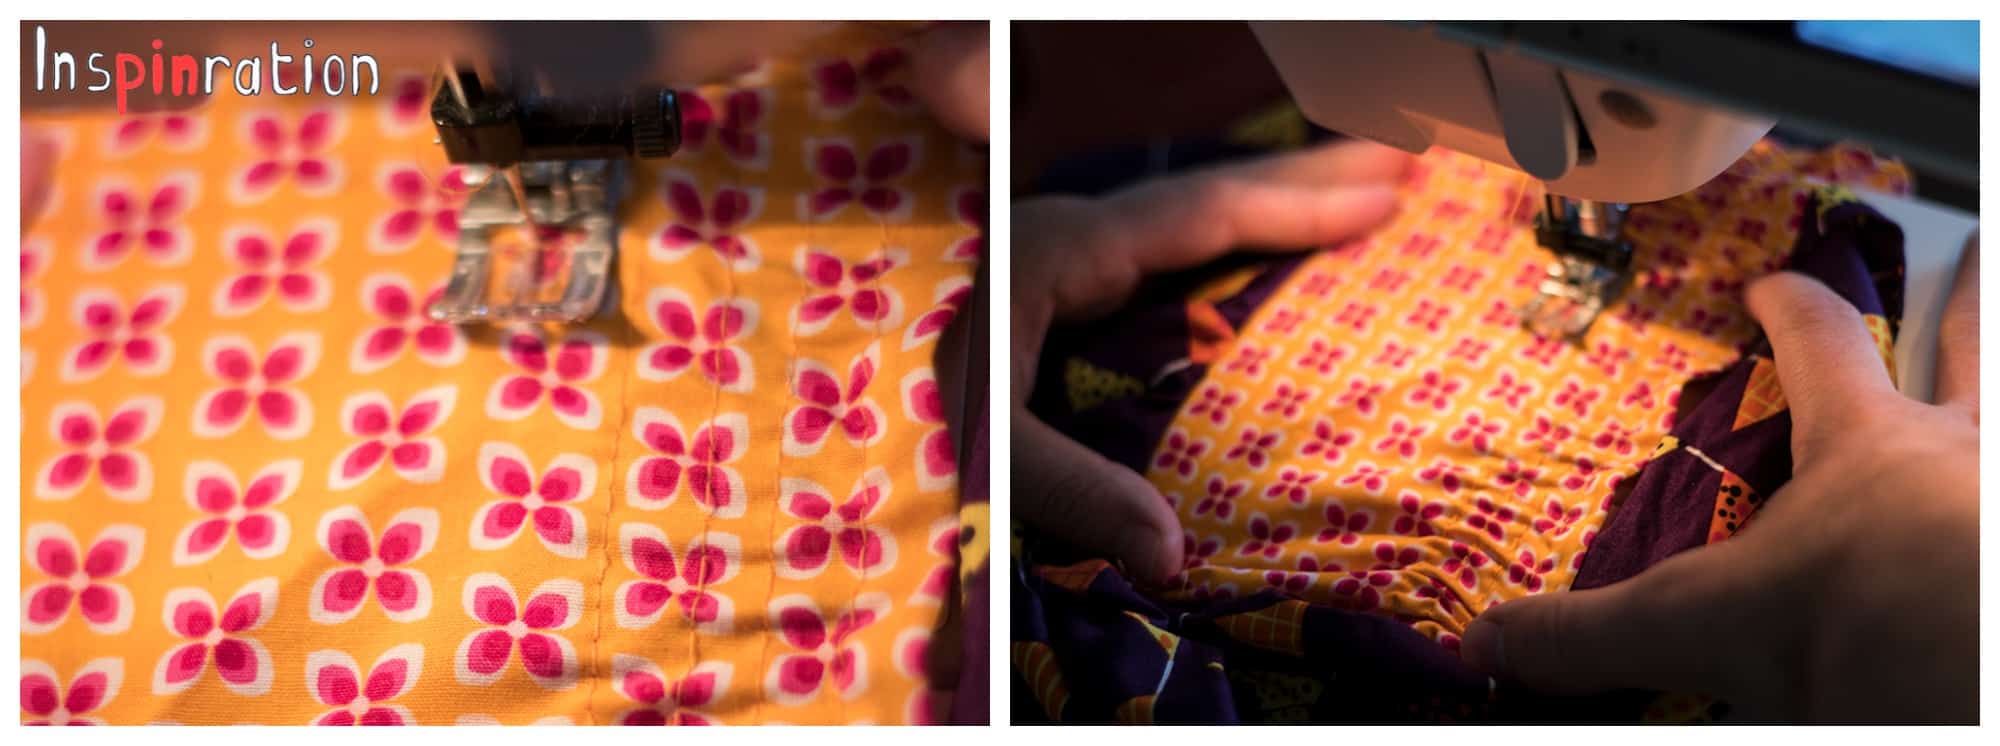
Step 4 (both pictures): After sewing a few rows, your fabric will start to gather by itself a bit. It is important that you pull the fabric out such that you are sewing on straight fabric. Do not sew over the gathering or else the end result will become less stretchy. I prefer to keep the fabric stable on both sides with my hands while I let the machine pull the fabric forward.
Stap 4 (beide foto’s): Na enkele lijnen genaaid te hebben zal de stof gaan rimpelen. Het is echter belangrijk dat je de stof mooi uittrekt tijdens het naaien. Naar niet over rimpels heen, dan rekt je stof aan het einde namelijk minder. Ik houd aan beide zijde vast terwijl de machine de stof voorttrekt.
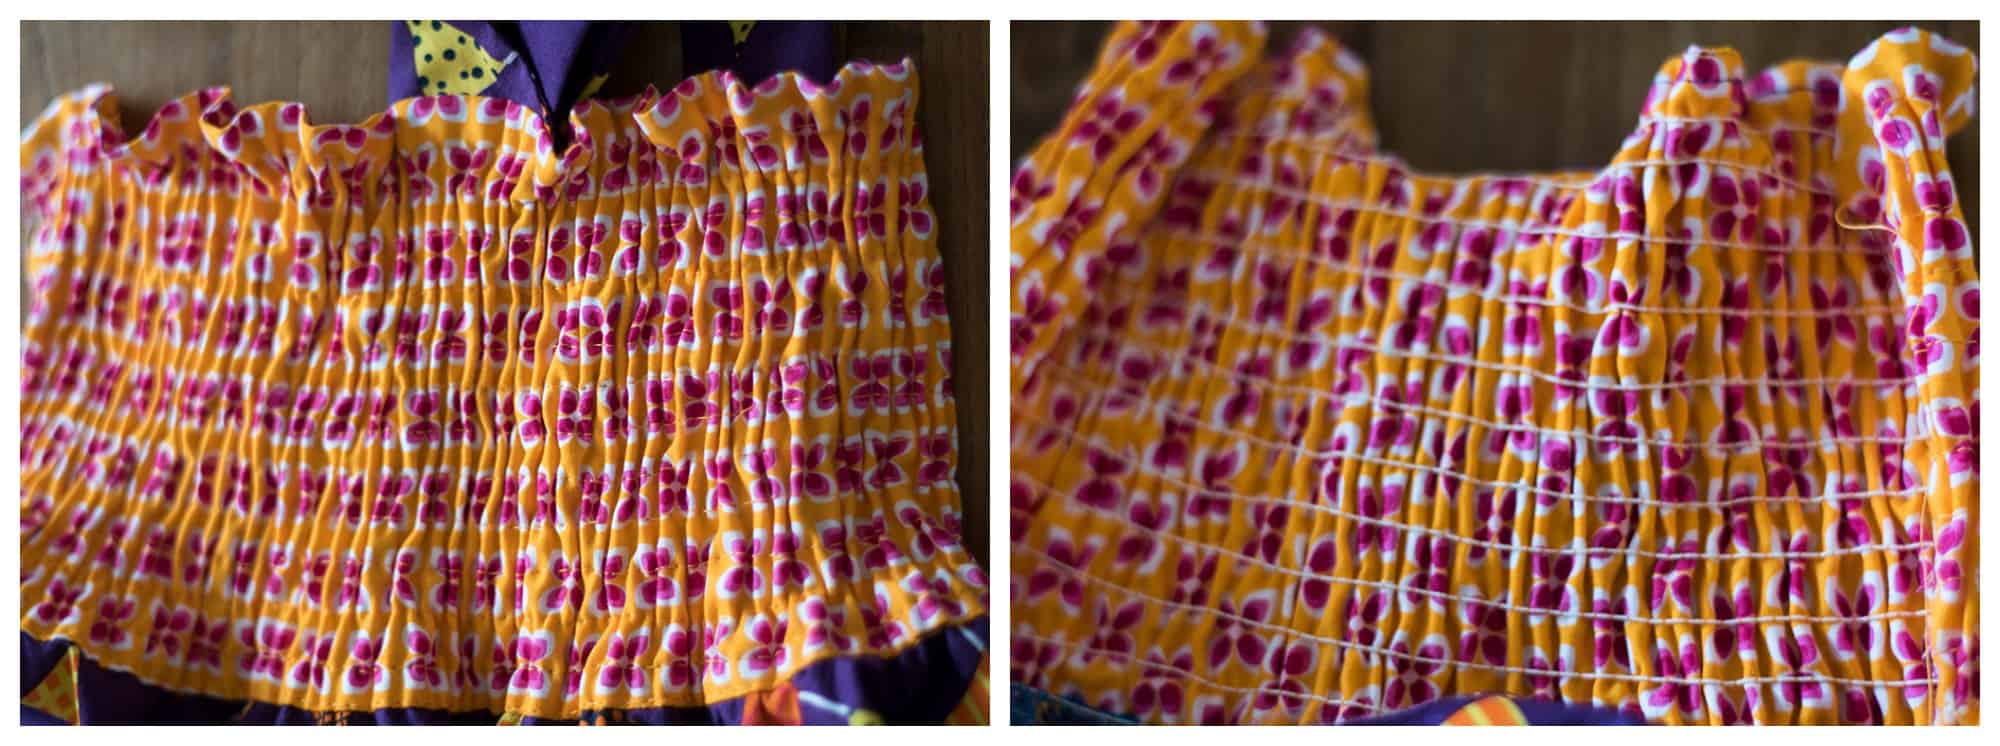
Step 5: Stitch all the way to the bottom and make sure you catch the lining folded up seam of the skirt at the bottom (step 21). This is how your inside and outside will look now. After steaming the elastic (not ironing), the gathering will increase further.
Stap 5: Blijf rijen maken tot helemaal aan de onderkant van het lijfje. Zorg ervoor dat je ook de naad van de rok meenaait (stap 21). Hierboven zie je hoe de voor- en achterkant er vervolgens uit zullen zien. Na het stomen van de stof (niet strijken) zal het nog meer gaan rimpelen.
Step 6: I like to pull an elastic through the entire top row to get an even gather over the entire bodice. Anne actually loves the flutter at the top. Choose what you like best.
Step 7: This is how you place the gathered back between front bodice while you are continuing to step 26.
Good luck and do not forget to show your projects in our Facebook group!
Stap 6: Ik houd er dus van om nog een elastiek door de bovenste rij te trekken om een gelijke rij te krijgen. Anne vindt die roezels aan de bovenkant juist extra leuk. Kies wat jou het meeste aantrekt.
Stap 7: Dit is hoe je in stap 26 het gesmokte deel tussen buitenstof en voering legt.
Succes en vergeet niet om je projecten in de Facebook groep te laten zien!
-
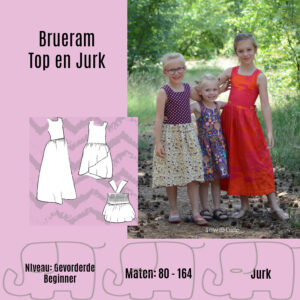 Brueram Top en Jurk – Nederlands + gratis add-on$7.85 excl. tax
 -
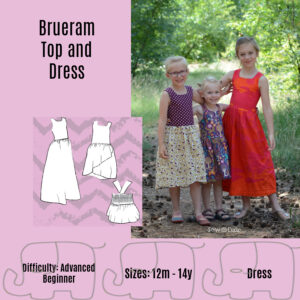 Brueram Top and Dress – English + free add-on$7.85 excl. tax
Buy more save more
(PDF patterns only)
- Spend €25* or more and save 10%.
Use code: SAVE10 - Spend €45* or more and save 20%.
Use code: SAVE20 - Spend €65* or more and save 30%.
Use code: SAVE30
(Sale items excluded)
* Excl. Taxes
Recent comments
Archives

Thank you for visiting
Thank you for visiting our website. This website and all its content are copyright protected. Please ask permission before sharing any pictures or articles, especially when a child is shown in the image.


Leave a Reply