Foliis: How to sew the Zipper
Guestblog by MoonStar – WonderMirakel
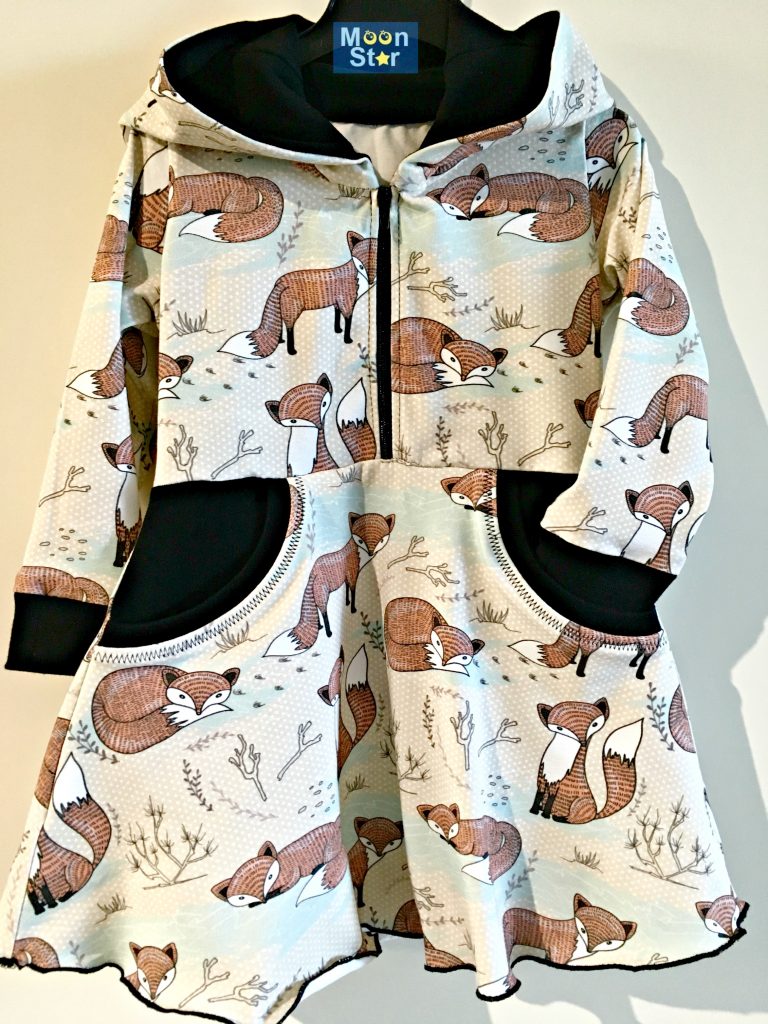
Last week the Foliis Jacket and Dress was released. Personally I’m totally in love with this pattern!
And I’m so eager to try Miranda’s tutorial on the hood and Amanda’s zipperless dress hack… But first I’m giving you another Foliis blogpost.
This one is for those who are in need of extra steps on how to sew a zipper and how to insert the zipper in the hood of the Foliis.
I used the dress version of the Foliis (view C) to make this tutorial.
You will use the instructions that come with the Foliis Jacket and Dress pattern.
In between when you are at the instructions about the zipper and the hood, you can come over here to look how you can do this.
First step: placement of the zipper
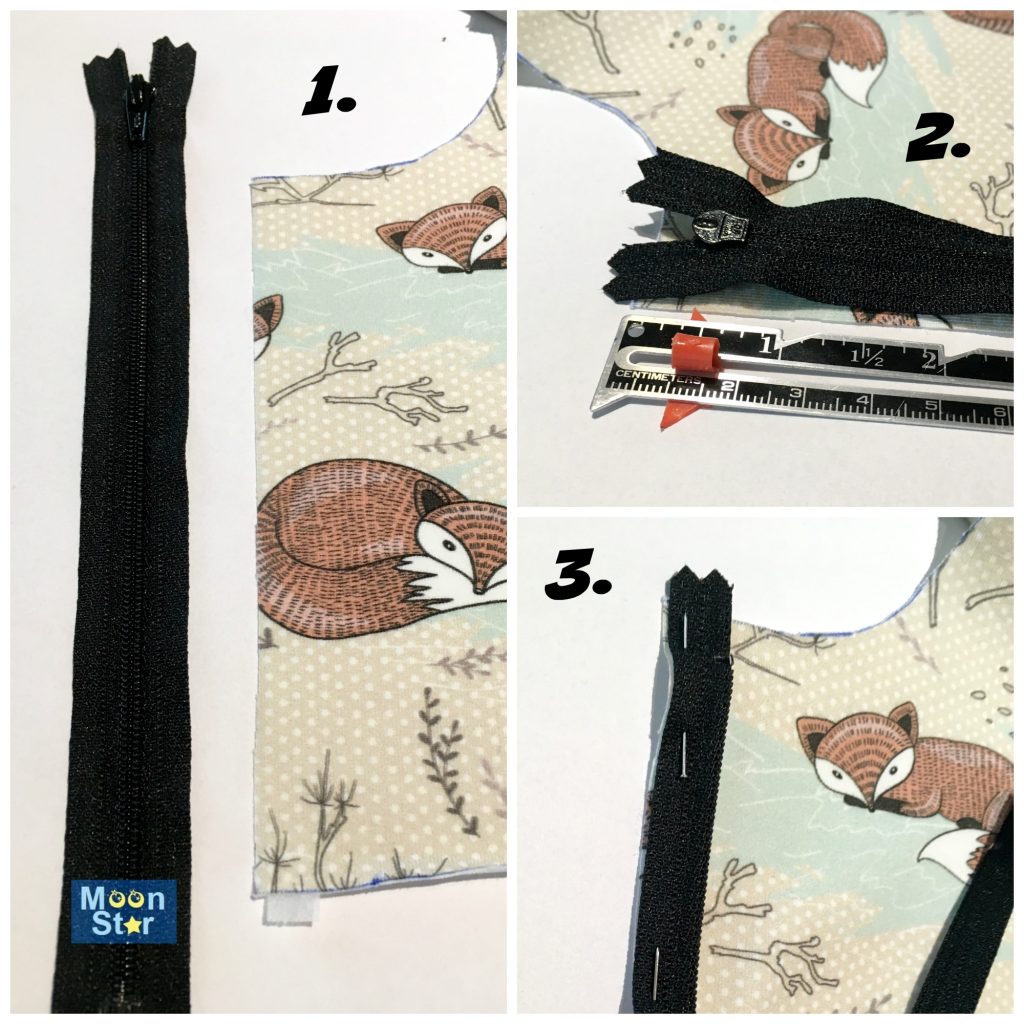
- shows you my zipper was too long, but in the dress that is not a big issue
- shows you how to place the zipper and to leave 1cm (3/8″) from the edge to the zipper teeth
- shows you the pinned & opened zipper
Next step: sew zipper
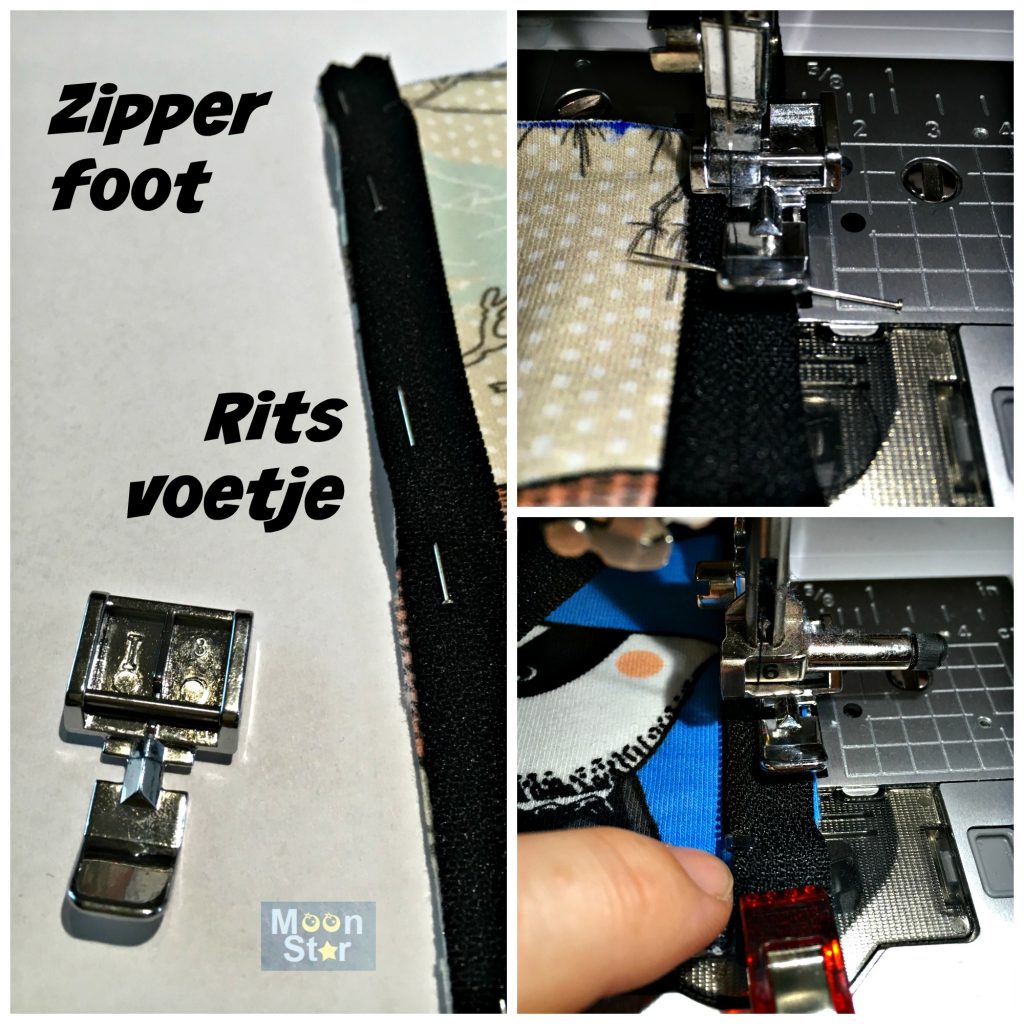
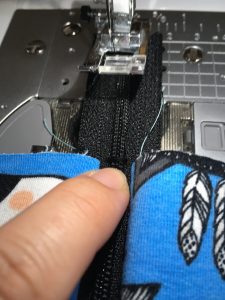
You now need your zipper foot. If you have never used a zipper foot, you can look at this picture to see how it looks like and how you are supposed to use it when sewing. Little note: see how I pinned that needle horizontal? Do not sew over it!!! Because your zipper foot will press it down so much it will bend. I usually hold my zipper in place with clips or pin it vertical.
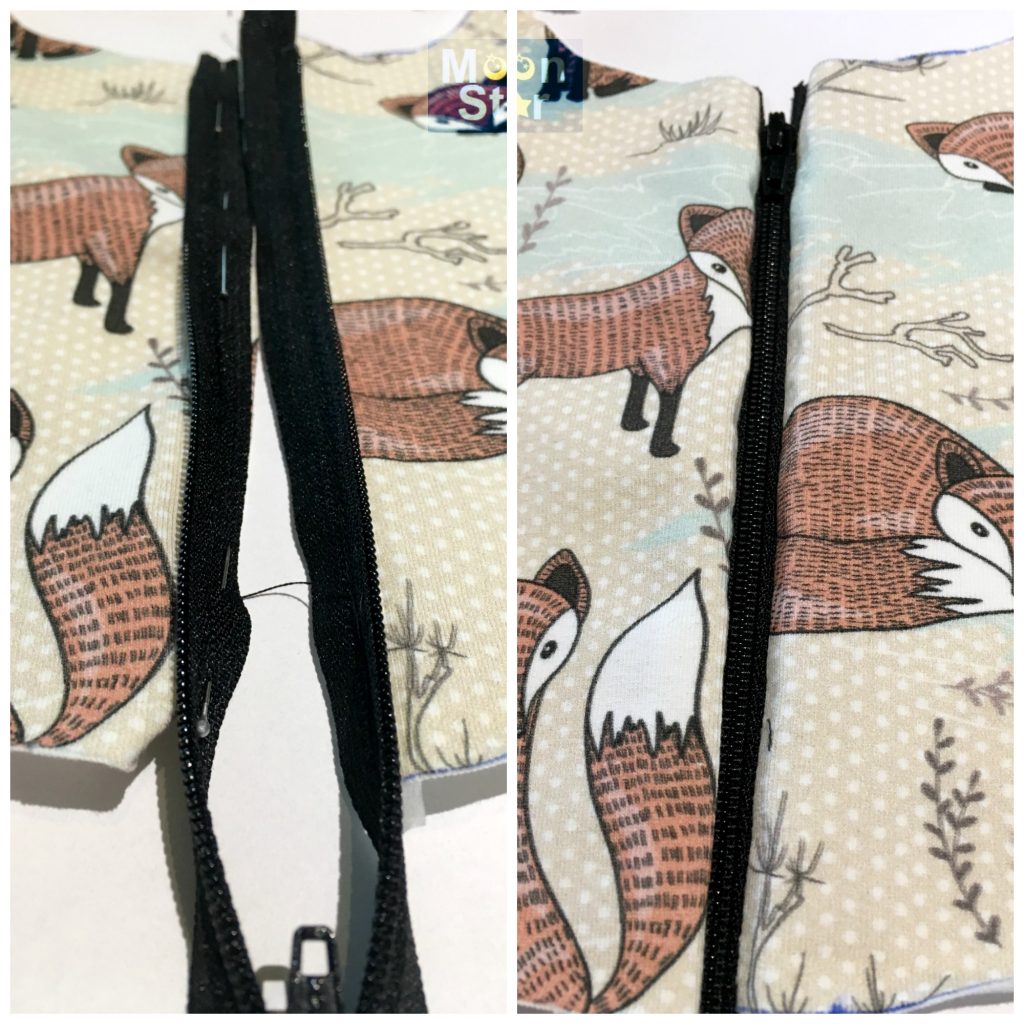
The left picture shows you when one side is sewed and the other is pinned and ready to sew. The right picture shows you both sides sewed (but not yet pressed).
Next step: check your zipper
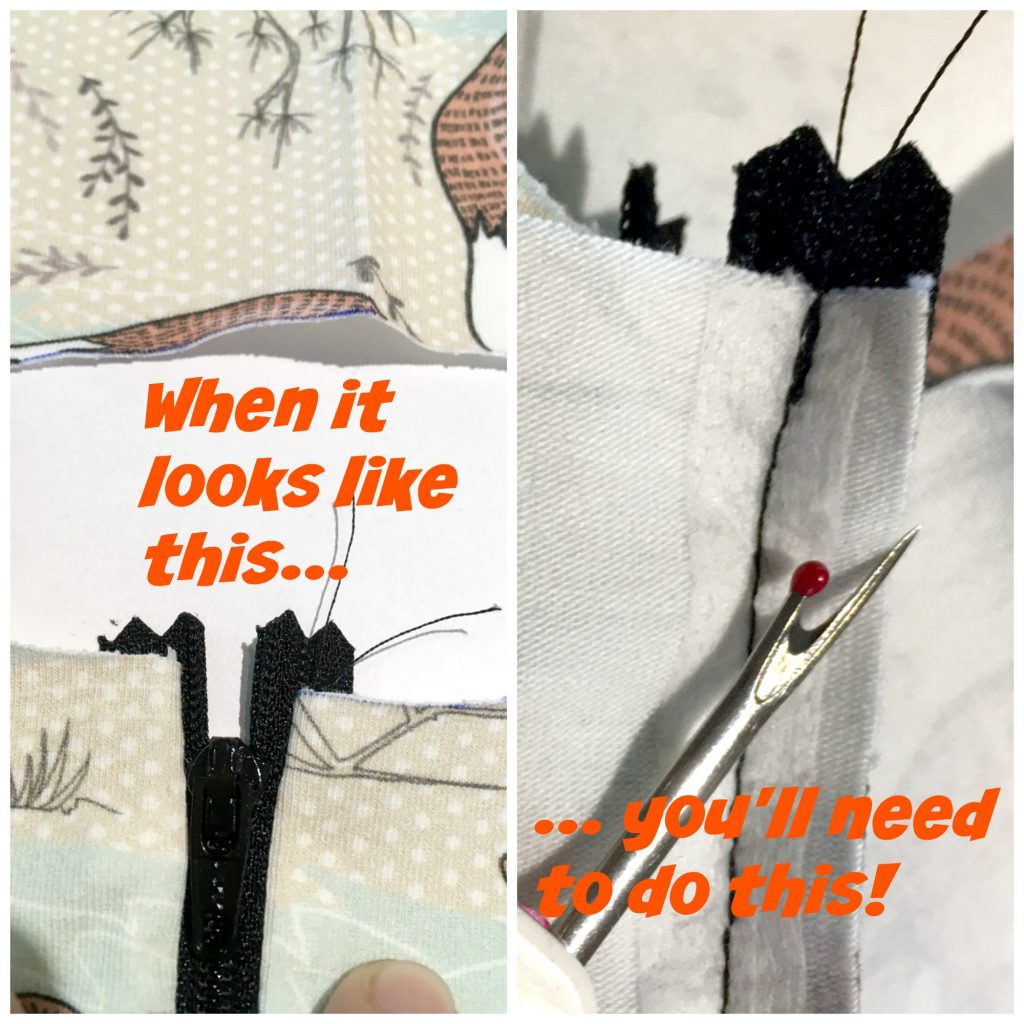
No comment!
Next step: attach the hood
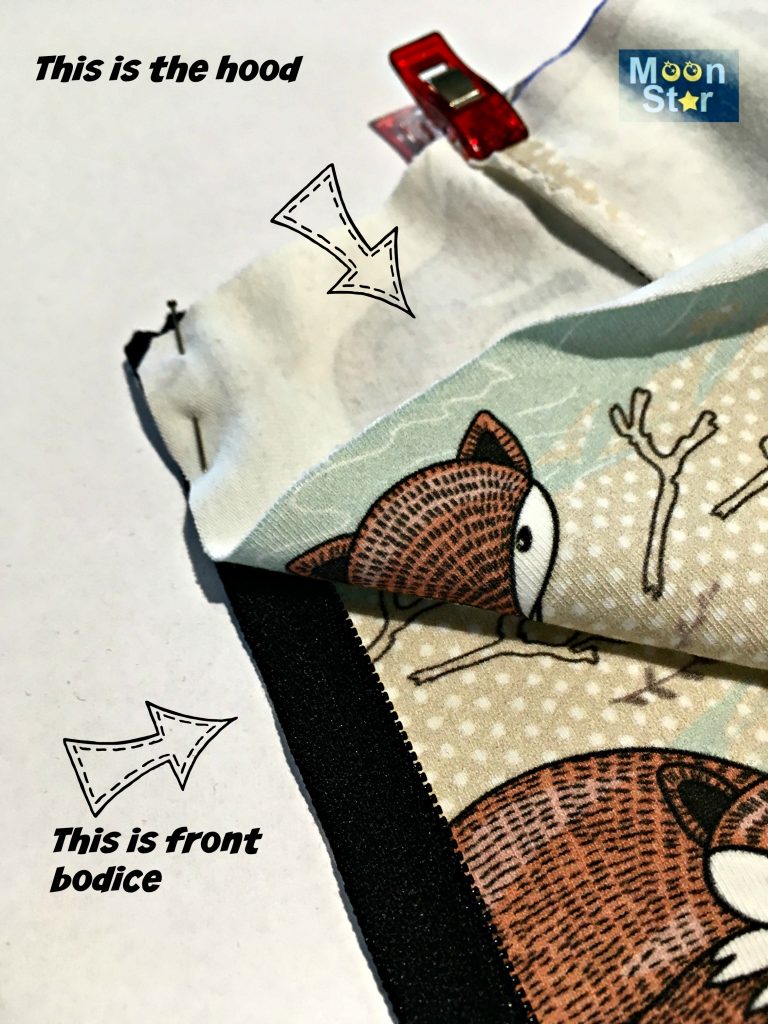
When you attach the hood, the zipper teeth are facing towards the good side of the fabric. You might need to pull the fabric of the hood a tiny bit to fit the neckline.
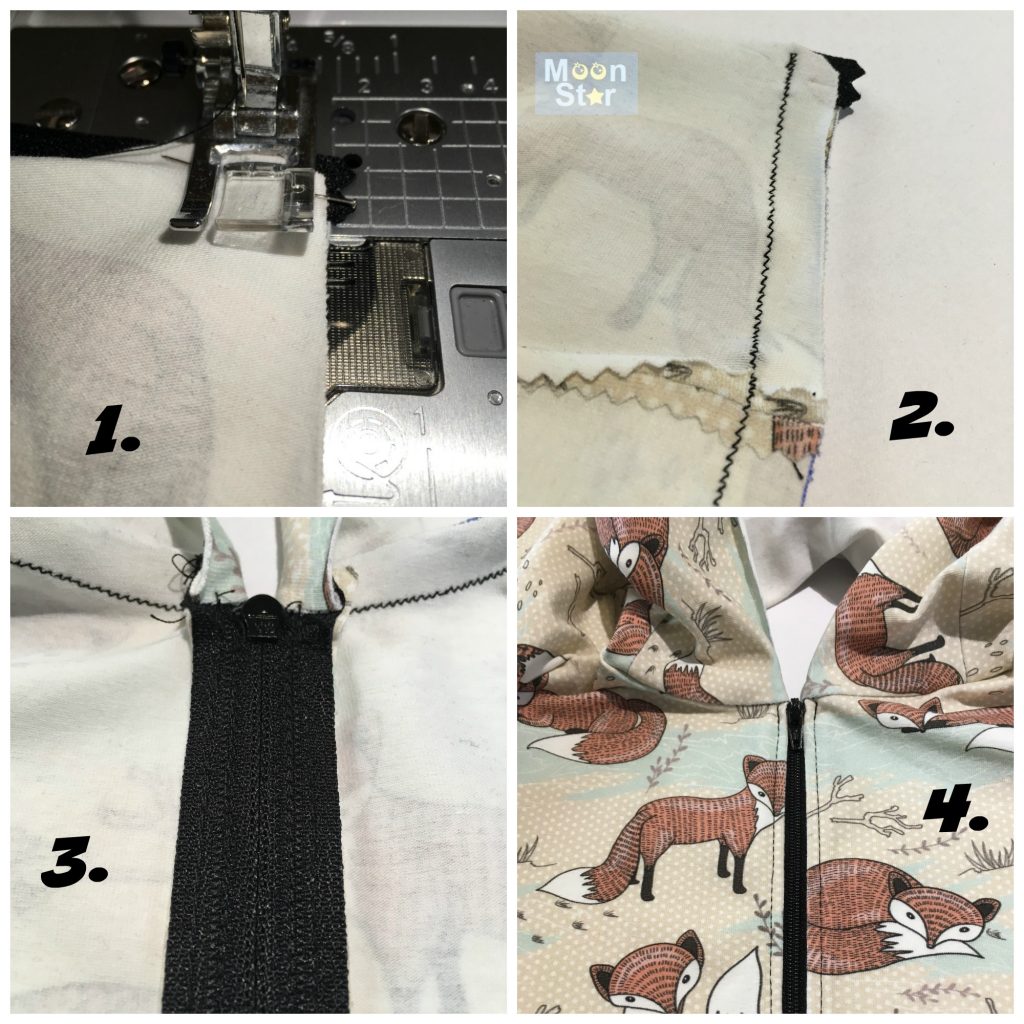
- shows the beginning of sewing the hood to the bodice.
- shows the finished sewing line
- shows how it will look on the inside of the bodice
- shows how it will look on the outside (in this picture you can see I alreadt topstitched the zipper; a step that you need to do later on)
If you need to cut off your zipper because it’s too long, like mine, you can sew a stop. You sew a zigzag but will hold it in place. Most machines have a switch that will unable your transport. I know it’s difficult to see in my photo, because I used black thread on a black zipper, but it does give an idea of what I mean. For my next dress I did sew the zigzag a bit higher up (0,6cm)
After this step you can cut off the zipper.
Last step: attach the lining of the hood
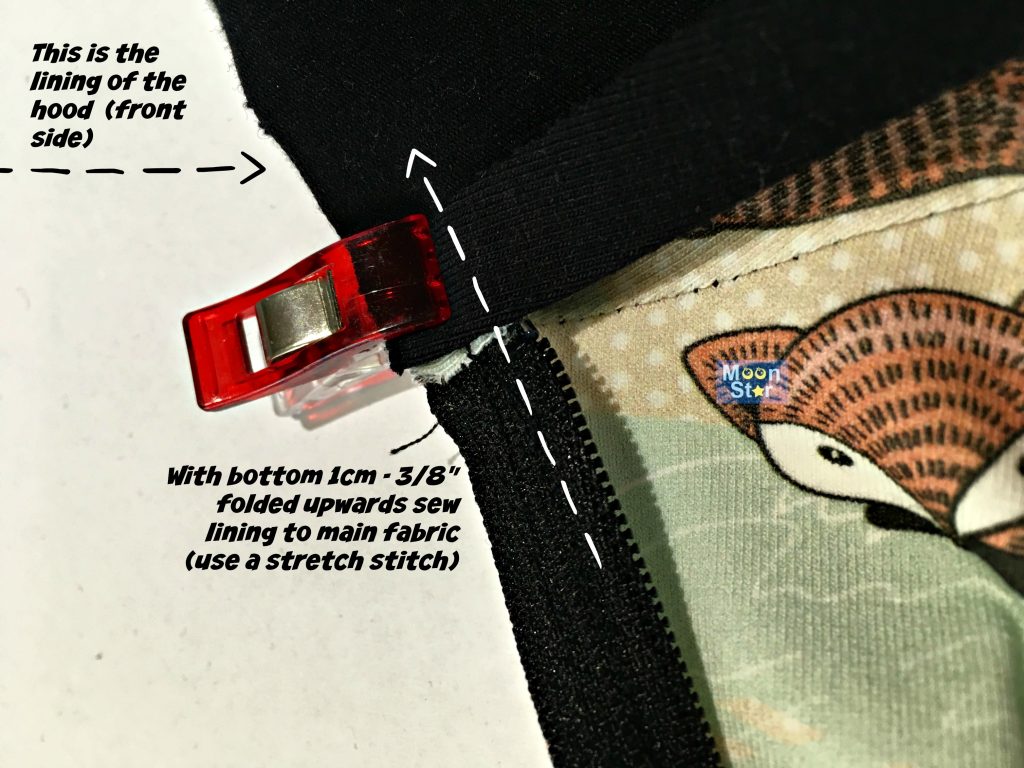
When you put the lining of the hood to the main fabric (right sides together), you only pin the front sides. You fold the bottom of the hood (the part that will be sewn to the neckline) upwards 1cm – 3/8″ and then pin it in place. When you pinned the lining all the way around you can sew it with a stretch stitch (zigzag).
The neckline will be sewn by hand hand.
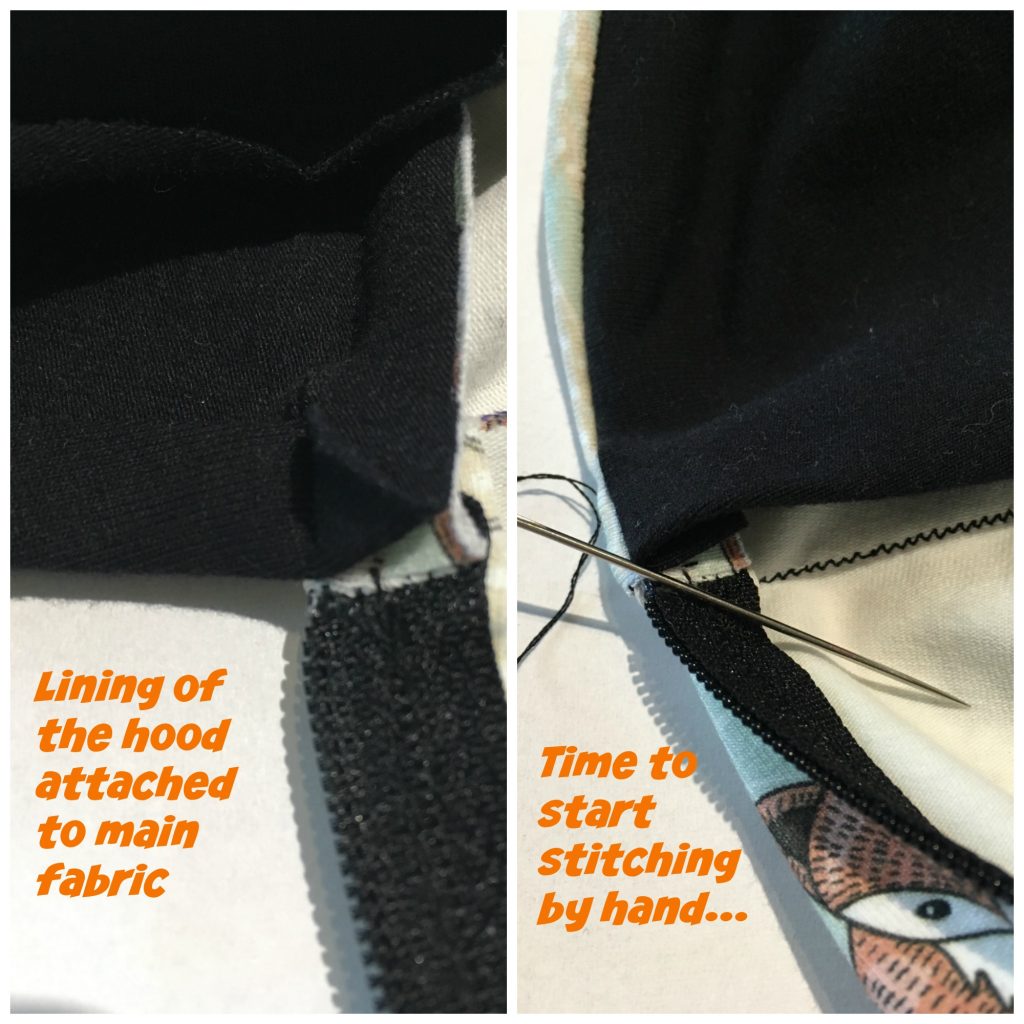
After sewing the lining of the hood to the main fabric, press the seam and turn the lining in the hood.
Now it is time to start sewing the lining to the neckline by hand.
Tip: if you are unsure how to do this, go to YouTube and find some video’s that show you how to do an invisible/ blind stitch
I hope this will help you to sew the zipper and the hood according to Anne’s instructions!
If you haven’t purchased the pattern yet because of “zipper fear”, do not hesitate any longer and go grab that Foliis Jacket and Dress pattern.
-
 Foliis Vest en Jurk – Nederlands$8.68 excl. tax
 -
 Foliis Jacket and Dress -English$8.68 excl. tax
This site uses Akismet to reduce spam. Learn how your comment data is processed.
Buy more save more
(PDF patterns only)
- Spend €25* or more and save 10%.
Use code: SAVE10 - Spend €45* or more and save 20%.
Use code: SAVE20 - Spend €65* or more and save 30%.
Use code: SAVE30
(Sale items excluded)
* Excl. Taxes
Recent comments
- Anne on The Hibernis/Semper or Omni. what’s the difference?
- Anne on Tutorial: How to add a Tulle Skirt to the Regina
- Judy Blumert on Tutorial: How to add a Tulle Skirt to the Regina
- Heleen Dewitte on 25K Grand Giveaway!
- Nicole on 25K Grand Giveaway!
Archives
Thank you for visiting
Thank you for visiting our website. This website and all its content are copyright protected. Please ask permission before sharing any pictures or articles, especially when a child is shown in the image.


Leave a Reply